
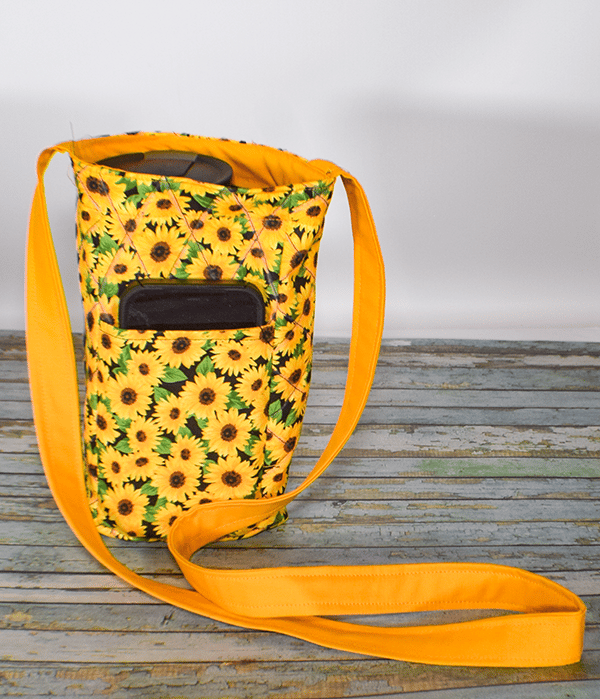
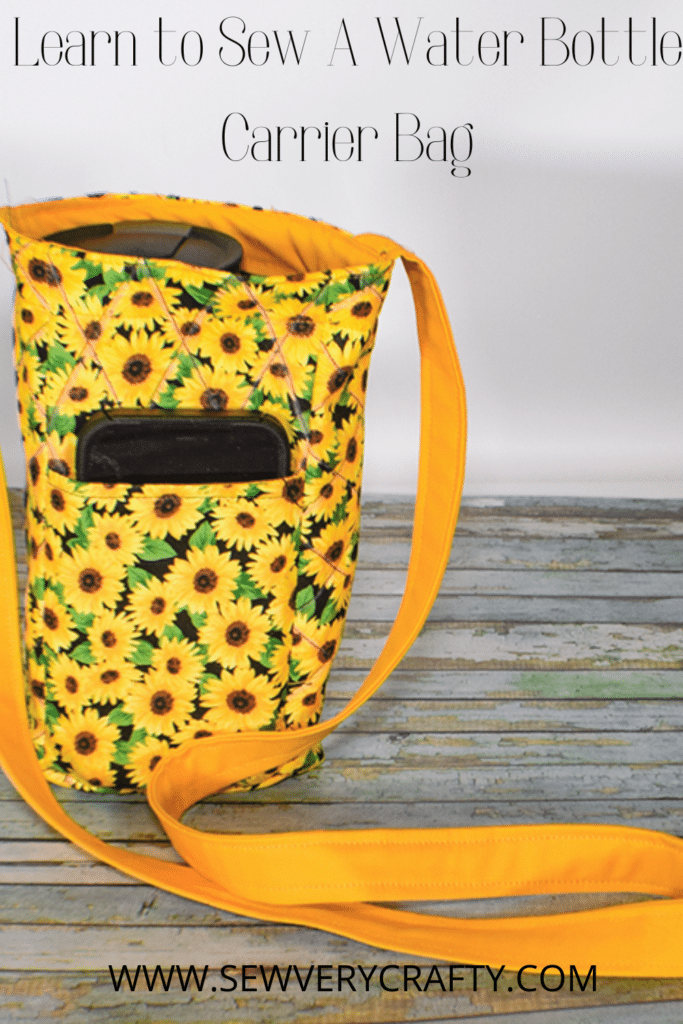
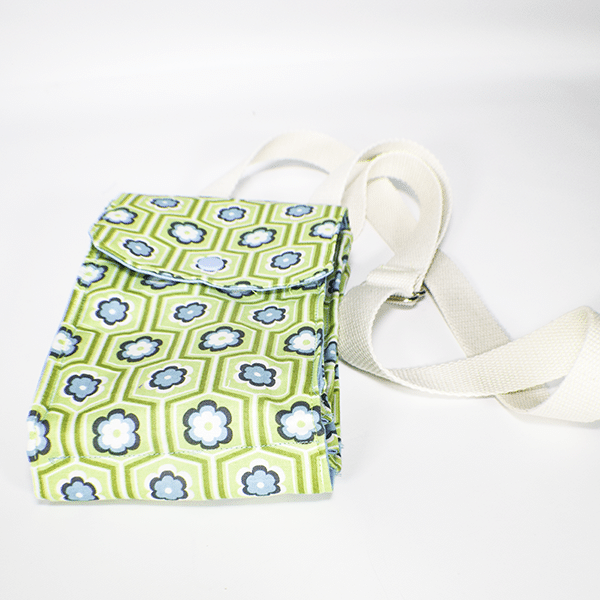
Water Bottle Carrier Bags are a great accessory to carry your water bottle or reusable bottle in. This bag is reversible and has as cellphone pocket. This is a very popular project since everyone is trying to reuse bottles. It is the perfect size for plastic water bottles and reusable bottles as well. It is nice and sturdy since it is quilted. This is the first water bottle carrie that I have made but if you are interested in other handbags and carriers check out my handbag page.
I used cotton fabrics that I purchased online rom JOANN Fabric & Craft Stores![]() and picked up in store. I just love that service. It is so convenient. If you don't have a Joann's nearby head to Amazon Fabrics or
and picked up in store. I just love that service. It is so convenient. If you don't have a Joann's nearby head to Amazon Fabrics or
What you will Need: How to Sew a Water Bottle Carrier bag
- Pattern you can get by clicking on this link
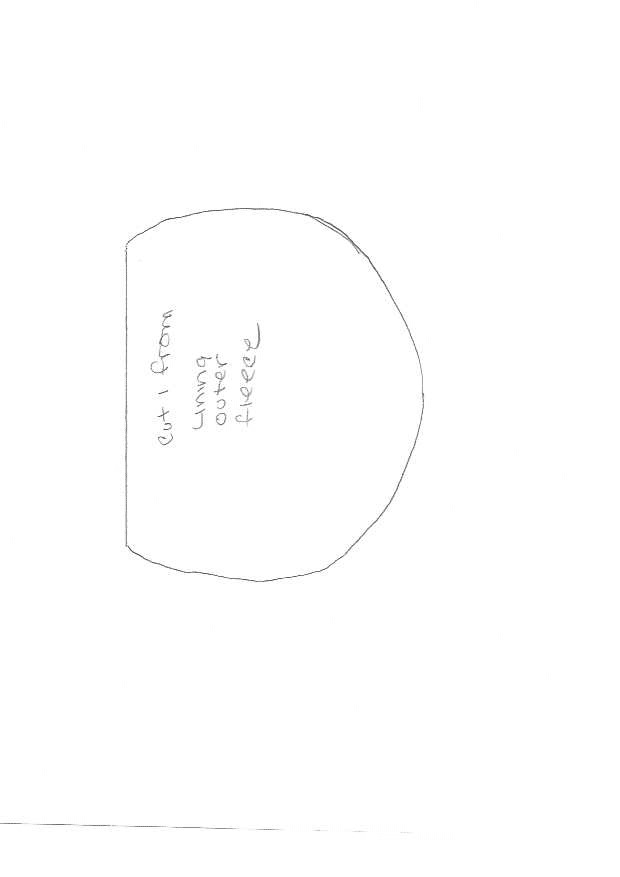
- 1/2 yd outer and lining fabric
- 1/4 yd accent fabric
- 1/2 yd Fusible Fleece like Pellon 971F
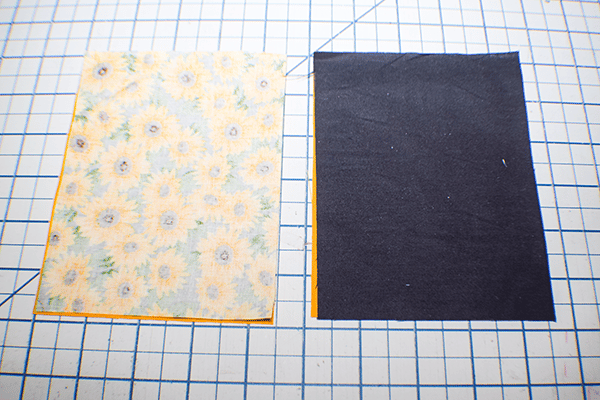
Step 1: Cut your Fabrics
Outer Fabrics
- 4 1/2″ x 9 1/2″
- 11 1/4: x 9 1/2″
- 5 1/4″ x 4 1/2″
- 4 1/2″ x 5 7/8″
Lining Fabric
- 4 1/2″ x 8 1/4″
- 11 1/4″ x 8 1/4″
- 5 1/4″ x 4 1/2″
- 4 1/2″ x 5 7/8″
Accent Fabrics
- 4 1/2″ x 1 3/4″
- 11 1/4″ x 1 3/4″
- 4 1/2″ x 5 7/8″ X 2
- 4″ x Width of Fabric
Fusible Fleece
- 4″ x 9″
- 10 3/4″ x 9″
- 4 3/4″ x 4″
- 4″ x 5 3/8″

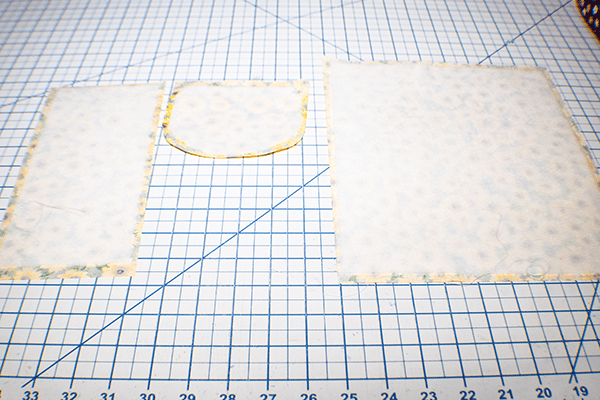
Step 2: Fuse the Fleece
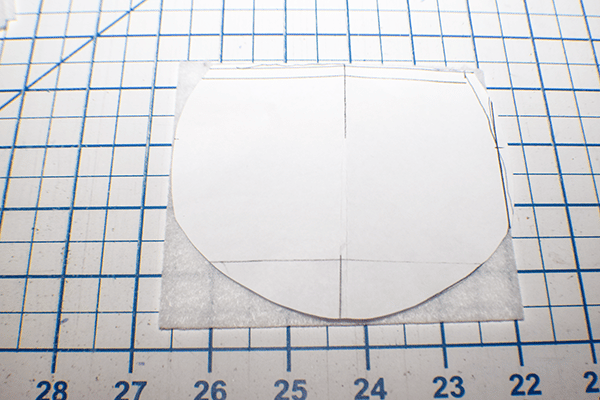
From the 4 3/4″ x 4″ piece of fleece cut out the pattern piece. Fuse it to the outer piece that measures 4 1/2″ x 5 7/8″. Cut around the pattern piece leaving a 3/8″ seam allowance. Fuse the rest of the fleece to the corresponding outer pieces. Follow the manufacturer's instructions for the fleece that you use.
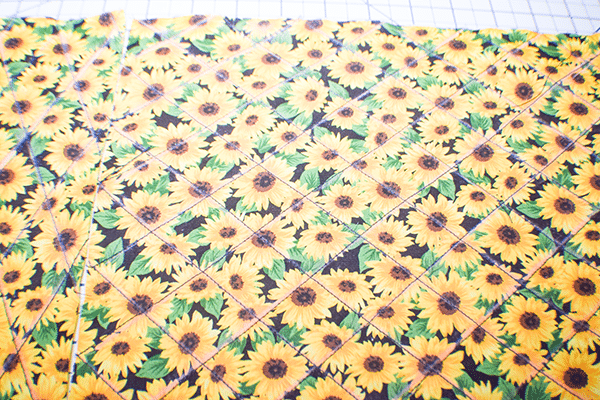
Step 3: Quilt the Outer Pieces
Using a cross hatch pattern, stitch lines on the all of the outer pieces except the pockets piece that measures 4 1/2″ x 5 7/8″ about 1″ apart.
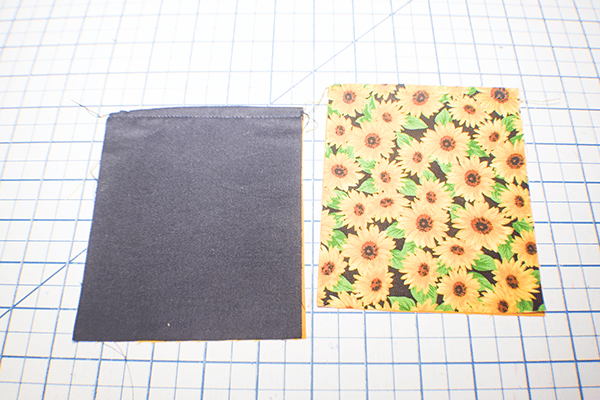
Step 4: Create Pockets
Take the 4 1/2″ x 5 7/8″ and place each patterned piece right sides together with an accent piece. Stitch across the top using a 3/8″ seam allowance. Fold the piece right sides out and press. Topstitch along the seam.
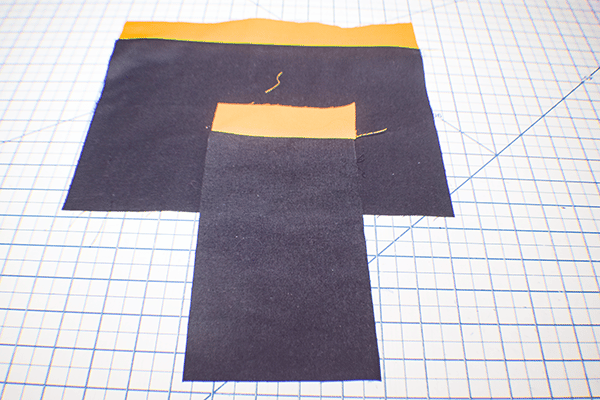
Step 5: Add Accent Fabric
Place the accent fabric right sides together with the lining fabric and stitch along the top using a3/8″ seam allowance. Press the seams open.
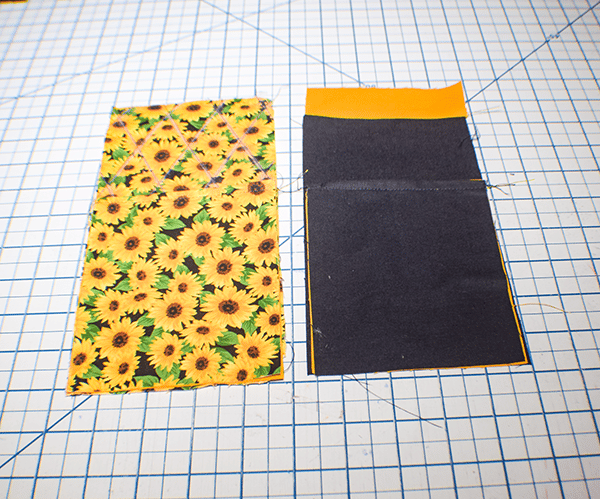
Step 6: Add the Pockets
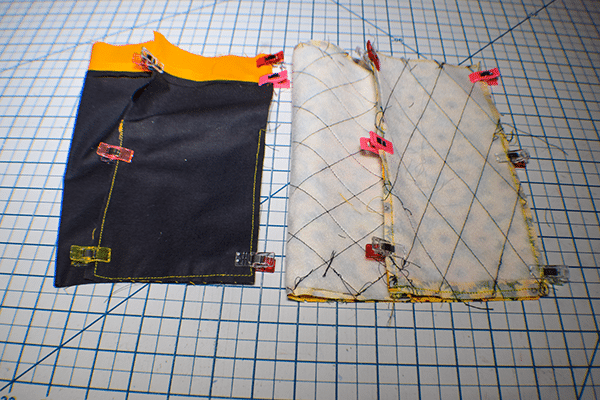
Place the pocket pieces wrong sides together with the corresponding outer and lining piece that measure 4 1/2″ x 9 1/2″. Stitch along the sides and bottom using a 1/8″ seam allowance.
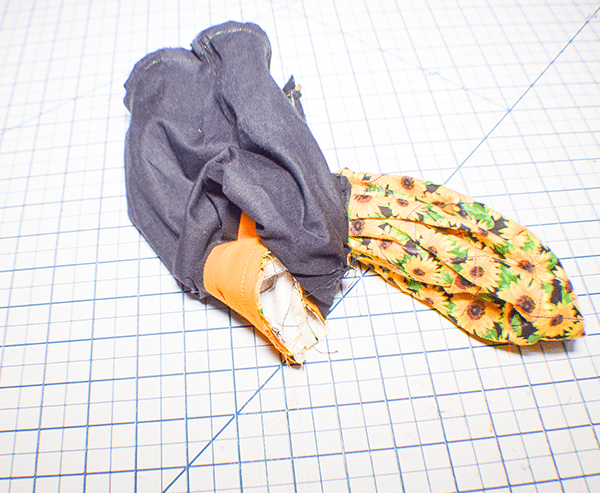
Step 7: Create the Outer and Lining Carrier Bags
Place the larger two outer pieces right sides together and stitch using a 3/8′ seam allowance. Stitch on both sides so that you create a lat sided tube.
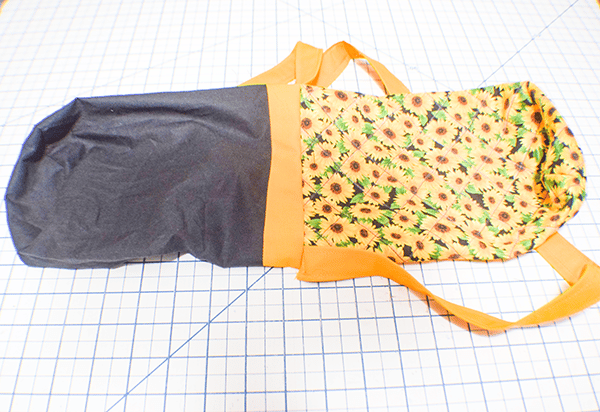
Step 8: Add the Bottom of the Carrier Bags
Snip the seam allowance on the outer part of the vertical seams. Place the flat part of the bottom that you cut from the patten piece right sides together with the outer tube. Snip the rest of the seam allowance and place the rest of the bottom piece onto the tube. Stitch using a 3/8″ seam allowance. Turn right sides out. Repeat for the lining but leave an opening on one side for turning.


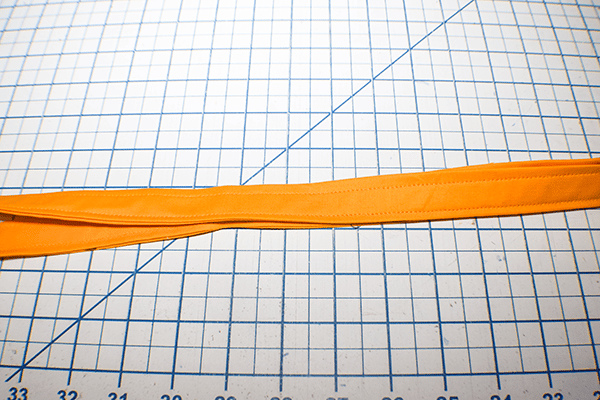
Step 9: Create the Straps
Place the long edges of the strap piece into the center and press. Fold in half lengthwise and press to enclose the raw edges. Topstitch on both sides.
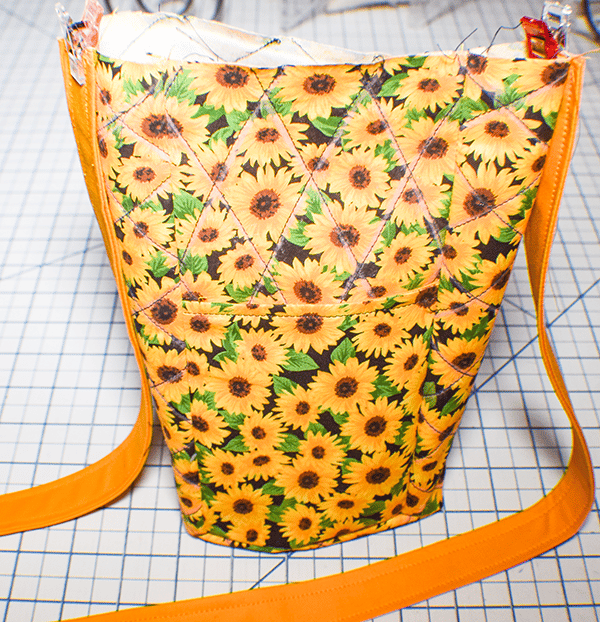
Step 10: Add the Straps
Place each end of the strap on either side of the outer carrier bag and stitch in place to secure.
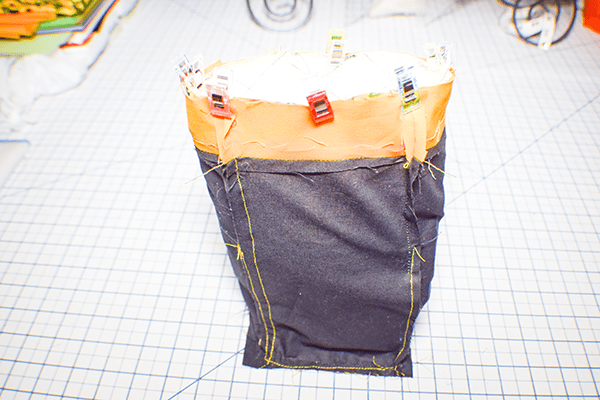
Step 11: Join the outer and Lining carrier bags
Place the outer bag into the lining bag so that they are right sides together. Stitch all the way around the top. Stitch back and forth over the straps to make them more secure.
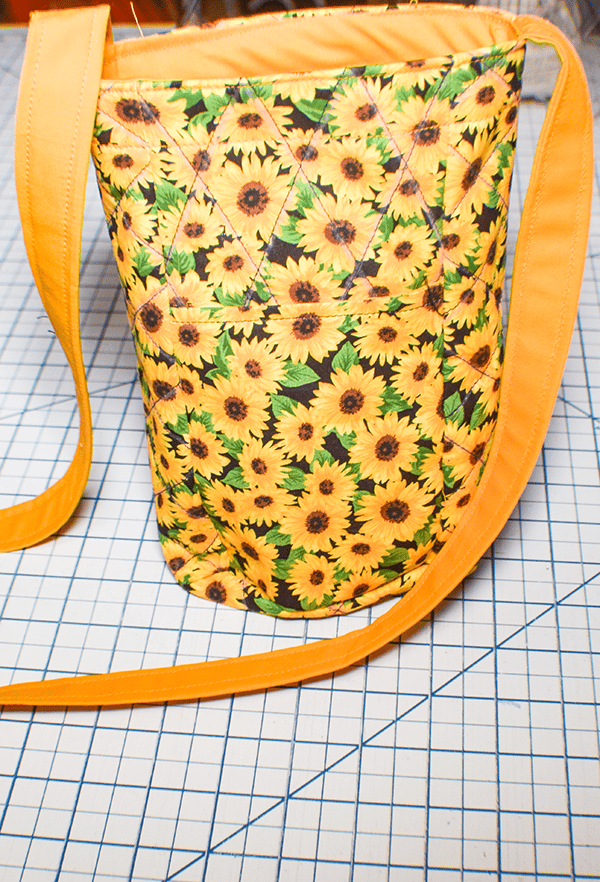
Step 12: Turn Carrier Bag Right Sides Out
Turn the bag right sides out through the opening in the lining. Close the opening using ladder stitch. Push the lining into the outer bag and press. Topstitch around the top and bottom o the accent fabric and you have finished your water bottle carrier bag.
I hope you enjoyed this Water Bottle Carrier Bag project. If you would like more sewing and crafting projects subscribe to my newsletter and receive your free eBook of 15 handbag patterns and tutorials taken from the blog
If you would like video tutorials of some of sew Very Crafty's most popular posts subscribe to our free Youtube channel here.


I am really interested in this water bottle carrying bag. But I have a large 64 ounce water bottle. Can this pattern be adjusted to fit a bottle that size
I think it can be if you just make each piece proportionately larger by measuring the sides next to your bottle to determine the right size. I hope this make’s sense.
I have been making a similar bag for quite sometime now. I add a box pleat to the bottom of the pocket and then elastic to the top. This allows for the larger phones. I also add “D” rings to the sides (to carry keys) and I make the straps adjustable. I insulate them with insul-brite. They are a very popular selling item
That sounds great. Thank you for sharing that.
Makes a very neat and tidy bag. However if you had added the name of each piece with the cutting sizes it would have made it easier to figure out. also you have a mistake on the bottom fusing it to the wrong size it should be 5 1/4 x 4 1/2 inches not 5 7/8 x 4 1/2 inches
Ugh. Thanks for catching that. I will fix it.