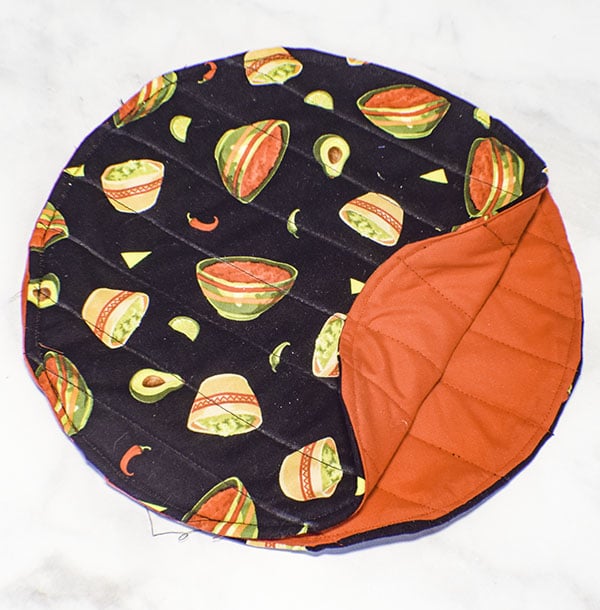
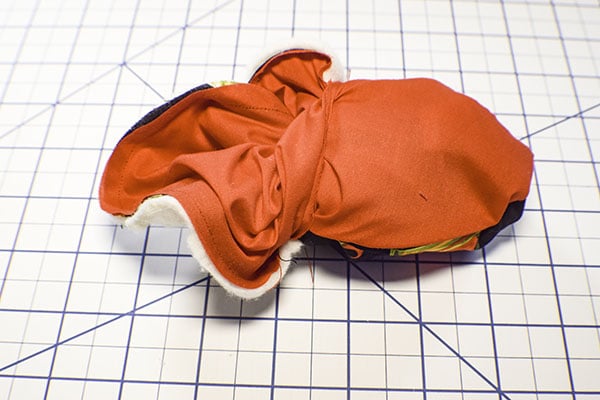
I love Mexican food. Probably because I live in Southern California and it is here in abundance. There is really good Mexican food here. I have learned to make my own though not as good as you get in local restaurants and homes but nevertheless I do make it. There are times when I need to heat my tortillas. No I do not make my own. In light of my failure to make my own I need to warm up the remade ones you get in the supermarket. This tortilla warmer is a beginner sewing project that anyone with basic sewing skills can make in no time at all.
I found this really cute salsa and pepper fabric at JOANN Fabric & Craft Stores and thought it would be perfect for this project. You could choose any fabric you like so long as it is 100% cotton. I chose a 100% Kona cotton for the lining of this project that I also got at JOANN Fabric & Craft Stores
but you could head to Hobby Lobby, Fabric.com or onlinefabricstore.net to get the perfect fabric for your tortilla warmer. I also used Pellon Wrap-N-Zap 100% cotton batting for this project as well. Since this is a food grade project it is important that you use 100% cotton materials in this project.
This post contains affiliate links that if you click on them and make a purchase I may receive a small commission at no extra cost to you. As an Amazon affiliate I earn from qualifying purchases.
If you would like to see a video tutorial of this project head over to YouTube and check out my video of how to create this tortilla warmer and while you are there subscribe to my free channel.
What you will Need: How to Make a tortilla warmer
- 1/2 yd outer fabric and lining fabric
- 1/2 yd Pellon Wrap-N-Zap batting
- Standard sewing supplies
Step 1: Cut the circles
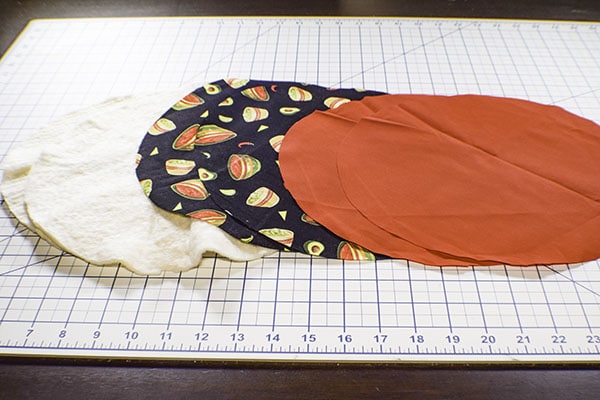
Using a compass or an 11″ plate draw a circle on your main fabric, lining fabric and Wrap-N-Zap batting. You will be drawing two of each fabric and batting. Cut them out so that you have two of each fabric and batting
Step 2: stitch the circles
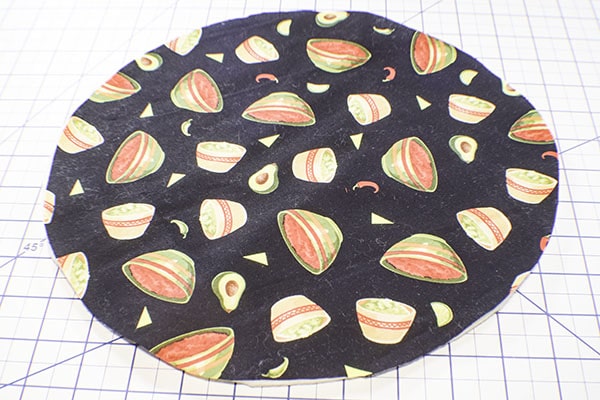
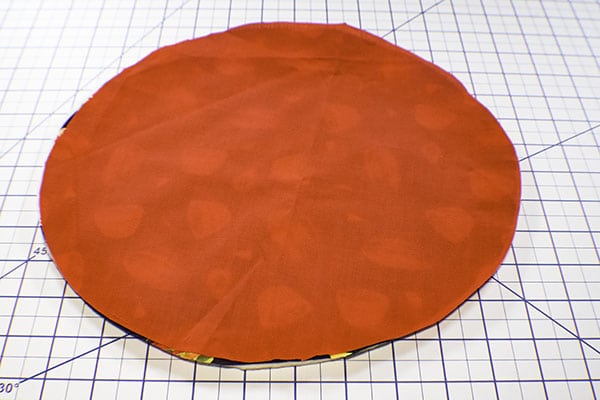
Place one piece of batting on your work surface. Lay one piece of outer fabric right sides up on the batting. Then place one piece of lining right sides down on top of the outer fabric. Stitch the layers together leaving an opening for turning. Repeat for the other set of fabrics and batting. You will have two sets of three layers.
Step 3: Turn the circles
Turn the circles right sides out through the opening and press.
Step 4: Top Stitch your Tortilla warmer
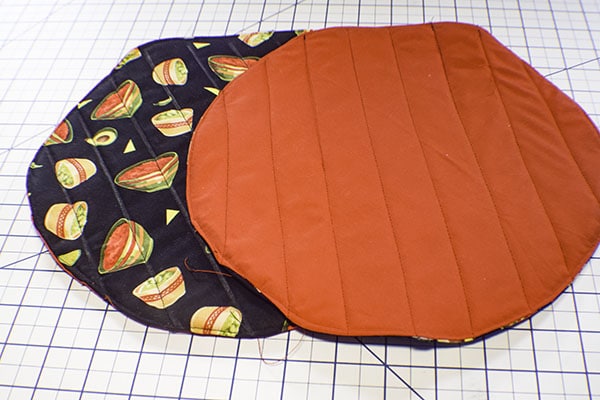
Turn the raw edges in so that they are even with the seam. Clip out some of the batting if it makes it easier. Top stitch all the way around the two circles making sure to enclose the opening as you go. Stitch lines 1″ apart on each circle. I used black thread in the machine and red in the bobbin to make my stitches discreet, If you want to make the stitches in the lining different than those on the main fabric simply change out the bobbin thread.
Step 5: Attach the two circles
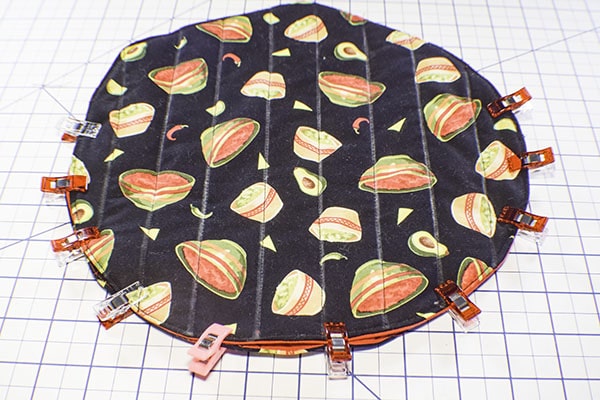
Place the two circles on top of each other lining sides together. Topstitch them together on top of your previous topstitch line about 2/3 of the way around the circle making sure to back stitch at the beginning and end. Add your tortillas and toss them in the microwave for a quick warm up.

I hope you enjoyed this tortilla warmer project. For more sewing and crafting projects sign up for our newsletter and receive access to your free sewing printables and more from our printables library.
If you would like video tutorials of some of Sew Very Crafty's most popular posts subscribe to our free YouTube channel here.


Nice instructions – but I believe the comment about using 100% cotton for “food grade” reasons could be misleading. Cotton is a natural fiber whereas polyester (in threads and blended materials) can melt in the microwave and become a fire hazard. Therefore only 100% cotton material, batting AND thread should be used!
Yes you are right. I should have pointed that out.