

Here is another terrific Dollar Tree craft. I saw this on Pinterest and decided to recreate it here. This Dollar Tree Foam Dice Calendar is super simple to make and requires mainly Dollar Tree materials. It is a fun and functional project that goes great with my Dollar Tree mini card catalog. I really enjoyed putting this project together and I know you will too. I have been doing a lot of Dollar Tree crafts lately since I discovered I could get the white foam dice and tumbling tower games online. You can make so many things from them. If you would like to check out my other Dollar Tree Crafts check out my Dollar Tree page.
This post contains affiliate links that if you click on them and make a purchase I may receive a small commission at no extra cost to you. As an Amazon Associate I earn from qualifying purchases.
What you will Need: how to Make a Dollar Tree Foam Dice Calendar
- 2 Dollar Tree tumbling tower game
- 2 Dollar Tree white foam dice
- Vinyl 2″ numbers
- Several Dollar Tree Chalk Board tag clothespins
- Wood stain or black paint (Optional)
- White Paint
- Hot Glue
- Holiday Stickers
- Twine
- Ribbon
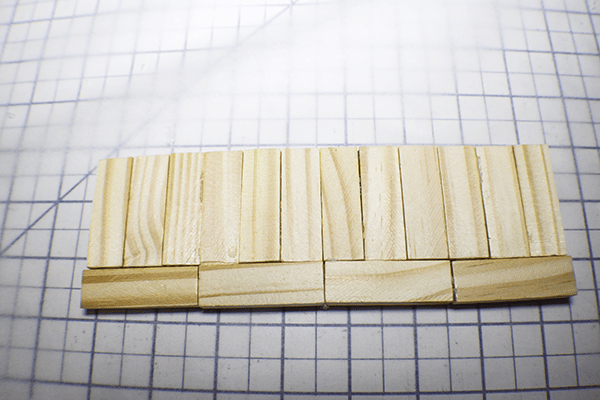
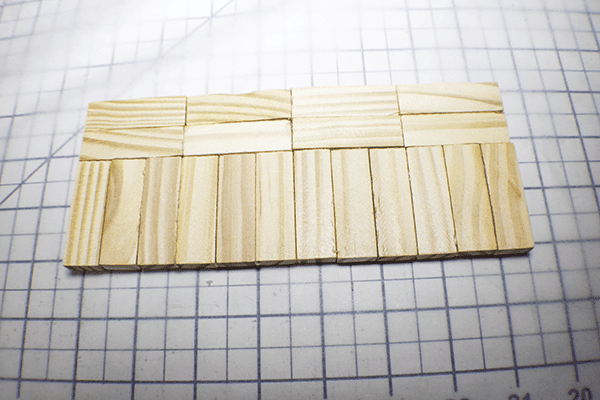
Step 1: Glue the Frame Pieces Together
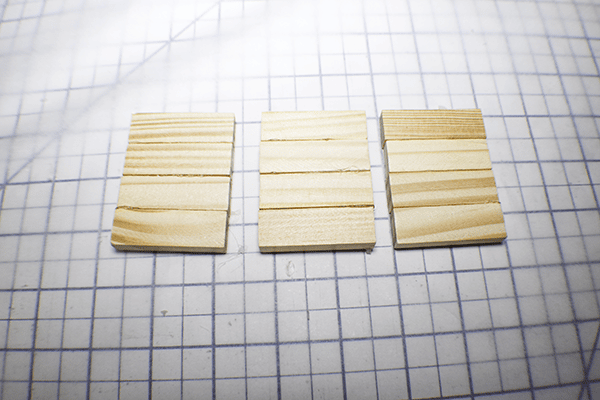
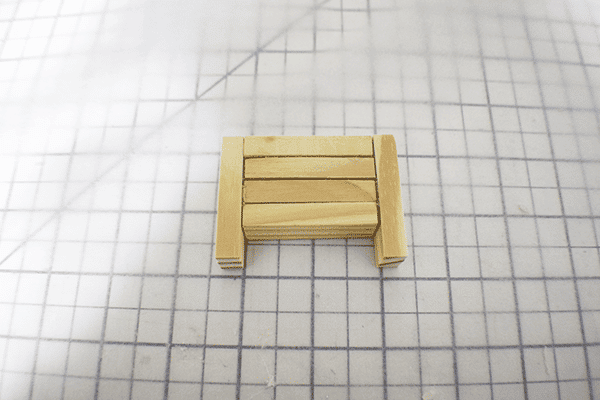
Using the tumbling blocks game create the frame for the dice and the month. I created the bottom by gluing 12 pieces together widthwise and four lengthwise as shown. Next, I glued the sides and the divider together by gluing four pieces together on their side. You should have two sides and a divider. The top was created by gluing 12 pieces together. The month holder was created by gluing four pieces together with two sides leaving an opening in the front to put the month. Finally, I created the back by gluing 12 pieces lengthwise and two rows of four as shown.

Step 2: Stain and Paint the Pieces
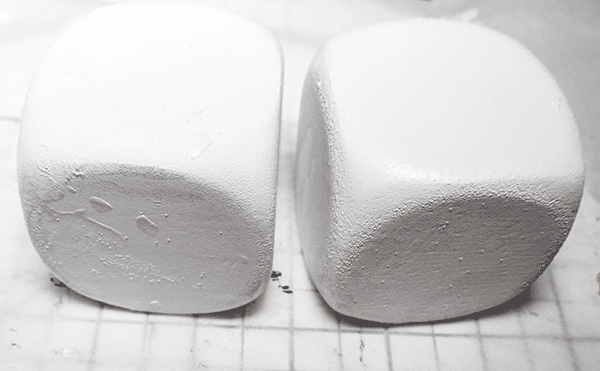
Now that all of the pieces of the frame are glued paint or stain them if desired. I stained mine to match my mini card catalog but really didn't like it so I ended up spray painting it black. I painted my month pieces white. You should, of course, have 12 white pieces. Paint the dice white. I realize that they are already white but there is writing on one side that needs to be covered.


Step 3: Glue the Frame Together
Place the bottom on your work station. Then glue on the back. Glue the sides on top of the ends of the bottom. Place the divider on the fourth piece from the right on the far side of the divider. Glue on the top. Find the center of the frame on the top and glue on the month holder so that the opening is at the front.

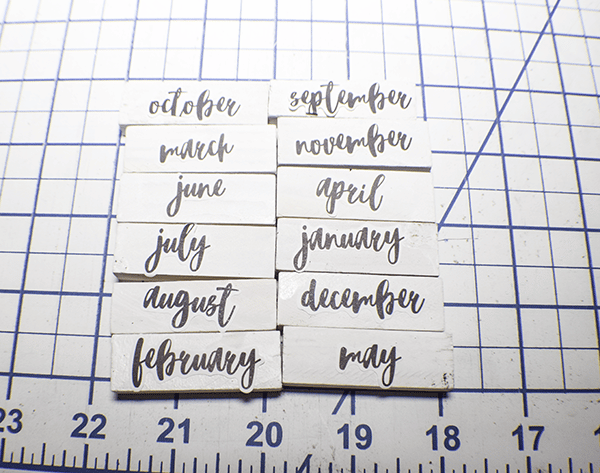
Step 4: Place the Month Names on the White Pieces
Using stickers, paint or a sharpie place the names of the months on each of the white tumbling tower pieces.
Step 5: Prepare the Dice
Using the poster sized numbers place 0 – 5 on one of the dice. Place 0, 1, 2, 6, 7, 8 on the other dice. Note: the 6 can be turned upside down to create the 9 on the calendar.

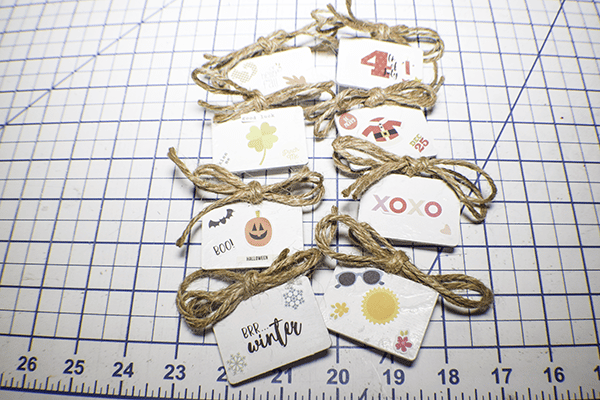
Step 6: Prepare the Table Top Chalk Boards
Using stickers or paint place holiday symbols onto the chalk boards.
Step 7: Add the Ribbon
Tie the ribbon into a bow and glue it to the left corner of the calendar frame.
Step 8: Add the Dice and the Month Pieces
Place the Dice on the right sides of the frame with the day of the month facing forward. place the month in the month holder and the remaining months and holiday chalk boards in the left side of the frame.

Step 9: Tie the Twine
I tied a 22 inch piece of twine that I folded in half into a bow that I hot glued onto the clothespin that protruded from the chalkboard for a more decorative look
Step 10: Add the Holiday Chalk Board
Place the chalk board with the holiday or season on it on the top right of the frame and you have finished your Dollar Tree Foam Dice Calendar.
I hope you enjoyed this simple Dollar Tree Craft. If you would like more sewing and crafting tutorials subscribe to our newsletter and receive access to our free printables library
If you would like video tutorials of some of Sew Very crafty's most popular posts subscribe to our free YouTube channel here.


I am confused! why do you need 3 foam dice and I only see 2? What is the 3rd one for?
My mistake. You only Need two. I will change that.