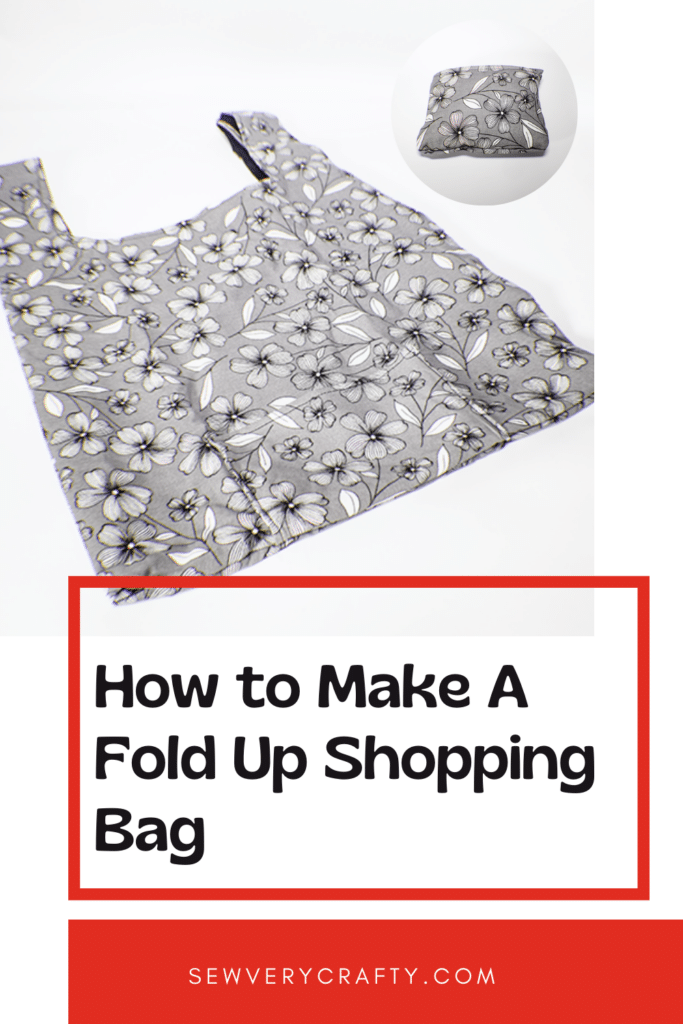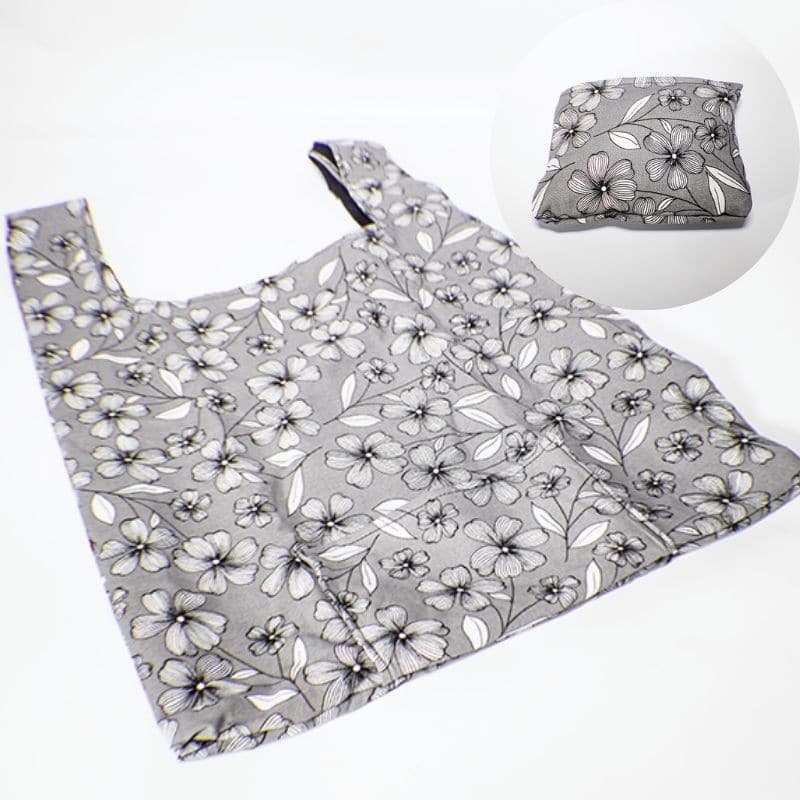
In California we have to bring our own bags to the grocery store and the pharmacy or we have to pay for a store bag. The bags you have to pay for don't really stand up to wear so I thought to share this fold up shopping bag tutorial with you so you can make your own shopping bag to take to the stores in your area. This is a fun and functional beginner sewing project that anyone with basic sewing skills can make in no time so give this project a try. If you would like a larger bag try my rollup shopping bag.
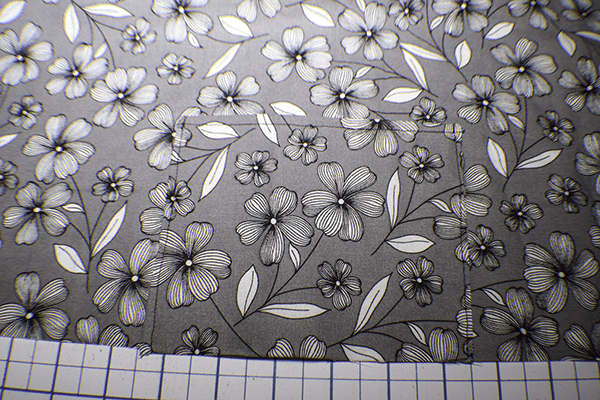
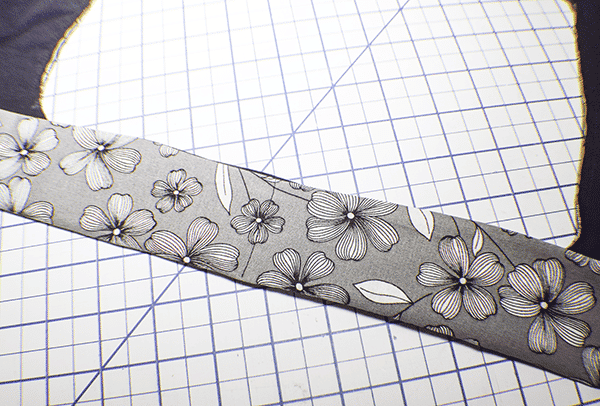
I used fabrics from my stash that I purchased at JOANN Fabric & Craft Stores![]() for this project. They were both 100% cotton. Of course you could head to JOANN Fabric & Craft Stores
for this project. They were both 100% cotton. Of course you could head to JOANN Fabric & Craft Stores![]() or to
or to
If you would like a video tutorial of this project head over to YouTube and check out my video. While you are there subscribe to my free YouTube channel.

What you will Need: How to Make a Fold up Shopping Bag
- 1/2 yd outer fabric
- 1/2 und lining fabric
- Standard sewing supplies
Step 1: Cut your Fabrics
Cut an outer and lining piece of fabric that measures 16 1/2″ X 39 3/8″ and two outer pieces that measure 6 1/4″ x 5 1/2″.
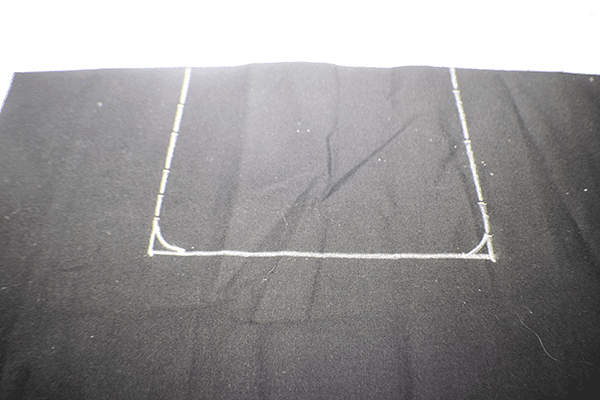
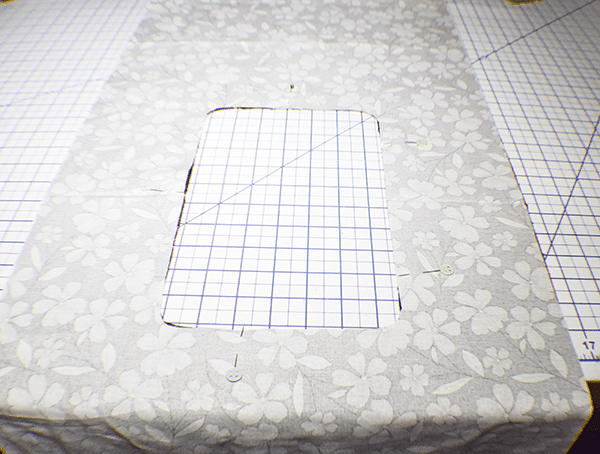
Step 2: Draw the Pattern
Fold the large outer and lining fabrics in half right sides together with the fold side measuring 16 1/2″. Measure 4 3/4″ from each side and make a mark. Measure down from the fold 5 1/2″ and make another mark. Draw a rectangle in the center of the bag 4 3/4″ from each side and 5 1/2″ long from the fold. Round the corners of the rectangle as shown. Place the outer and lining pieces together. Cut along the lines you just drew creating a large rounded rectangle in the center of the fabric pieces.
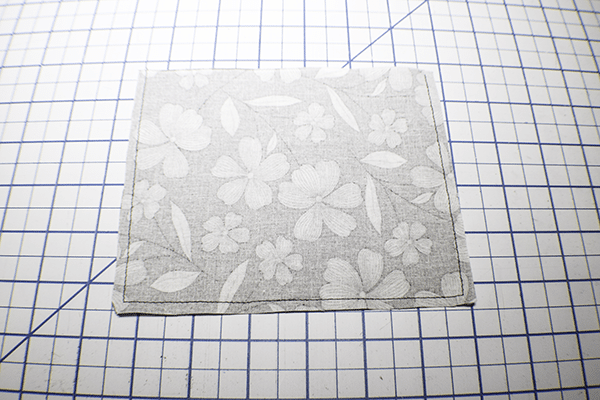
Step 3: Create the Pocket
Take the smaller outer pieces and place them right sides together. Stitch around three sides of the piece using a 1/4″ seam allowance leaving one of the long sides open. Topstitch along the stitched long edge.
Step 3: Add the Pocket
Place the pocket piece on the bottom center of the outer large fabric piece matching the raw edges. Stitch along the sides using a 1/8″ seam allowance.
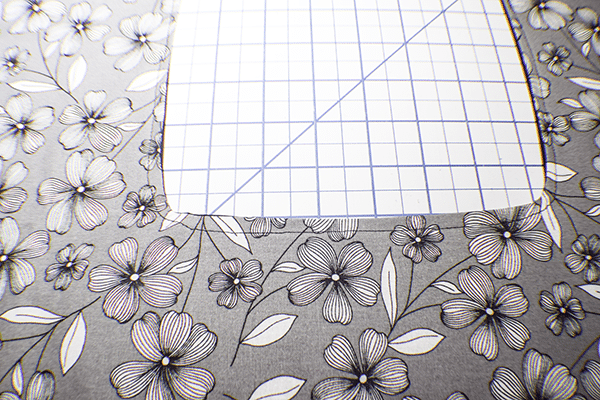
Step 4: Stitch the lining to the Outer Piece
Place the outer piece and the lining piece right sides together. Stitch around the opening in the center of the two pieces of fabric using a 1/4″ seam allowance. Clip the curves. Turn the piece right sides out and topstitch around the center.
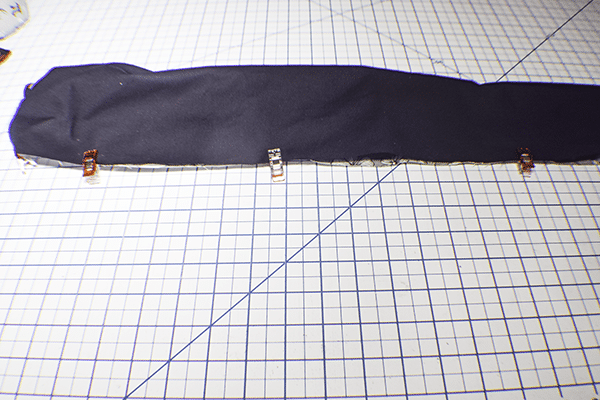
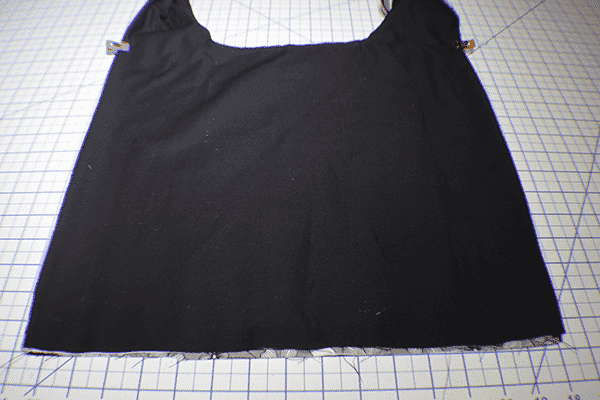
Step 5: Stitch the Long Side of the Lining to the Long Side of the Outer Piece
Roll up one side of the bag toward the other side of the bag. Take the far side outer and lining pieces and place them right sides together over the rolled up fabric and stitch using a 1/4″ seam allowance. Open the bag up so that the piece has right sides out. Roll up the stitched side of the bag. Again, take the far side outer and lining pieces and place them right sides together with the rolled up piece in the center and stitch. Turn the bag right sides out. Press.
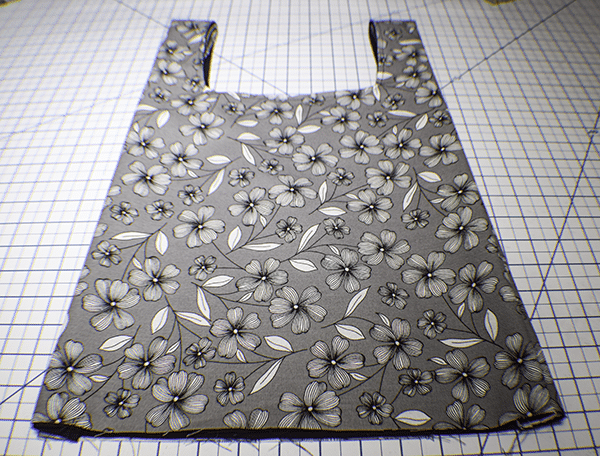
Step 6: Stitch the Handles
Turn the bag to the lining side. Fold the sides so that they meet the center opening and pin. Fold the bag in half to find the center of the handles. Mark with a pen or pin. Stitch across the handles at the mark you just made.
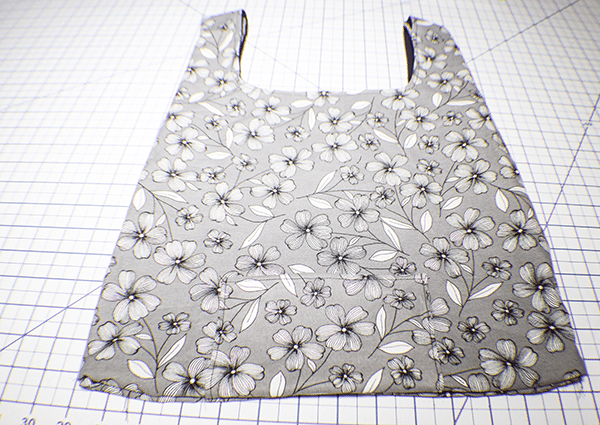
Step 7: Stitch the Sides
Fold the bag so that the outer fabric is right sides together. Stitch the sides of the bag from the bottom of the curve where the handles start down to the bottom on each side. Turn right sides out.
Step 8: Stitch the bottom
Stitch the bottom using a 1/8″ seam allowance. Turn wrong sides out. Make sure the sides remain folded. Stitch again using a 1/4″ seam allowance to enclose the raw edges in a French seam. Turn right sides out and press. You have now finished your fold up shopping bag. Just fold it up and take it on your next shopping trip.
I hope you enjoy this shopping bag project. If you Ould like more sewing and crafting projects subscribe to our newsletter and receive your free eBook of 15 handbag patterns and tutorials taken from the blog
If you would like video tutorials of some of Sew Very Crafty's most popular posts subscribe to our free YouTube channel here.