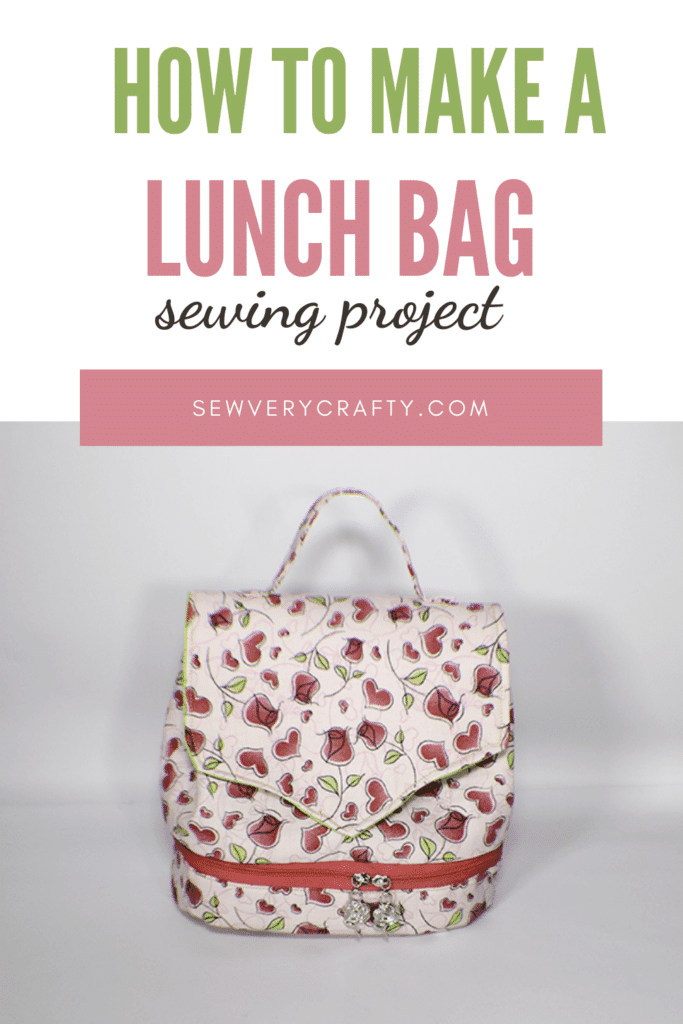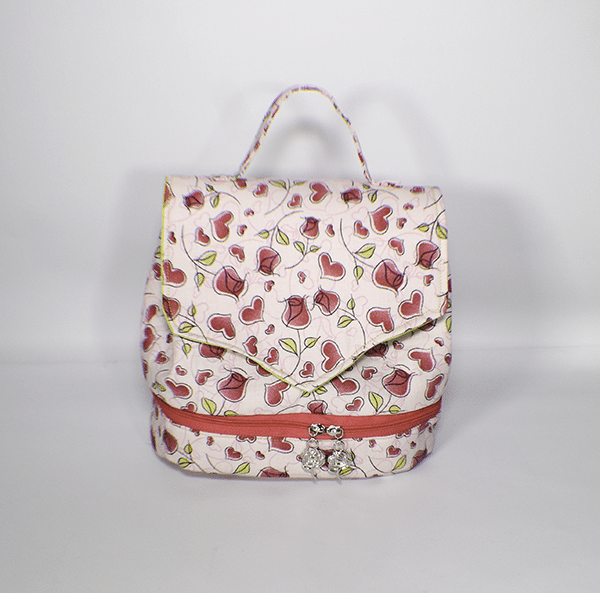
I am always looking for fun and functional projects to share here at Sew Very Crafty. This DIY Lunch Bag is both fun and functional. I really enjoyed making and sharing this project. I can use it every day to carry my lunch. it is even possible to make this lunch bag water resistant by using ripstop nylon for the interior or by using a fusible vinyl on the fabric of your choice. Either way this a good sized lunch bag to use everyday.
I got this project from Sewing Times on YouTube. It is more of an intermediate to advanced sewing project but I thought since I was making it that I would share it with you along with the video. If you would like a few easier lunch bag projects check out my pretty little lunch bag and my insulated lunch bag.
I used fabric that I purchases from JOANN Fabric & Craft Stores![]() for this project but you could head to
for this project but you could head to
What you will Need: How to Make a DIY Lunch Bag
- Pattern you can get by clicking on this link
- 1/2 yd outer fabric and lining fabric
- 1/2 yd Fusible fleece like Pellon 987F
- 1/8 yd Pellon SF 101
- 1 Magnetic Snap
- 1 Kam Snap
- 18 5/8″ continuous zipper
- 2 Zipper pulls
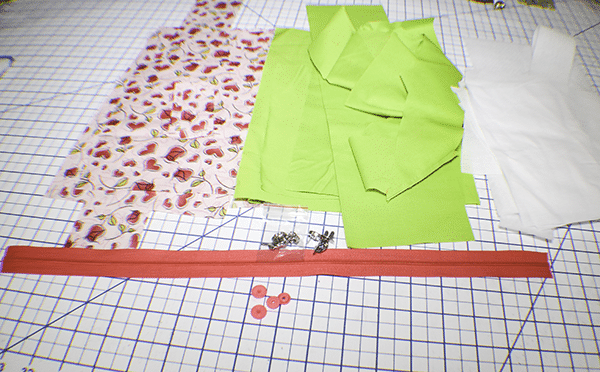
Step 1: Cut your Fabrics
Outer Fabric
- 2 12⅜″ × 7⅛″
- 1 8¼″ × 8¼″
- 1 18½″ × 2¾″
- 1 6¼″ × 3⅛″
- 1 8¾″ × 5¾″
- 2 6¾″ × 8″
- 1 8¾″ × 3¼″
- 4 3⅜″ × 1⅜″
Lining Fabric
- 2 12⅜″ × 7⅛″
- 1 8¼″ × 8¼″
- 1 18½″ × 2¾″
- 1 6¼″ × 3⅛″
- 3 8¾″ × 5¾″
- 51 1/8″ of 1 – 1 1/2″ bias binding
Fusible Fleece and SF 101
- 2 11 5/8″ x 6 3/8″ of fleece
- 1 7 1/2″ x 7 1/2″ of fleece
- 1 17 3/4″ x 2″ of fleece
- 1 5 1/2″ x 2 3/8″ of fleece
- 2 8″ x 5″ of fleece
- 1 7 1/2″ x 7 1/2″ piece of Pellon SF 101
- 2 8″ x 5″ pieces of Pellon SF 101
- 1 8″ x 1 5/8″ piece of Pellon SF101
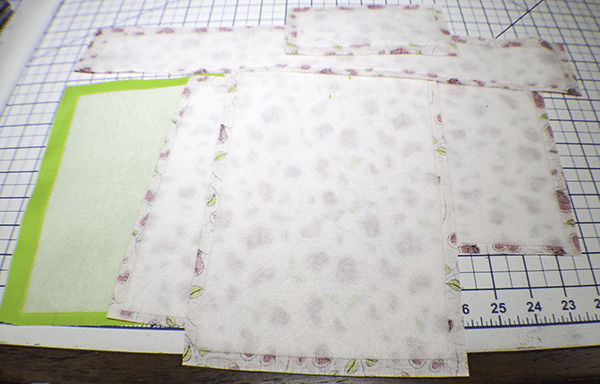
Step 1: Fuse the Fleece
Fuse the fleece pieces to the corresponding outer pieces. For example fuse the 11 5/8″ x 6 3/8″ pieces to the outer pieces that measure 12⅜″ × 7⅛″ and so on.
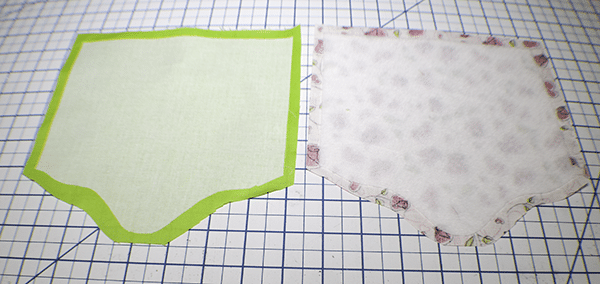
Step 2: Cut the Flap
Using the pattern piece cut the flap fleece and SF101 that measures 7 1/2″ x 7 1/2″. Fuse the fleece to the outer piece that measures 8 1/4″ x 8 1/4″ and the SF 101 to the corresponding lining piece.
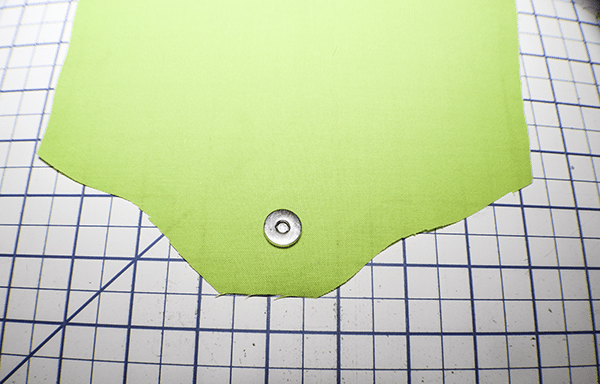
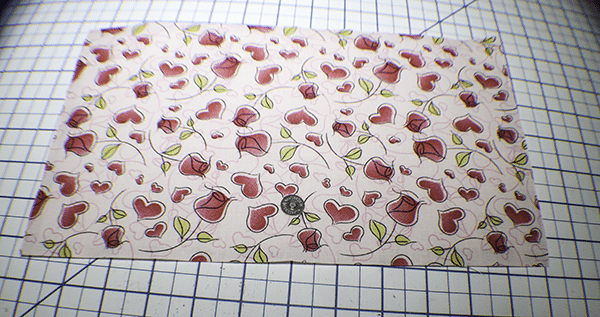
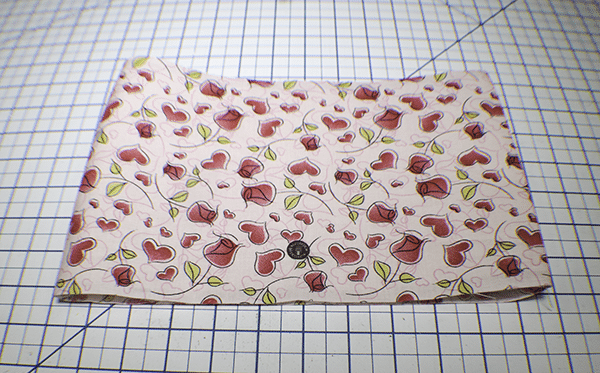
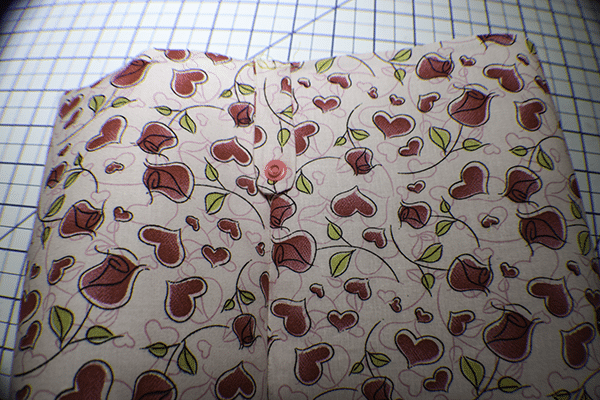
Step 3: Add the Magnetic Snap
Find the center of the lining flap piece on the bottom and measure up 1″. Insert half of the magnetic snap into the lining piece at that mark. Take the 12 3/8″ x 7 1/8″ outer piece and find the center. Measure up 1 5/8″ from the bottom and add the other side of the magnetic snap.
Step 4: Stitch the Body
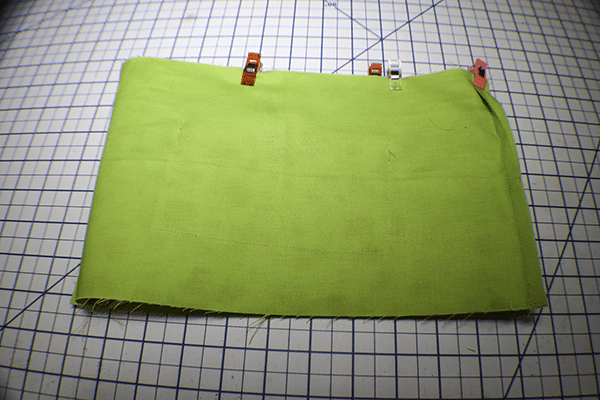
Place the two outer fabric pieces that measure 12 3/8″ x 7 1/8″ right sides together. Stitch along the short sides using a 3/8″ seam allowance turn right sides out.
Step 5: Create the Pockets
Take the 6 3/4″ x 8″ pieces and fold them in half so that the short ends meet right sides together. Stitch along the sides and partially along the bottom leaving an opening on each for turning. Clip the corners and turn the pieces right sides out and press. Sew two lines of topstitching along the side with the opening to enclose the raw edges.
Step 6: Add the Pockets
Take the lining pieces that measure 12 3.8″ x 7 1/8″ and find the center. Place the pocket pieces on each lining piece in the center. Stitch around the sides and bottom to secure.
Step 7: Create the Lining Body
Place the two lining pieces right sides together and stitch along the short ends using a 3/8″ seam allowance. Turn right sides out.
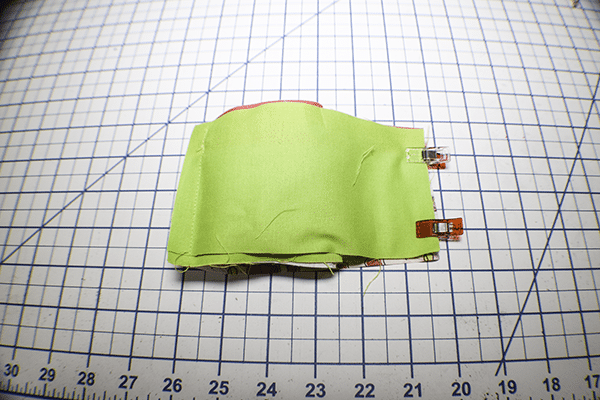
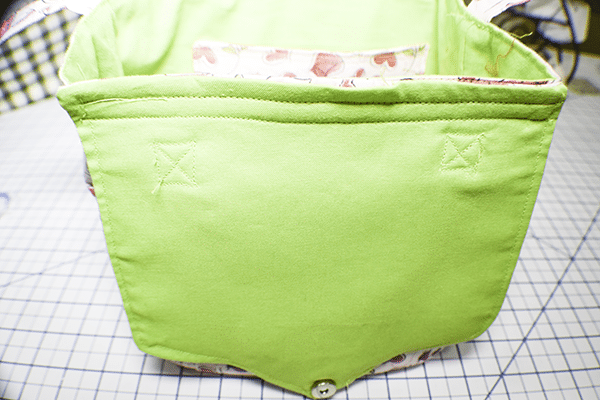
Step 8: Add the Kam Snaps
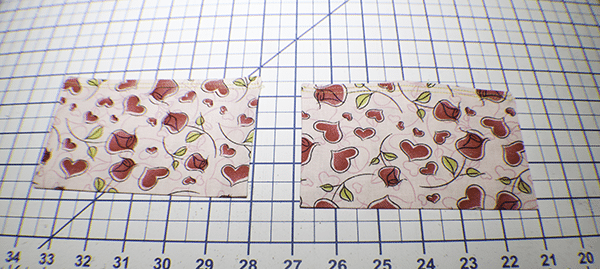
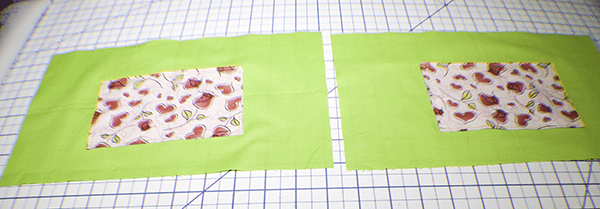
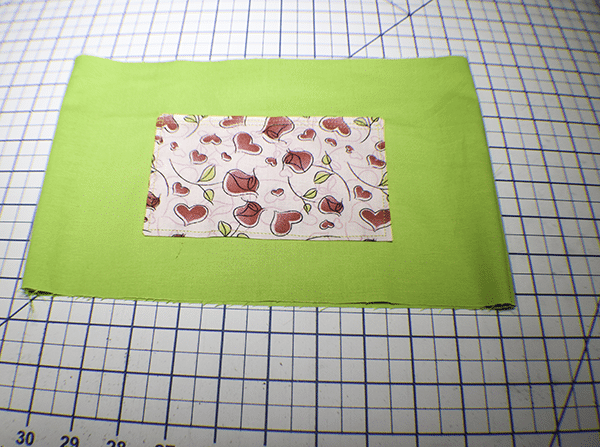
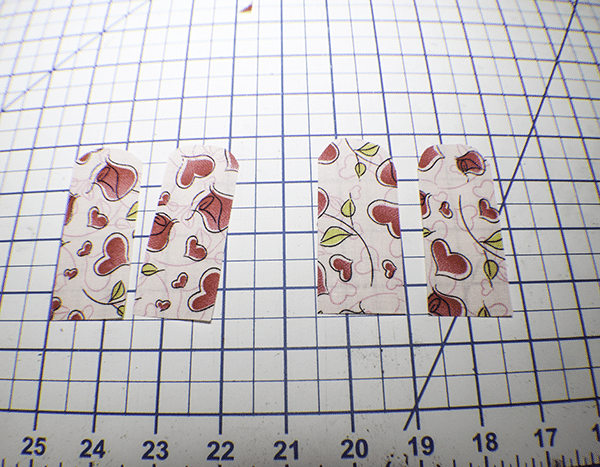
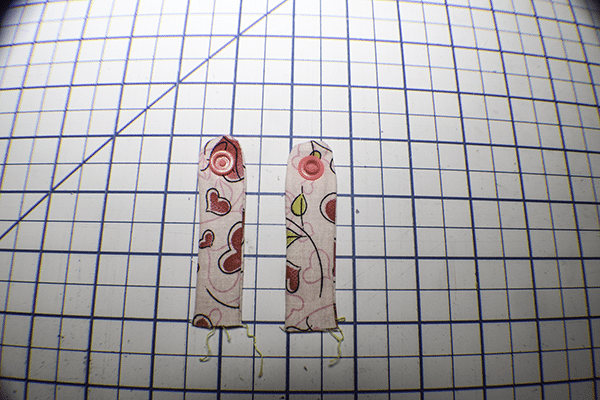
Place the outer pieces that measure 3 3/8″ x 1 3/8″ and place two of them right sides together. Round one short end. Stitch the pieces together using a 3/8″ seam allowance. Trim the seams. Turn right sides out and press. Repeat for the other two pieces. Add one half of the kam snap on one piece and the other half on the other piece.
Step 9: Add the Kam Snap Pieces
Place each cam snap piece parallel with the side seam of the main bag and with the one closure facing up and the other facing down. Stitch using a 1/8″ seam allowance to secure.
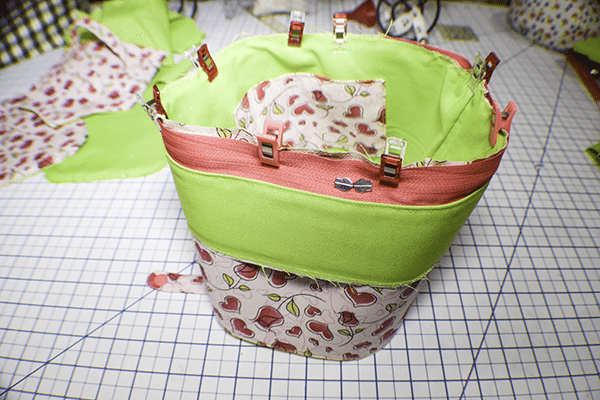
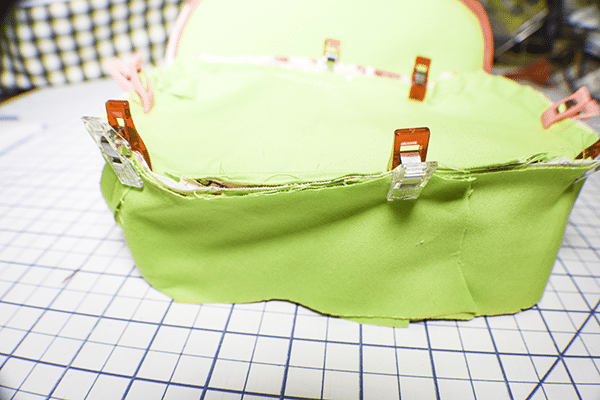
Step 10: Add the Outer bag to the Lining Bag
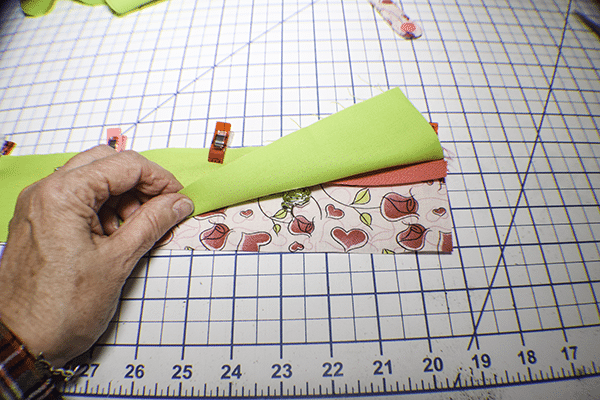
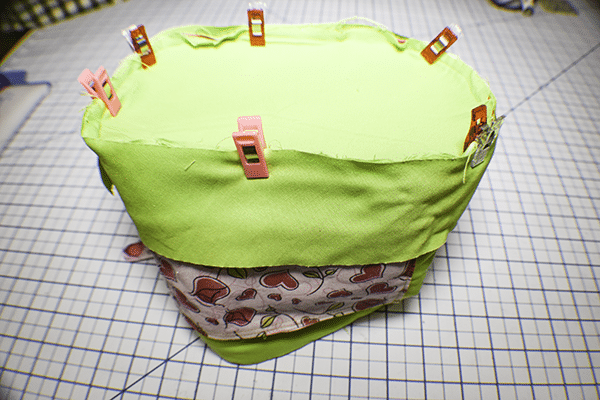
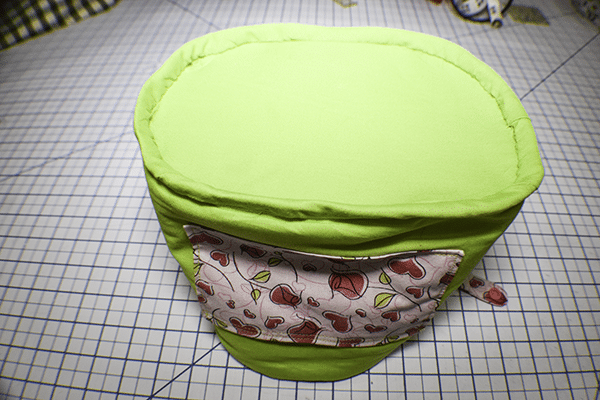
Turn the lining wrong sides out. Place the outer bag inside the lining bag so that they are right sides together. Stitch around the top using a 3/8″ seam allowance. Turn right sides out. Place the lining inside the outer bag and press. Topstitch around the top and bottom of the bag.
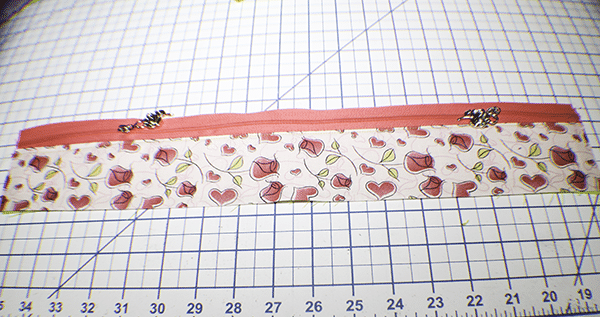
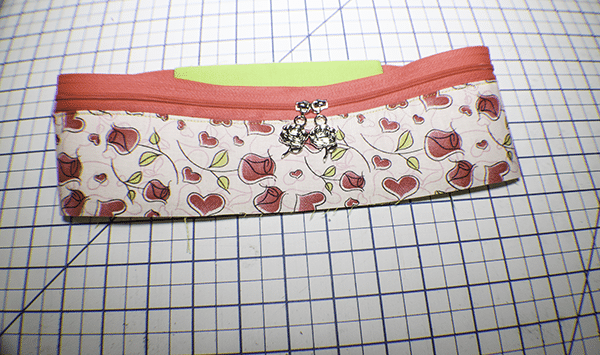
Step 11: Add the Zipper
Place a zipper pull at each end of your continuous zipper so that the zipper opens in both directions. Place the long outer piece right sides up on your work space. Lay the zipper right sides down on the long outer piece. Lay the lining piece right sides down on the zipper creating a zipper sandwich. Pin or clip. Stitch the zipper to both the outer and lining pieces using a zipper foot. Turn right sides out and top stitch along the zipper.
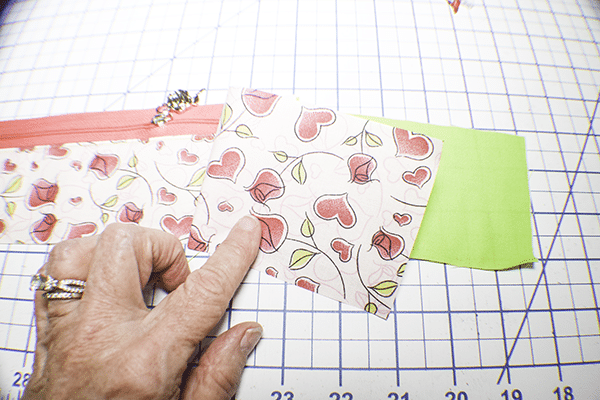
Add the 6 1/4″ x 3 1/8″ outer and lining piece to the zipper placket right sides together and stitch using a 3/8″ seam allowance. Place the other end of the smaller piece to the other end of the zipper so that the fabrics are right sides together. This will require you to sandwich the zipper placket between the pieces. Stitch using a 3/8″ seam allowance. Stitch all the way around the bottom.
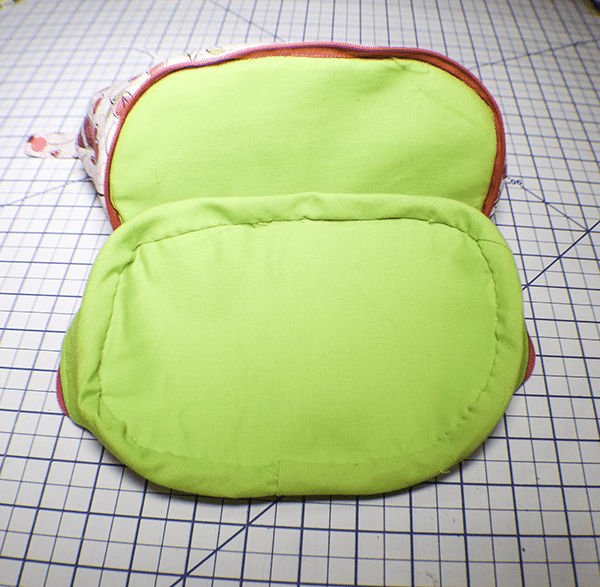
Step 13: Create the Bottom
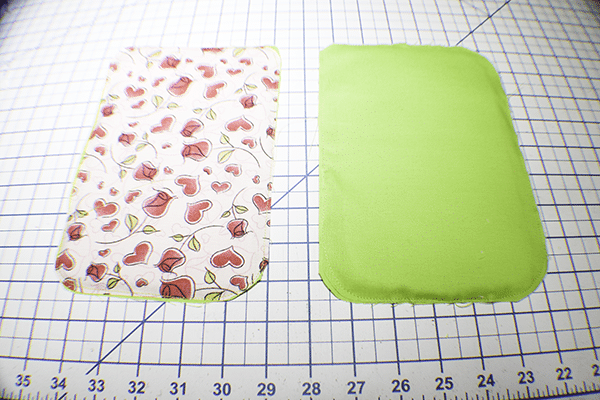
Take the 8″ x 5″ pieces of SF 101 and round the corners. Cut the fleece pieces to match. Fuse the fleece pieces to the outer 8 3/4″ x 5 3/4″ and one lining piece and the SF 101 pieces to the rest off the lining pieces. Round the corners of the fabric pieces keeping the 3/8″ seam allowance. Place one outer piece and one lining piece wrong sides together and stitch all the way around using a 1/8″ seam allowance. Repeat for the two remaining lining pieces.

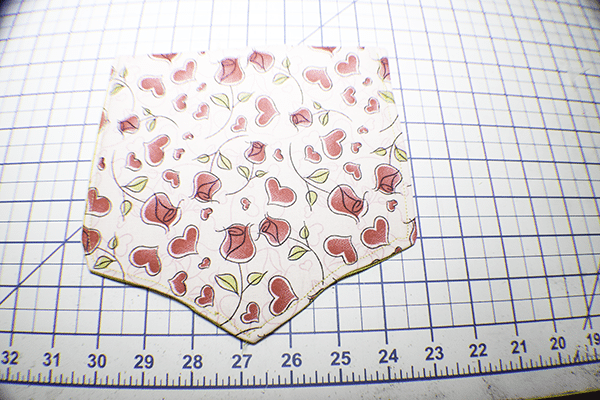
Step 14: Create the Flap
Place the two flap pieces right sides together. Stitch all the way around leaving an opening at the top for turning. Clip the corners and the curves. Turn right sides out and press. Topstitch around the sides and bottom.
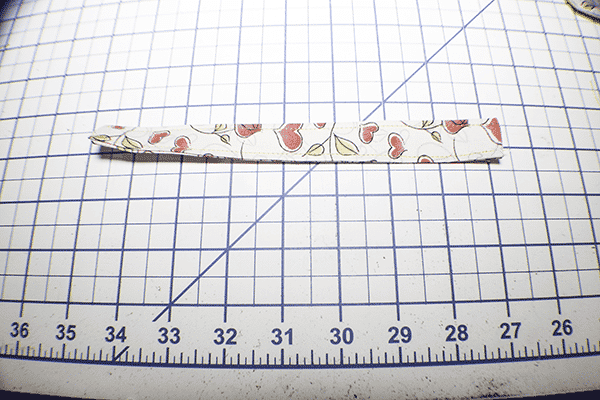
Step 15: Create the Handle
Take the 8 3/4″ x 3 1/4″ outer piece and the corresponding SF 101 Piece and fuse the interfacing to the fabric. Fold the short ends in about 3/8″ and the long ends to the center. Fold in half lengthwise and topstitch all the way around.
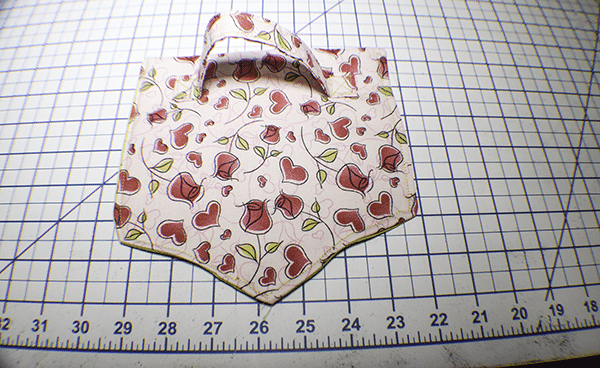
Step 16: Add the Handle
Place the handle at the top of the flap piece. Measure down 3/4″ from the top and 1″ in from each side and pin. Stitch a box at each end to secure the handle.
Step 17: Add the Zipper to the Main Body Piece
Fold the zipper placket in half to find the centers on each end and mark top and bottom. Fold in half the other way and mark the new centers. Do the same thing on the outer bag. Place the Zipper right sides together with the outer bag matching the marks that you just created. Pin or clip. Stitch all the way around.
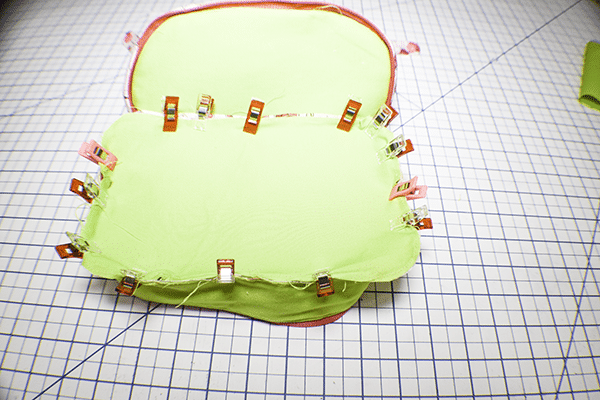
Step 18: Add the Bottom to the lunch Bag
Fold the bottom to find the four centers as you did before. Turn the bag wrong sides out and place the bottom piece with the two lining pieces right sides together with the main body piece matching the marks you created. Pin or clip. Clip the curves if necessary to fit the the bottom to the main body piece. Stitch all the way around the bottom. This is a little fidgety so take your time.
Step 20: Add the Bias Binding
Inn order to enclose the raw edges of the seam you just stitched add bias binding all the way around that bottom. Fold in the short end and place the binding right sides together on the bottom. Pin all the way around. Cut off the excess and stitch the binding to the bottom. Fold the binding over the raw edge then fold it again to conceal the binding raw edge and pin or clip. Either stitch using your machine or hand stitch. I find it easier to hand stitch.
Step 21: Add the Second Bottom to the Lunch Bag
Add the second bottom exactly the same way you added the first bottom. Unzip the zipper. Stitch the bottom right sides together with the bottom bag. Add bias binding to enclose the raw edges in the same way you did before.
Step 22: Add the Flap to the DIY Lunch Bag
Measure 5/8″ from the top of the bag and make a mark on each side. Place the flap in the middle of the back of the bag at the 5/8″ mark and sew two lines of stitching too secure.

I hope you enjoyed this lunch bag project. If you would like more sewing and crafting projects subscribe to our newsletter and receive your free eBook of 15 handbag patterns and tutorials taken from the blog.
If you would like video tutorials of some of sew Very charity's most popular projects subscribe to our free YouTube channel here.