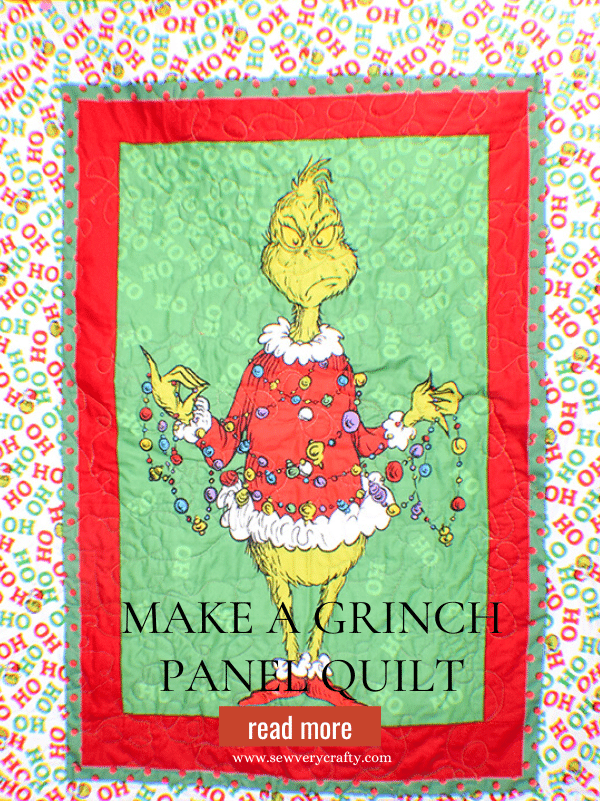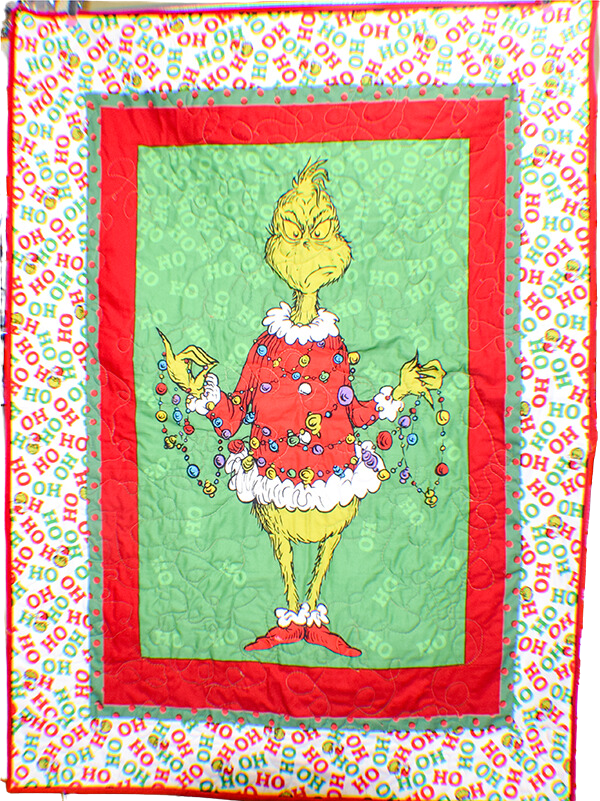
It is coming up to Christmas time. This year I have been inspired by the Grinch. I recently made a Dollar Tree Grinch Wreath and teased that this quilt was coming. I created the quilt and this tutorial on how to make a Christmas Grinch panel quilt. Panel quilts are the perfect beginner quilting project because they don't take to long to make and have stunning results when they are done. With this in mind, I headed to Amazon for some of the items in this project and Joann's for the rest. If you like holiday sewing and crafting projects head over to my Holiday Project Vault. For more quilting projects head over to my quilting page.
What you will Need: How to Make a Christmas Grinch Panel Quilt
- Grinch quilt panel
- Grinch colored fabric for the sides, back and binding
- Backing Fabric
- Quilt batting
- Quilt Pouncer
- Variegated thread
- Sewing machine
- Walking foot
- Free motion quilting foot
- Standard sewing supplies
Step 1: Decide on the Sashing Fabrics
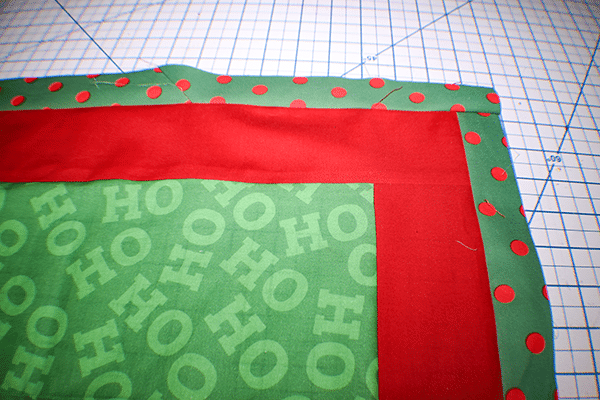
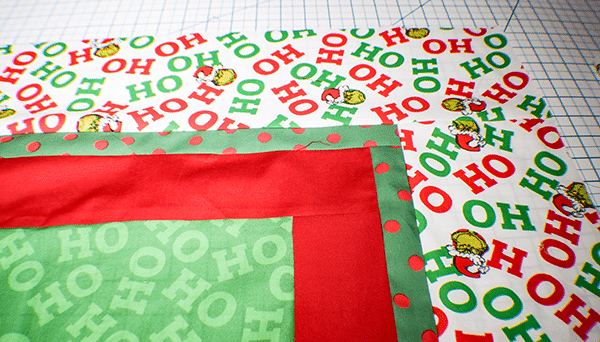
I chose red Kona cotton for the first and green and red dots for the second. Finally I chose a fun Ho Ho Ho Grinch fabric for the outer border.
Step 2: Cut out the Fabrics
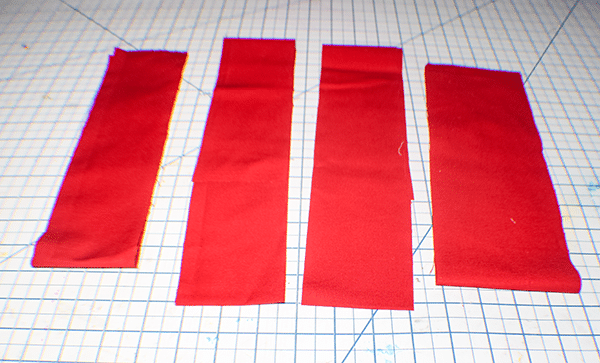
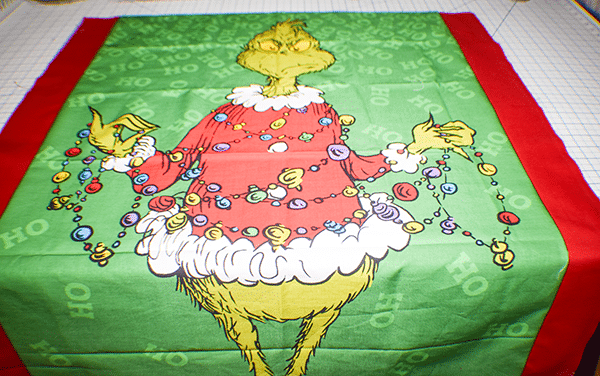
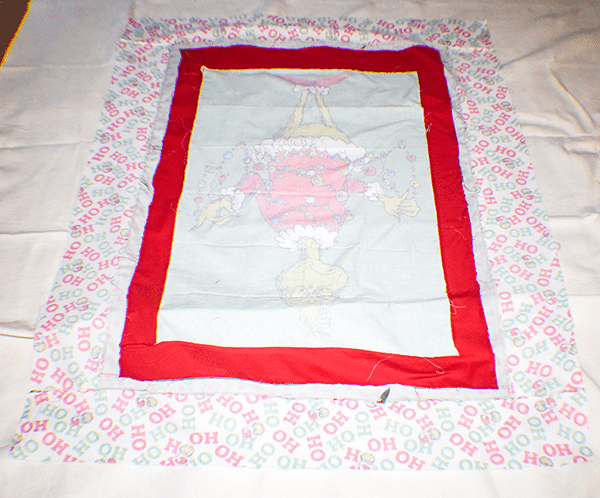
First, cut out the panel so that all you have is the image without any borders. Keep the bottom Grinch border and the top light string border. Cut the red sashing. I cut the lengthwise strips that measure 3″ x 36″. The widthwise strips measure 3″ x 28″ and 4″ x 28″. Next I added the polka dot fabric. The lengthwise strips measure 1 1/2″ x the length of the sides”. I used a wide border for the Ho Ho Ho fabric. The Ho Ho Ho fabric measures 6 1/2″ x the length of the sides. Cut binding strips that measure 2 1/2″ x the total of all sides with a bit left over.” Finally cut the batting and backing fabric larger than the overall size of the quilt panel with the sashing.
Step 3: Stitch the Red Strips
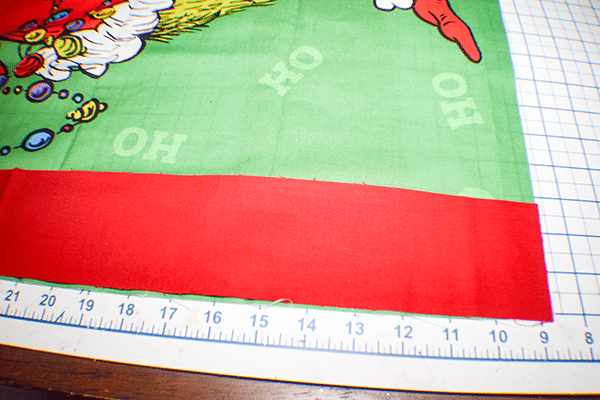
Place the red strips on the sides of the panel with right sides together. Stitch the side sashing to the panel using a 1/4″ seam allowance. Then stitch the 3″ top strip and the 4″ bottom strip right sides together to the panel and the side strips again using a 1/4″ seam allowance. Press after each step.
Step 4: Stitch the Polka Dot Strips
Stitch the polka dot strips starting with the widthwise strips in the same way you did the red strips. Then add the lengthwise strips. I had to piece my polka dots because of the size of the fabric I used.
Step 5: Add the Ho Ho Ho Border
Place the lengthwise strips right sides together and stitch using a 1/4″ seam allowance. If you would like to make this quilt larger just add more sashing. The sashing can be pieced or not. It is completely up to you.
Step 6: Add the Batting
Using quilt spray place the batting to the wrong side of the quilt top. Make sure that the batting is nice and flat.
Step 7: Add the Backing Fabric
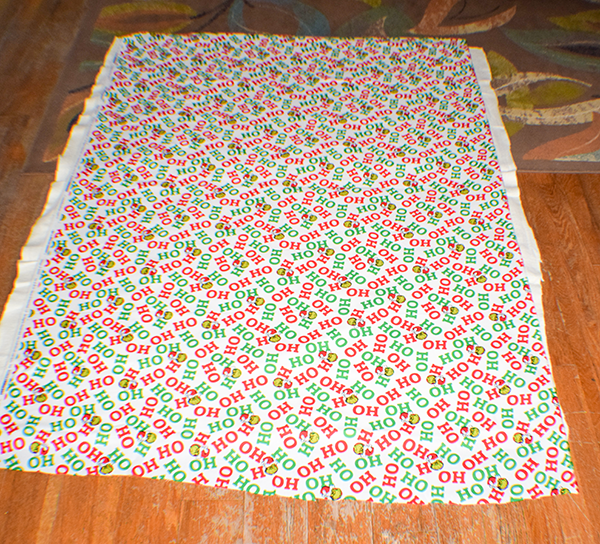
I used the Ho Ho Ho fabric for the back of my quilt. Once again using quilt spray add the backing fabric so that it is facing out and you have created a batting sandwich. Again make sure that the fabric is nice and flat. You can use pins as well to secure the layers together.
Step 8: Quilt
You can quilt the layers together any way that you like. I used a quilt pouncer and stencil for my quilting. The all over random design was perfect for this quilt. I also used variegated thread in light of the varying colors of this quilt.
Step 9: Square the Quilt
Using your rotary cutter trim all around the quilt making sure that your quilt is squared. If you are unfamiliar with squaring a quilt check out the video.
Step 10: Bind the Quilt
I used the red fabric to bind my quilt. This is a simple process but if you have never done it check out this video. You have now finished your Christmas Grinch Panel Quilt. Enjoy.

I hope you enjoyed this super simple Christmas quilt. If you would like more sewing and crafting projects subscribe to our free newsletter and receive access to our free printables library.
If you would like video tutorials of some of Sew Very Crafty's most popular posts subscribe to our free YouTube channel here.
