
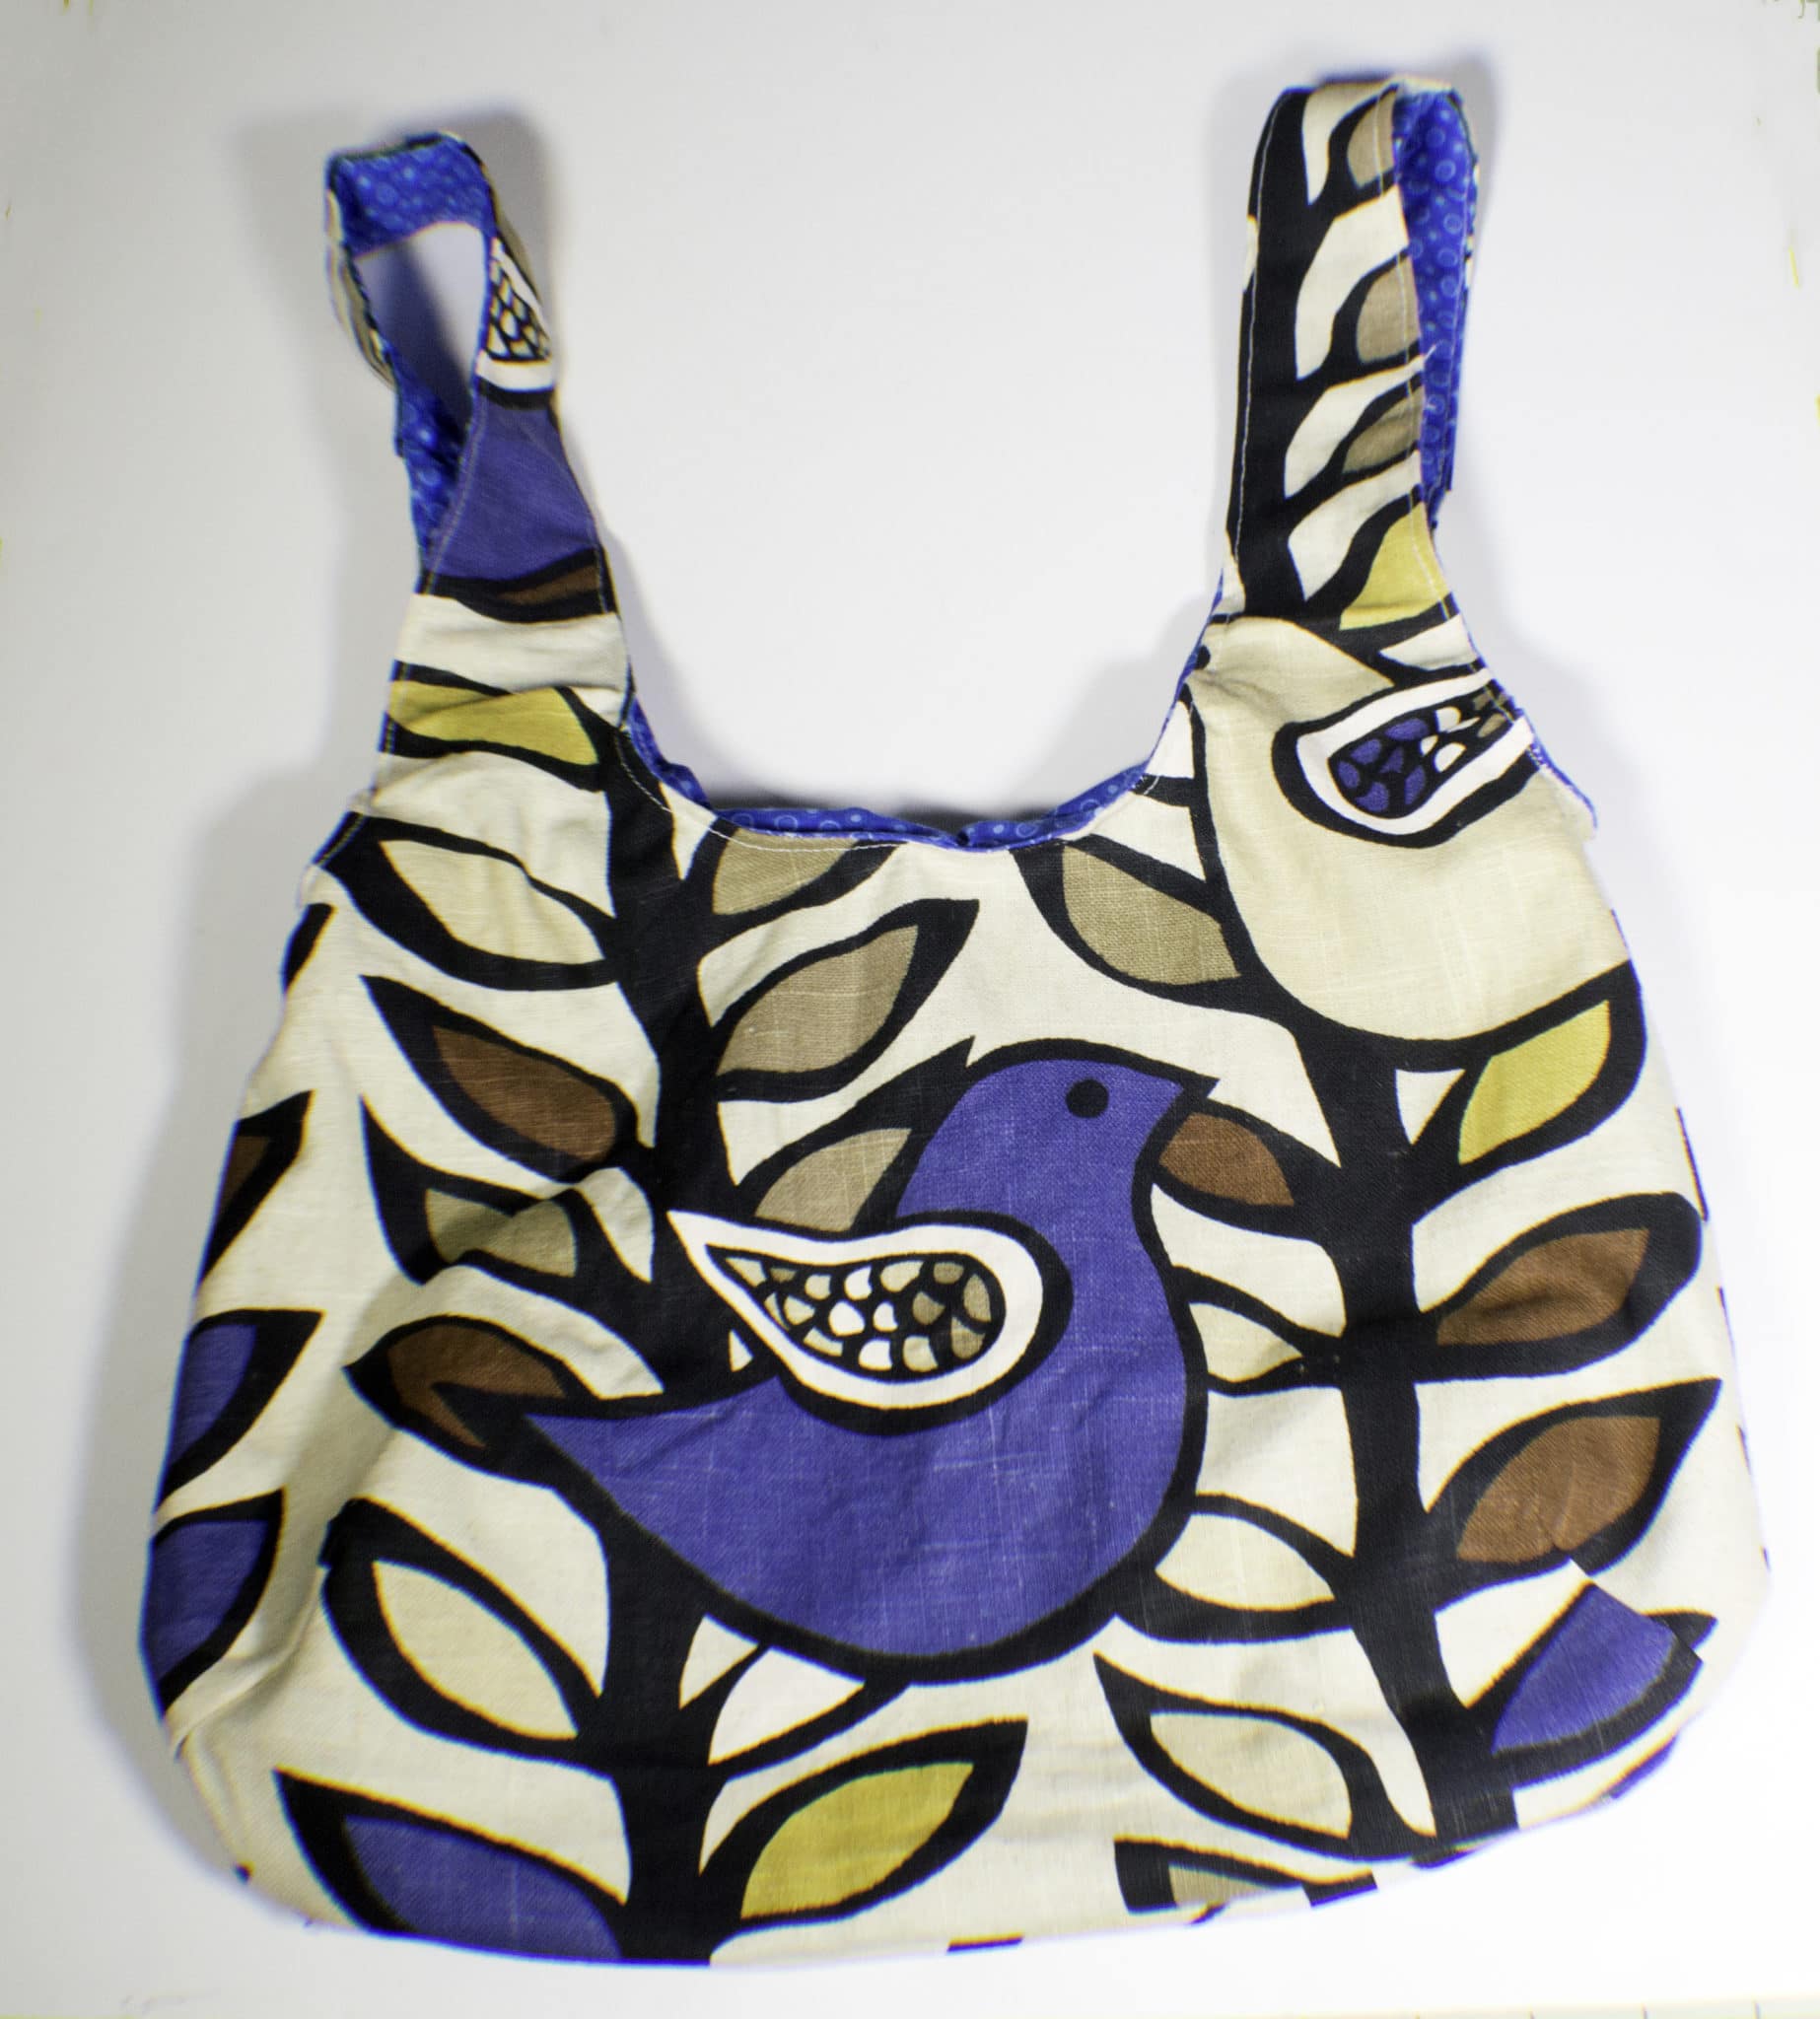
How to Make a Reversible Hobo Bag
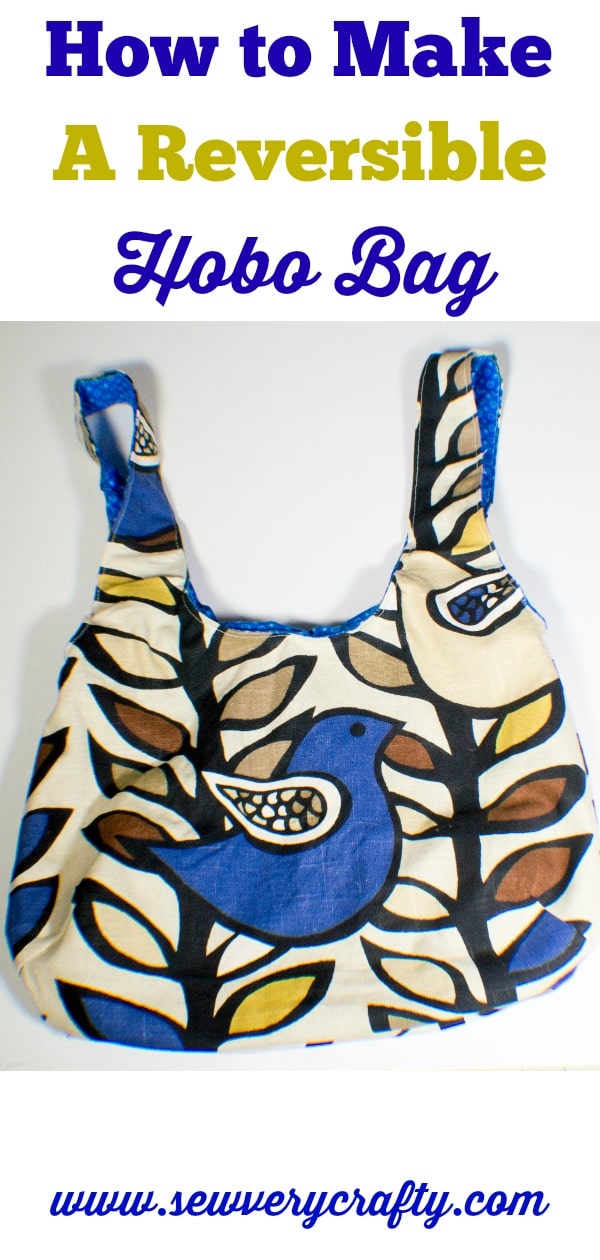
As many of you know I love to make handbags. So I made this easy to sew reversible hobo bag from Very Purple Person that anyone can make. This bag is very easy to make and requires only one pattern piece. It can be sewn by anyone with beginner sewing skills. The completed bag is perfect for everyday use. I used decorator weight fabric for one side of this project but you could use quilting cotton or novelty fabric so long as you fuse interfacing like SF 101 to bolster the structure of the bag. The lining is quilting cotton.
If you need fabrics for this project I highly recommend that you head over to Fabric.com or Hobby Lobby to get exactly what you need for the look you are going for. I obtained this free reversible hobo bag pattern from Very Purple Person but it is a pretty standard hobo bag pattern.
If you are unfamiliar with interfacing it is a product that provides structure to your garments and bags and can range in strength from featherweight to heavyweight. SF 101 is a lightweight woven interfacing that will provide just enough structure to your bag. If you want a very lightweight version of this bag you don't have to use any interfacing. With the decorator weight fabric that I used there was no need. It is totally up to you.
Decorator weight fabric is heavier and thicker than quilting cotton so there is structure that is built in so to speak. I recently made a Japanese knot bag from quilting weight fabrics and I loved how it turned out but it was quite light weight. For this project I wanted something that was a little heavier in feel so I chose the decorator weight fabric instead.
What you will Need:
- Pattern
- 1 yd of outer fabric
- 1 yd of lining fabric
- SF 101 interfacing (optional)
- Standard sewing supplies
Step 1: How to Make a Reversible Hobo Bag
Print out the pattern and tape it together.
Step 2: How to Make a Reversible Hobo Bag
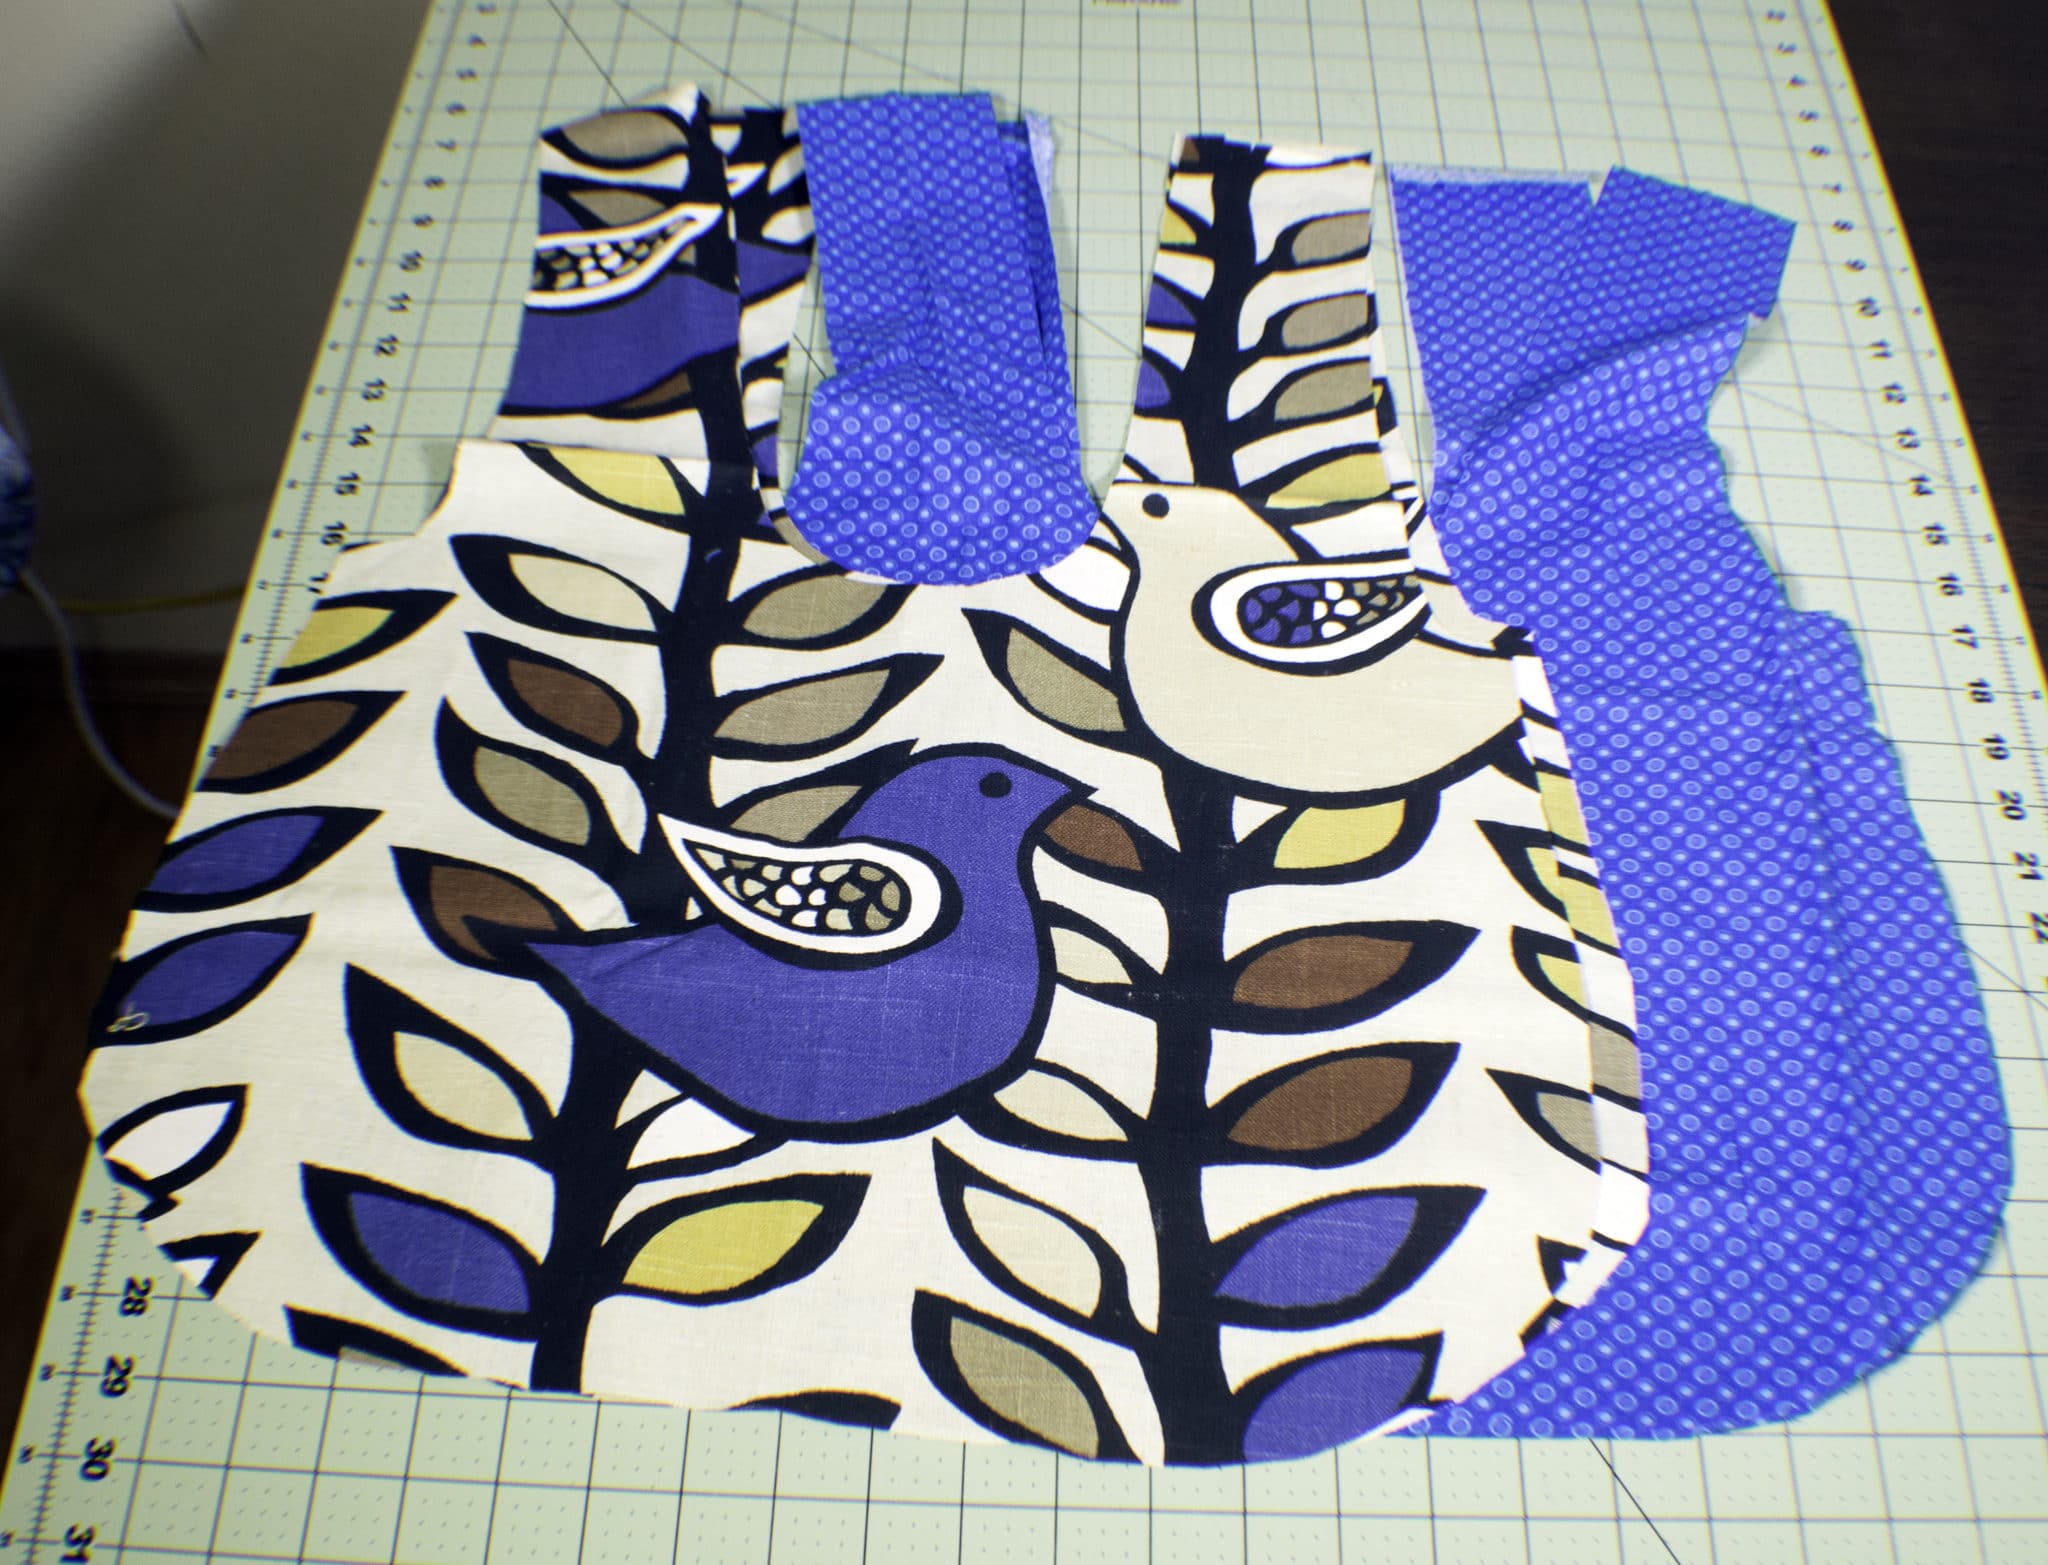
Cut out 2 pattern pieces of the exterior fabric on the fold. Cut two pieces of the interior fabric also on the fold. You should now have 4 bag pieces. You will have to change the location of the folds if you want this bag to fit on a single yard of fabric. I folded my fabric lengthwise with selveges to the center so that I could fit the entire hobo bag pattern onto my yard of fabric. Selveges are the sides of the fabric that are pre-finished so that the fabric does not unravel.
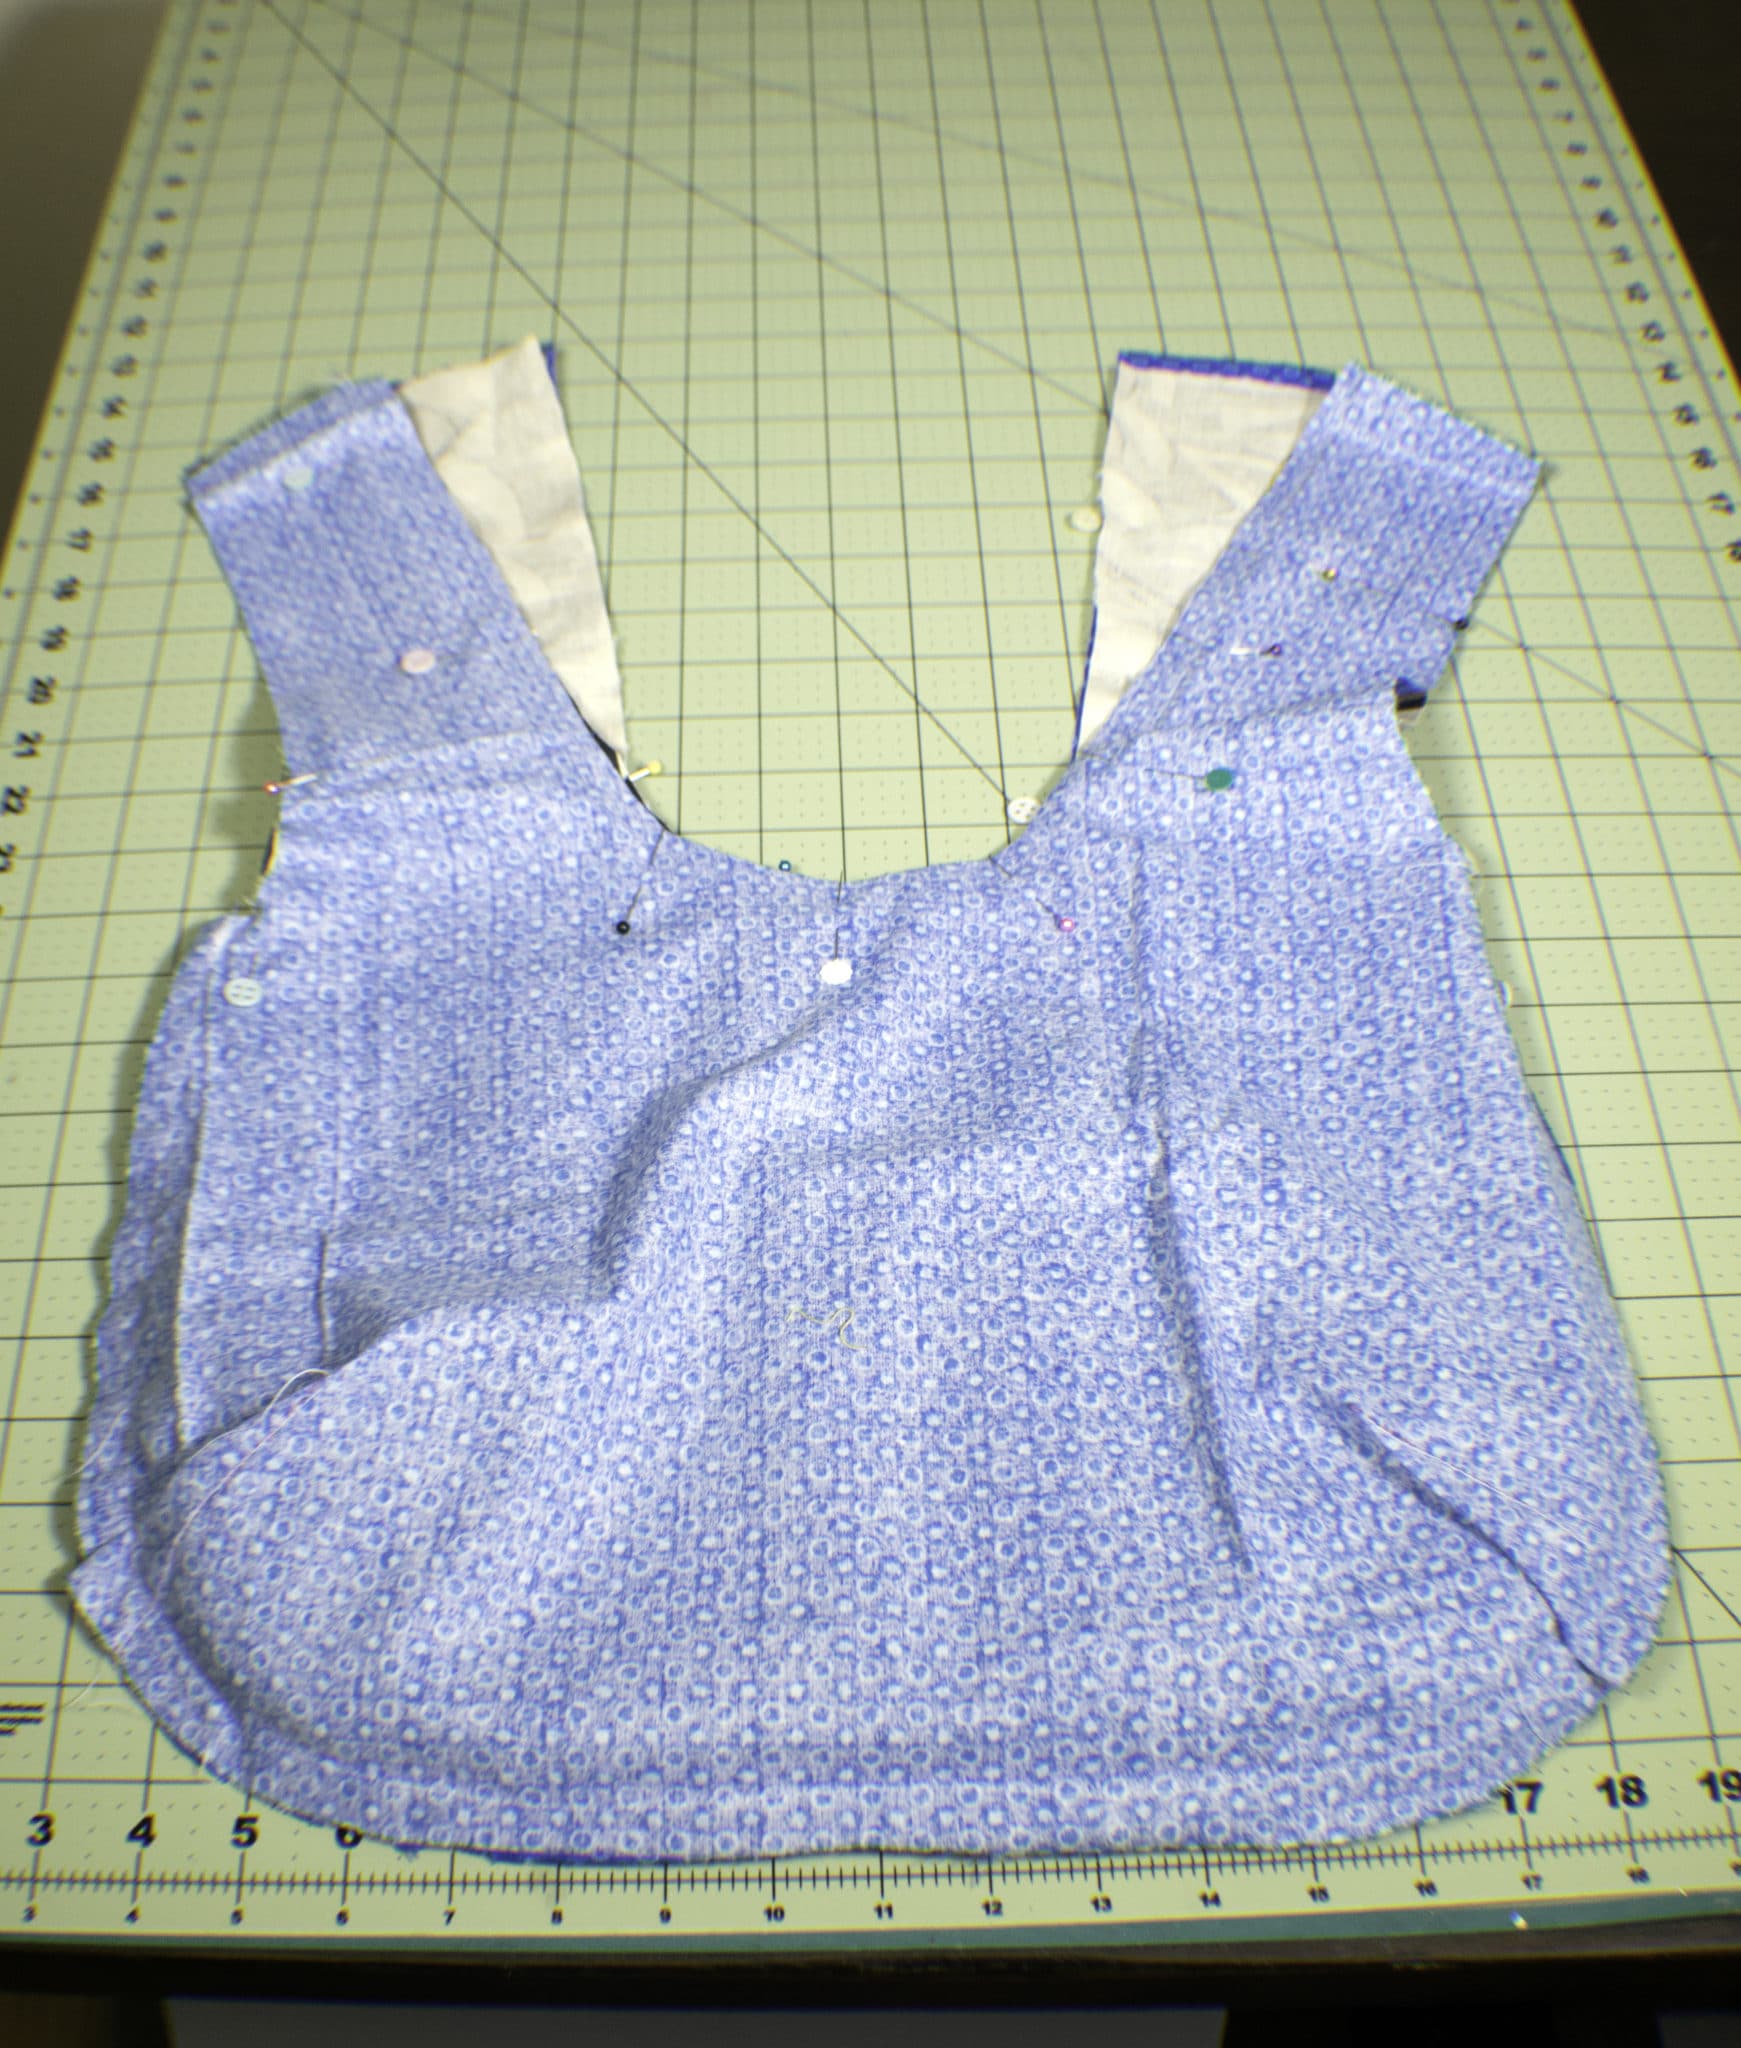
Step 3: How to Make a Reversible Hobo Bag
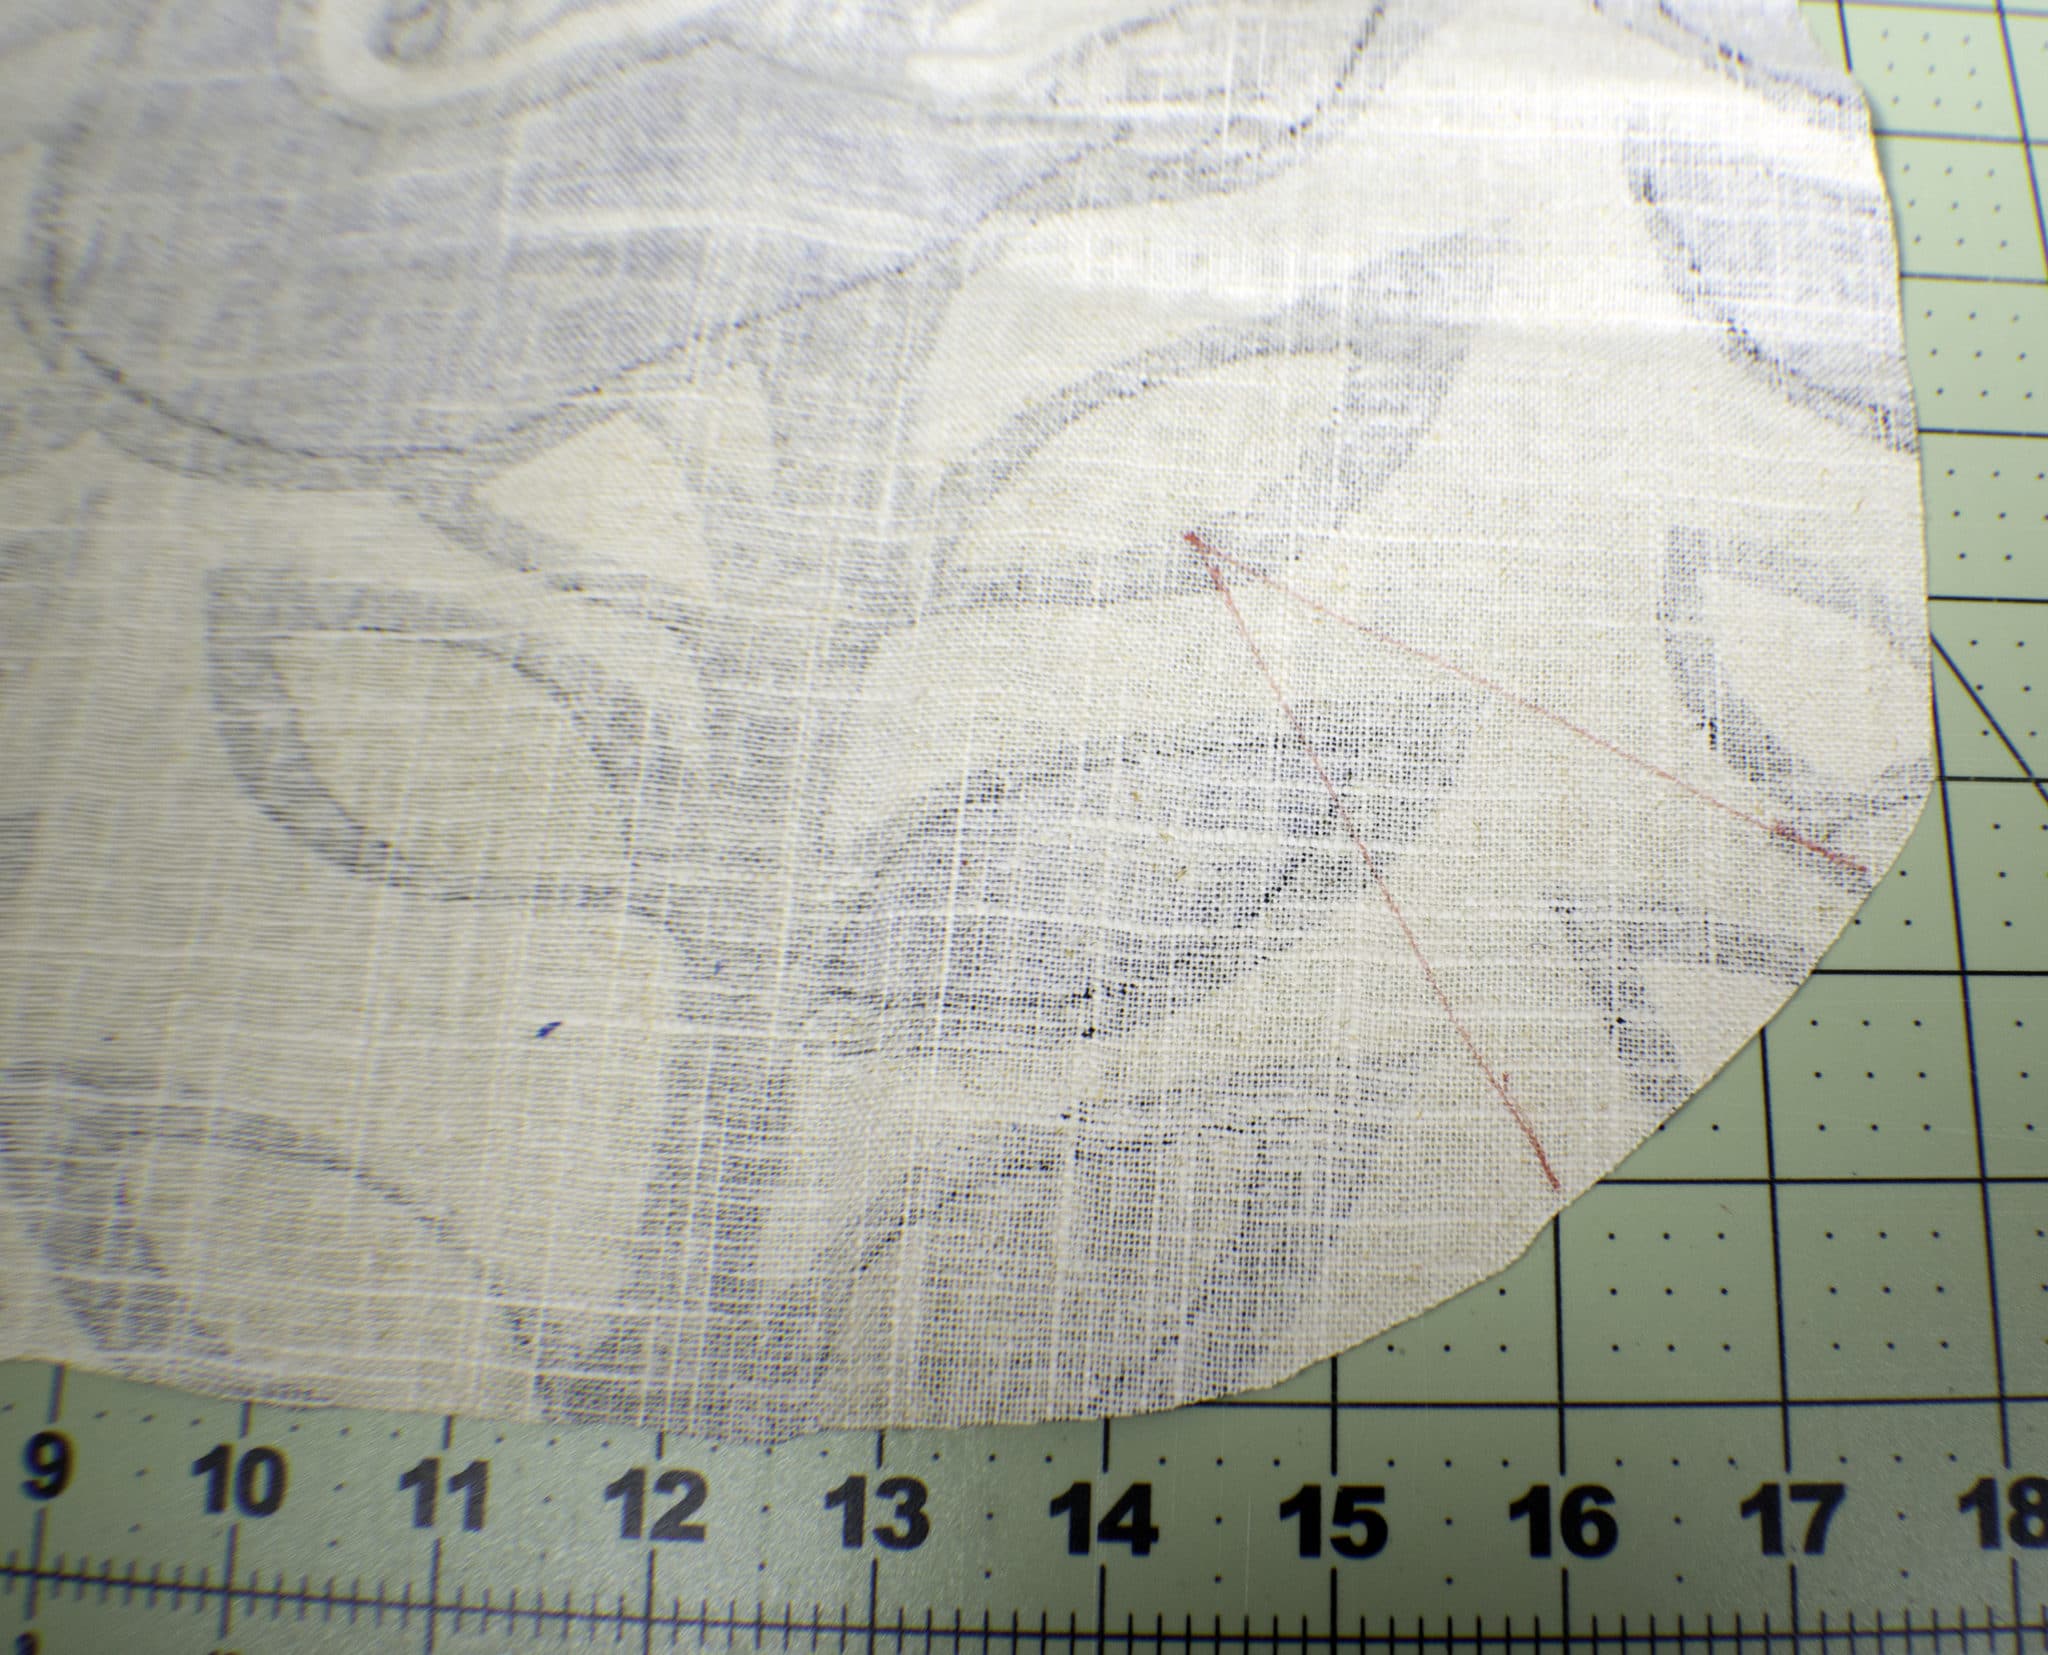
Notice that there are darts in this bag to give it fullness at the bottom. The darts are represented by the “V” shaped lines at the bottom of the bag. In order to sew the darts transfer the dart markings onto the fabric with either chalk or an erasable pen like Frixion. Match the wide legs of the dart at the top of the “V” right sides together and pin until you reach the point of the “V”. Sew along the pinned line from the wide part to the point removing the pins as you go. You should now have a “V” shaped seam in the bottom of your bag.
Step 4: How to Make a Reversible Hobo Bag
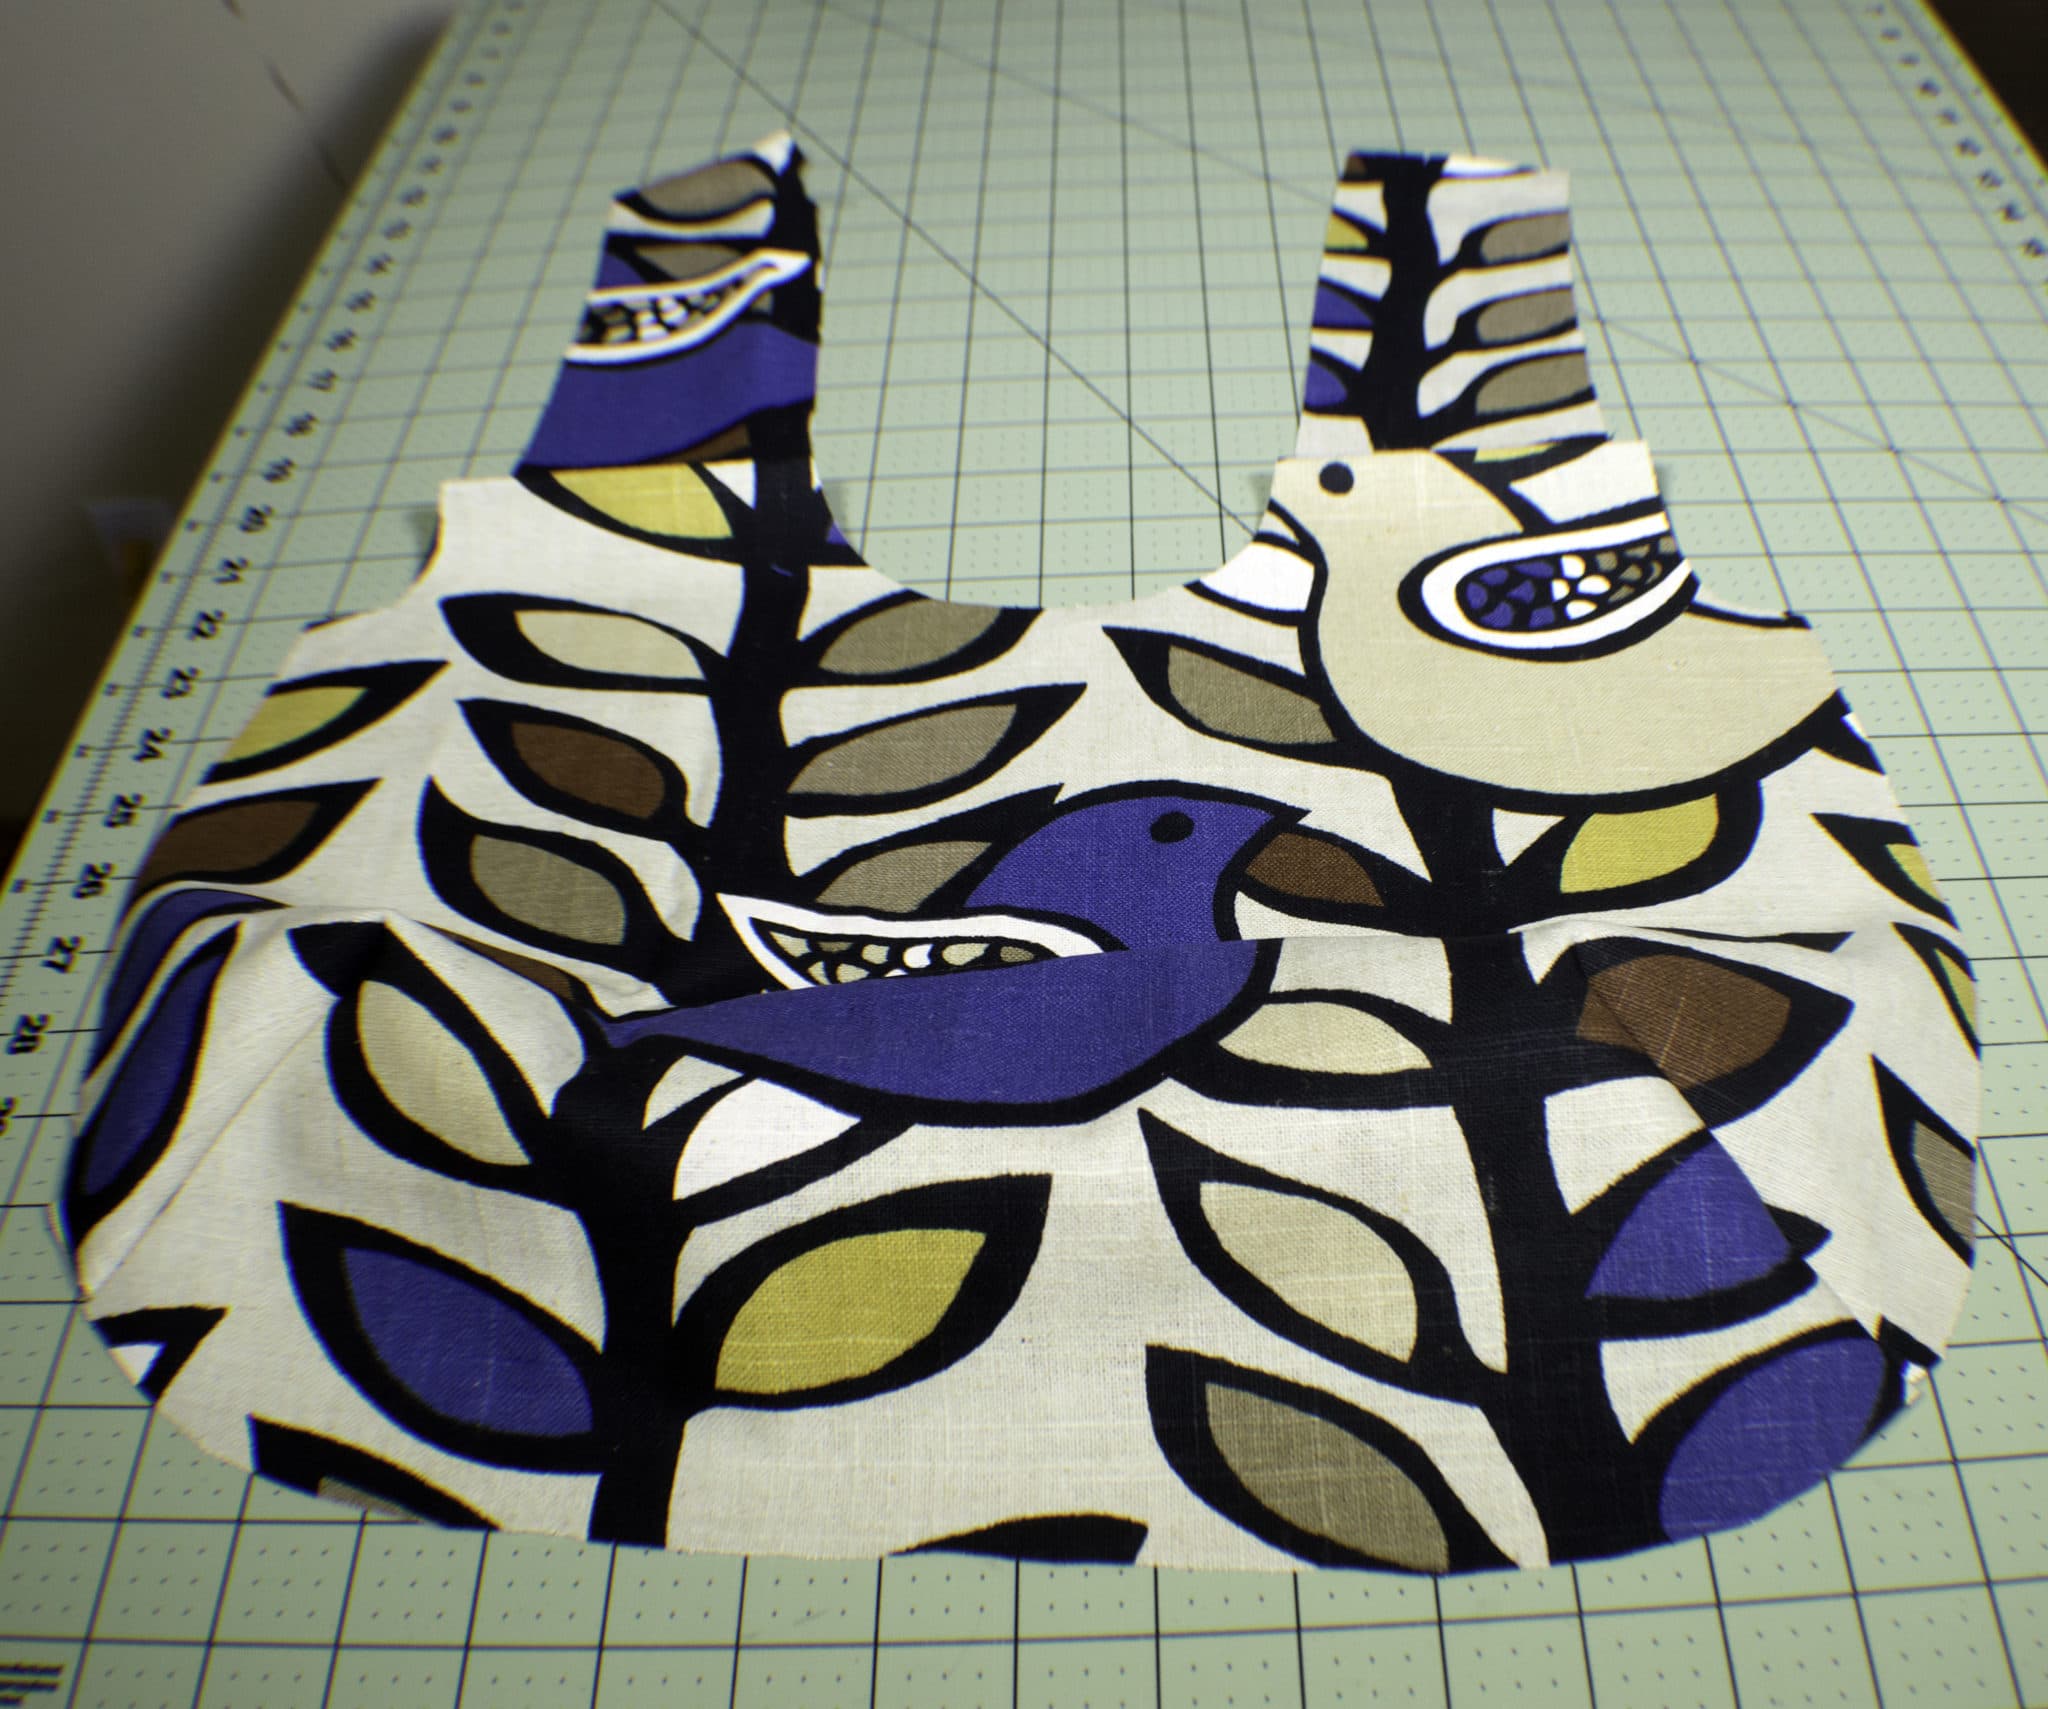
Once the darts have been sewn it is time to start constructing the bag. Sew the outer fabric right sides together at the bottom and sides. Repeat for the lining fabric. You should now have two bag pieces.
Step 5: How to Make a Reversible Hobo Bag
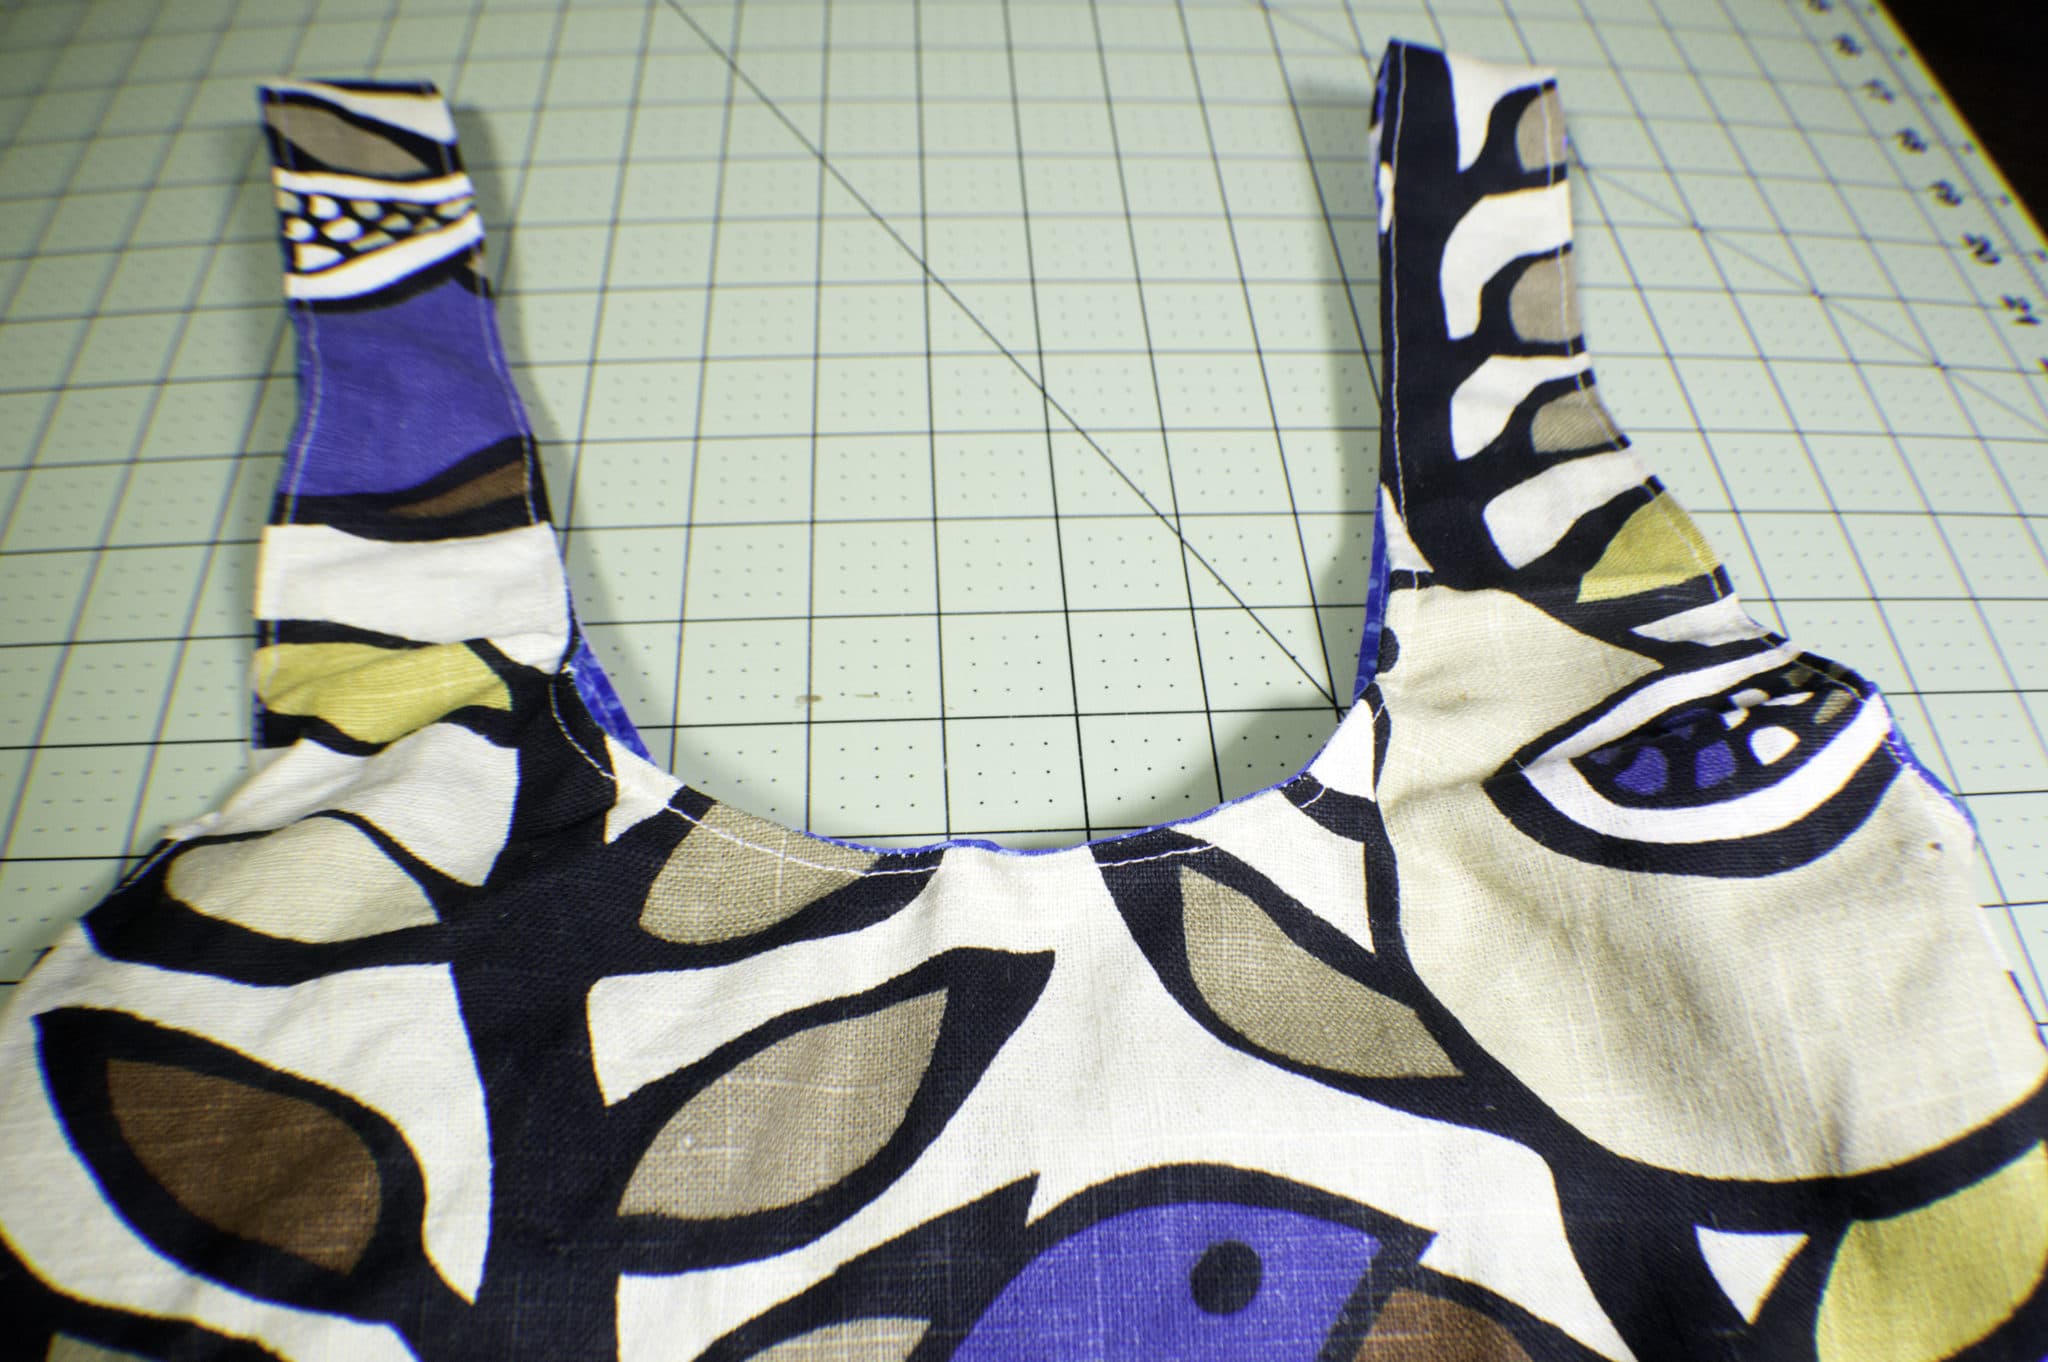
Turn the outer bag piece right sides out. Insert the outer bag into the lining bag so that the pieces are right sides together. Sew the outer straps to the lining straps stopping 4″ from the end.
Step 6: How to Make a Reversible Hobo Bag
Clip around the curves so that the curves will lay flat when turned.
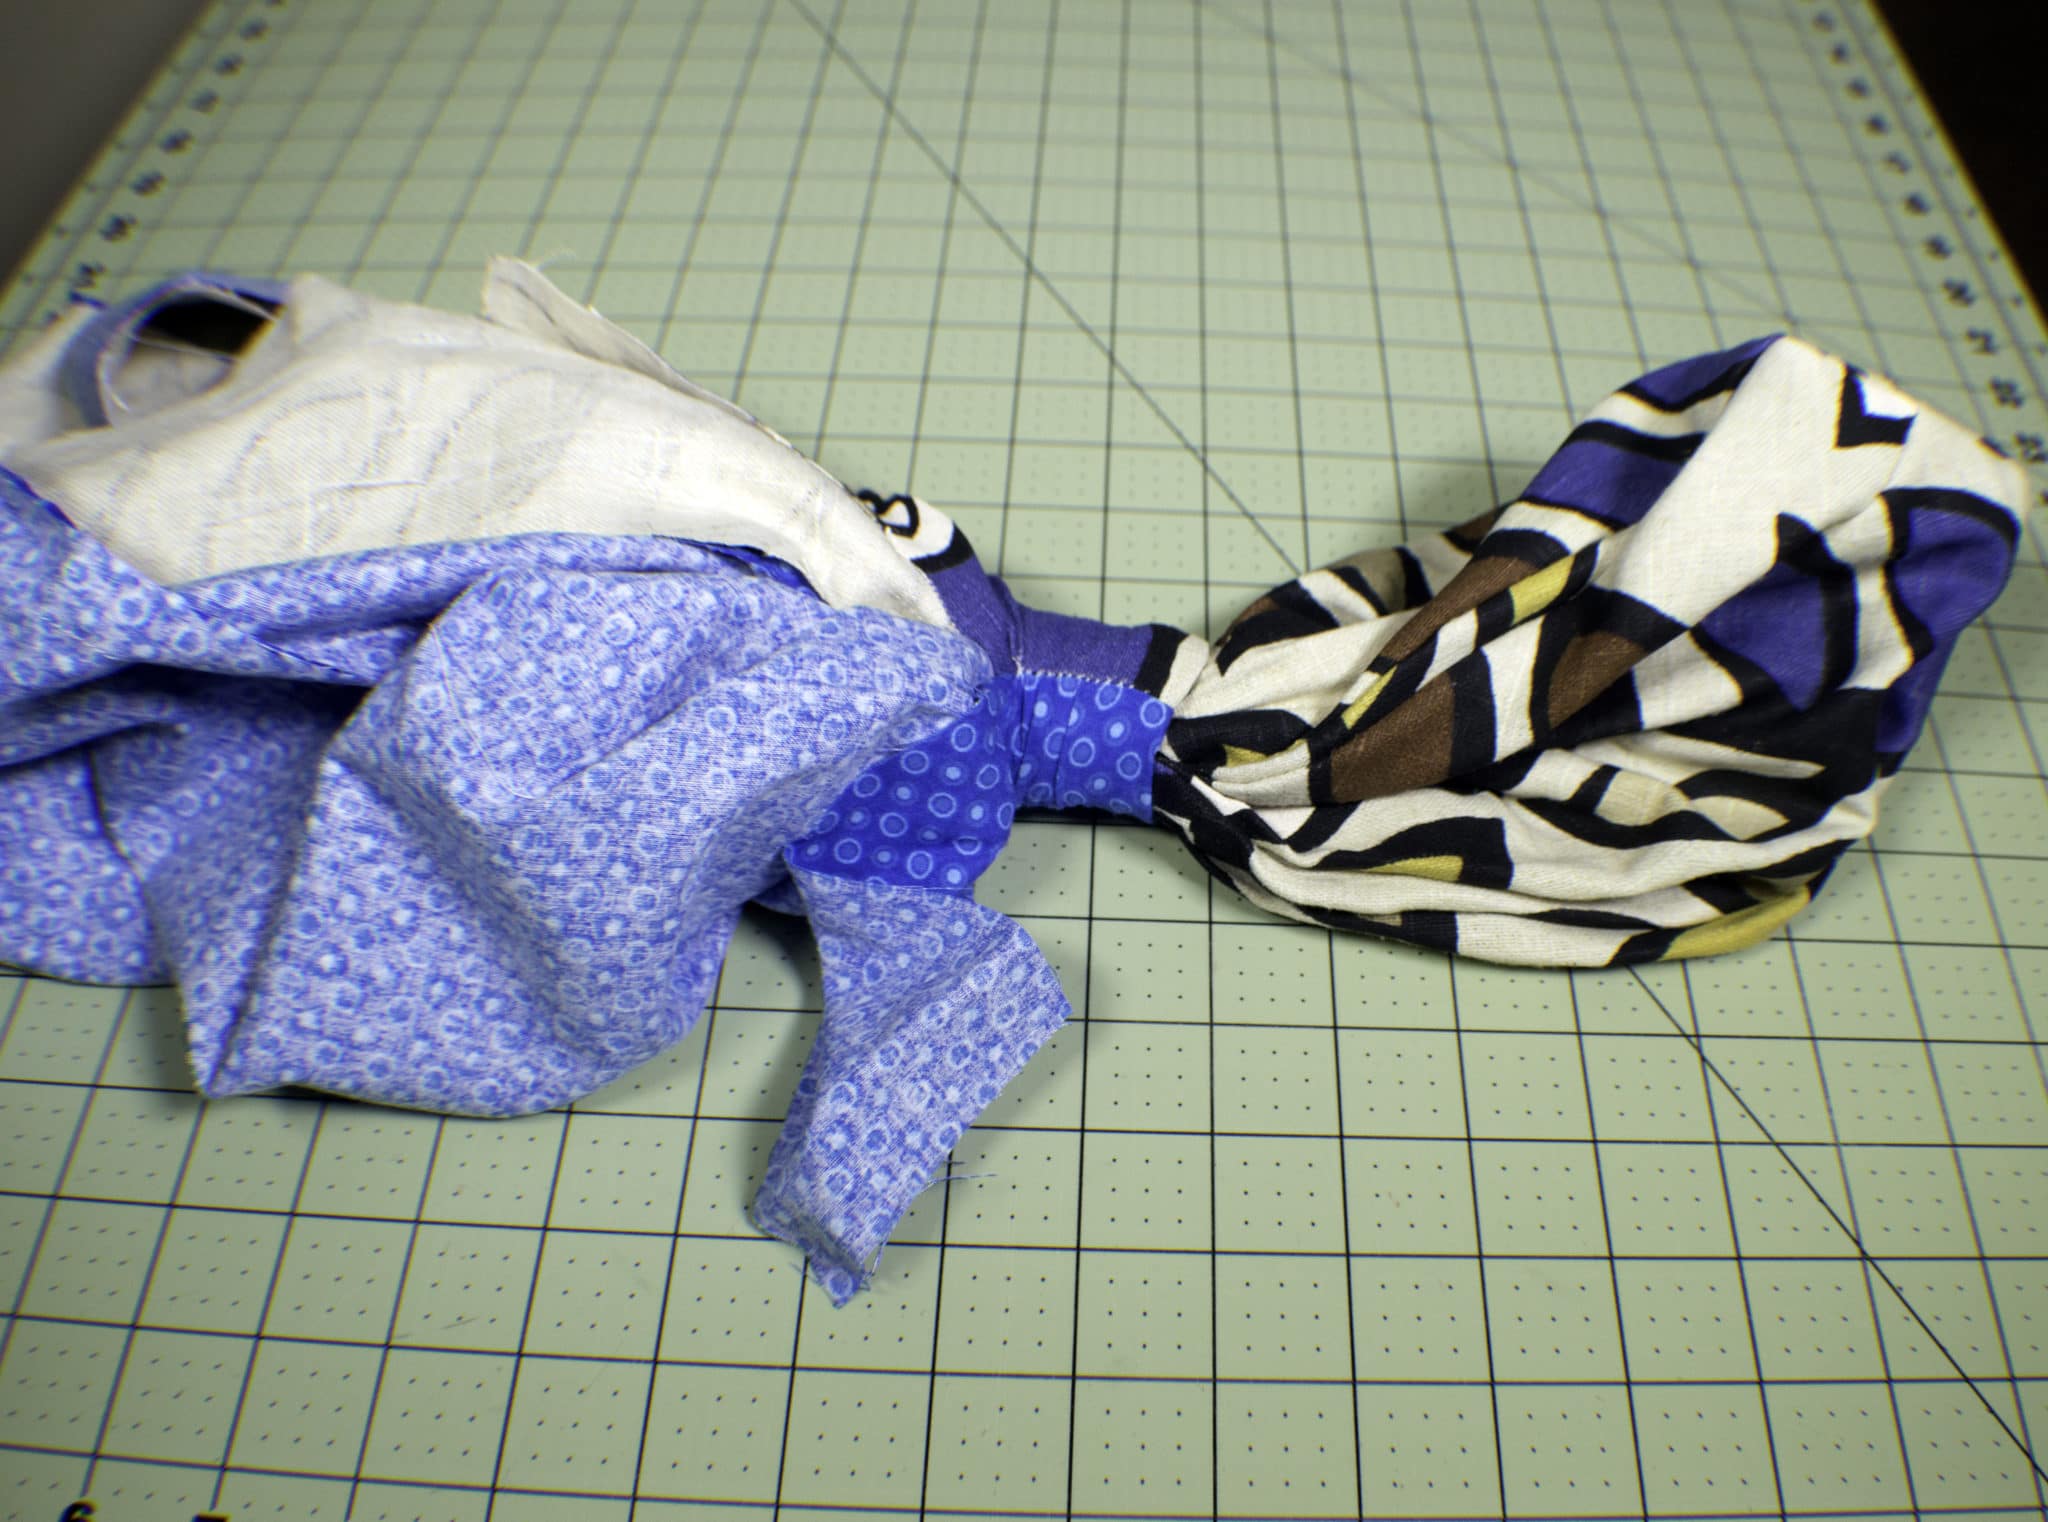
Step 7: How to Make a Reversible Hobo Bag
Turn the bag right sides out through one of the straps. You will think that you are not doing this correctly but trust me it is right.
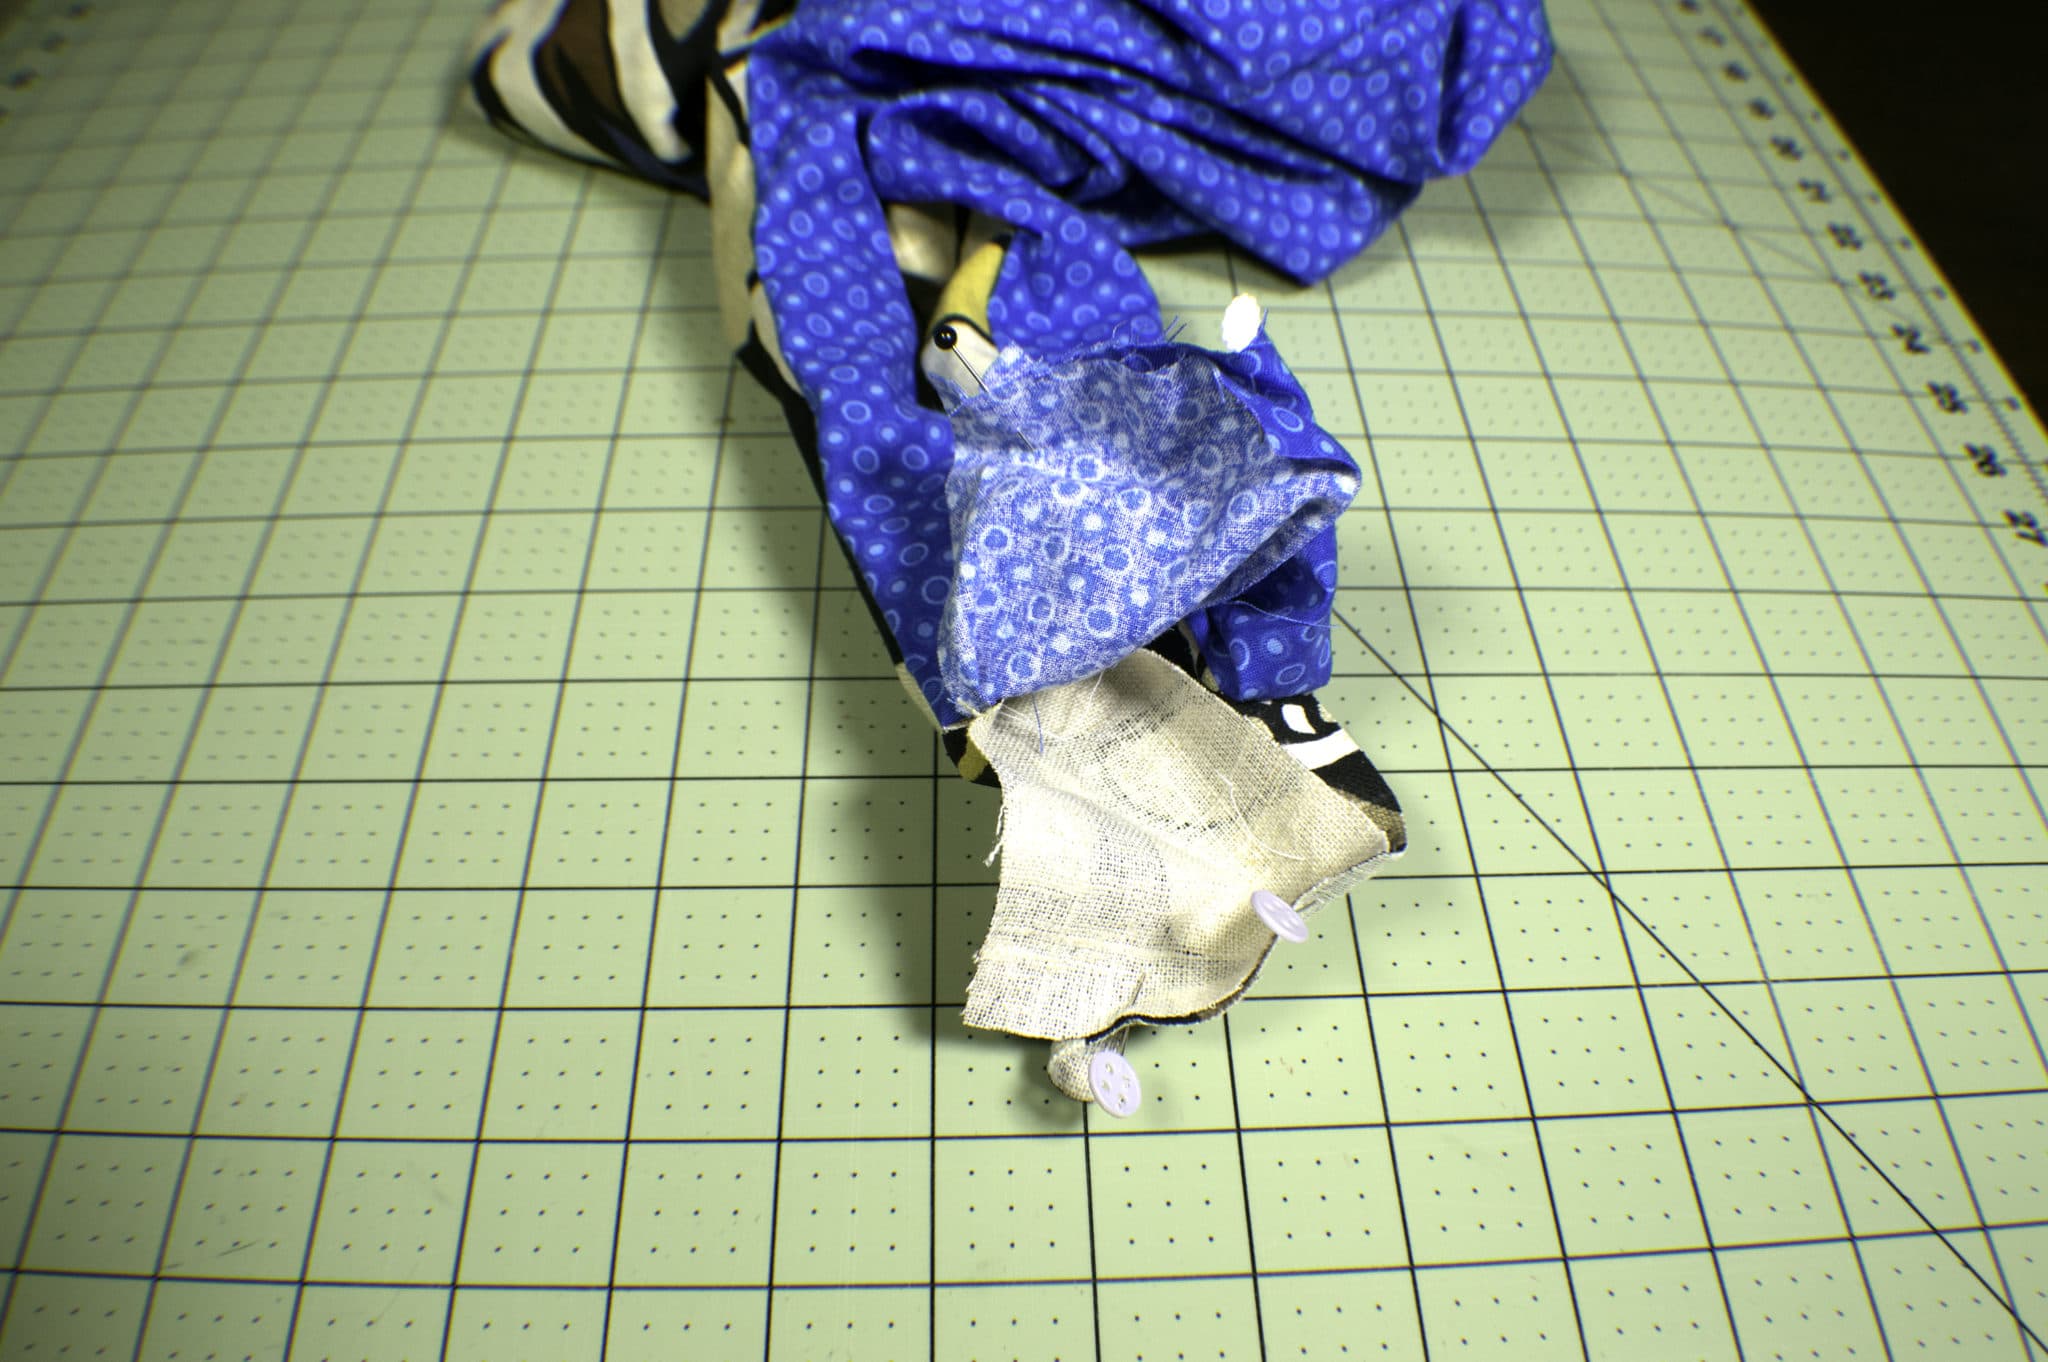
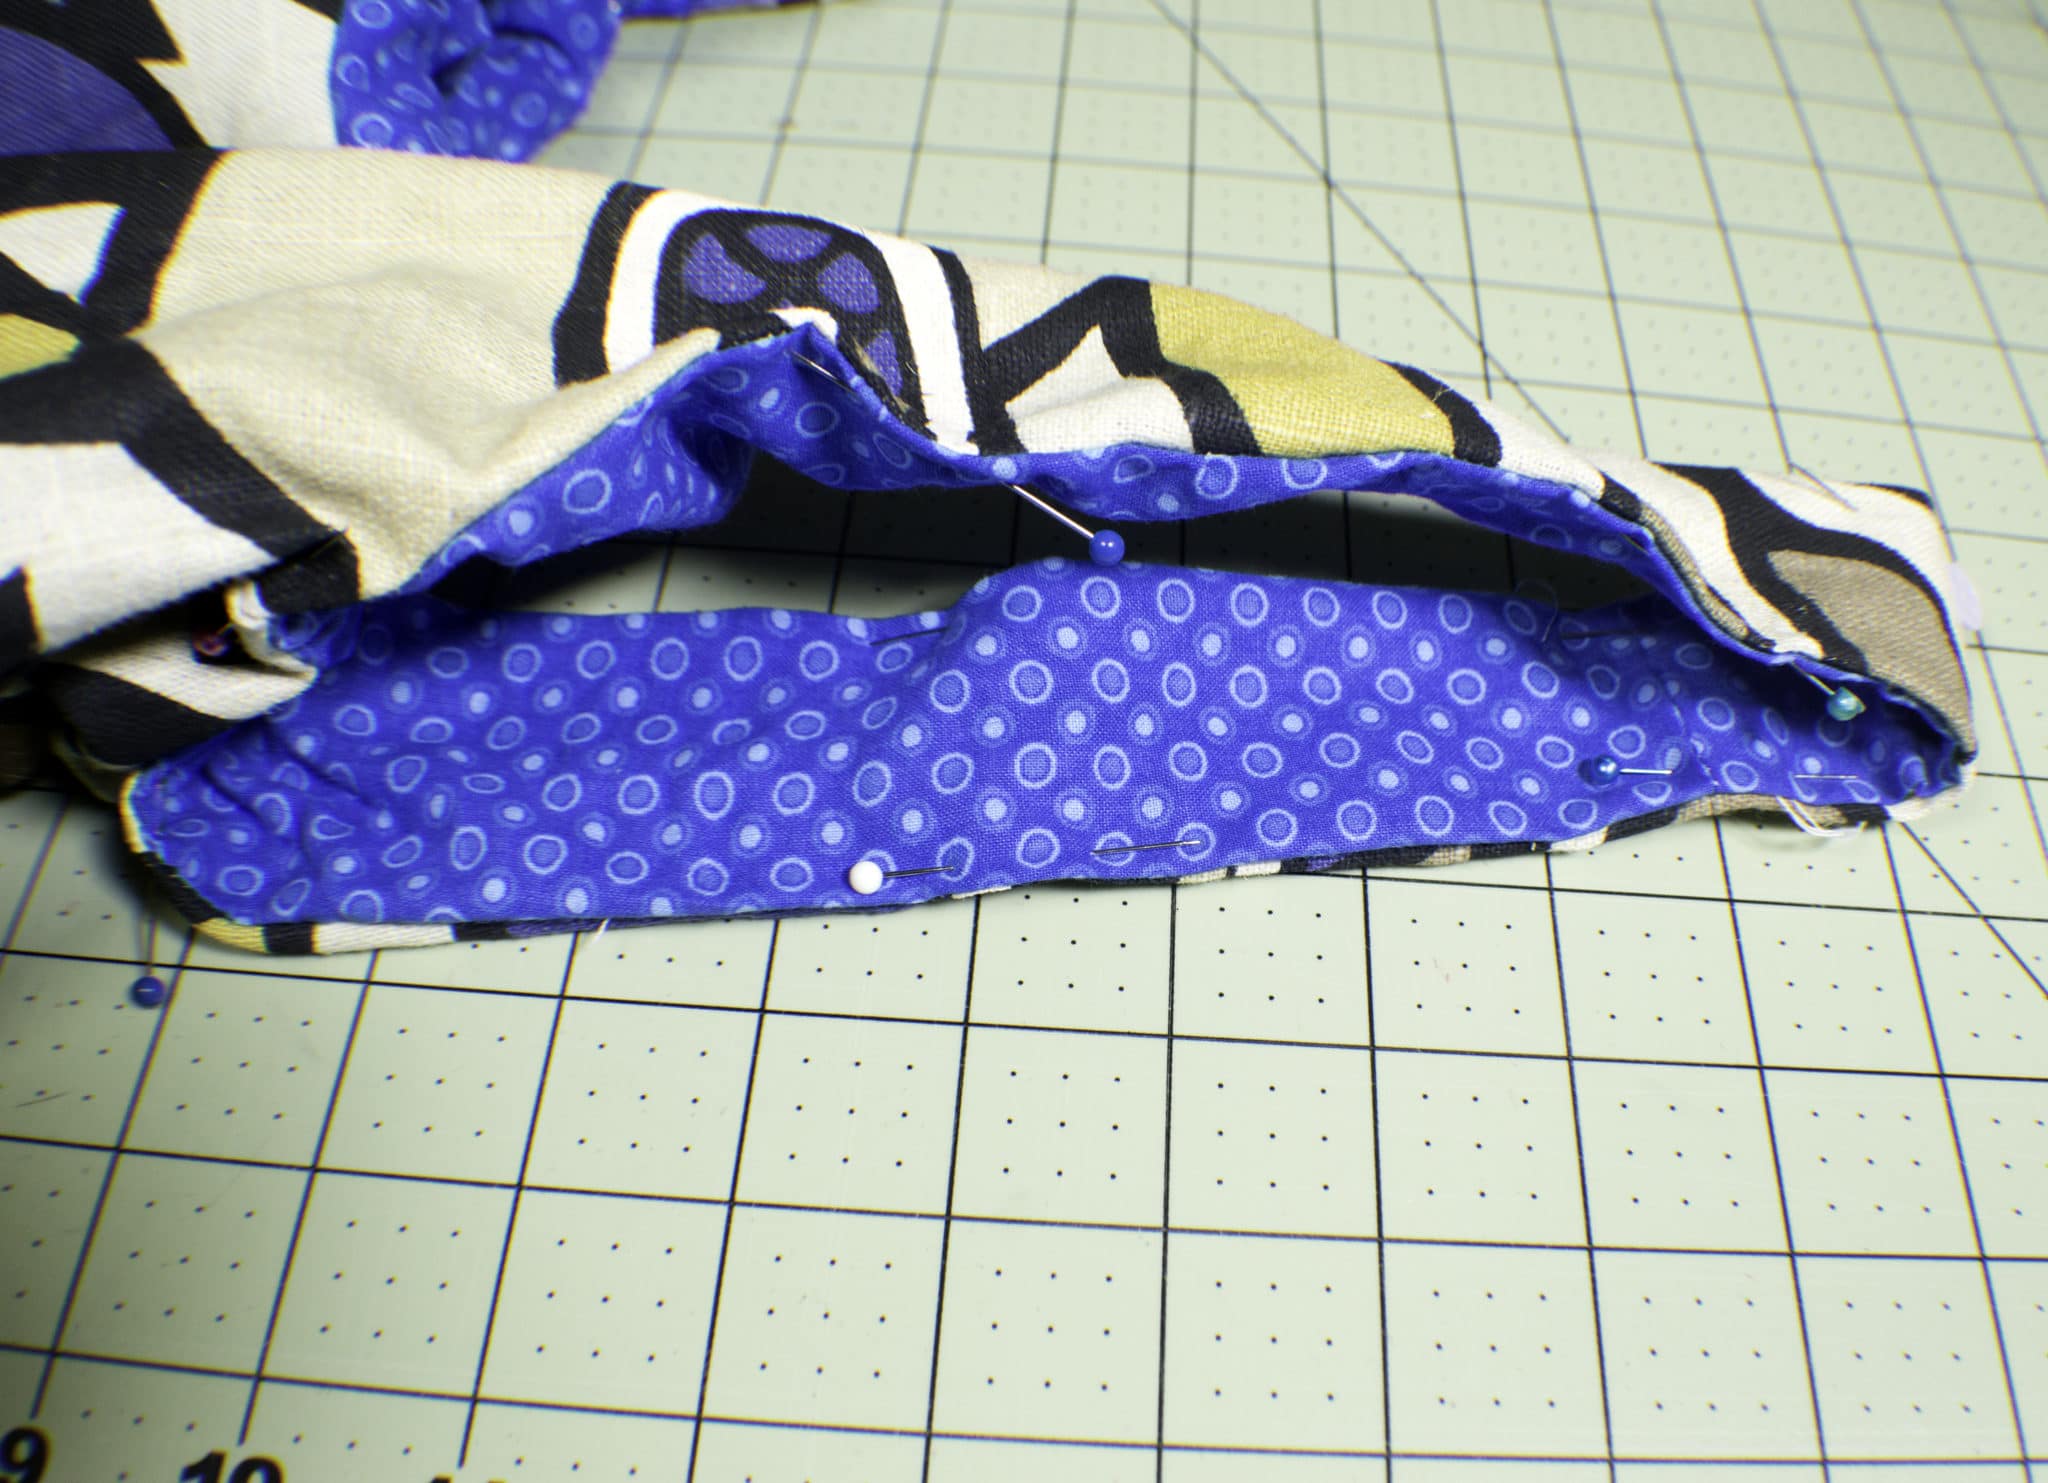
Step 8: How to Make a Reversible Hobo Bag
Once the bag has been turned you will have four outer strap ends and four lining strap ends. Stitch the adjacent outer strap ends right sides together and the adjacent lining strips right sides together so that you not have two outer straps and two lining straps. Once the strap ends have been sewn, pin the outer strap sides to the adjacent lining straps folding under the seam allowances.
Step 9: How to Make a Reversible Hobo Bag
Top stitch all around the top of the bag and the straps for a sturdier and more professional look. Top stitching will also keep the lining in place and enclose the opening. Remember that this bag is reversible so you can use any fabrics you like for the outer and lining fabrics.
If you would like more handbag patterns sign up for our newsletter and receive your free eBook of 15 handbag patterns and tutorials.


Hi, I attempted to make this bag twice using your instructions and had to undo each one as the information was really poor. Your photo of the final bag does not look as it should. The pattern is for a Hobo bag, you have made it into something else. Please look at Mr Domestic on YouTube. He makes the same bag, using the same pattern and its a totally different bag. I’m afraid I wasted a whole day and lost a lot of confidence in myself trying to make a success from your instructions. I really think you should remove the demo or correct it. I’m really glad I persevered and looked into it and found the correct demo in the end, the bag looks like a Hobo bag now, ans sits right.
Thank you for your comment. I reviewed the Mr. Domestic video you suggested and he puts the bag together the same way that I do. I admit that I could be more clear when it comes to sewing the handles together and will seek to clarify that. I appreciate the input and am sorry my post caused you to doubt yourself. That is the last thing that I want. I am glad that you were ultimately able to get the bag you wanted.
Thank you for your instructions. I messed up a bit along the way but I went back and fixed it and it came out great. I look forward to seeing more tutorials. Thanks
You are very welcome.