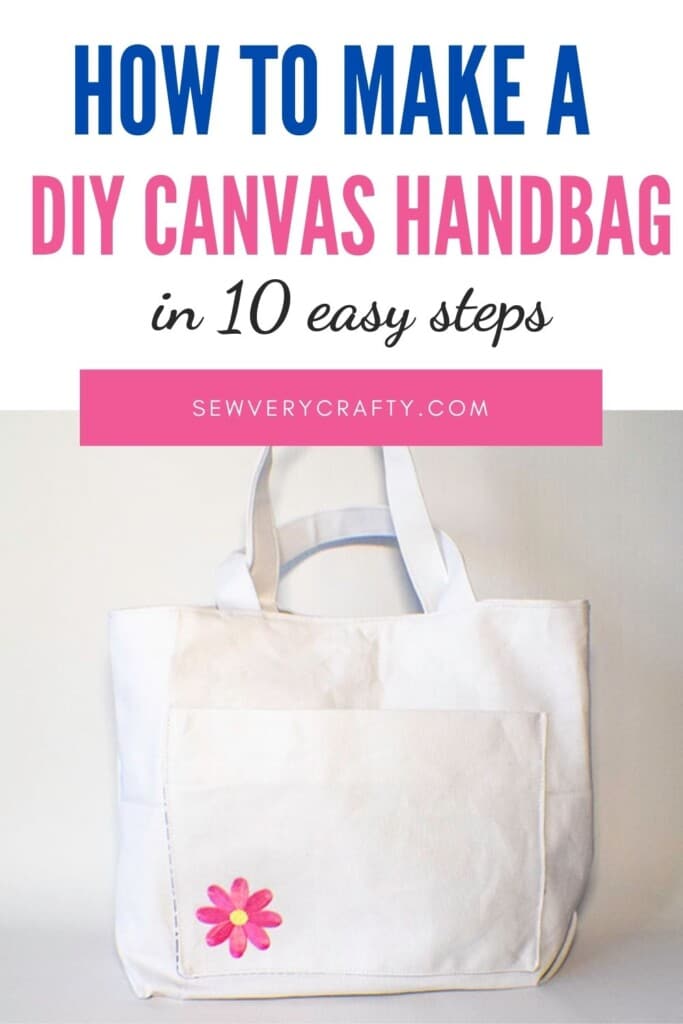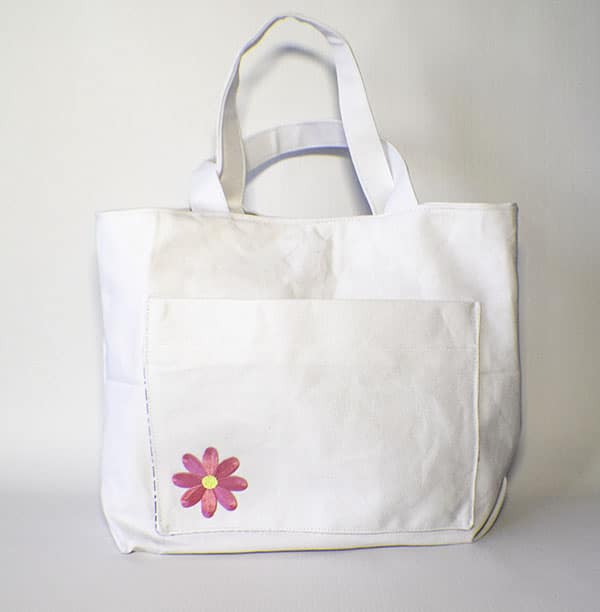
For those of you that follow Sew Very Crafty you know that I have a huge stash of remnant fabrics that I have purchased over the years so I am always on the lookout for projects to make with them. I had this white canvas in my stash and some blue and white cotton and decided to make a handbag. This is a basic handbag making project. For those off you that have never made one this tutorial will show you how to make a diy canvas handbag using basic sewing skills. Yes, basic skills is all you need for this project. It is a fun handbag project even though there is a zipper pocket it is easy too install.
I used half yard remnants for this project that I purchased at JOANN Fabric & Craft Stores![]() but you could use decorator weight fabric if you like. If you wanted to use cotton I would recommend a fusible interfacing like Pellon SF101 to give it some structure. You could get your fabrics at Hobby Lobby, Fabric.com or Onlinefabricstore.net to get exactly what you need for this project. This post contains affiliate links that if you click on them and make a purchase I may receive a small commission at no extra cost to you. As an Amazon Associate I earn from qualifying purchases.
but you could use decorator weight fabric if you like. If you wanted to use cotton I would recommend a fusible interfacing like Pellon SF101 to give it some structure. You could get your fabrics at Hobby Lobby, Fabric.com or Onlinefabricstore.net to get exactly what you need for this project. This post contains affiliate links that if you click on them and make a purchase I may receive a small commission at no extra cost to you. As an Amazon Associate I earn from qualifying purchases.
What you will Need: How to Make a DIY Canvas Handbag
- 1/2 yd Canvas
- 1/2 yd lining fabric
- 7 7/8″ zipper shortened
- 1 Magnetic snap

Step 1: Cut your fabrics
From the Canvas cut:
- 1 piece that measures 14 1/8 x 22 7/8″
- 2 Pieces that measure 14 1/8″ x 2 5/8″
- 1 Piece that measured 9 1/2″ x 8 1/4″
- 2 Pieces that measure 4″ x 14 1/8″
From the Lining Fabric cut:
- 1 Piece that measures 14 1/8″ x 19 5/8″
- 1 Piece that measures 9 1/2″ x 6 7/8″
- 1 Piece that measures 19″ x 13 3/8″
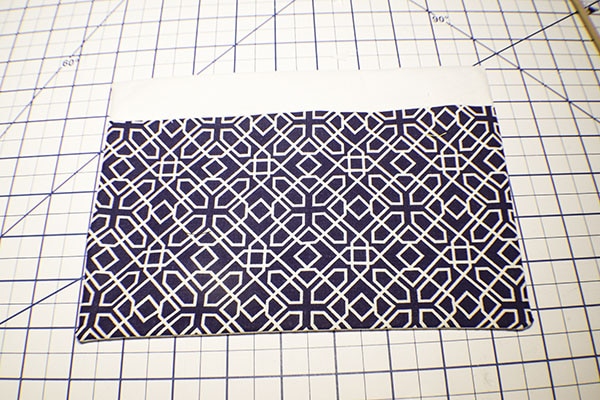
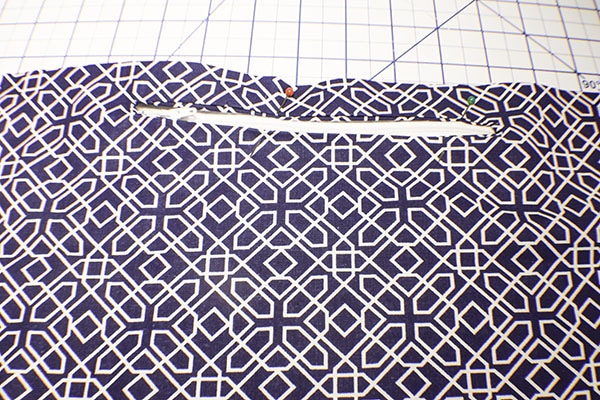
Step 2: Create the Outer Pocket
Place the 9 1/2″ x 6 7/8″ lining piece right sides together with the 9 1/2″ x 8 1/4″ canvas piece so that both of the 9 1/2″ sides lineup. Stitch along both 9 1/2″ sides using a 3/8″ seam allowance. Lay flat and press. Stitch along both open sides leaving an opening in one side for turning. Clip the corners. Turn right sides out. Press. Topstitch along the canvas side of the seam.


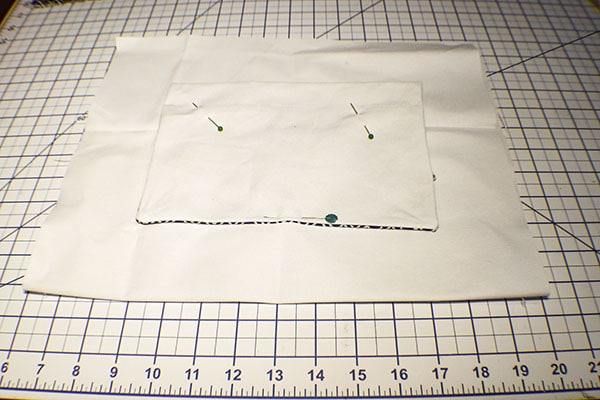
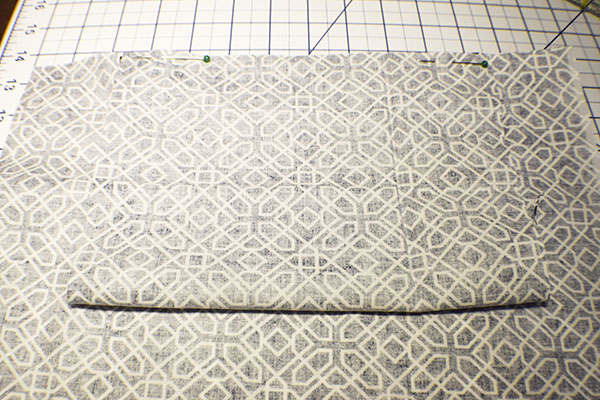
Step 3: Add the Outer Pocket
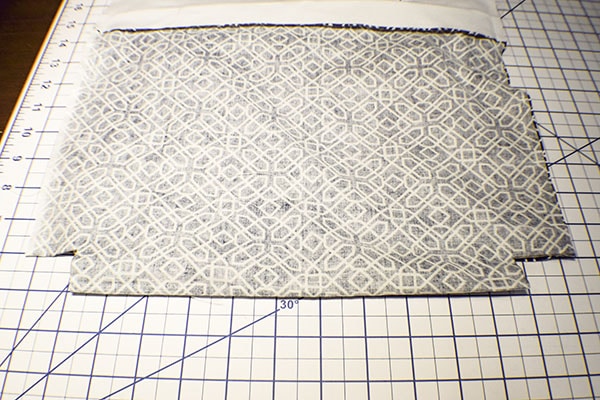
Take the main outer piece that measures 14 1/8″ x 22 7/8″ and fold it in half widthwise. Measure up 2 3/8″ from the fold and centered and pin. Find the center of the pocket piece and place it on the center of the main fabric piece that you just marked and pin. Stitch the pocket piece to the main fabric piece making sure to enclose the opening in the pocket piece.
Step 4: Create the Canvas Handbag Straps
Take the 4″ x 14 1/8″ and fold the long edges to the center and press. Fold in half to enclose the raw edges and press again. Topstitch along both long edges.

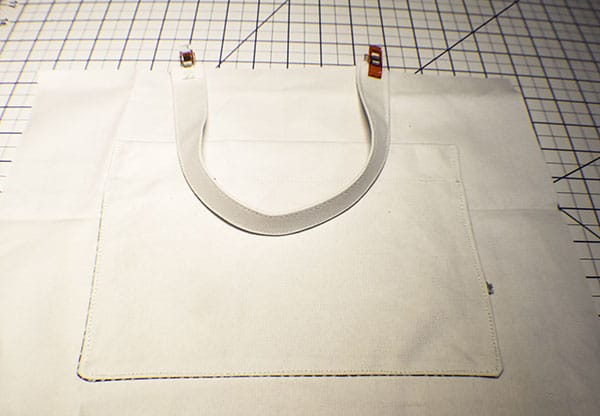
Step 5: Add the Handbag Straps
Take the Main Piece and find the top center. Mark the center. Measure 2 3/4″ on either side of the center and place each short end one of the straps and clip. Repeat for the bottom end of the main piece. Stitch the straps in place using a 1/8″ seam allowance.
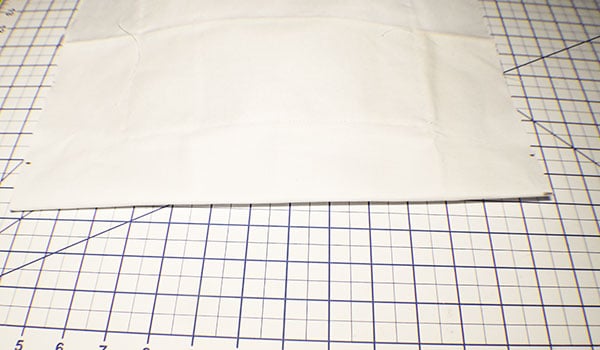
Step 6: Create the Outer Handbag Bottom
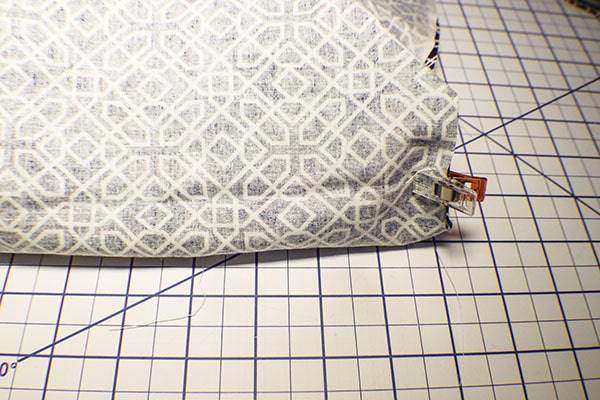
Fold the main piece in half right sides together and mark the half point using a friction heat erasable pen or other erasable marker. Measure up 1 1/2″ from the mark and mark again on both sides. Do this on both sides of the bag. Match the marks that you just made with the bottom fold in the center. Clip. Stitch along both sides using a 3/8″ seam allowance.

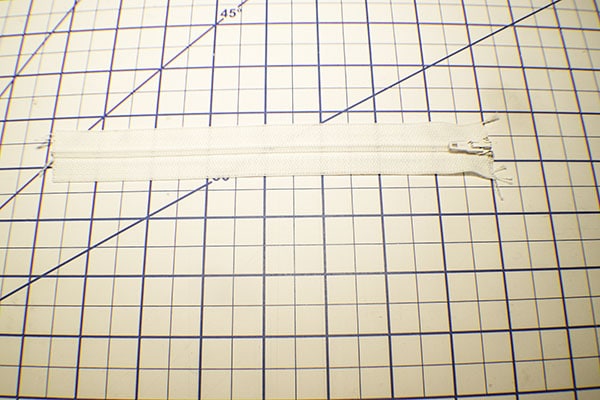
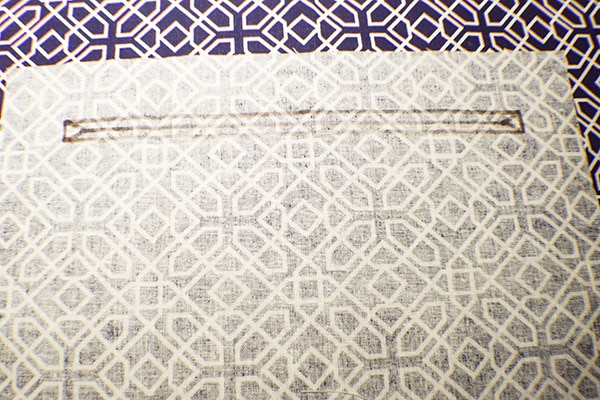
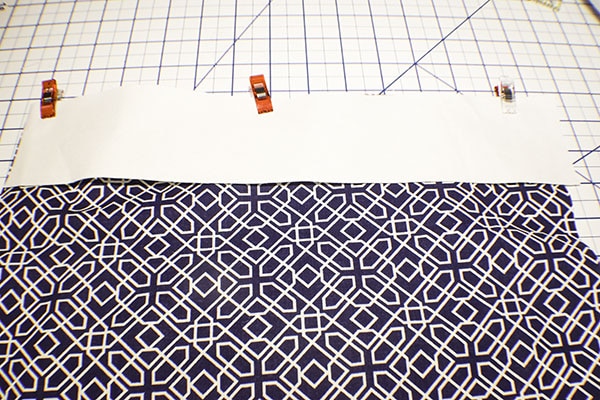
Step 7: Add the Zipper
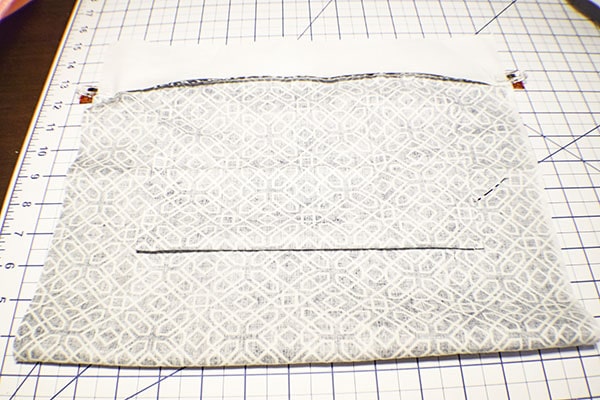
Shorten a zipper to 7 7/8″. You can do this by simply cutting off the end of the zipper or using a continuous zipper that you can cut off using regular scissors. Take the 19″ x 13 3/8″ piece and and measure down 1″ from the top short side and 1″ from each long side and draw a line on the wrong side. Measure down 3/8″ and draw lines from each end of the first line. Join the lines to create a box. Draw two triangles at the end of the box and join them with a center line. Place the fabric piece right sides together with the remaining lining piece short sides together and centered at the top. Stitch around outside of the box you drew. Using a small pair of scissors cut open the box by cutting the line and the two triangles. Push the fabric piece through the opening and press. Turn to the wrong side. Press. Place the zipper so that it is center with he opening and stitch all the way around. Turn to the wrong side. Fold up the fabric piece and stitch along the sides and the top to create the zipper pocket.


Step 7: Add the Remaining Canvas Pieces
Place the remaining canvas pieces on each end of the lining right sides together and stitch using a 3/8″ seam allowance.
Step 8: Complete the Handbag Lining
Fold the lining in half so that the canvas pieces and the seams are aligned. Cut out the bottom corners of the lining to measure 1 1/2″ x 1 1/8″. Stitch along both sides using a 3/8″ seam allowance leaving an opening on one of the sides for turning. Box the corners by pinching the bottom corner to the side corner and stitch.
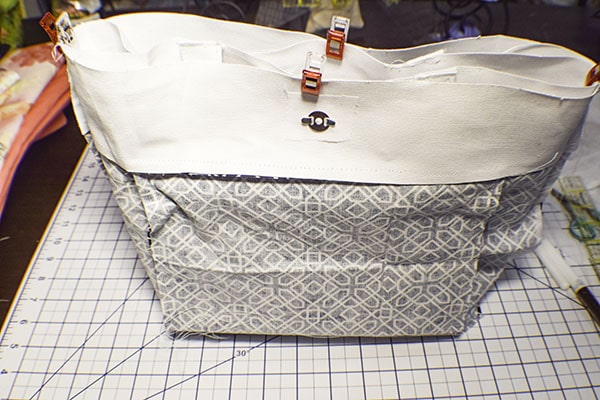
Step 9: Add the Magnetic Snap
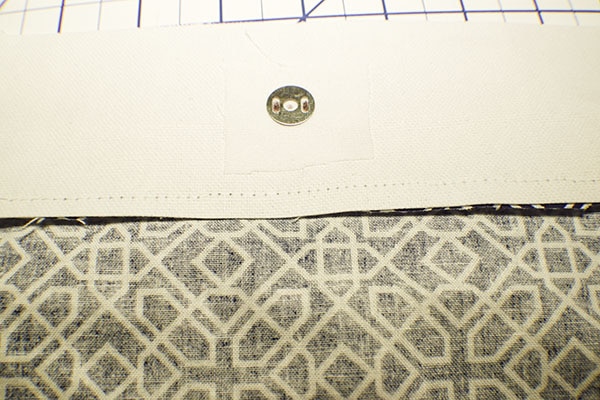
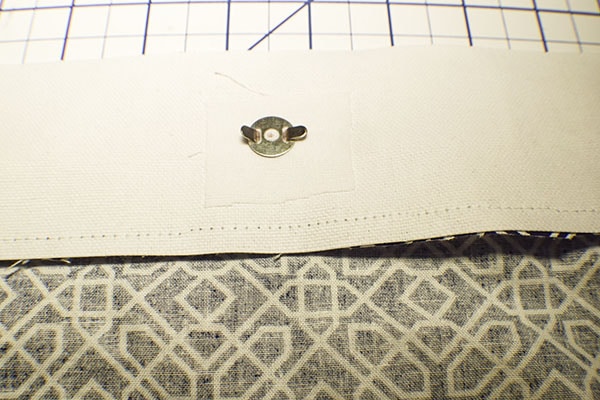
Find the center of the lining top. Measure down 1 1/8″ and add a small piece of interfacing to the wrong side of each side of the top of the bag. Add one half of the magnetic snap to one side of the bag and one half to the other side of the bag. The best way to do this is to take the grommet and mark the location of the prongs on the 1 1/8″ mark. Open the prong mark using a seam ripper and insert the prongs though the opening then add the grommet and bend bag the prongs. Make sure that the snap parts are facing the tight sides of the lining.
Step 10: Finish the Canvas Handbag
Place the outer bag inside the lining bag sir that they are right sides together. Make sure that the handles are nestled between the two bags. Stitch all the way around the top of the bag. Turn the bag right sides out through the opening you left in the lining. Close the lining using ladder stitch or your machine. Push the lining into the bag and topstitch all around the top pf the bag. You have now finished your diy canvas handbag.
I hope you enjoyed this handbag project. If you would like more sewing and crafting projects sign up for our newsletter and receive your free eBook of 15 handbag patterns and tutorials taken from the blog
If you would like video tutorials of some of Sew Very Crafty's most popular posts subscribe to our free YouTube Channel Here.