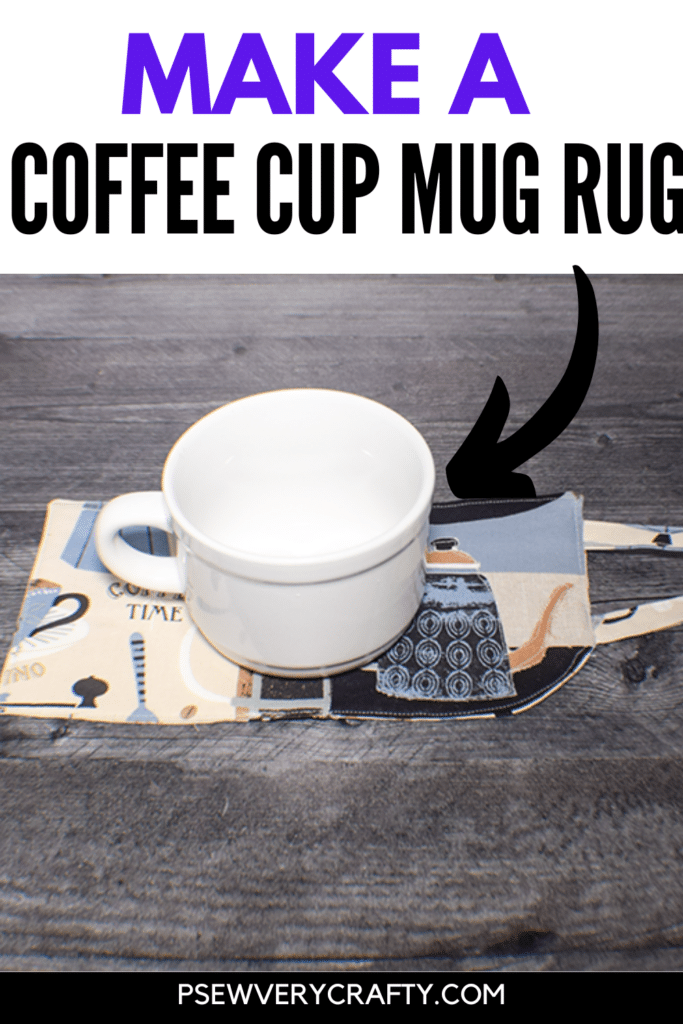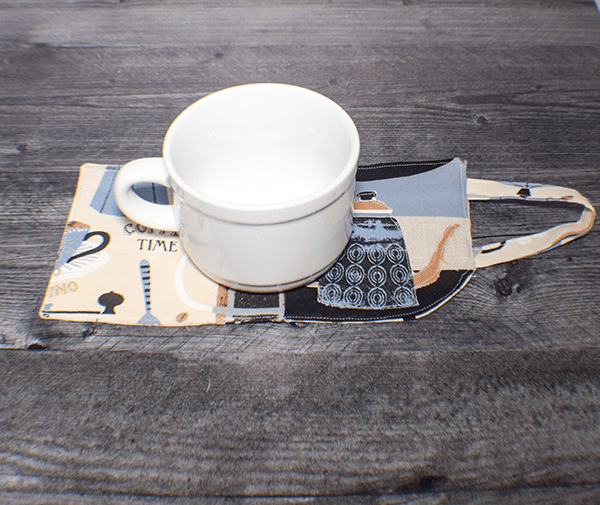
I saw this cute fabric at Joann.com and immediately thought to make a coffee mug rug. I purchased the fabric online and then picked it up in store. So easy. Once I got it home I created the pattern and off I went. I really think this came out super cute and it is perfect for the coffee drinker in your home. This is a beginner sewing project that anyone with basic sewing skills can make. It really did not take too long to create from beginning. If you are a cat lover I have a pattern and tutorial for a cat mug rug as well.
This post has affiliate links that if you click on them and make a purchase I may receive a small commission at no extra cost to you. As an Amazon Associate I earn from qualifying purchases.
What you will Need: How to Make a Coffee Mug Rug
- Pattern you can get by clicking on this link
- Coffee patterned fabric
- Scraps of complementary Fabric
- Fusible fleece
- Sewing machine
- Standard sewing supplies
Step1: Print out the Pattern
Download and print the pattern pieces. The pattern comes in 4 pieces and they can be printed as is. Tape the pieces together.
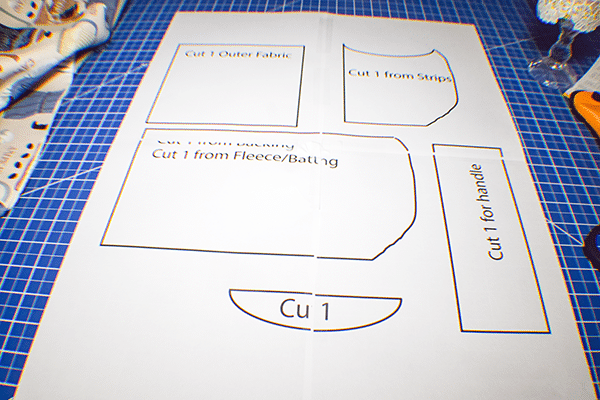
Step 2: Cut out the Fabrics
Cut the pieces as indicated on each piece. There will be fabric and fusible fleece pieces. You can use quilt batting in lieu of the fleece if you like. Cut 2 3/8″ x 6″ strips of three different coordinating colors. Fussy cut a piece to be used as an applique (Optional)
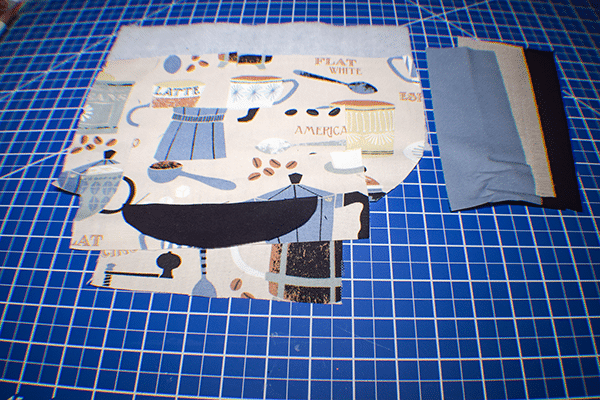
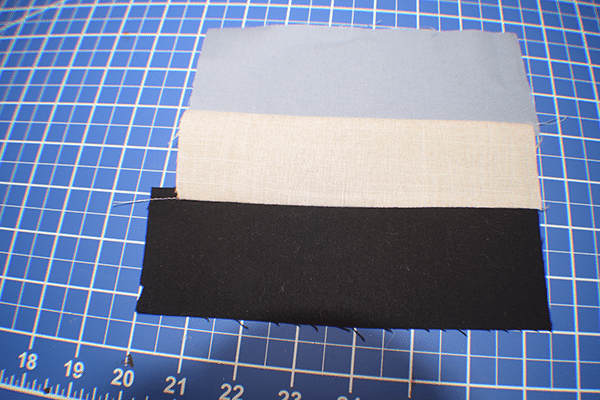
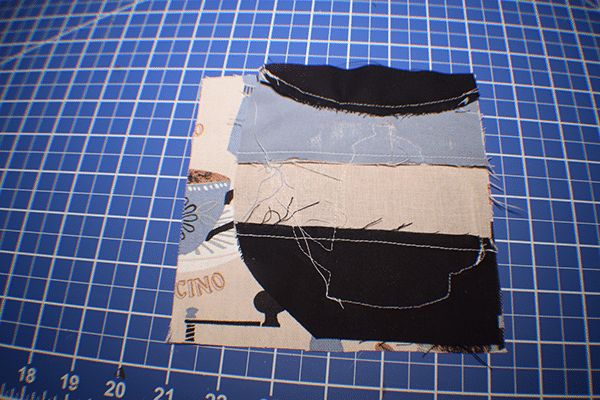
Step 3: Create the Cup
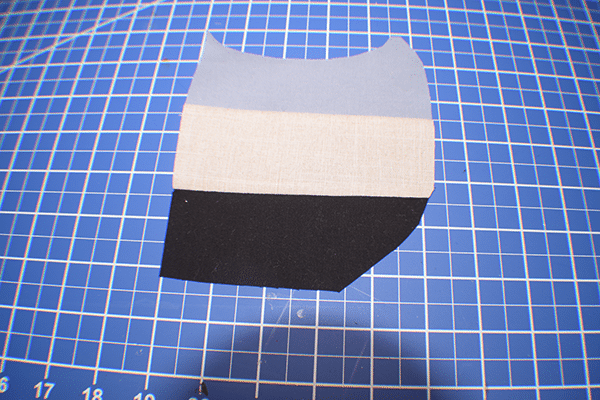
I decided to patchwork my cup. To do this I chose three different colors that coordinated with my coffee fabric and cut three 2 3/8″ x 6″ strips. Stitch the strips together using a 1/4″ seam allowance. Using the pattern piece cut out the cup body from the patched fabric. Take the top of the cup piece and stitch it to the cup using a 1/4″ seam allowance.
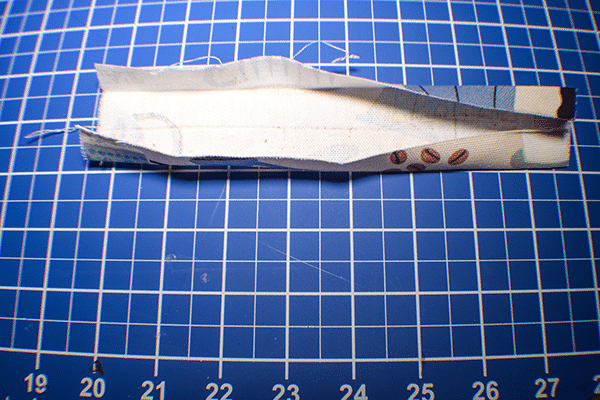
Step 3: Create the Handle
Create the handle. Take the handle rectangle and fold it in half lengthwise and press. Open it and fold the raw edges to the center and press. Fold in half to enclose the raw edges and press again. Stitch along the open side to secure.
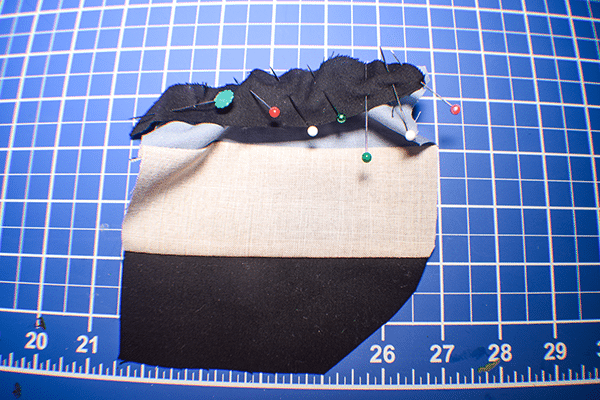
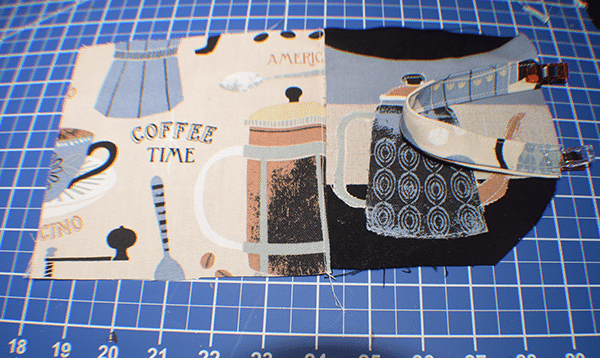
Step 4: Add the Handle
Fold the handle in half. Add the handle to the right side of the cup so that it is facing in. Baste the ends of the handle to the cup.
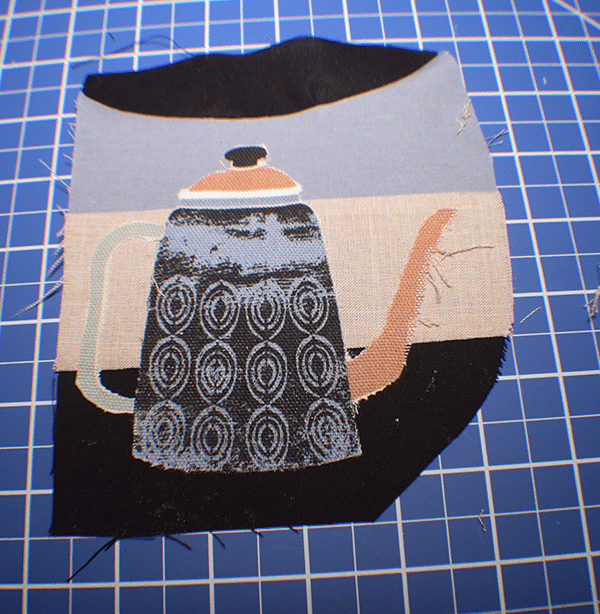
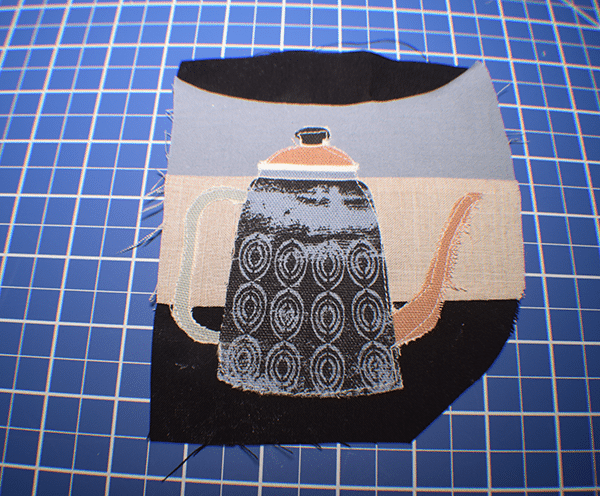
Step 5: Add Applique (Optional)
I fussy cut a coffee pot from my pattern and appliqued it to the striped cup piece. If you are unfamiliar with how to applique check out my post here.
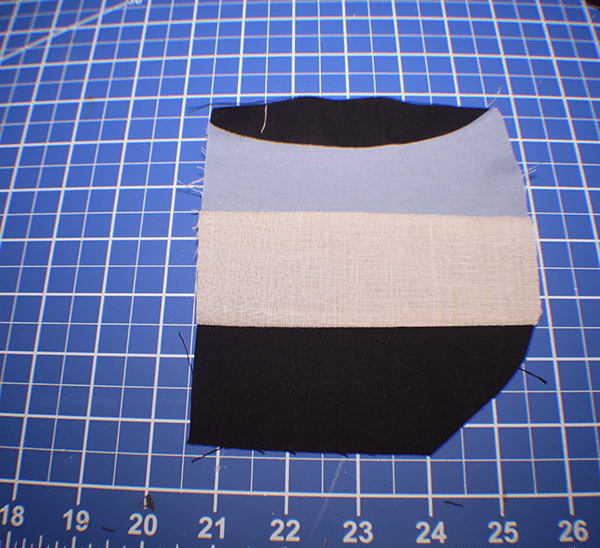
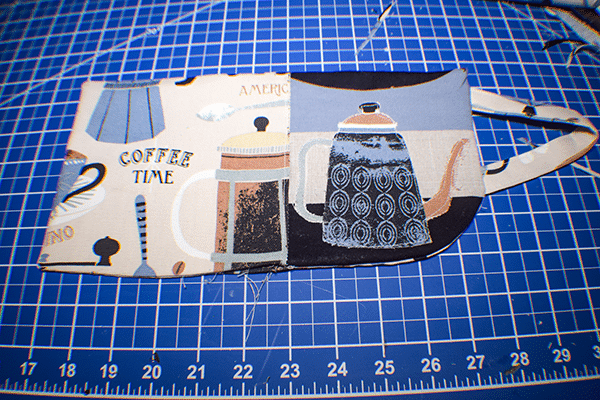
Step 6: Stitch the Cup to the Square
Place the main outer fabric and the cup you just created right sides together. Stitch them together using a 1/4″ seam allowance. Open up and press. Topstitch the seam.
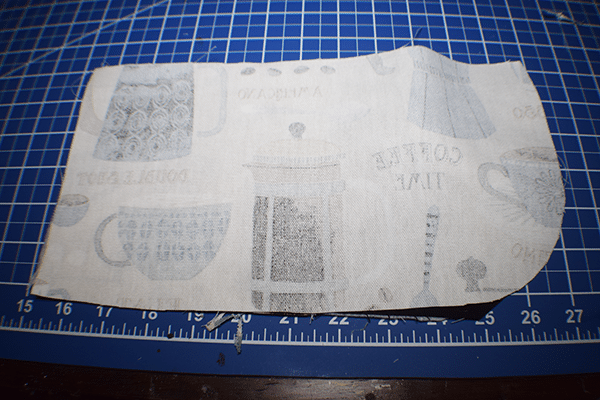
Step 6: Fuse the Fleece
Fuse the fleece to the wrong side of the the piece you just made following the manufacturer's instruction.

Step 7: Add the Backing Fabric
Place the backing fabric right sides together with the cup and square you just created sandwiching the handle. Stitch all the way around using a 1/4″ seam allowance leaving an opening to turn the piece right sides out.
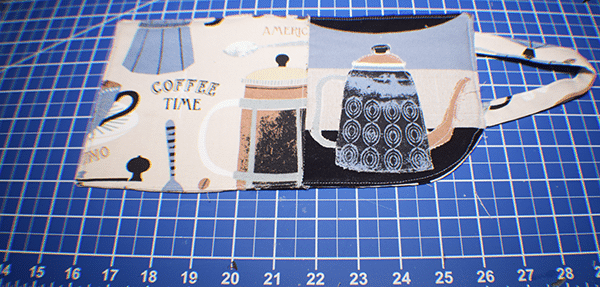
Step 8: Turn and Topstitch
Turn the piece right sides out through the opening you just left. Press. Topstitch all the way around making sure to close the opening as you go. You have now finished your coffee mug rug.
I hope you have enjoyed this simple sewing project. If you would like more sewing and crafting projects subscribe to our free newsletter and receive access to our free printables library.
If you would like video tutorials of some of Sew Very Crafty's most popular posts subscribe to our YouTube channel here.