
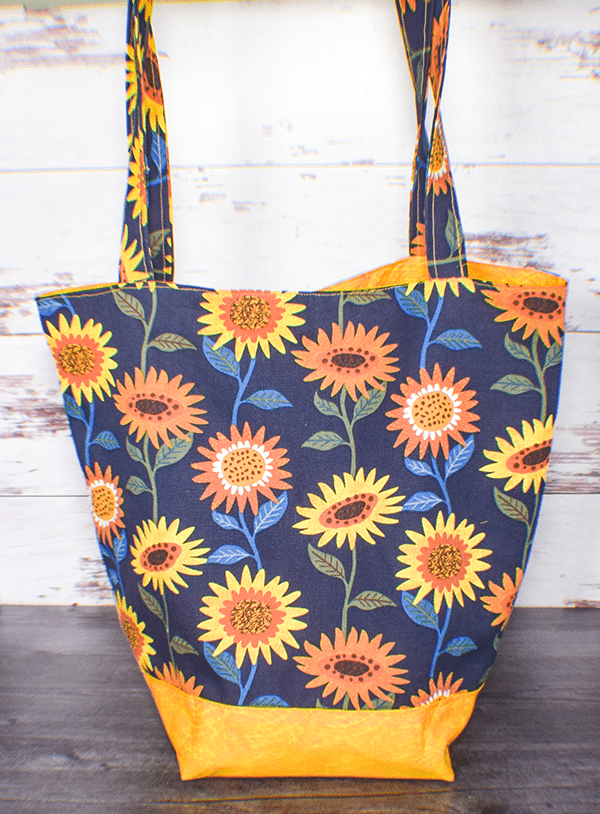
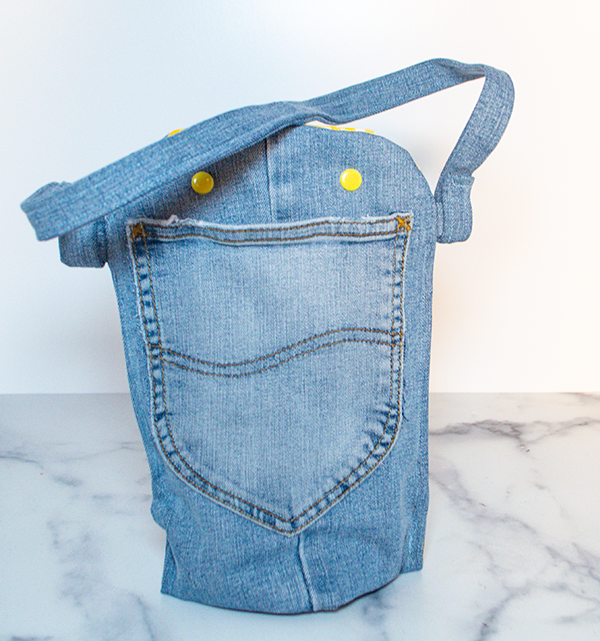
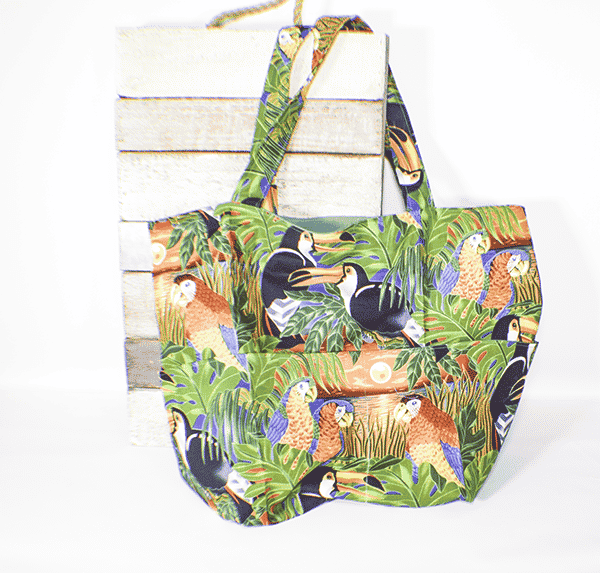
As you know if you follow Sew Very Crafty I love making handbags. This handbag is a very simple beginner handbag that anyone can make using beginner sewing skills. I will show you step-by-step just how to put this bag together simple and quickly. If you enjoy making handbags or are just learning you can check out my handbag page for many more projects.
This post contains affiliate links that if you click on them and make a purchase I will recveive a small commission at no extra cost to you. As an Amazon Associate I earn from qualifying purchases.
What You will Need: How to Make a Beginner Handbag
- Pattern you can get by clicking on this link
- Outer Fabric
- Lining fabric
- Contrasting fabric
- Pellon F101
- 1 magnetic snap
- Sewing machine
- Standard sewing supplies
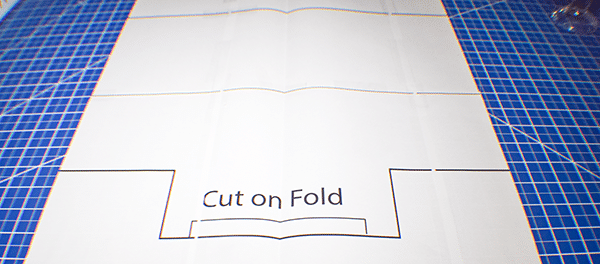
Step 1: Print the Pattern
Print the pattern. There are 6 pages. Tape them together as shown.
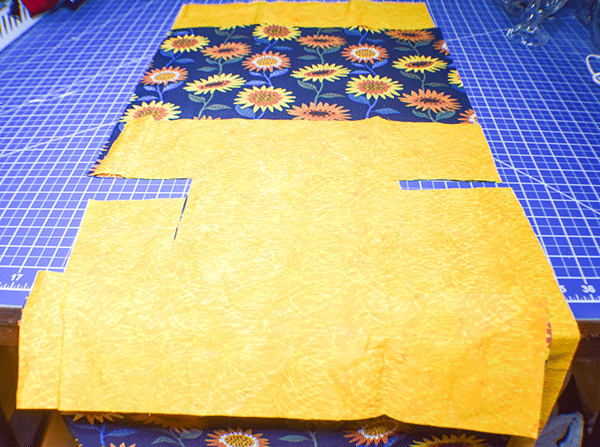
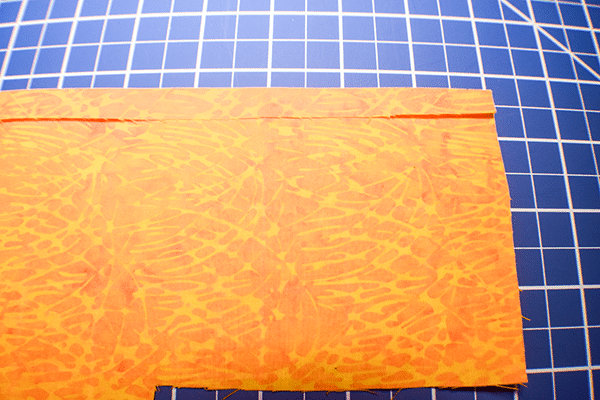
Step 2: Cut out the Fabric
Using the pattern cut one outer and one lining piece on the fold. Cut one contrasting piece from the smaller pattern piece. Cut two 4″ x 26″ pieces of contrasting fabric for the handles. Note: If you are using a directional fabric like I am cut the fabric in half in the middle and stitch it back so that the pattern is facing in the same direction on both sides. Remember to do this for the accent piece and the lining or they will not fit.
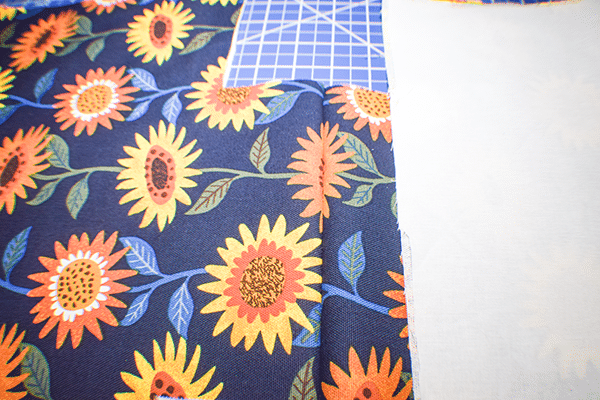
Step 3: Fuse the Interfacing
Fuse the interfacing to the wrong side of the main bag piece following the manufacturer's instructions.
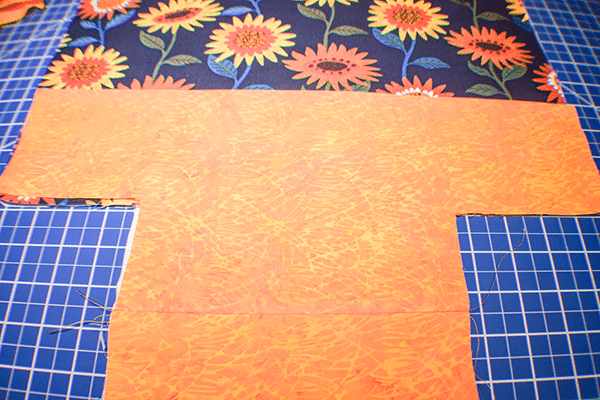
Step 4: Fold the Contrasting Piece
Fold under the top and bottom straight edges of the contrasting piece and press.
Step 5: Add the Contrasting Piece
Place the Contrasting piece on top of the large outer piece matching the cutouts. Stitch the pieces together along the folded edges.
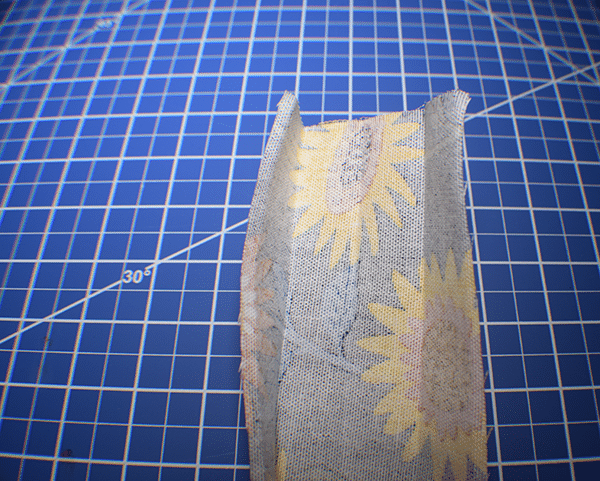
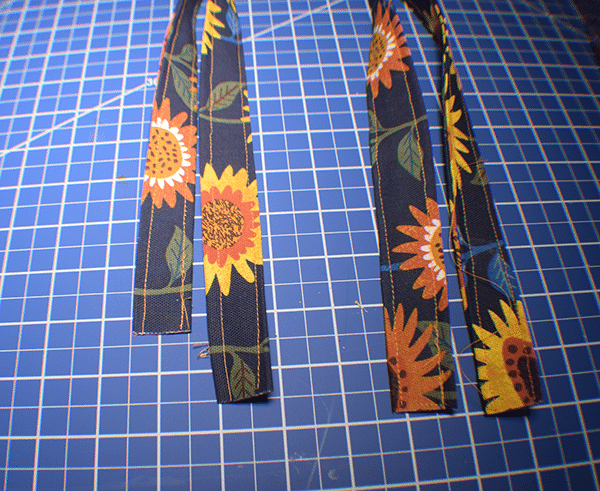
Step 6: Create the Handles
Take the handle rectangles and fold them in half lengthwise and press. Open the fabric and fold the raw edges to the center and press. Fold in half and press again. Topstitch on both sides to secure.
Step 7: Add the Handles
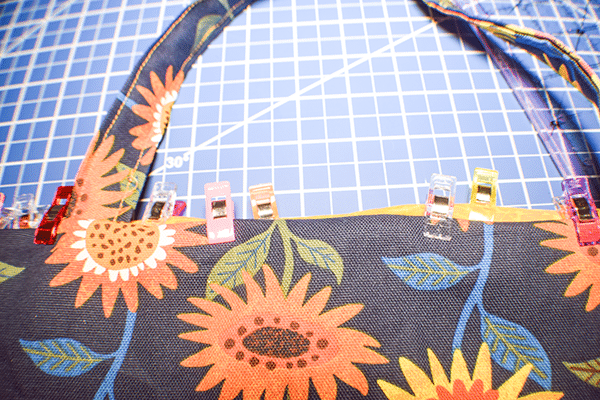
Place the handles on each end of the main fabric pieces so that they are __”apart and centered. Baste the handles to the outer bag.

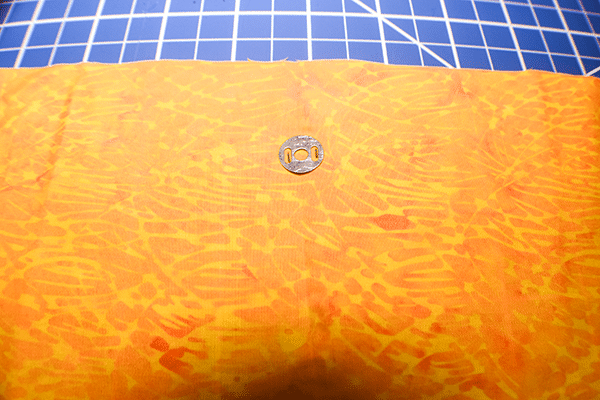
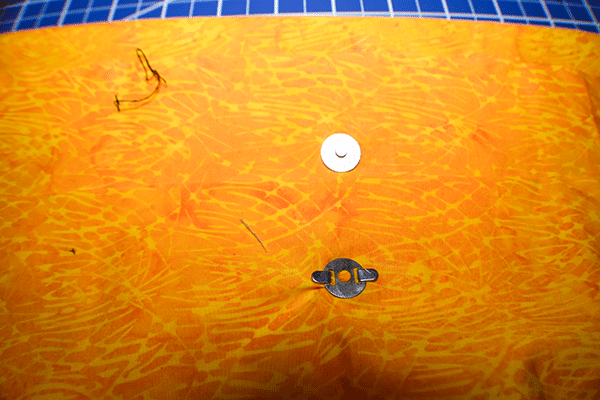
Step 8: Add the Magnetic Snap
Measure down 1″ on each end of the lining bag in the center. Using the grommet that comes with the snap place two marks in the holes on each end. Take a small pair of scissors or a seam ripper and open the holes. Insert one side of the snap into the holes at one end and one on the other end on the right side. Place the grommet on the prongs and fold them over.
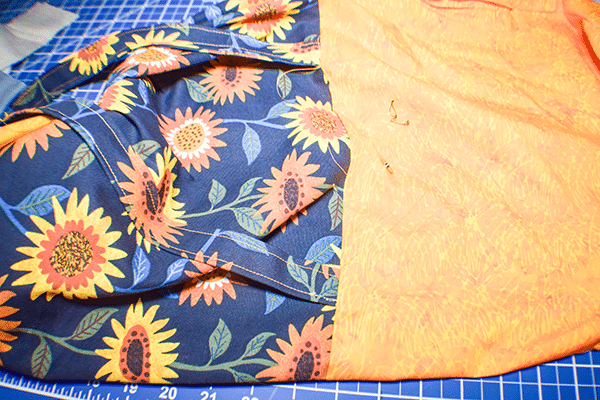
Step 9: Add the Lining to the Outer Bag
Place the lining right sides together with the handles sandwiched in between. Stitch the pieces together on each end using a 1/4″ seam allowance.

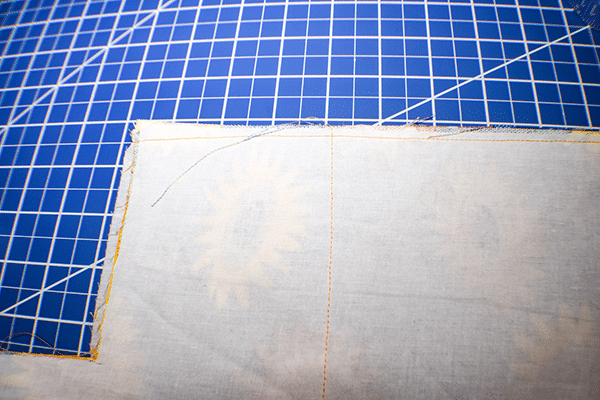
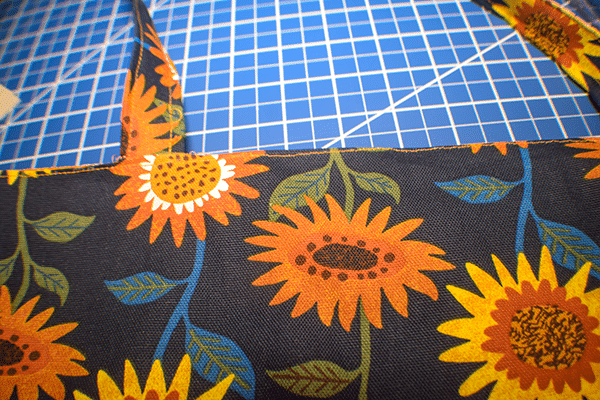
Step 10: Stitch the Bag
Place the bag so that the outer pieces are right sides together and the lining pieces are right sides together. Stitch along both sides leaving an opening for turning and leaving the corners open.
Step 11: Box the Corners
Pinch each of the four corners right sides together. Stitch along each corner using a 1/4″ seam allowance.

Step 12: Turn the Bag and Close the Opening
Turn the bag right sides out. Close the opening using your machine or ladder stitch. Stuff the lining into the outer bag. Press. Topstitch all the way around the top of the bag. You have now finished your beginner handbag.
I hope you enjoyed this simple bag making project. If you would like more sewing and crafting projects subscribe to our newsletter and receive your free eBook of 15 handbag patterns and tutorials.
If you would like video tutorials of some of Sew Very Crafty's most popular posts subscribe to our free YouTube channel here.


Hi Diana,
Hope you’re doing well.
I am having trouble printing the pattern… it only shows one page (not six to be taped together like you said) and it is very small.
Thanks for your help.
Merry Christmas!!
I am so sorry about that. I hope the full pattern is here. https://sewverycrafty.com/wp-content/uploads/2024/12/Beginner-bag-finished.pdf. Please let me know if you have any other problems.