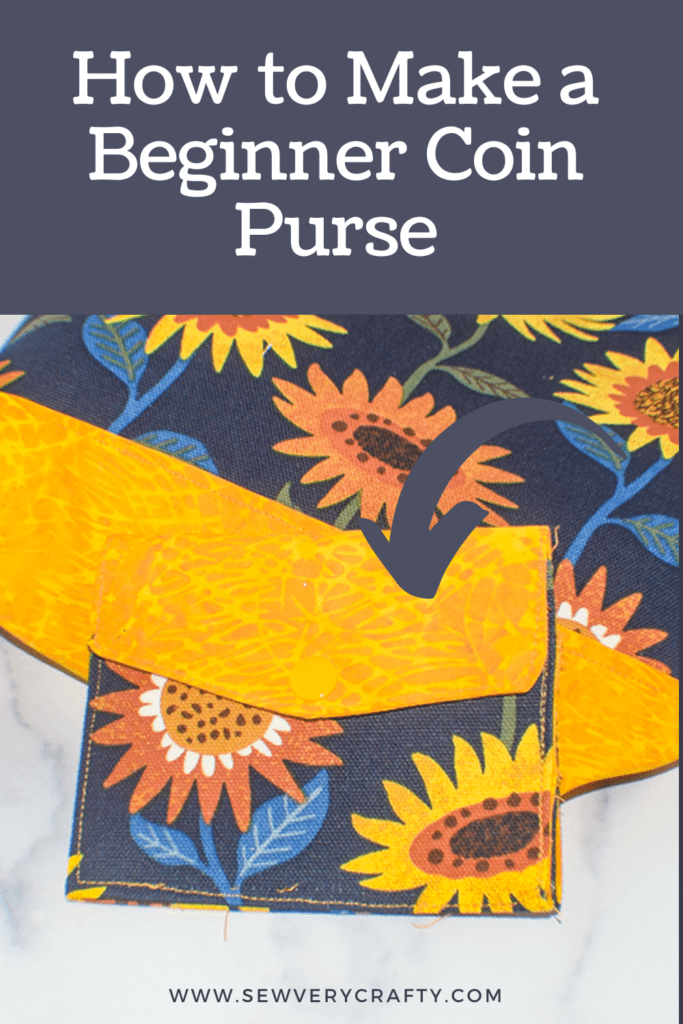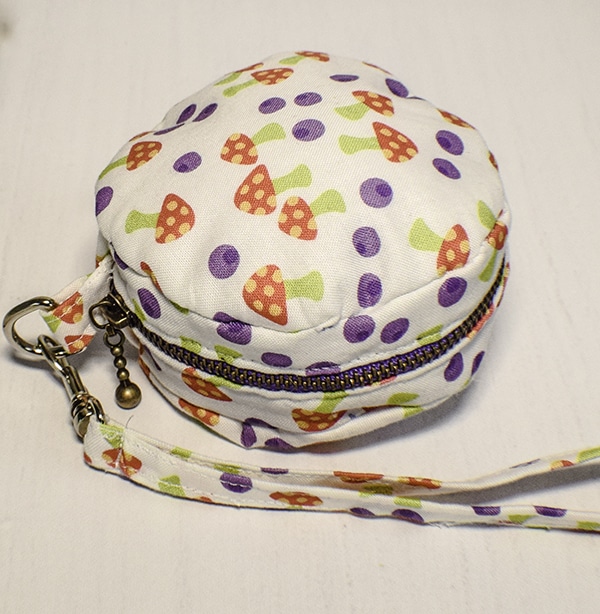
I recently made a beginner handbag project and wanted to make a matching coin purse to go along with it. This is a simple zippered coin purse that anyone can make even though it has a zipper. I live in Ireland part time and it seems that they use coins more than bills so a coin purse is definitely needed. Though debit cards are the preferred method of currency the coin purse is handy. If you enjoy making bags and purses like I do head over to my handbag page for more patterns and tutorials.
This post contains affiliate links that if you click on them and make a purchase I will receive a small commission at no extra cost to you. As an Amazon Associate I earn from qualifying purchases.
Some tips for preparing for making this recipe
Be sure to check out the full tutorial and what you will need below
What you will Need
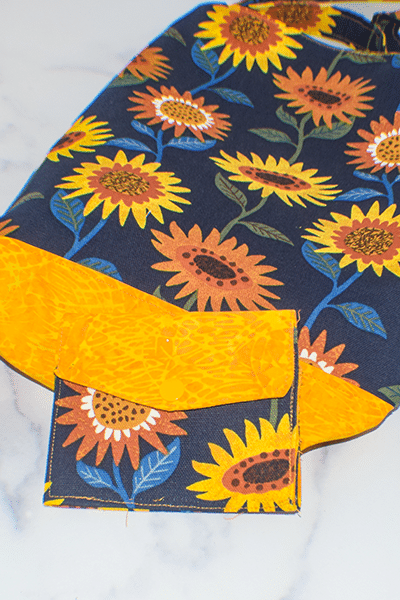
Coin Purse and Handbag
If you would like a video tutorial of this project head over to my YouTube channel and check it out. While you are there subscribe to my channel.

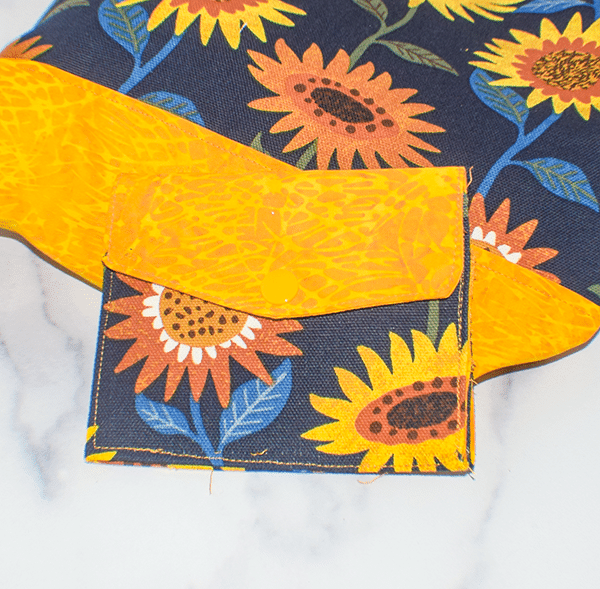
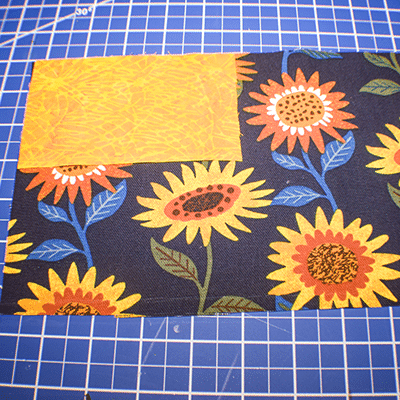
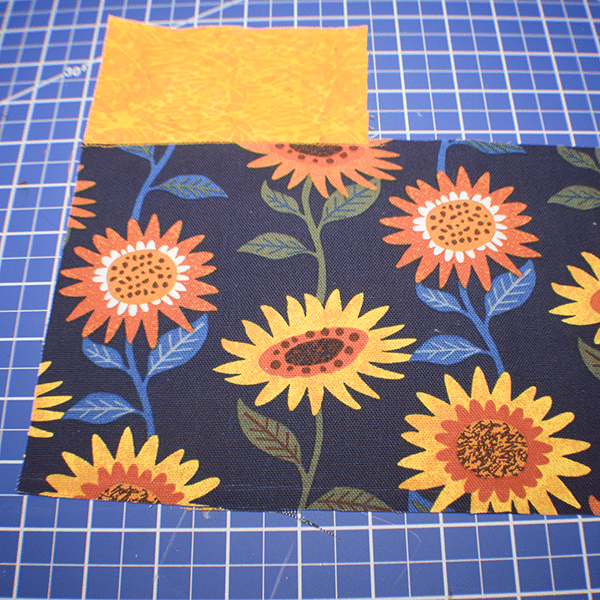
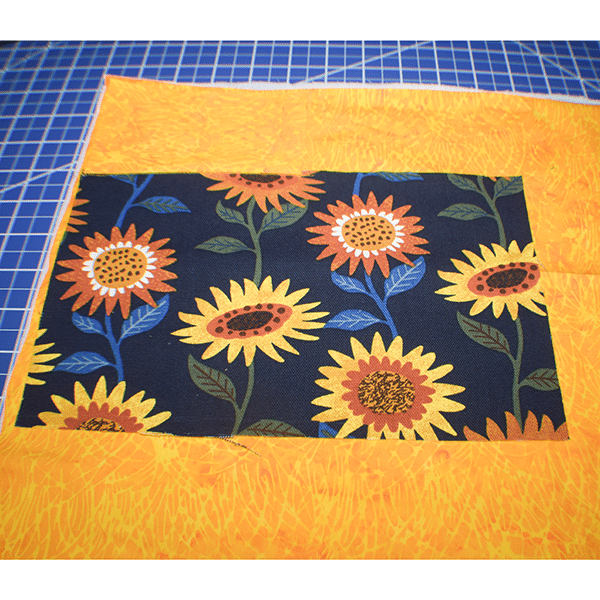
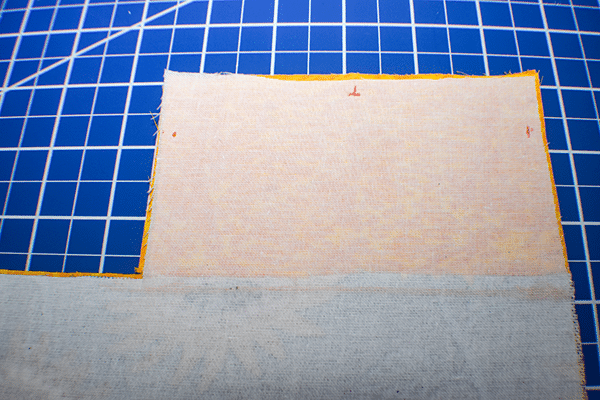
Step 1: Cut Fabrics
Cut a piece of outer fabric to measure 10 1/4″ x 6 5/8″. The accent fabric measures 5 1/2″ x 3 1/8″.
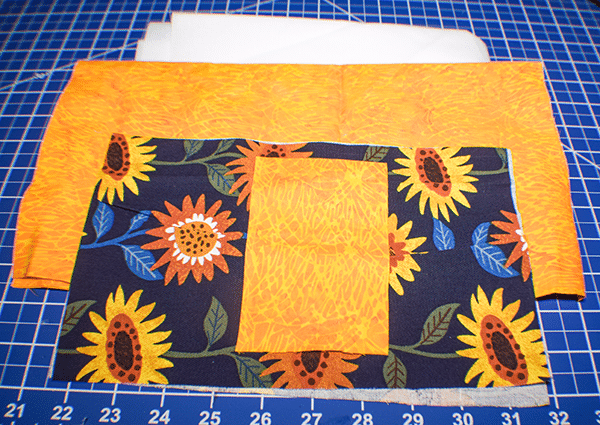
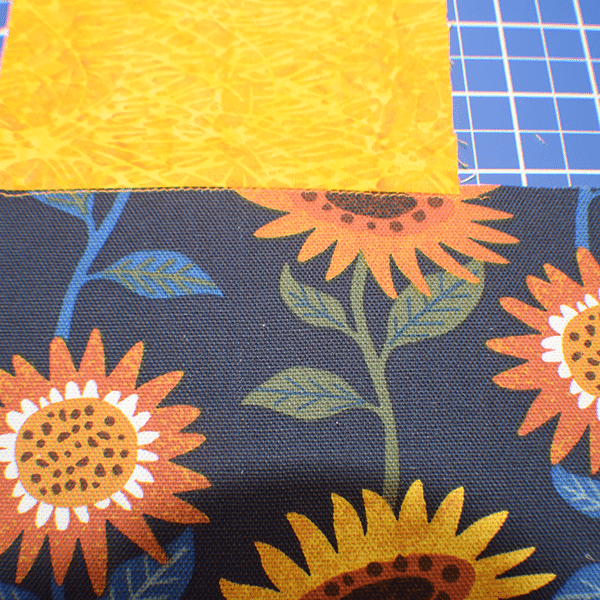
Step 2: Add the Accent Fabric
Place the accent fabric right sides together with the outer fabric on the left long end. Stitch using a 1/4″ seam allowance. Topstitch the seam.
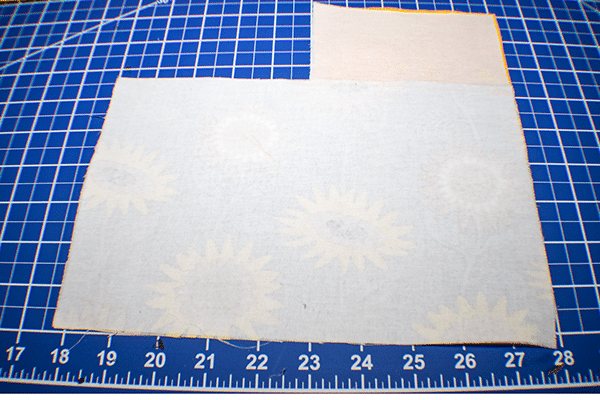
Step 3: Cut the Lining and Pellon SF 101
Using the outer and accent fabrics you just stitched as a pattern cut out the interfacing and lining to match.
Step 4: Fuse the Interfacing
Place the interfacing on the wrong side of the outer and accent fabric you previously stitched and fuse using a hot iron and following the manufacturer's instructions.
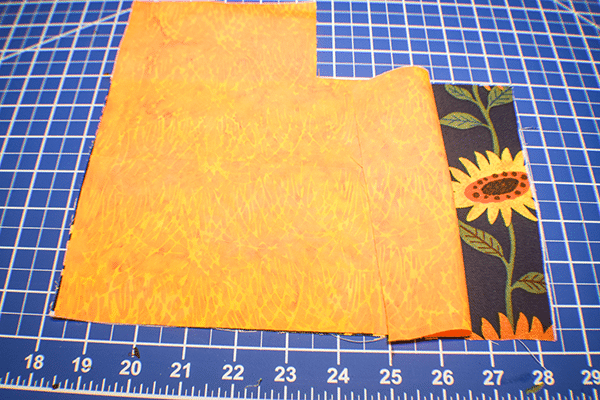
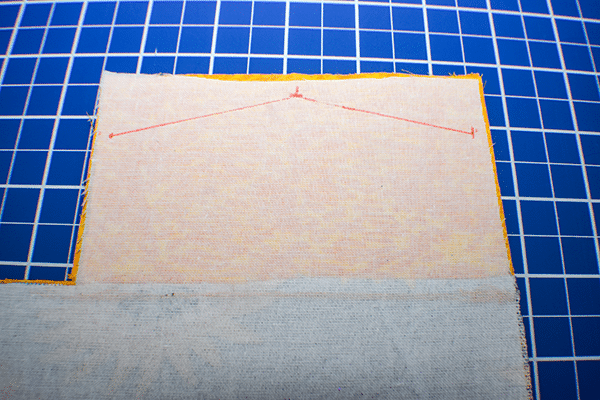
Step 5: Add the Lining Fabric
Place the lining fabric right sides together with the outer fabric and interfacing. Find the center of the accent piece and make a small mark on the interfacing 1/4″ down. Measure down 7/8″ from the top of the accent piece along each side and make a mark 1/4″ in from the sides. Draw a line from the center point to the side points. Stitch all the way around using a 1/4″ seam allowance leaving an opening fir turning.
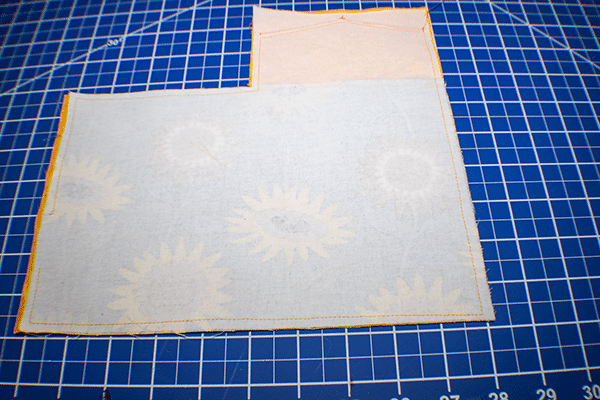
Step 6: Turn Right Sides Out
Turn the purse right sides out using the opening you left while stitching. Press. Topstitch all the way around.
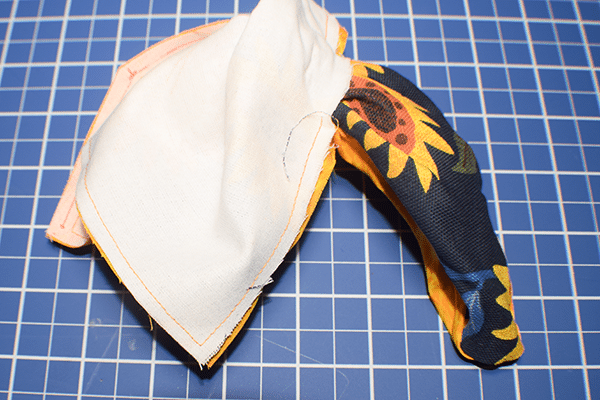
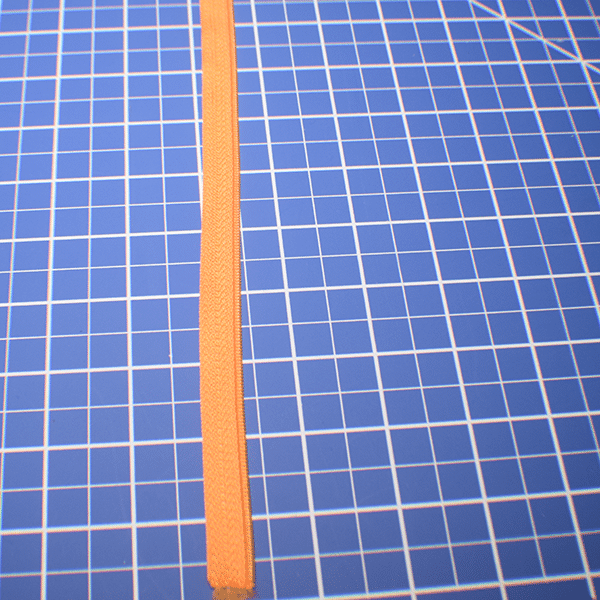
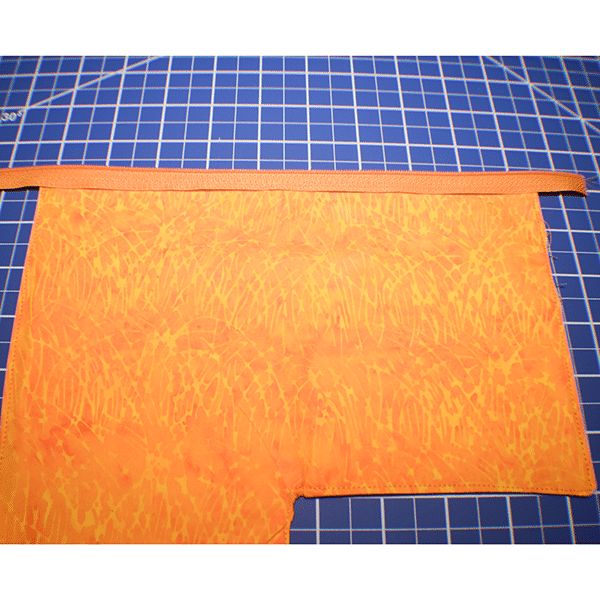
Step 7: Attach the Zipper
Separate the continuous zipper so you only have one side. You can use a regular zipper but you will have to buy a longer one and cut off both ends so that it can be separated. It is more difficult to replace the zipper pull in this type of zipper than a continuous one but it can be done. Stitch the zipper to the bottom of the purse with the teeth facing the bottom.
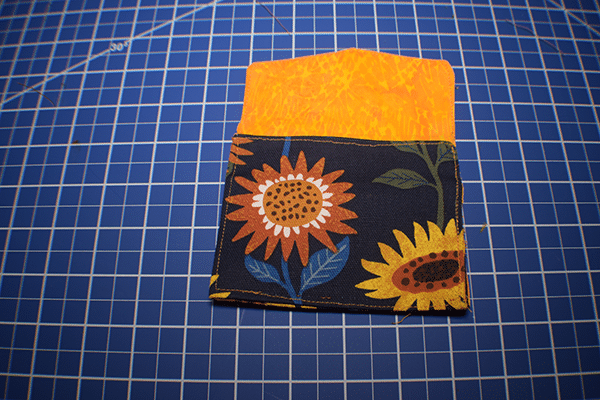
Step 8: Fold the Purse
Fold the purse up 2 1/2″ from the bottom and then in half again from the side until both sides meet and the accent fabric is on the top. Clip using a wonder clip.
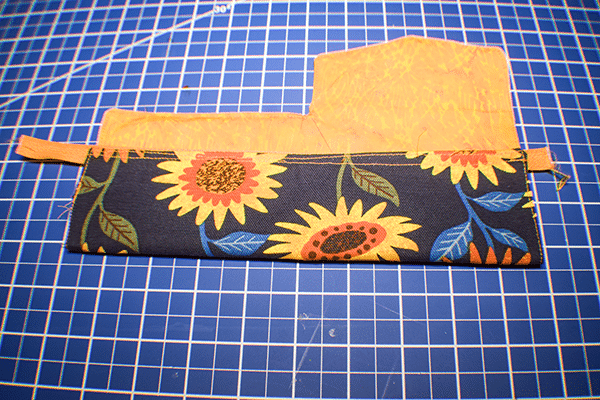
Step 9: Add the Zipper Slider
Add the zipper slider to the zipper. The zipper ends will be together once you have folded the purse so you can slip the pull onto the ends of the zipper. Cut off the excess zipper.


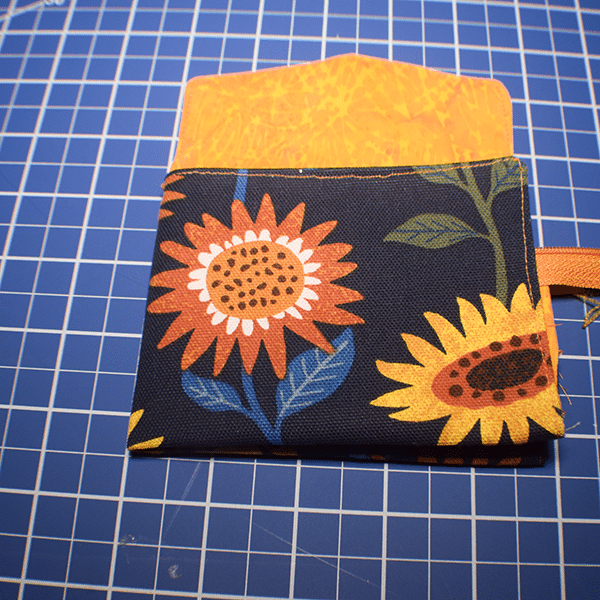
Step 10: Topstitch
Topstitch along the sides and bottom to secure the purse together.
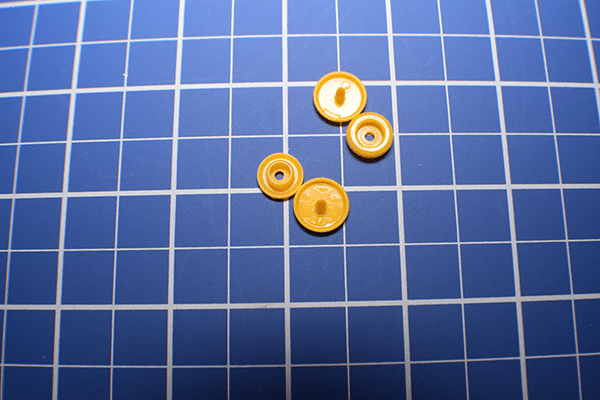
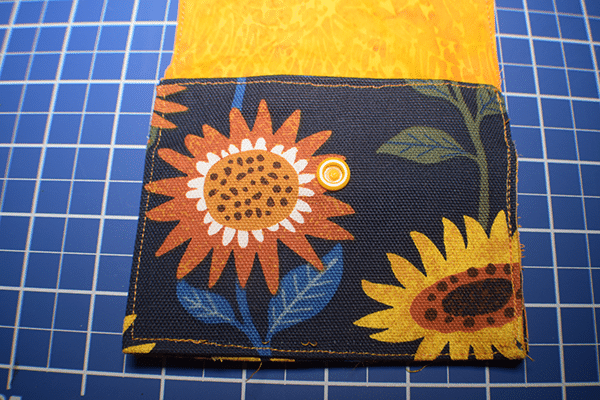
Step 11: Add the Kamsnap
Measure down 1/2″ from the top of the accent piece in the center and place one side of the Kamsnap, Measure down 1 3/”” the front of the main purse in the center and add the other half of the Kamsnap. If you are unfamiliar with how to add Kamsnaps check out this video.
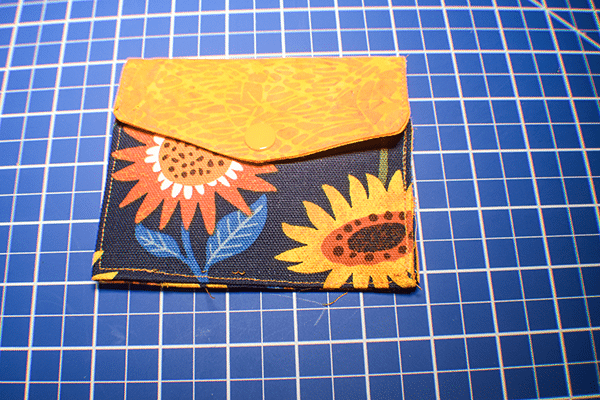

Once you have added the Kamsnap you have finished your simple zippered coin purse.
Project Snapshot
EASE: Easier to make than you might think even with a zipper
PROS: Great beginner project
CONS: Absolutely none
WOULD I MAKE THIS AGAIN? Absolutely.
I hope you enjoyed this simple sewing project. If you would like more sewing and crafting projects subscribe to our free newsletter and get your free eBook of 15 handbag patterns and Tutorials.
If you would like video tutorials of some of Sew Very Crafty's most popular posts subscribe to our free YouTube channel here.