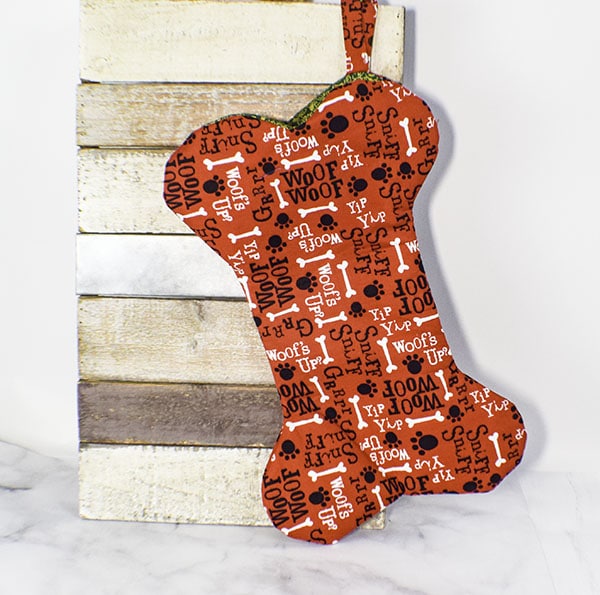
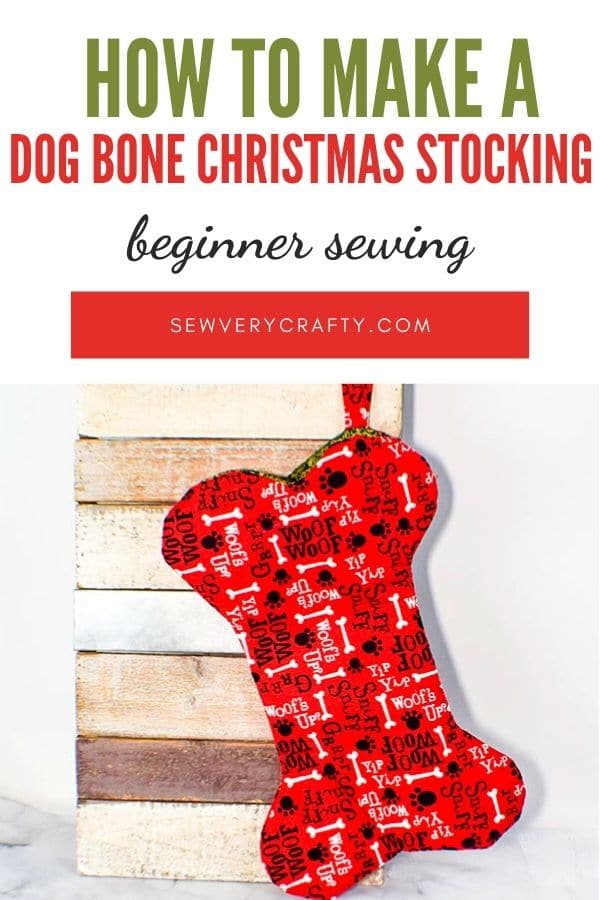
I love dogs. Christmas with dogs is always an adventure. Keeping ornaments and presents safe from wagging tails is always a challenge. Nevertheless, dogs and Christmas seem to go together. There are dog clothes. dog presents and Christmas dog treats just for Christmas with your dog. This year I decided to make my own dog bone Christmas stocking to put in the dog presents, clothes and treats. This project was surprisingly easy to make. It really only took a short time and can be made using beginner sewing skills. If you would like to make a regular Christmas stocking check out our Holiday Projects Vault for more stocking patterns and tutorials.
There are so many fun doggy prints out there to choose from to make this project. I happened to have this print on hand that I bought at Joann's sometime ago. But I know that there are some fun doggy Christmas prints at JOANN Fabric & Craft Stores, Hobby Lobby, Fabric.com or onlinefabricstore.net. I decided to delve into my stash and use this fabric and green Christmas print for the lining. This bone stocking is reversible so you can choose two fun fabrics if you want. This post contains affiliate links that if you click on them and make a purchase I may receive a small commission at no extra cost to you.
If you would like a video of this project head over to YouTube and check out my video on how to make it and while you are there subscribe to my channel.
What you will Need: How to make a dog bone Christmas stocking
- Dog Bone Pattern you can get by clicking on this think
- 1/2 yd outer and lining fabric
- 1/2 yd fusible fleece like Pellon TP971F
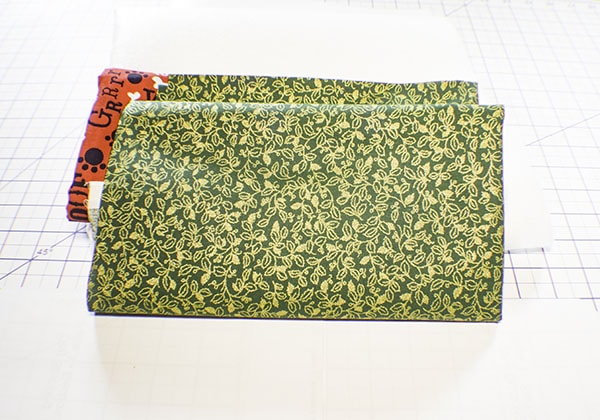
Step 1: Cut your fabrics
Tape the pattern pieces together to make half a bone. Using the pattern piece cut two each of the outer fabric, lining fabric, and fleece on the fold. From the outer fabric cut a strip that measure 8″ x 3″ for the hanger
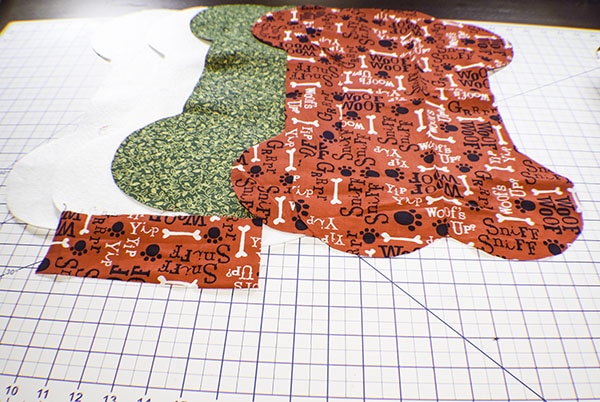
Step 2: Fuse the fleece
Fuse the fleece to the wrong side of the outer fabric following the manufacturers instructions.
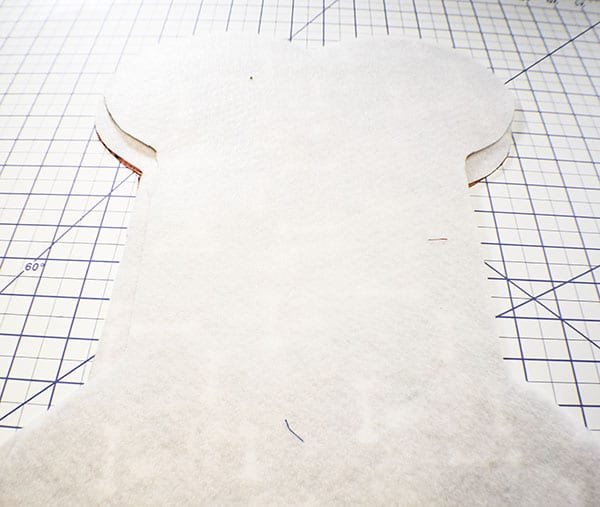
Step 3: Stitch the outer Fabrics
Place the outer fabrics right sides together and stitch along the sides and bottom of the fabrics using g a 1/4″ seam allowance. Start half way along the curved side of the top and stitch all the way around the piece until you reach the half way point of the other top curved edge. Turn right sides out. Repeat for the lining but leave an opening on one side for turning.
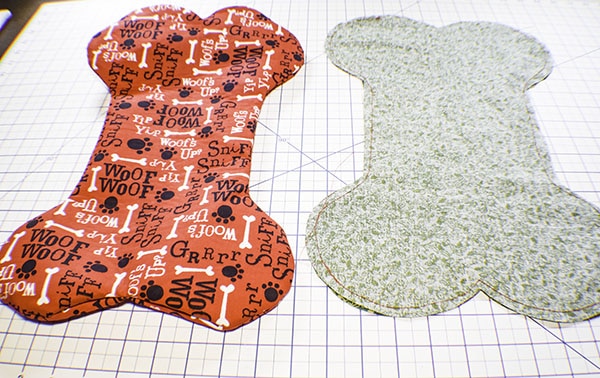
Step 4: Create the hanger
Fold the long raw edges of the strip toward the center and press. Fold in half to enclose the raw edges and press. Top stitch along both sides.
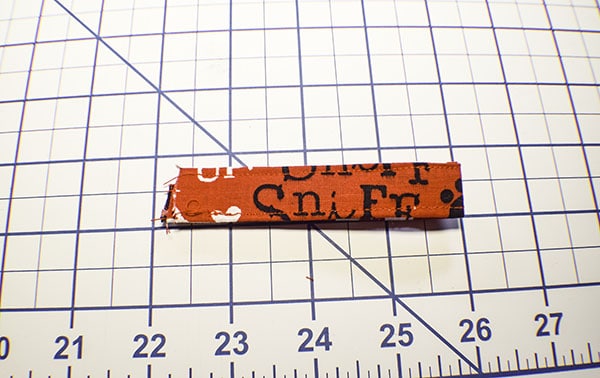
Step 5: Add the hanger
Place the hanger right sides together at the top of the outer piece and baste in place.
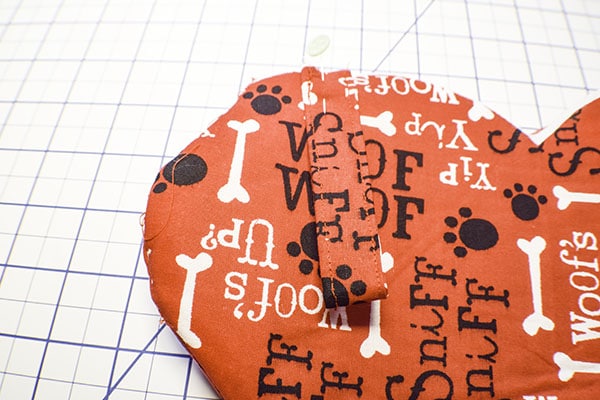
Step 6: Add the lining to the outer fabrics
Place the outer bone inside the lining bone so that they are right sides together and the hanger is between the two layers. Stitch around the top using a 1/4″ seam allowance.
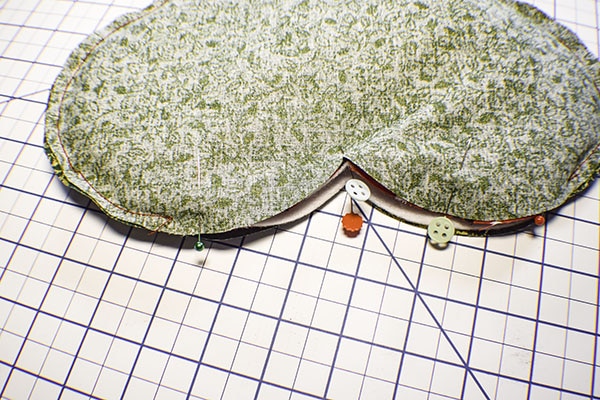
Step 7: Finish the Dog Bone Christmas Stocking
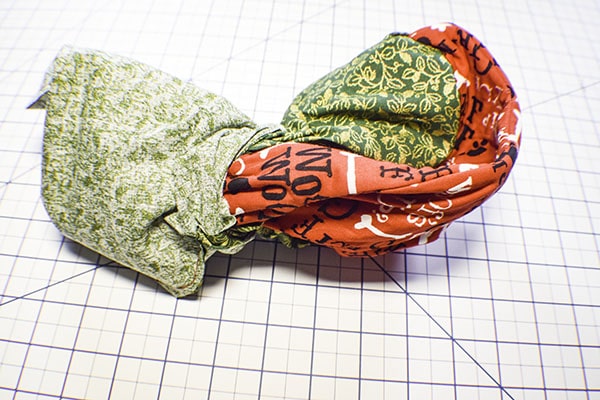
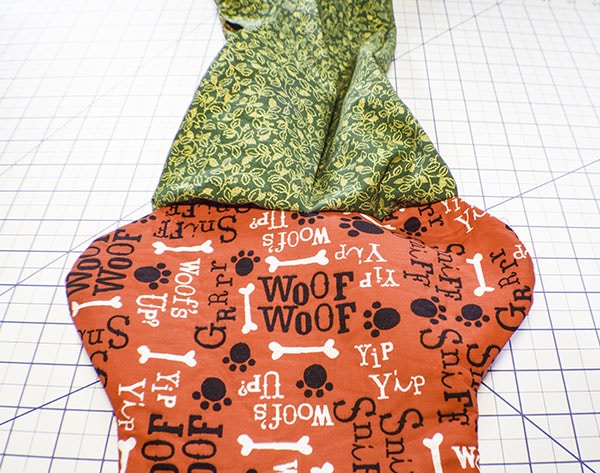
Turn the bone right sides out through the opening you left in the lining. Stitch the lining closed using ladder stitch. If you are unfamiliar with ladder stitch check out the video below. This is important if you want the bone to be reversible. Stuff the lining into the outer bone and you have finished your dog bone Christmas stocking

I hope you enjoyed this dog bone Christmas Stocking. If you would like more sewing and crafting projects sign up for our newsletter and receive your free sewing printable and many more.
If you would like video tutorials of some of Sew Very Crafty's most popular posts subscribe to our free YouTube channel here.



Great video, thanks. I inherited my moms sewing machine and this will be my first project.
Great!!. I am glad you liked it.
Im a little confused, does the facing get sewn to both the inside fabric and the outside fabric?
No, the interfacing is fused to the outer fabric only.