
 I love the look of porcelain Christmas ornaments. They are beautiful and classic and expensive. I thought I could make my own porcelain look Christmas ornaments using modeling clay and high gloss polyurethane. I didn't realize just how easy they would be or how beautiful they would come out. Modeling clay is not something I have a lot of experience with but I thought I would give it a try. The instructions on the package seemed easy enough so I pulled it out of the package and gave it a go. Of course I did not want to leave my ornaments plain so I took a tip from Better Homes and Gardens and used some cut glass to embellish my ornaments. I also used some small cookie cutters to cut out some Christmas shapes.
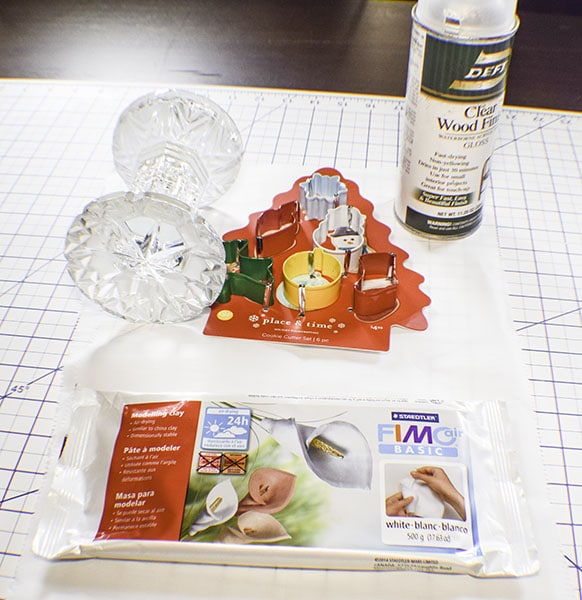
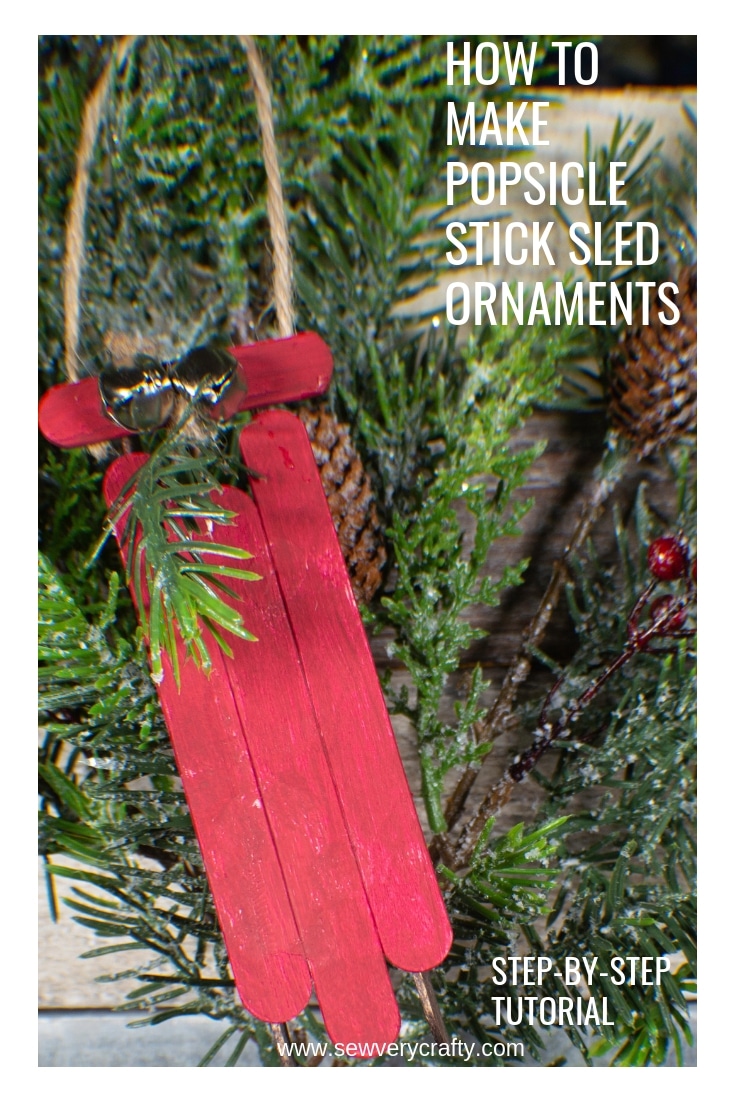
For this project I used Fimo air dry clay to make my ornaments. I purchased mine at Joann's but you can get it at Michael's or Amazon as well. You can use any type of air dry clay for this project I just happened to find Fimo. This post contains affiliate links that if you click on them and make a purchase I may receive a small commission at no extra cost to you. If you would like more Christmas crafts check out our Holiday Project Vault. For some cute wine cork ornaments check out our wine cork ornament post. How about some pinecone Christmas ornaments? Check out our post here.
What you will Need: How to Make Porcelain Look Christmas Ornaments
- One Package of Air Dry Clay
- One straw to make the hole for the hanger
- Cookie cutters
- Ribbon or twine for the hanger
- Cut glass to make the embellishment
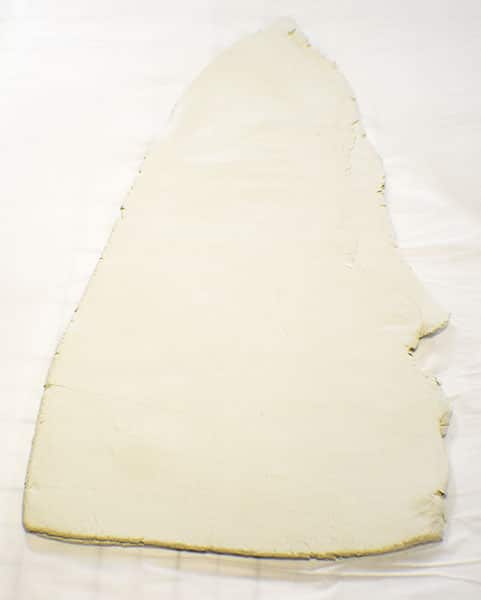
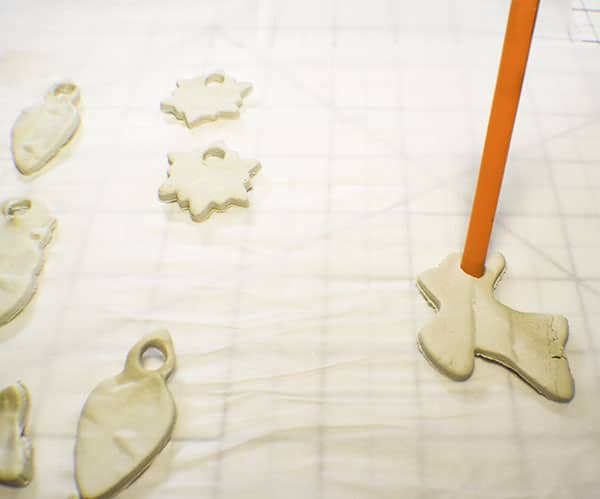
Step 1: Roll out the clay
Using a rolling pin or a dowel roll out the clay to a thickness of 1/4″.
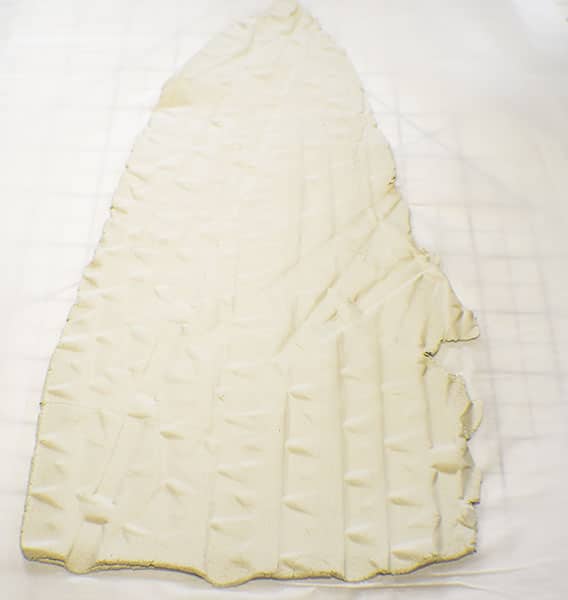
Step 2: Embellish the clay
Tear some pieces of clay a bit larger than your cookies cutters and either roll or press the glass into the piece so that the cut glass impresses into the clay.
Step 3: use the cookie cutters to cut out your ornaments
Press the cookie cutters into the clay to cut out the shapes.

Step 4: Create the hole
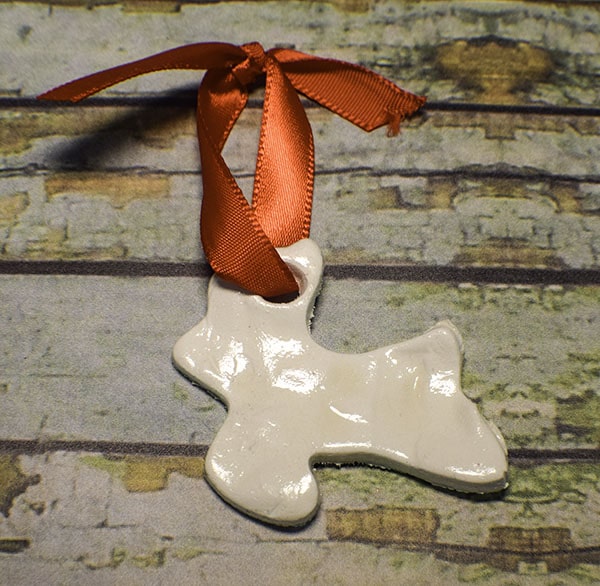
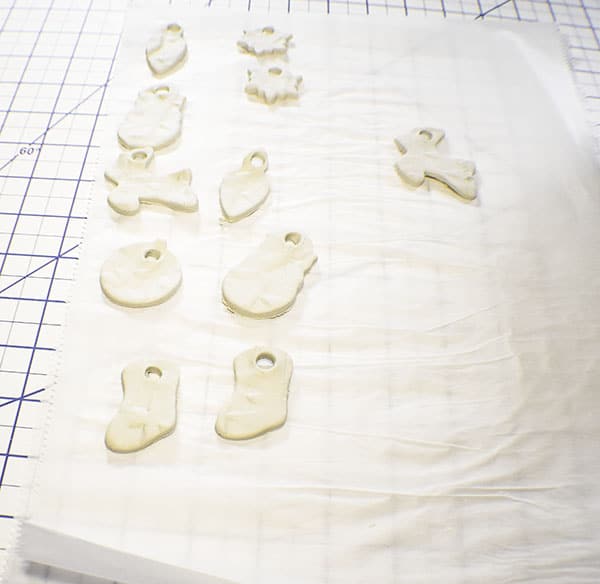
Using a straw, create a hole at the top of the ornament to insert the ribbon or twine. let dry according to manufacturer's instructions. Fimo drys in 24 hours.
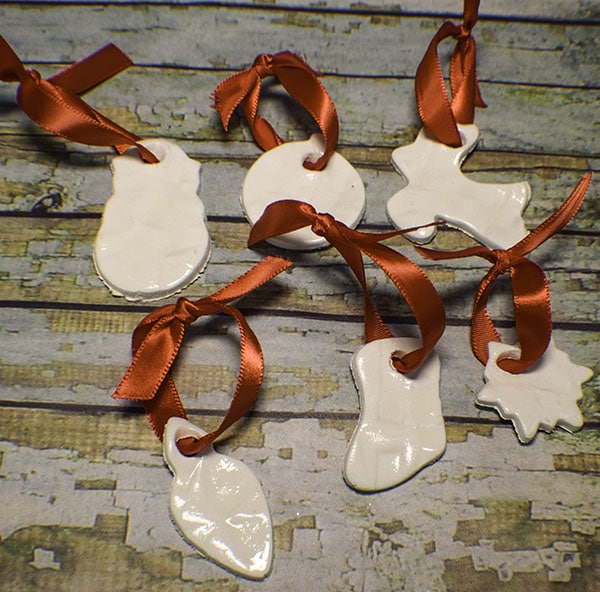
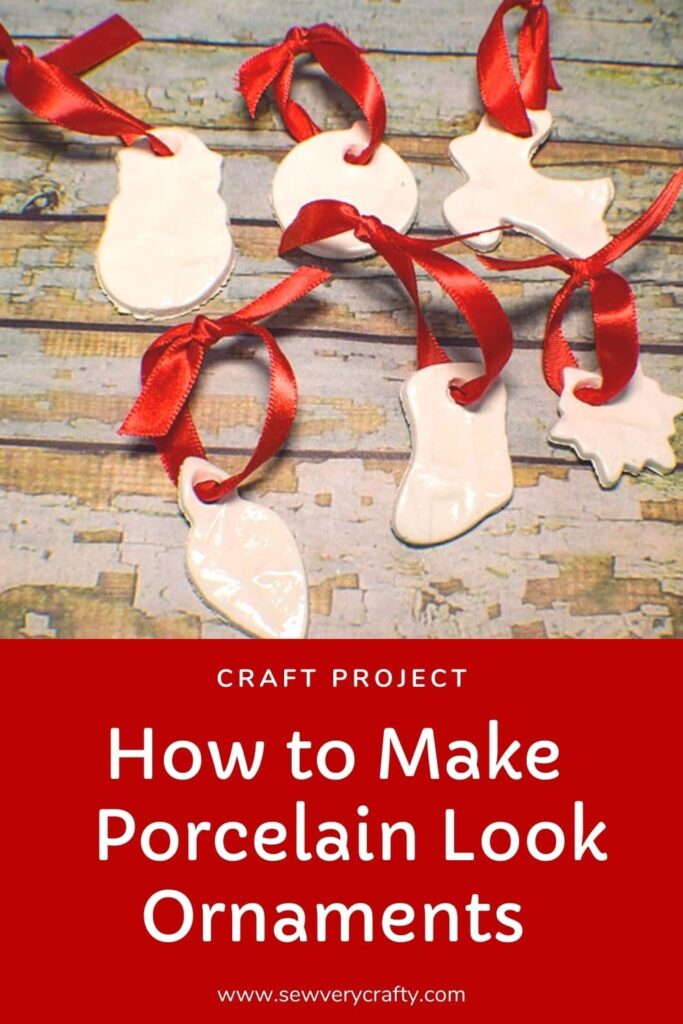
Step 5: Spray with Polyurethane
This is an optional step you can have your ornaments shiny or matte. I chose to have my ornaments shiny so I sprayed them with high gloss polyurethane. It is completely up to you how you want your ornaments to look. Let dry.

Step 6: add the hanger
Choose ribbon or twine and insert it into the hole and tie. Hang your ornaments on your tree for a festive look. You could also paint these if you like. It is completely up to you.
I hope you enjoyed making these porcelain look Christmas Ornaments. If you would like more sewing and crafting projects sign up for our newsletter and receive access to our free printables library.
If you would like video tutorials of some of Sew Very Crafty's most popular sewing and crafting tutorials subscribe to our free YouTube channel here.


Hi! Do you let the clay airdry after using the cookie cutters/before spraying them with Polyurethane? Thank you! – Megan
Yes.