
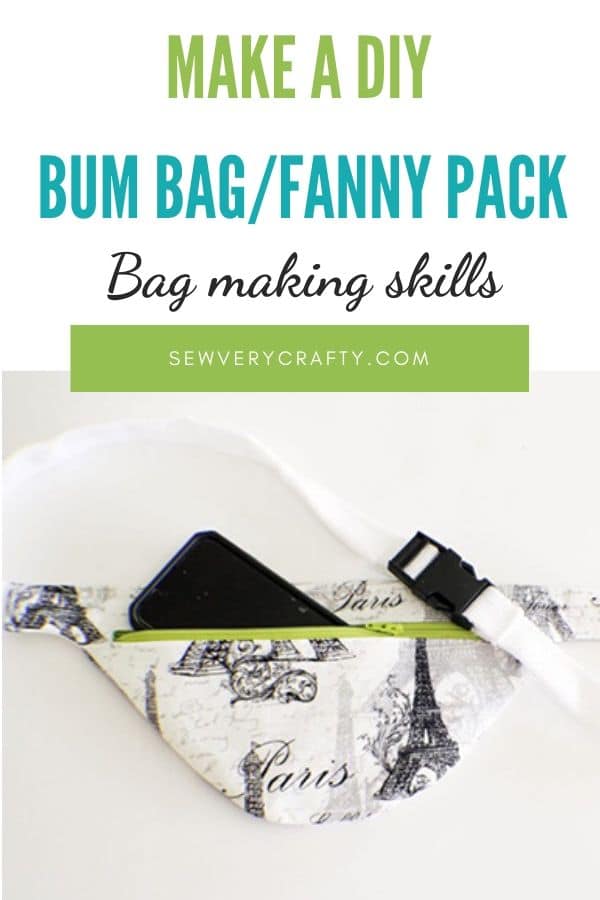
How to Make a DIY Bum Bag: Pattern and Tutorial
I have an abundance of fat quarters that I have collected over time so I thought I would make something useful out of them. I decided to make a fanny pack that you can take anywhere. You can create this entire pack with two fat quarters, some 1″ strapping, a zipper and a parachute clip. If you don't have fat quarters you can use remnants or any other fabric in your stash or you can head over to fabric.com or use this 40% off coupon from Hobby Lobby and purchase everything you need. Here is my post on How to make a Diy Bum Bag: Pattern and Tutorial.
This is a flat pack that is suitable for a phone, some money and some ID but nothing more. If you would like a larger and fuller bag check out my tutorial on how to make a DIY Fanny Pack/Bum Bag it is exactly what you will need. This post contains affiliate links that if you click on them and make a purchase I may receive a small commission at no extra cost to you. As an Amazon Associate I earn from qualifying purchases.
If you would like a video tutorial of this project head over to YouTube and check out my video on how to make this project. In the mean time subscribe to my channel for more sewing and crafting videos.

What you will Need:
- Pattern you can get here. Just click the link
- 2 fat quarters or remnants
- 1/4 yd. Pellon 808 interfacing
- 1″ webbing or strapping
- 9″ Zipper
- Parachute clip
- Standard sewing supplies

Step 1: Cut your fabrics and fuse the interfacing
Cut out 2 pieces of outer fabric, two pieces of lining fabric and 2 pieces of interfacing from the pattern. Fuse the interfacing to the outer fabric pieces on the wrong side. If you are unfamiliar with fusible interfacing it is easy to attach. One side of the interfacing has a heat activated glue. Place the glue side to the wrong side of your fabric and press with a hot iron. The heat will activate the glue and the two pieces will fuse together so they can be treated as one.
Step 2: cut the pocket and fuse the interfacing
Cut a 10″ x 11″ rectangle of lining fabric and interfacing. Fuse the interfacing to the lining fabric.
Step 3: create the zipper opening
Place the rectangle of fabric to one of the outer pieces centered and right sides together and pin or clip. Measure down 1.5″ from the top and draw a line horizontally that measures 9″. Measure down 3/8″ and draw a second line. Join the two lines so that you have created a box. Inside the box center a third line that is 8″ long. Add two lines going from the end of the line to the corners to form a triangle on each end. Sew a line around the box.

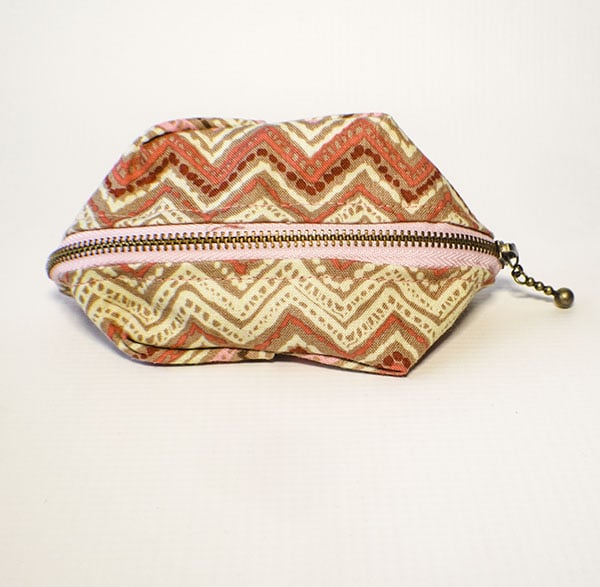
Step 4: add the zipper
Using a seam ripper and a small pair of scissors cut the 8″ line and the lines making the triangle without cutting through the stitching. Push the square through the opening you just made and press. Insert the zipper inside the box and sew around the edge. You can also follow my tutorial on how to install a zippered pocket. Fold up the square so that the bottom lines up with the top of the pack. Trace around the pack. Sew 1/4″ inside the line you just traced. Cut off the excess around the stitching so that the pocket mirrors the shape of the pack.


Step 5: Create the bag
Place the outer pieces right sides together and sew around the bottom. Leave the top and the sides open. Turn right side out.

Step 6: Create the lining
Place the two lining pieces right sides together and sew around the bottom leaving an opening for turning. Leave the sides and top open.
Step 8: Add he lining
Place the outer bag into the lining bag so that they are right sides together. Sew around the top edges but leave the sides open. Turn the bag through the opening you left in the lining. Sew the opening closed.

Step 9: Add the strapping
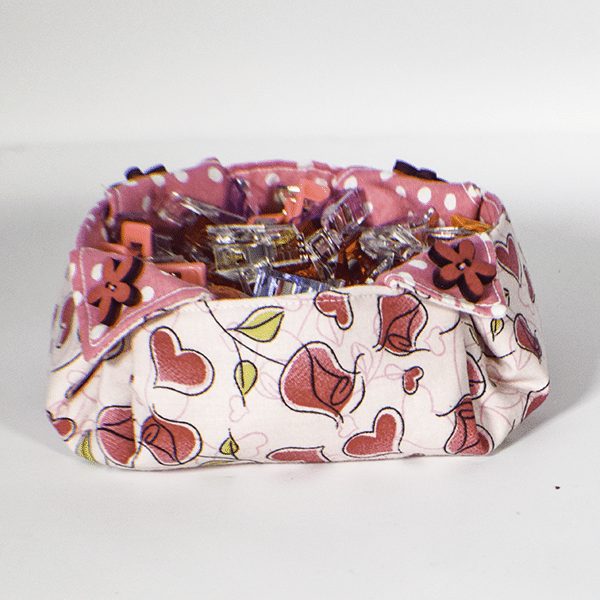
Add the strapping to each side of the bag turning the raw edges under. Stitch across the strapping and the folded edges. Stitch across the top to close it up. You will notice that I used clips to hold the top together before sewing. I like this method better than pins for this project. If you don't have these clips you can purchase them at Amazon using this link.

Step 10: Add the Parachute clips
Add the parachute clip to each end of the strapping and sew the lining closed using ladder stitch. Your DIY Fanny pack is now complete.


If you like this project and want more in the future sign up for my news letter and get your free ebook of handbag patterns and tutorials as well as monthly updates on my latest sewing and crafting projects.
*This post contains an affiliate link that if you click and purchase I will receive a small commission at no extra charge to you.*


I’m really struggling with how to finish this bag off. I understand that there are two pieces of interfacing, but I read that first they are ironed to the outer fabric and then I see they are ironed to the inner fabric. My zipper is sewn to both the inner and outer fabric and so the two bags are attathed. I don’t understand turning the bag through the opening in the inner bag. What am I doing incorrectly? I love this pattern, I just don’t understand this last bit before the ties go on. Many thanks for your help. Sincerely, Adrien
I think that you are confusing the pocket piece and the lining. The pocket piece has interfacing but the lining does not. The zipper should be attached to the pocket piece. Once you have completed the pocket piece you will insert the entire outer piece with pocket into the lining piece that you have created so that they are right sides together. That lining piece will have an opening at the bottom. Sew all the way around the top edges of the bag so that the top is still open. Turn the bag by pulling the outer bag through the opening in the lining then stuff the lining into the outer bag. You will have a large opening at the top and the sides where the strapping goes. Finish the bag by adding the strapping as described and sewing the top closed. I hope this helps. let me now and I will try to help you further.
I don’t understand how the lining is supposed to work. I sew the lining to the top and pull the bag through the bottom of the lining. But the pocket doesn’t open into the lining, it opens into the pocket piece. So once you stuff the lining in through the top, and close the top, it’s just the the lining taking up space inside the pocket, and you can still see the seams inside the pocket piece.
I feel like I’m missing something.
Remember that the zipper opens into the pocket piece that you made it does not open into the lining. Did you remember to turn up the pocket piece at the bottom so that there are two sides to the pocket piece? You will trim the pocket piece to match the shape of the bag but otherwise you need to make sure that there are two sides to the pocket piece so that when you sew the bag right sides together you will create the bag shape and the pocket. The zipper should open into a fully enclosed pocket at this step.
The lining is just there to help to close the top of the bag and for structure. Technically you do not need it. You could just fold down the raw edges and sew them closed. Once you have sewn around the top of the bag and pulled the bag through the opening the lining will go into the top of the bag. You push the lining into the bag and press it. Continue to the next step and turn under the side raw edges and insert the strapping and sew the top closed.
I hope this helps. Let me know if you need anything else.
Do you add seam allowance to the pattern before cutting? Or is the seam allowance included? Is it 1/4 inch? Thanks!
The seam allowance is 1/4” and has already been added.
Is there a way to do a video for this? I feel like I am missing something because I am not sure how to turn this bag out.
Yes. I will try to do a video for this.
I have done a video for this project. I hope this helps.
Thank you very much for this free pattern and instructions. My kids and I have really enjoyed making our bumbags. I like others was a bit confused with the pocket and lining stages and found that it worked well to skip the pocket stage and instead use interfaces lining pieces:
1. Use first outer and lining pieces right sides in to insert zip
2. Add second lining piece behind first lining right sides in and second outer piece in front of first outer piece right sides in
3. Sew through all four layers, all around bottom curve and along top straight edge, leaving a gap in the middle of the top seam to turn the bumbag right side out.
4. Finish the gap in the top seam by hand – both on the outer and in the lining.
5. Add straps
I hope this makes sense and is helpful. It turns out perfectly and not only saves time but also fabric!
Thank you for your insight. I am sure those tips will be helpful to others.