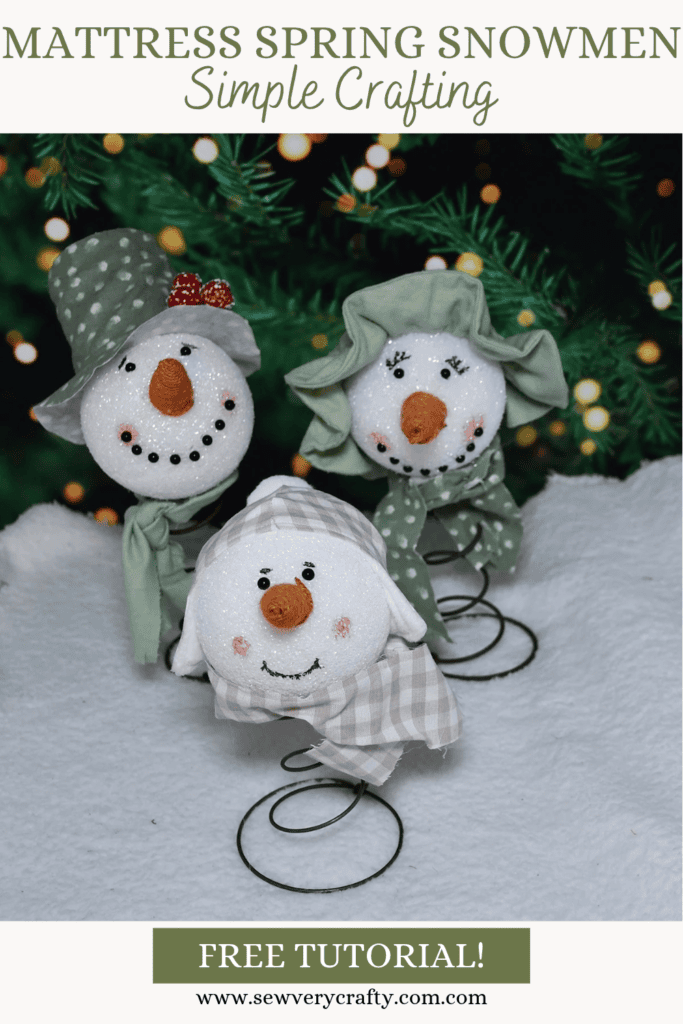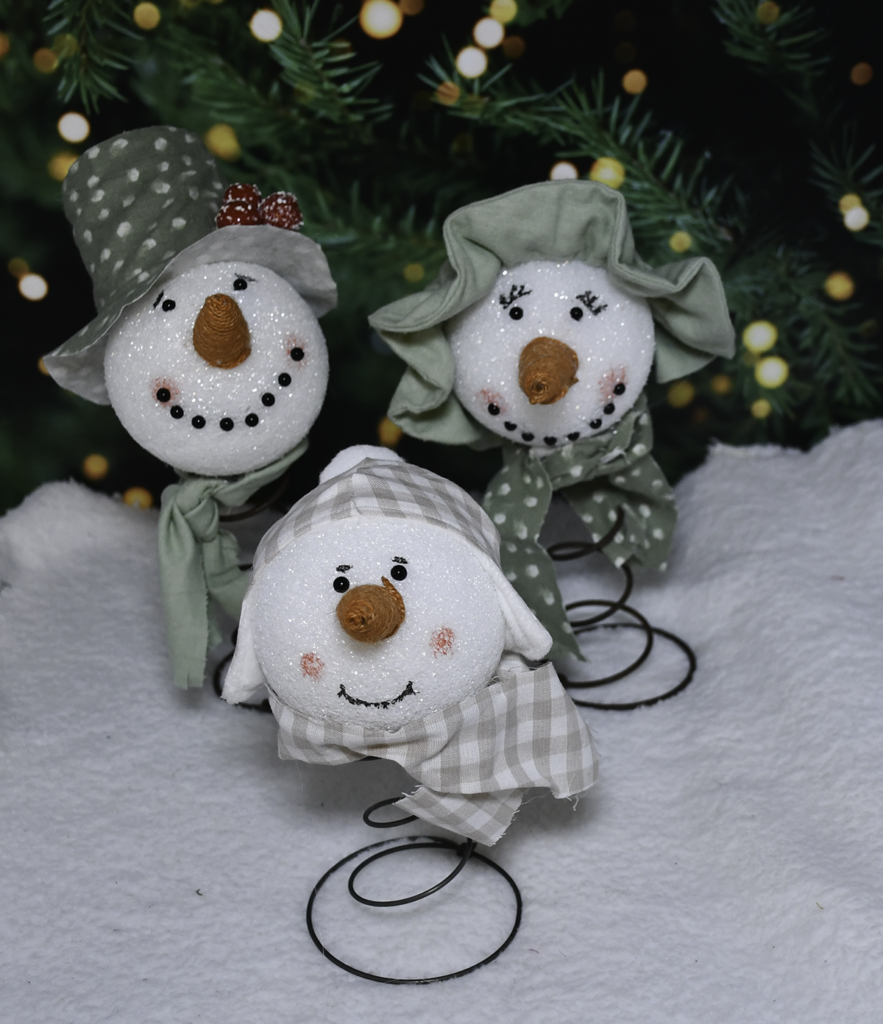
I came across this project on Pinterest and decided to make a few and show you how to make them yourself. This mattress spring snowmen project is both a sewing and crafting project so all of your skills come into play in this one. I have made a number of hats on the site but this is the first time I have made one this small. I think it will be fine so let’s get going. If you would like more holiday sewing and crafting projects head over to the holiday project vault.
This post contains affiliatwe links that if you click on them and make a purchase I will receive a small commission at no extra cost to you. As an Amazon Associate I earn from qualifying purchases.
What you will Need: How to Make Mattress Spring Snowmen
- Pattern you can get by clicking on this link
- Mattress Spring — I got mine on Etsy
- 1/4 yd fleece for hat and scarf
- Dollar Tree 3.8″ styrofoam ball
- Safety eyes or google eyes
- Dollar Tree Christmas picks
- Black paint or black paint pen
- Pink paint
- Dollar Tree carrots
- Dollar Tree plant starter pot
- Pompon
- Hot Glue or e6000
- 9″ of 1/2″ elastic
Step 1: Stitch the Man’s Hat
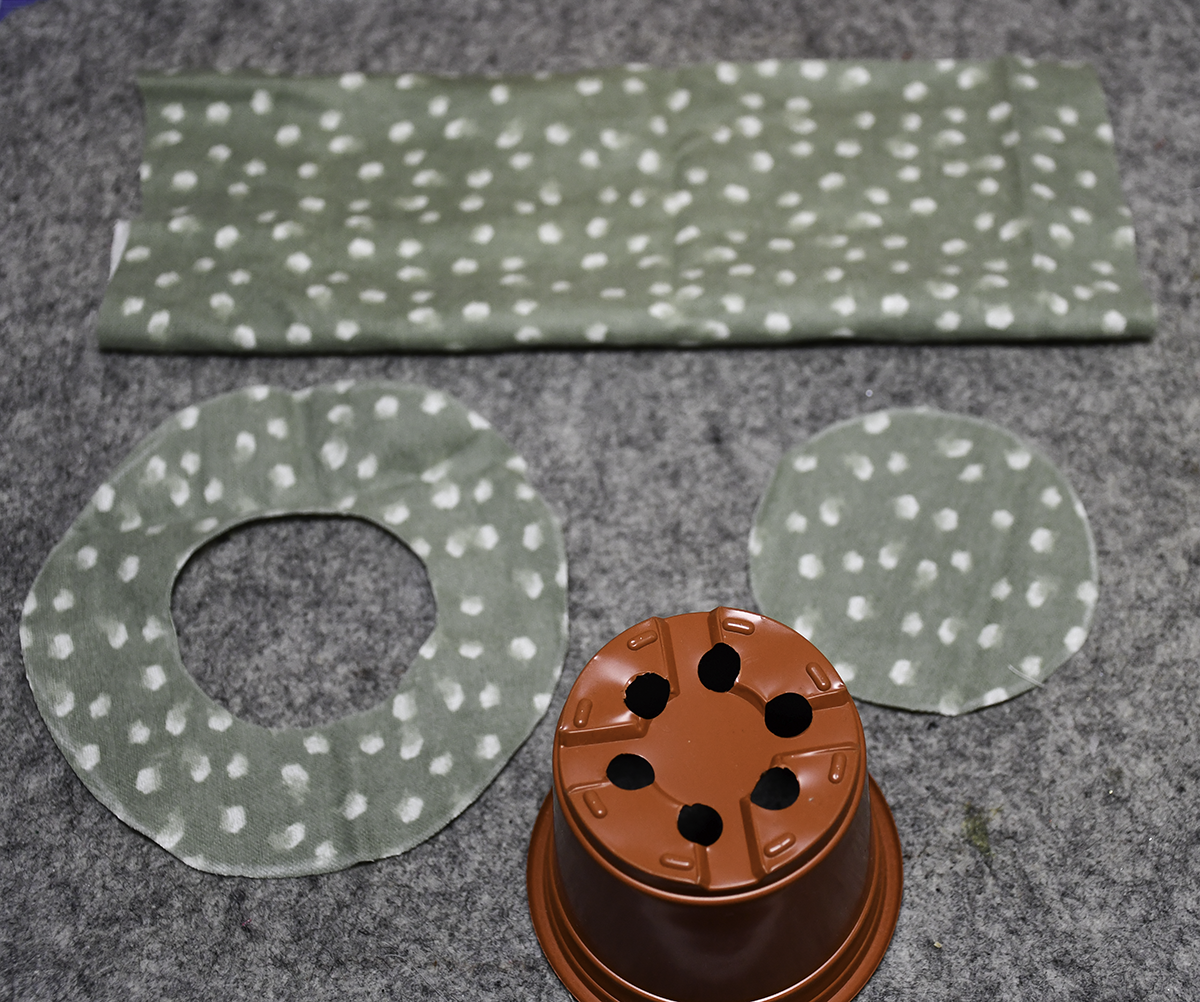
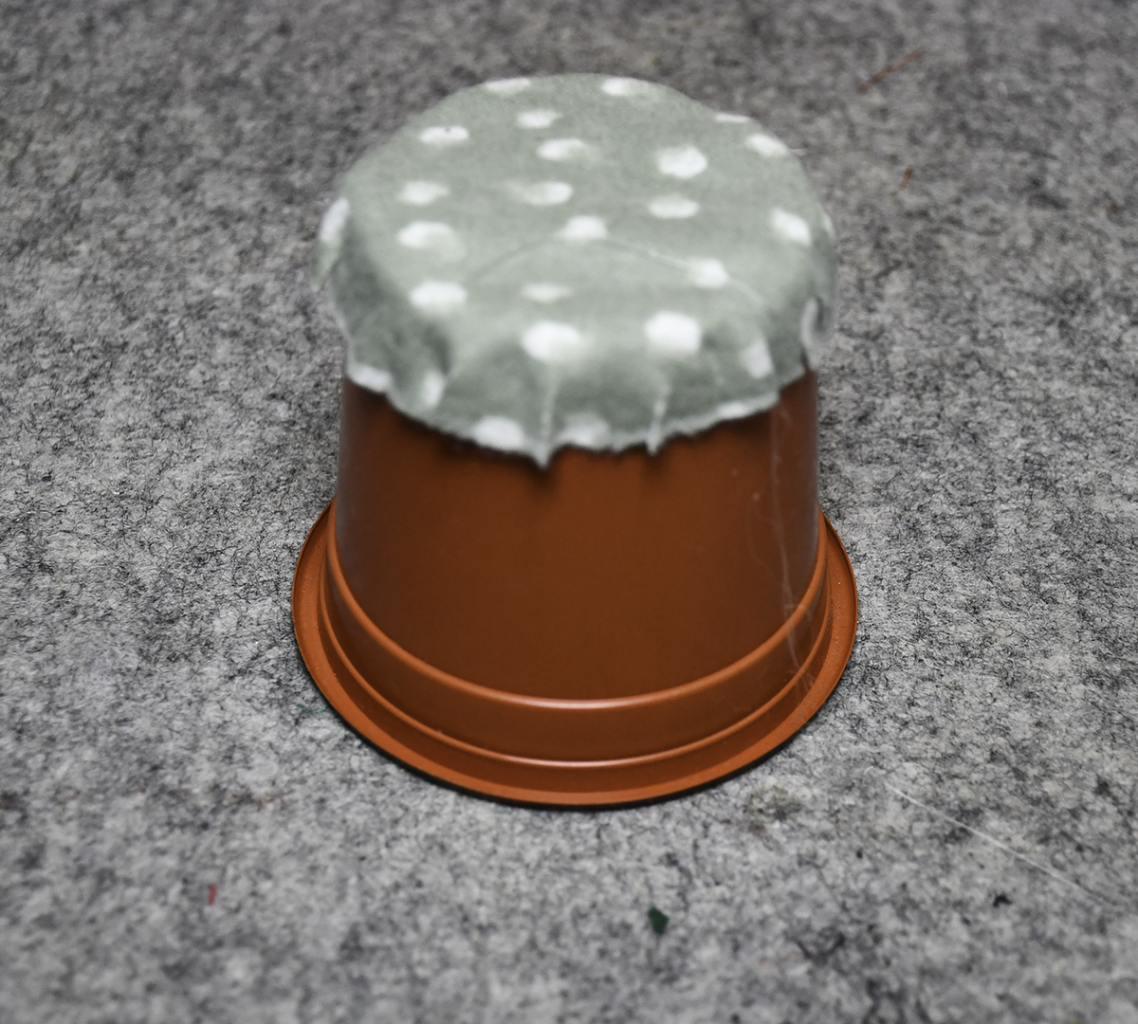
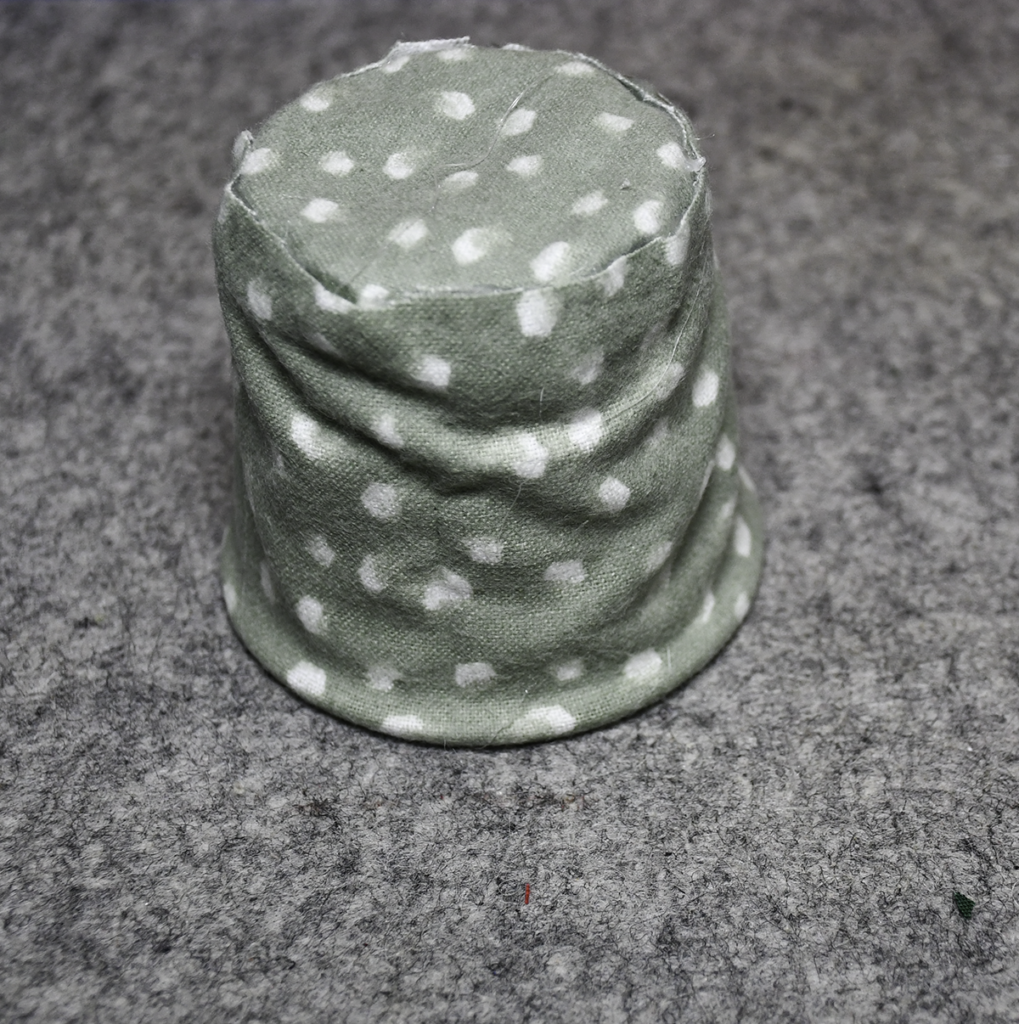
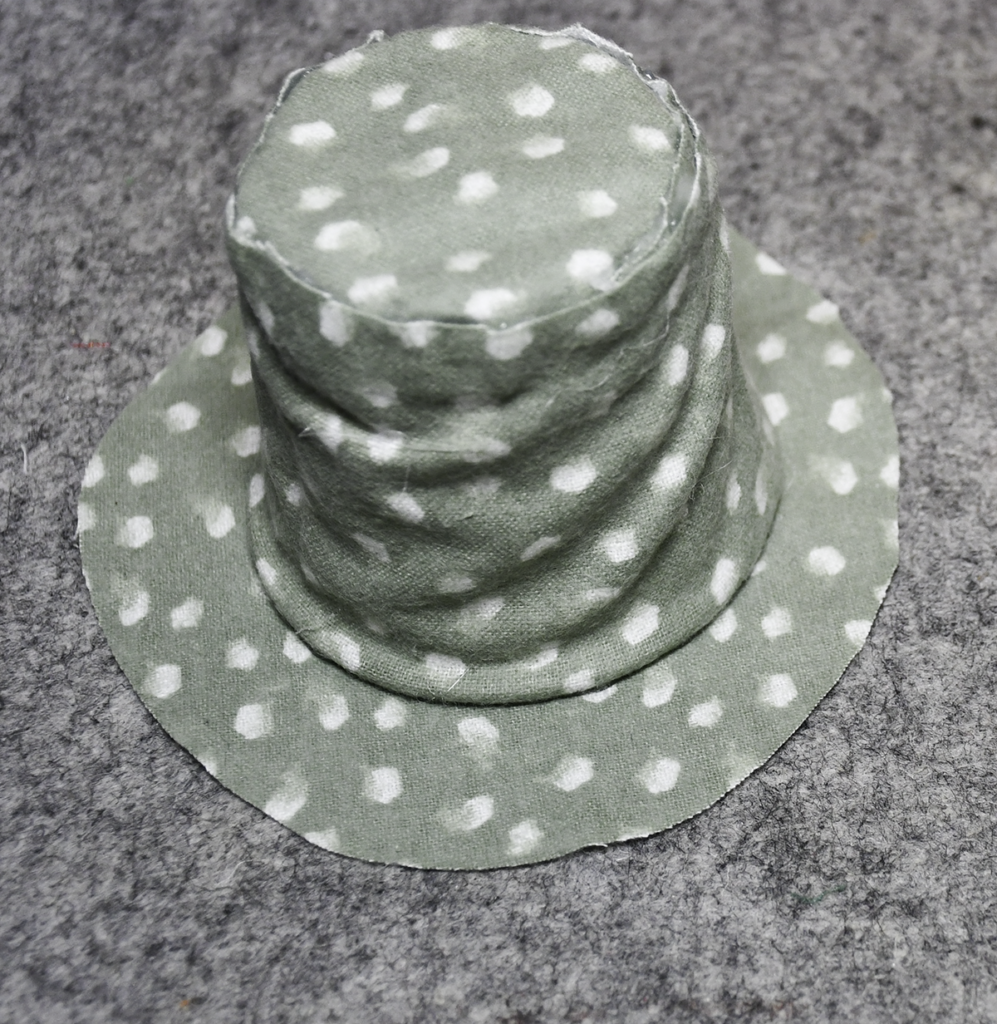
To create the man’s hat start with the starter plant pot. Trace the open end onto a piece of thick felt or fabric. Measure inside that line about 1/2″ and draw another circle. Decide on the width that you want the brim to be and draw another circle. outside the first. Cut out the outer and inner rings leaving a donut shape. Take the center that you cut out and hot glue it to the closed end of the pot. Clip around the excess to create small steps. Glue them to the side of the pot to make a smooth transition between the top and sides. Cut a rectangle slightly longer than the pot that goes all the way around the sides. Glue it to the side. Clip the bottom into strips and glue them inside the pot. Add the brim. by gluing it to the open end.
Step 2: Stitch the Woman’s Hat
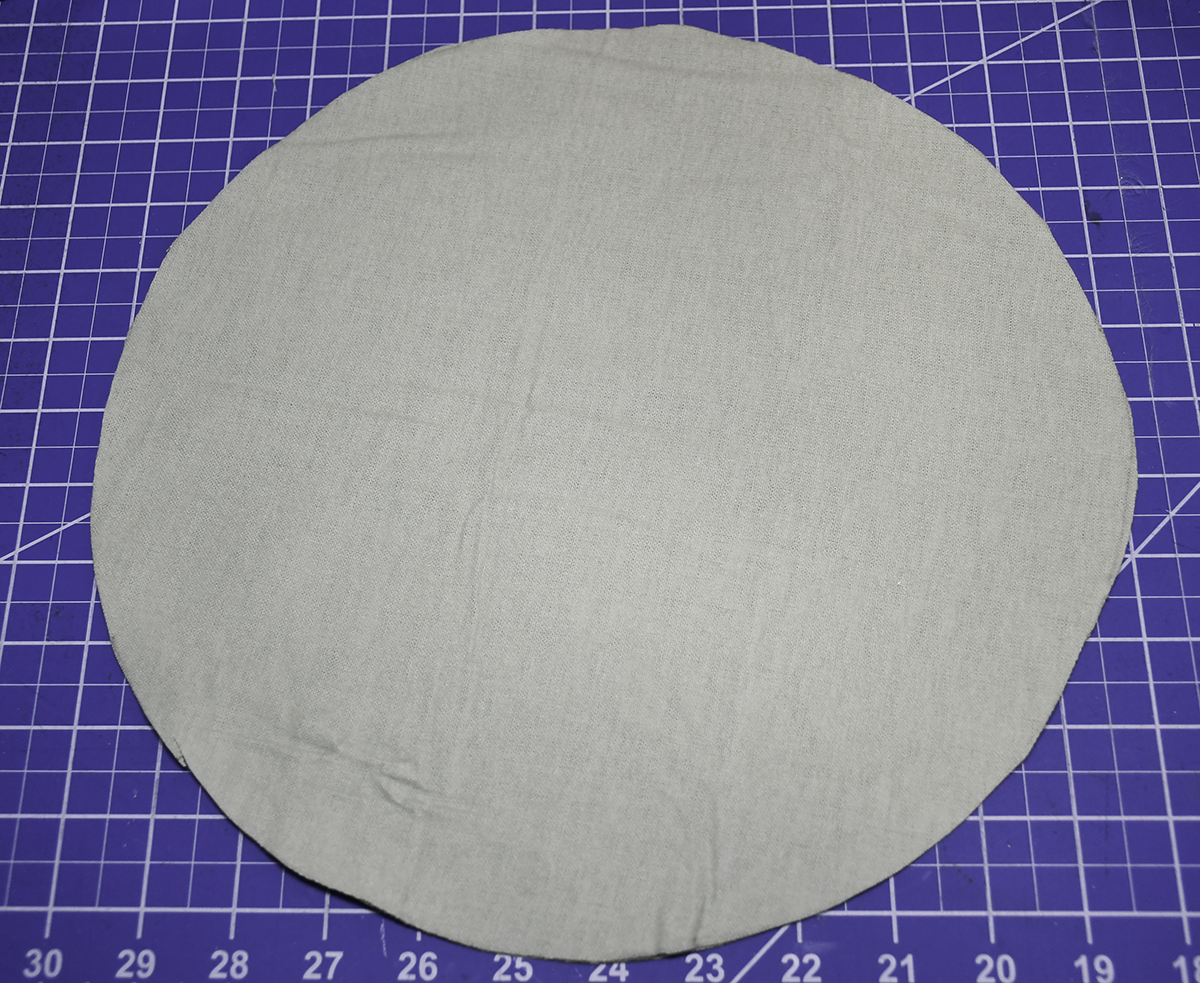
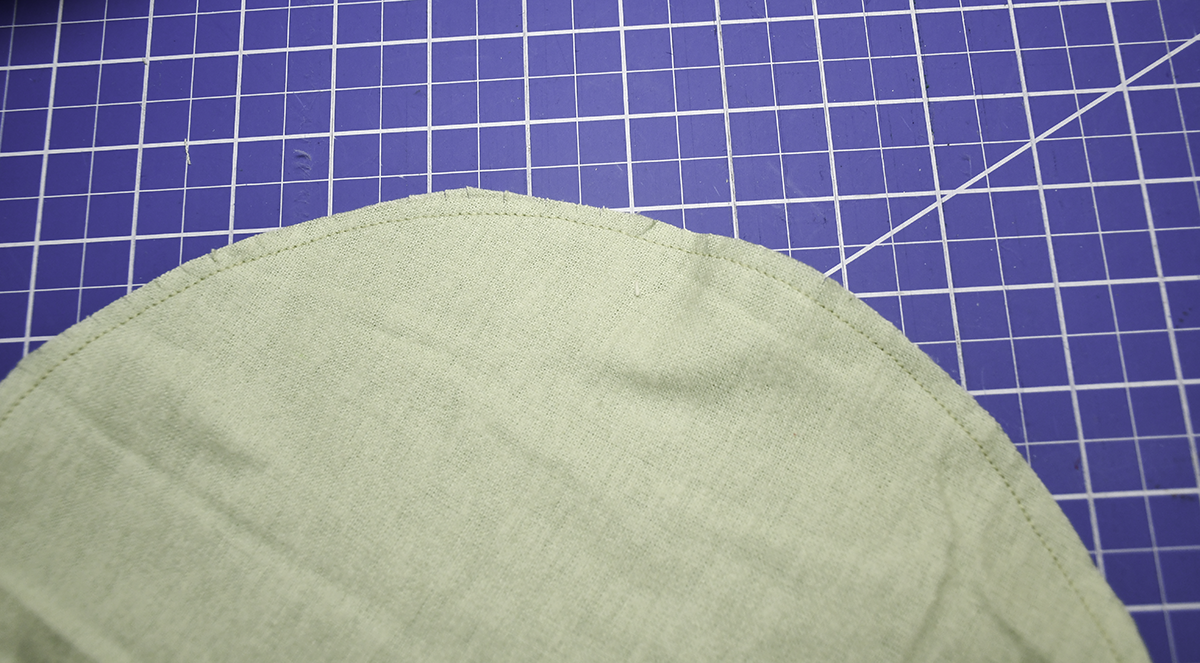
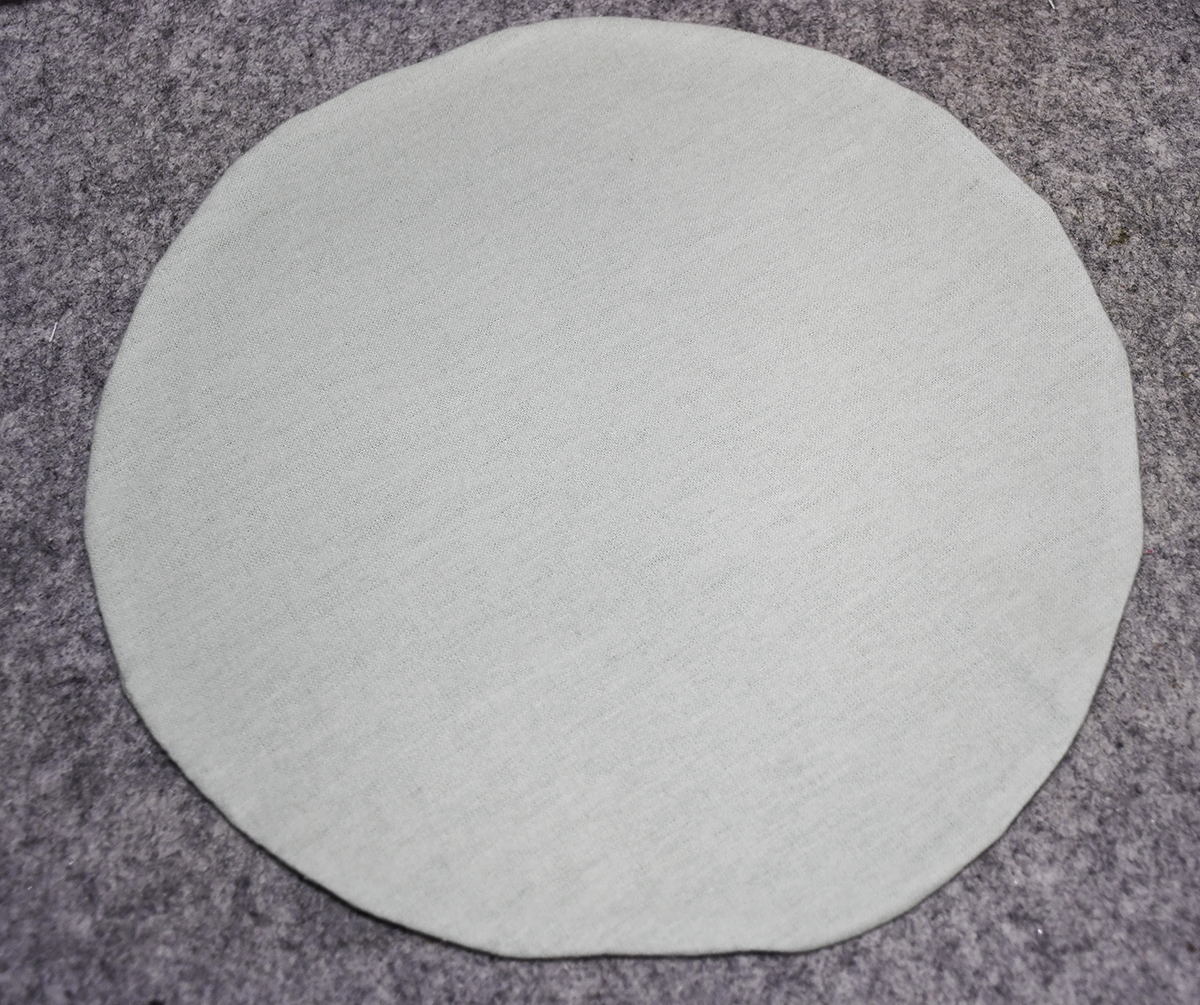
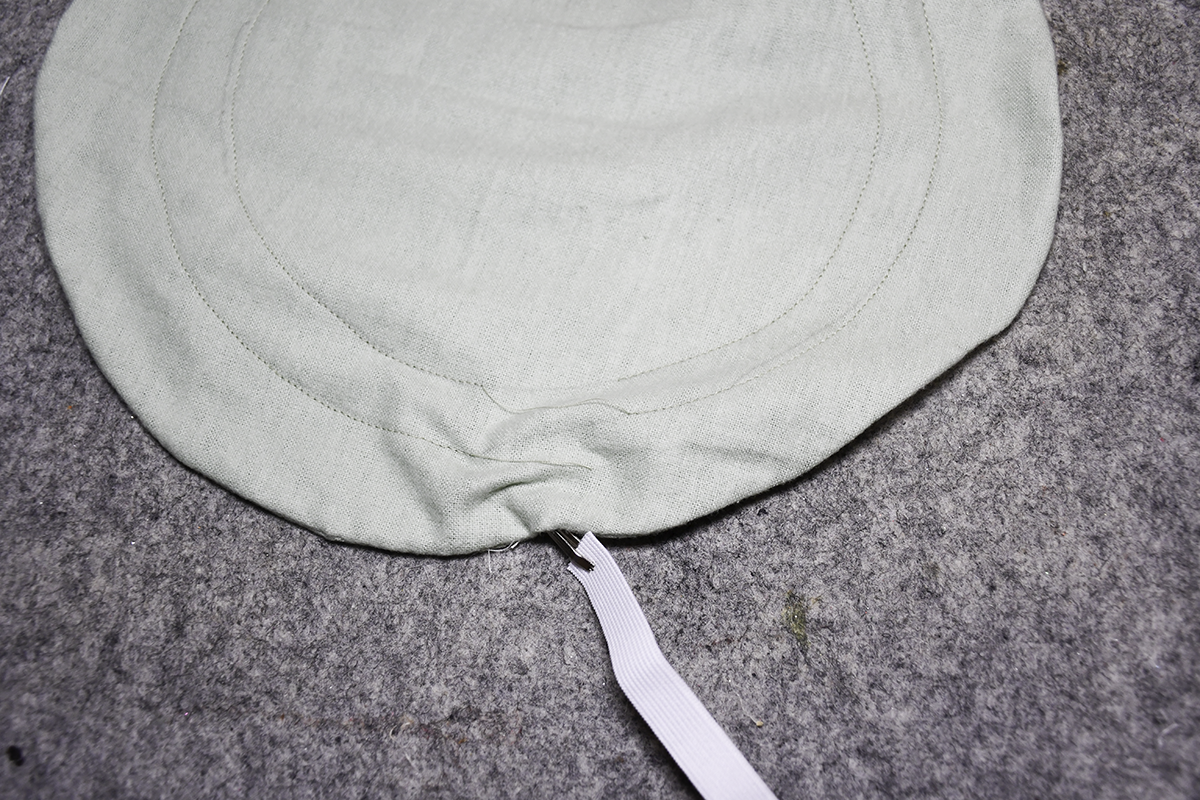
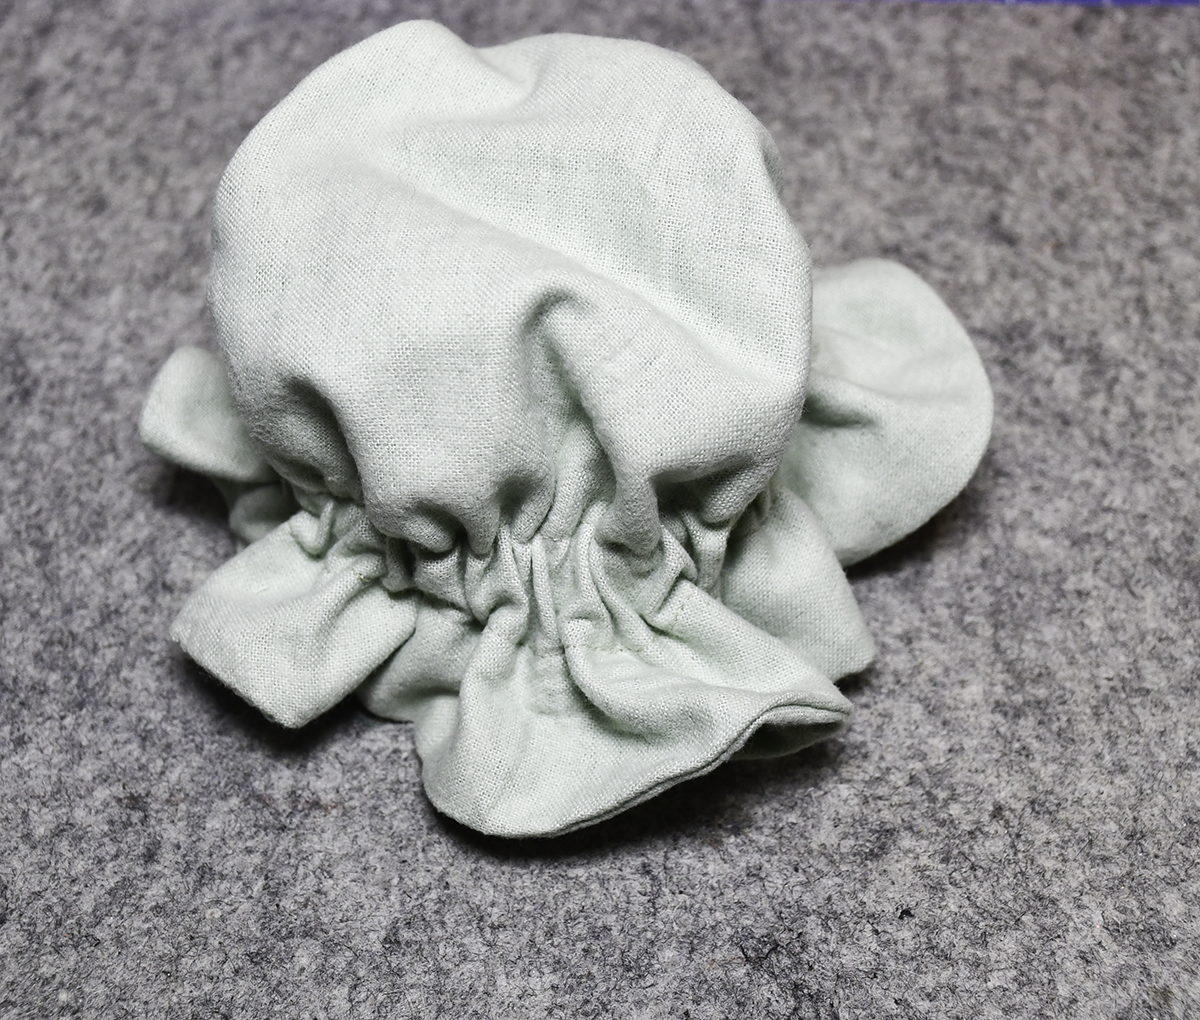
Place the two circles right sides together and stitch around the raw edge leaving a small opening for turning. Turn the circles right sides out and press. Close the opening using ladder stitch. Measure 1 1/2″ from the edge and draw a line all the way around the circle. Draw another line about 1/2″ from the first line. Stitch along the lines to create a casing for the elastic. Insert the elastic through the opening you left. Then, stitch the ends of the elastic together. This will create the mobcap. Close the opening using ladder stitch. Embellish the hat using parts of the Dollar Tree Christmas pick. You have now finished your woman’s mobcap.
Step 3: Stitch the Child’s Hat
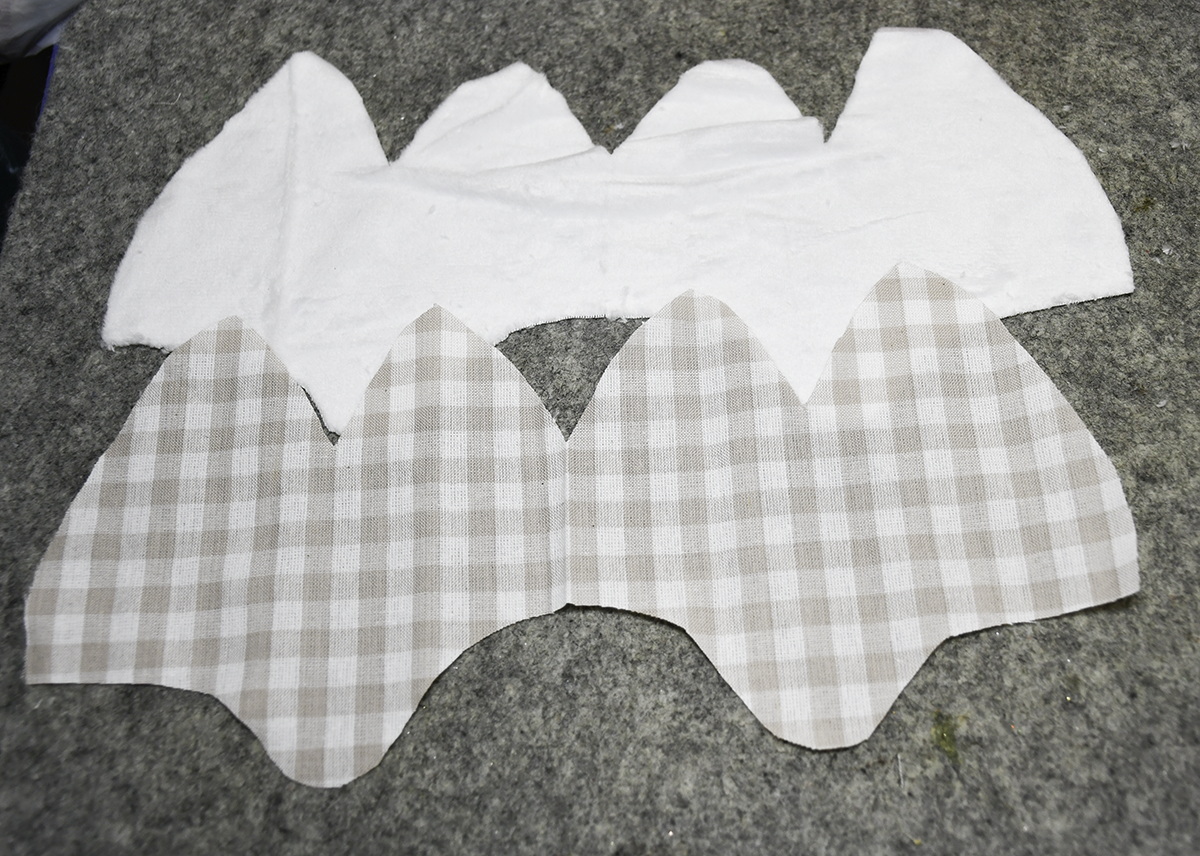
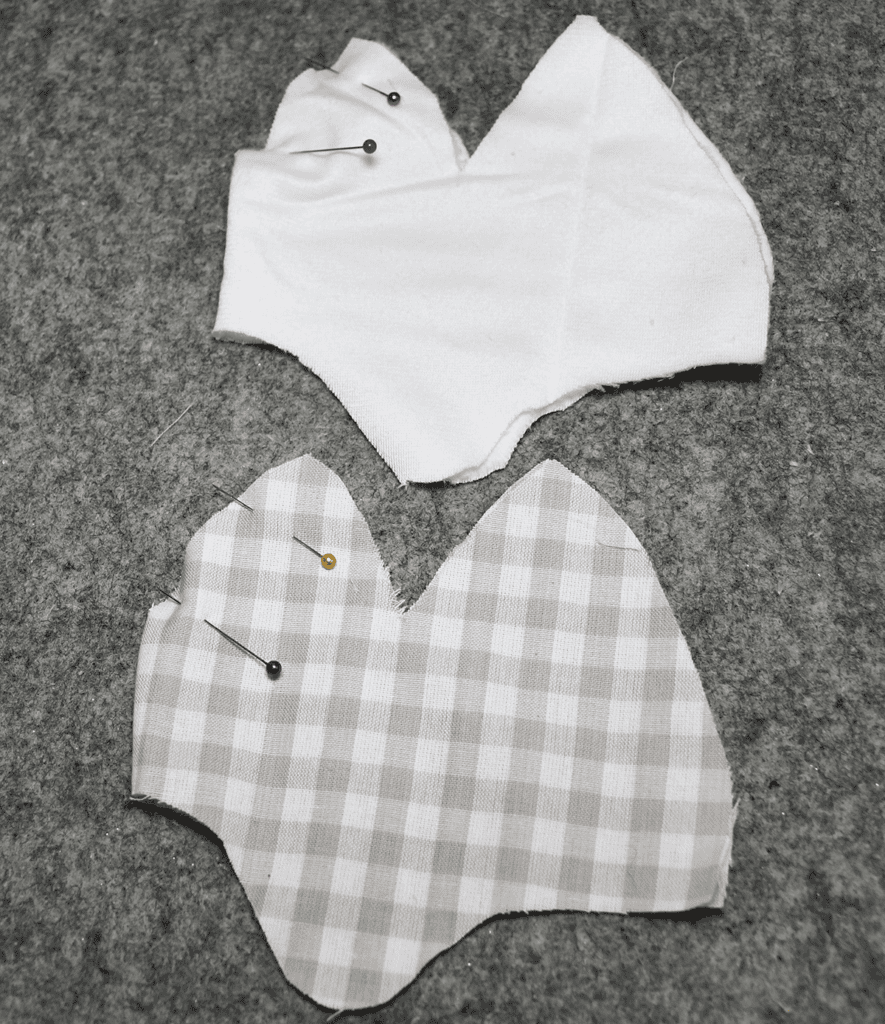
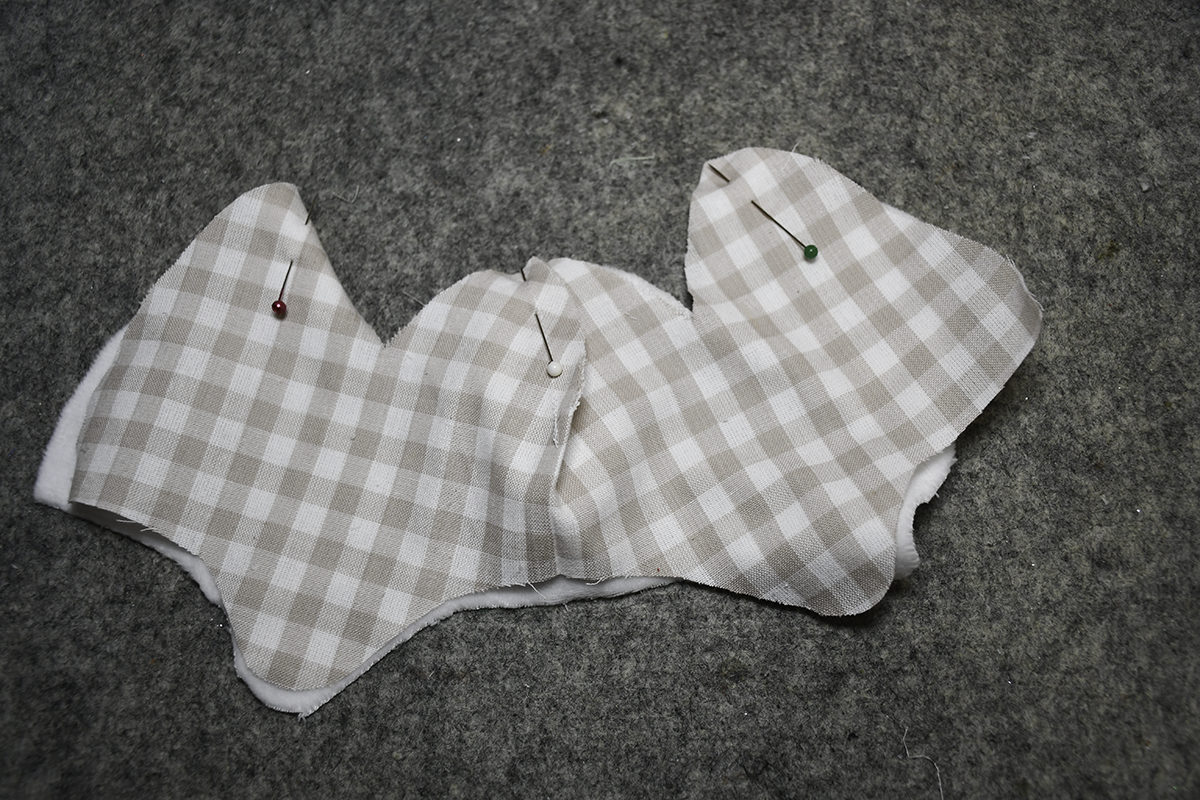
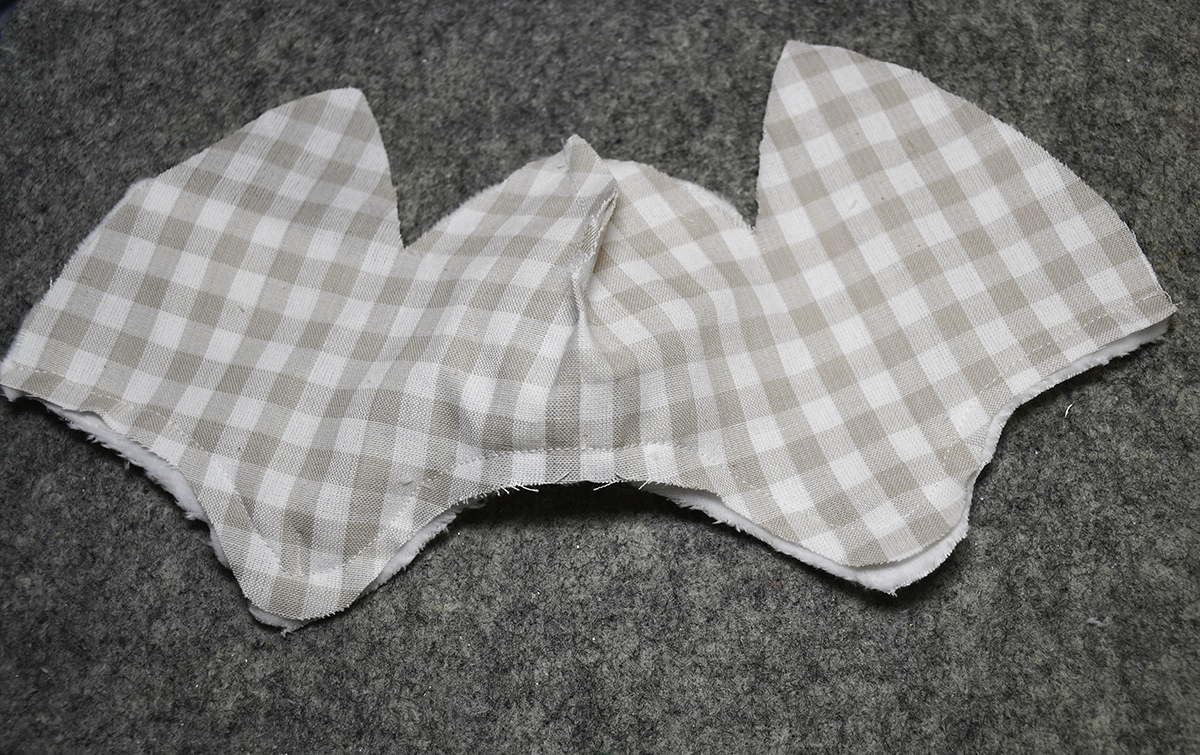
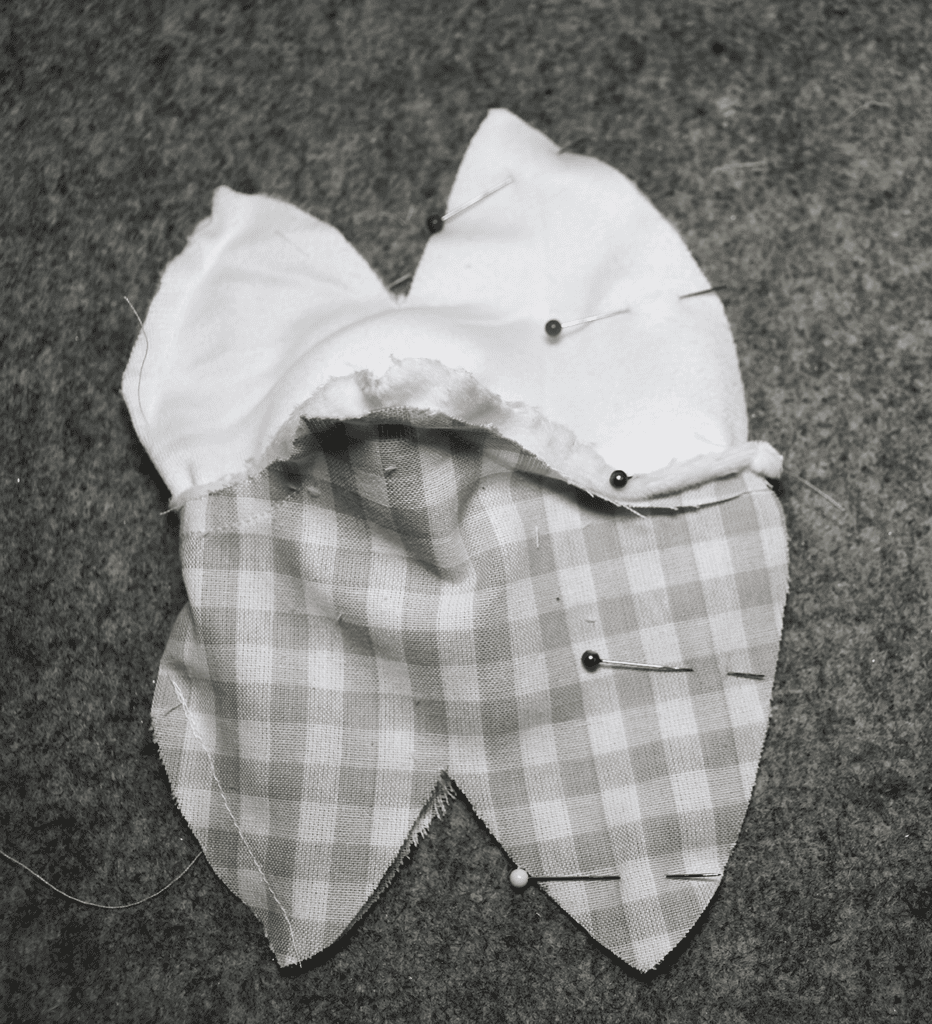
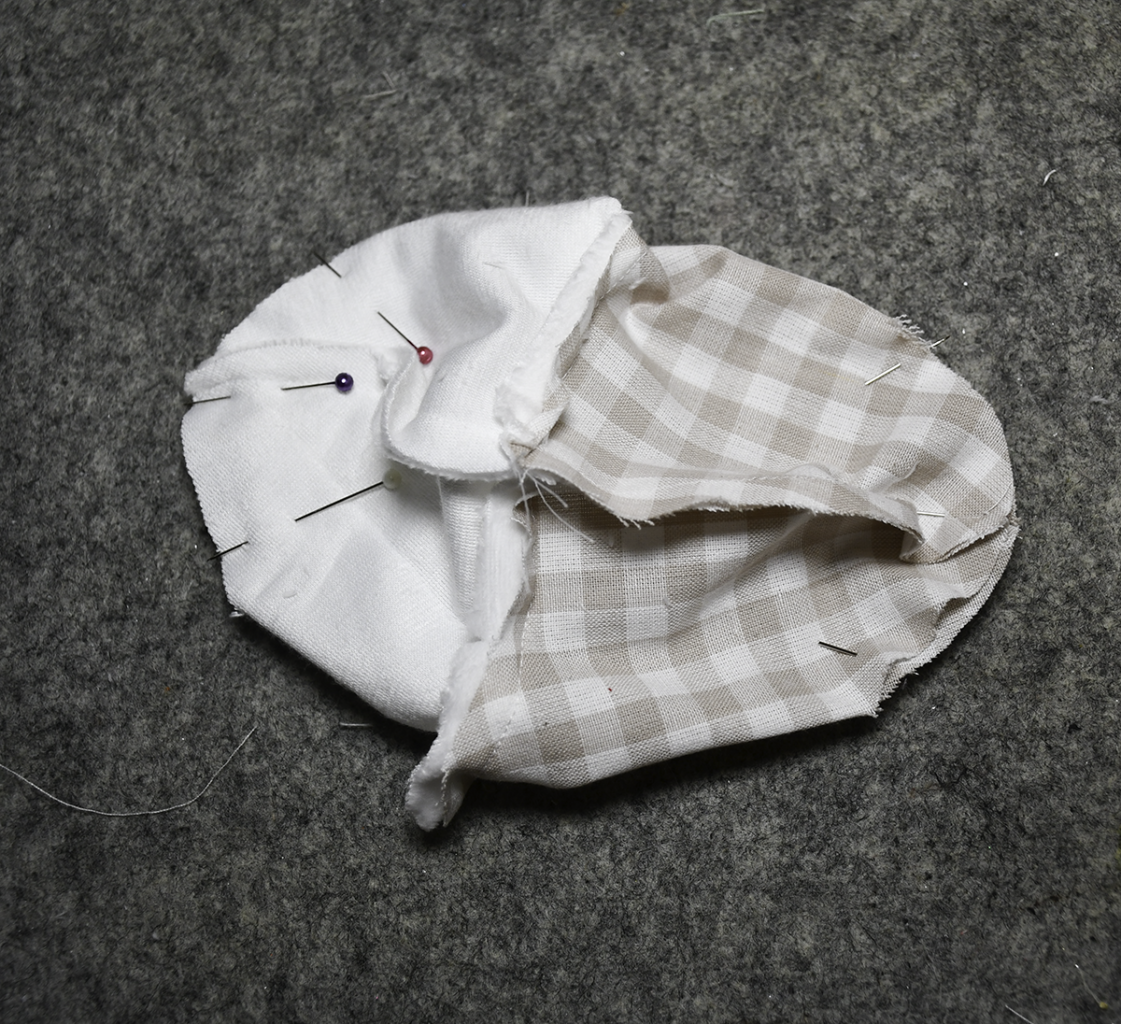
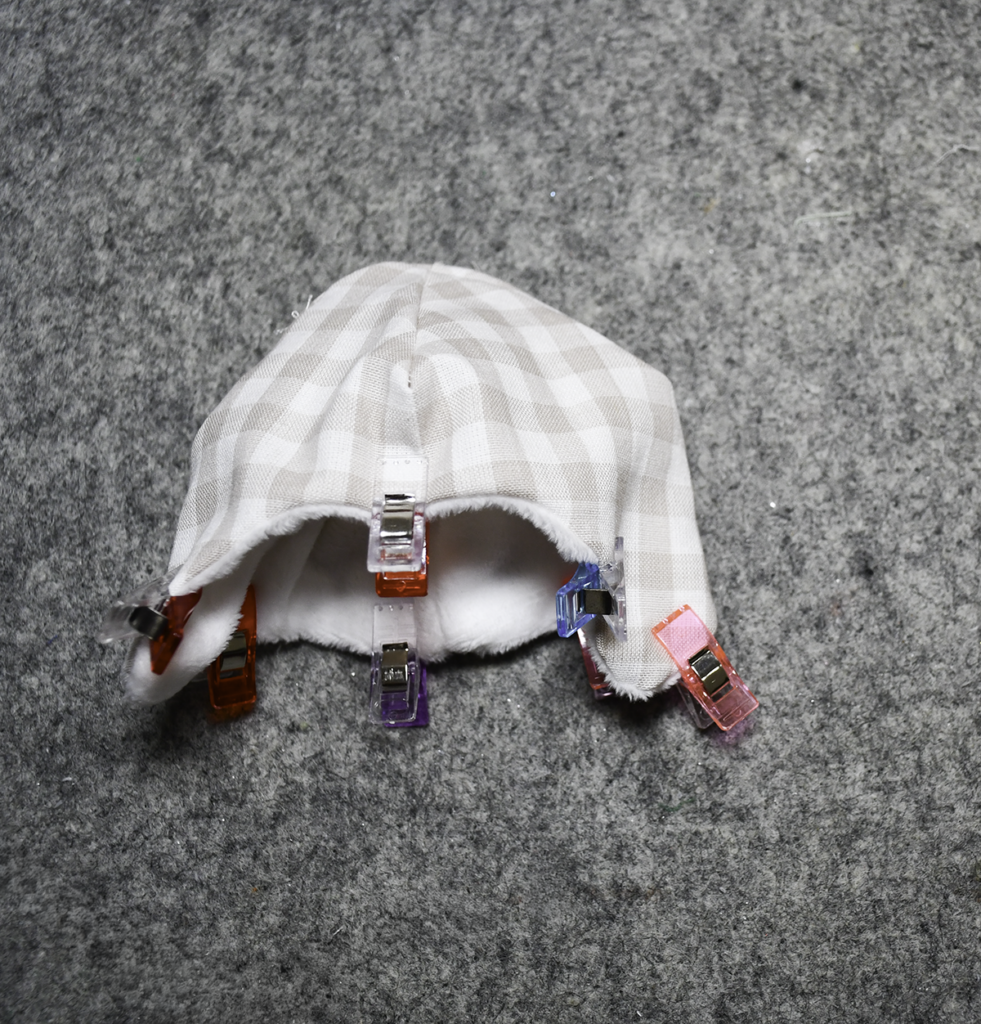
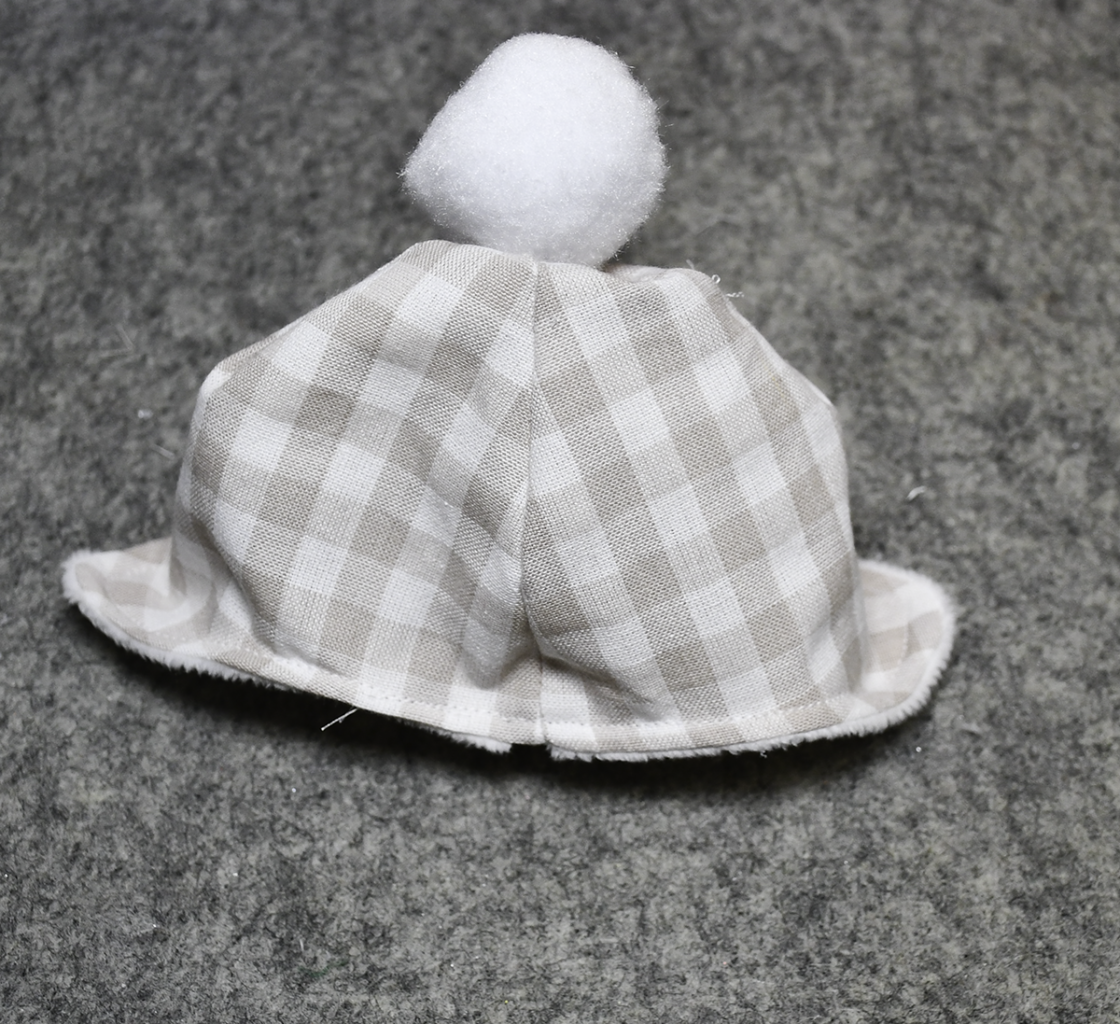
Cut out the pattern. Cut one outer and one fur on the fold. Fold the two peaks in the center of each piece right sides together and stitch using a 1/4″ seam allowance. Place the two pieces right sides together. Stitch along the bottom using a 1/4″ seam allowance. Clip the Vs and turn right sides out. Place the outer piece right sides together and the fur piece right sides together. Stitch the outer curve. Place the curve where you cut on the fold of the outer piece right sides together in the same way and stitch. Repeat for the fur piece but leave the top open for turning. Turn the entire piece right sides out. Stitch the opening closed using ladder stitch. Topstitch all the way around the bottom. Add a pompon to the top.
Step 3: Create the Face
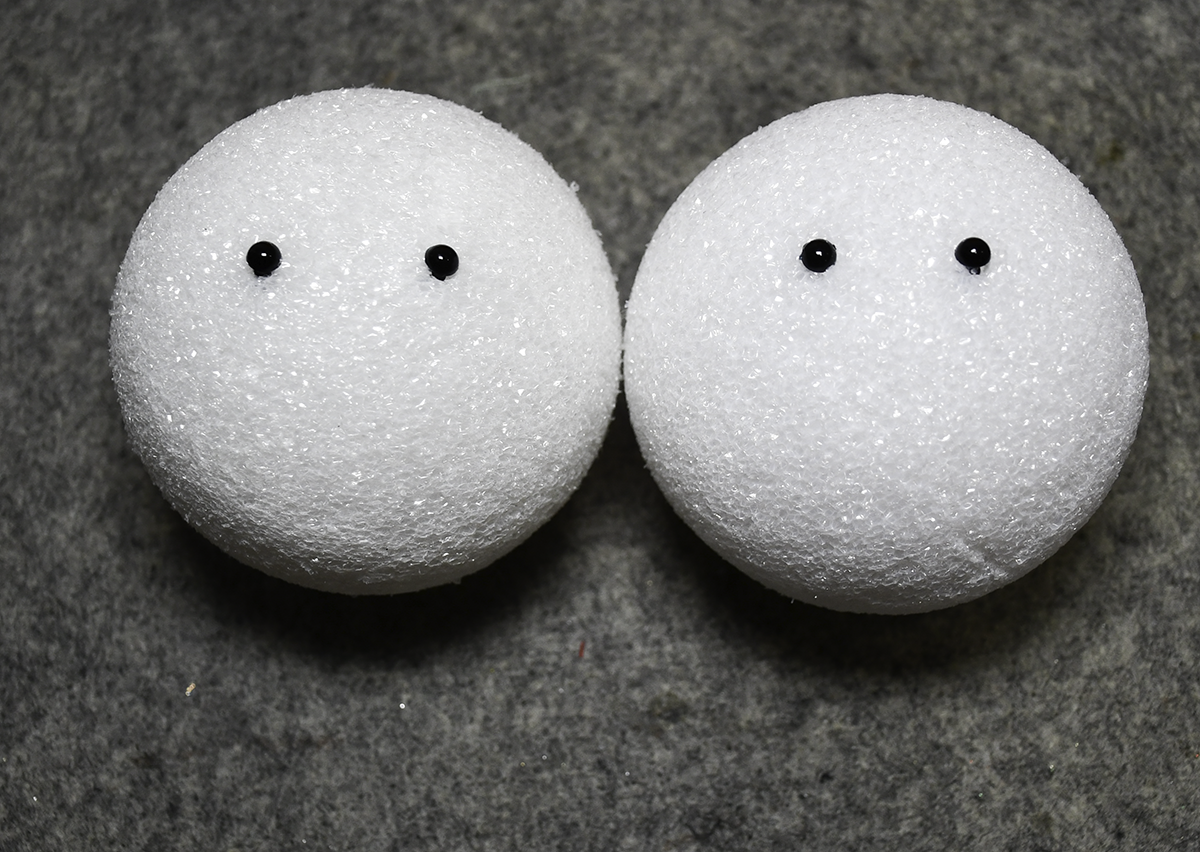
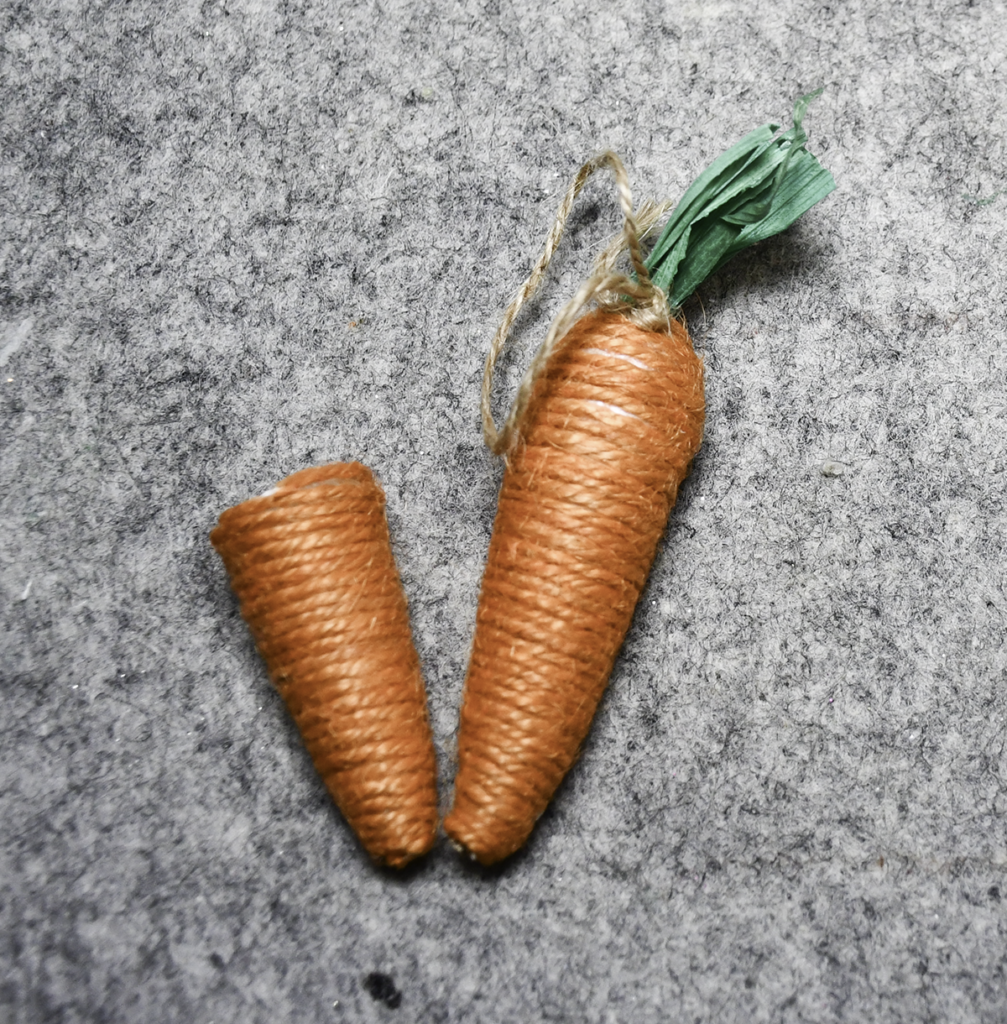
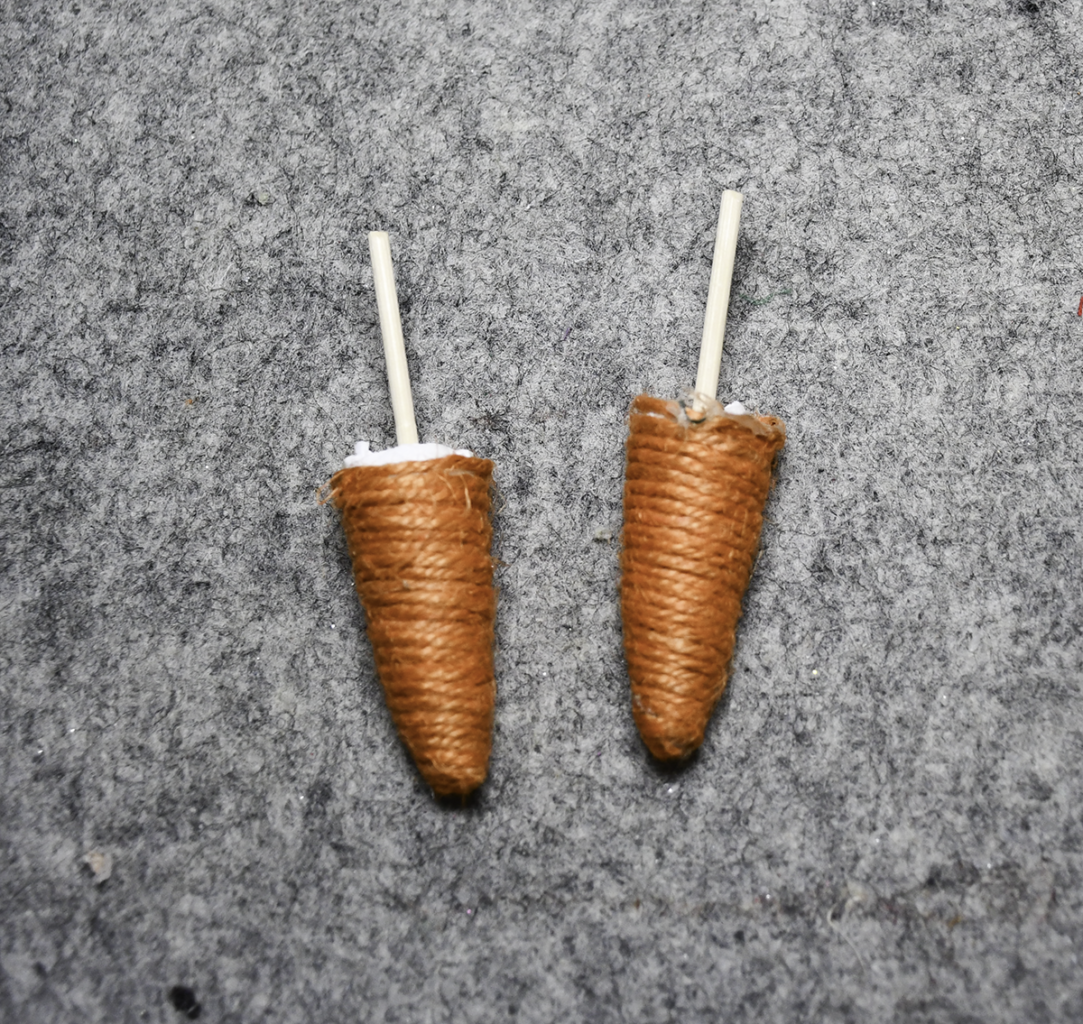
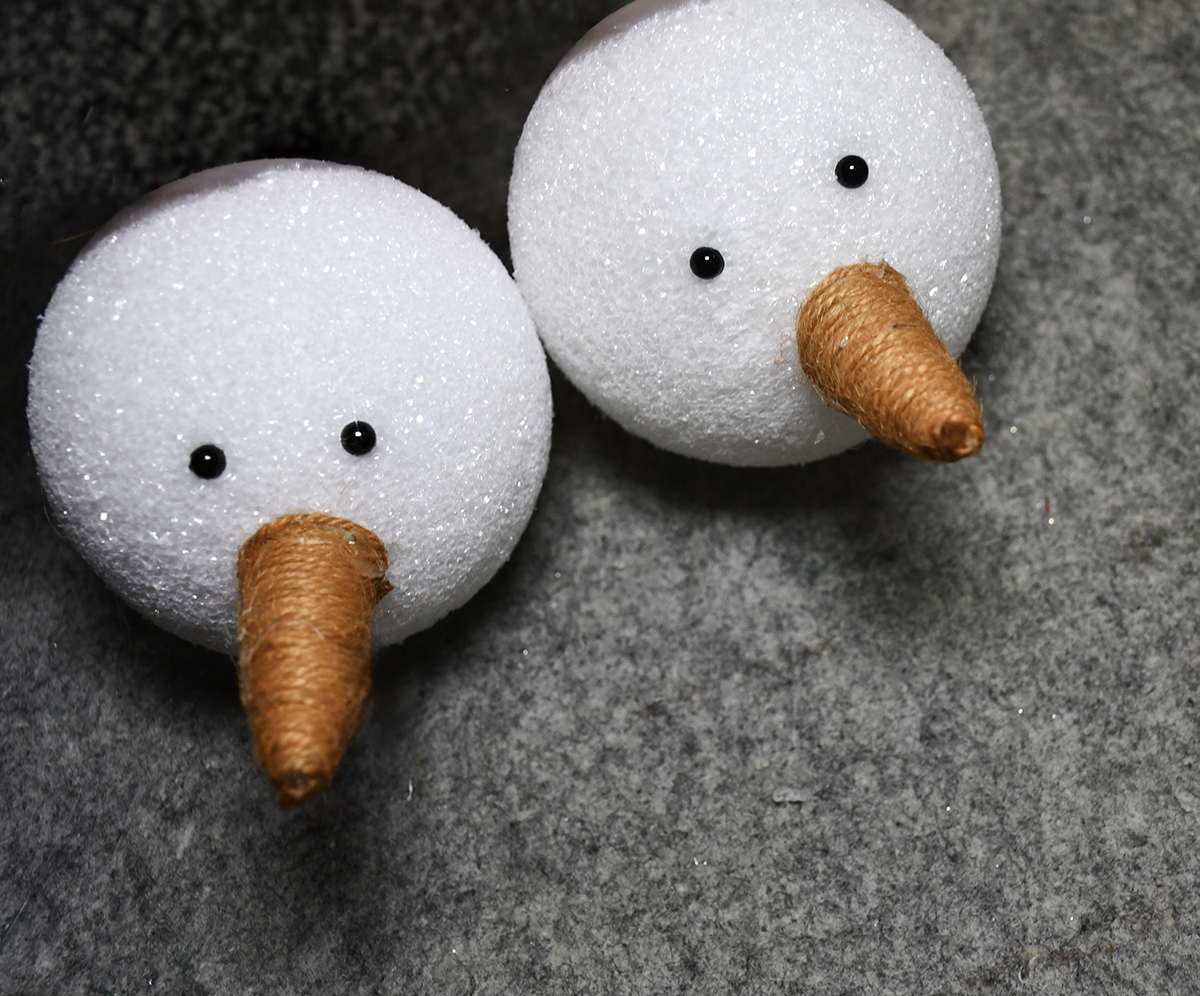
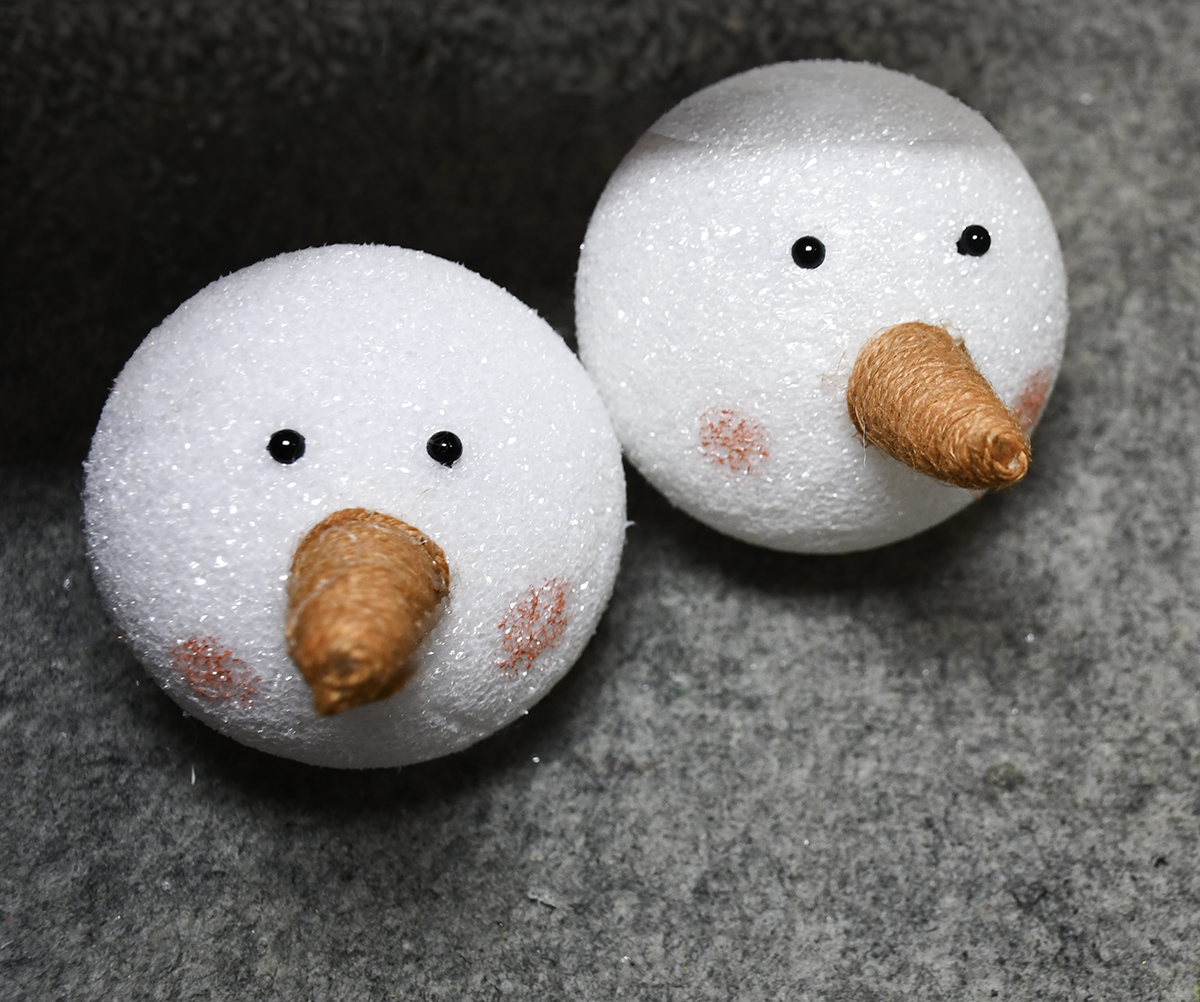
Add the eyes. If you use safety eyes you can just poke them in and they should stay. If you are using google eyes glue them to the styrofoam ball using either hot glue or e6000. Add the Dollar Tree carrot to the middle of the ball below the eyes. I added a skewer to one end of the carrot then into the ball with a little hot glue on the end. I used safety eyes for the adult mouths and painted the child’s. Add the rosy cheeks using the pink paint or blush.
Step 4: Add the Hat
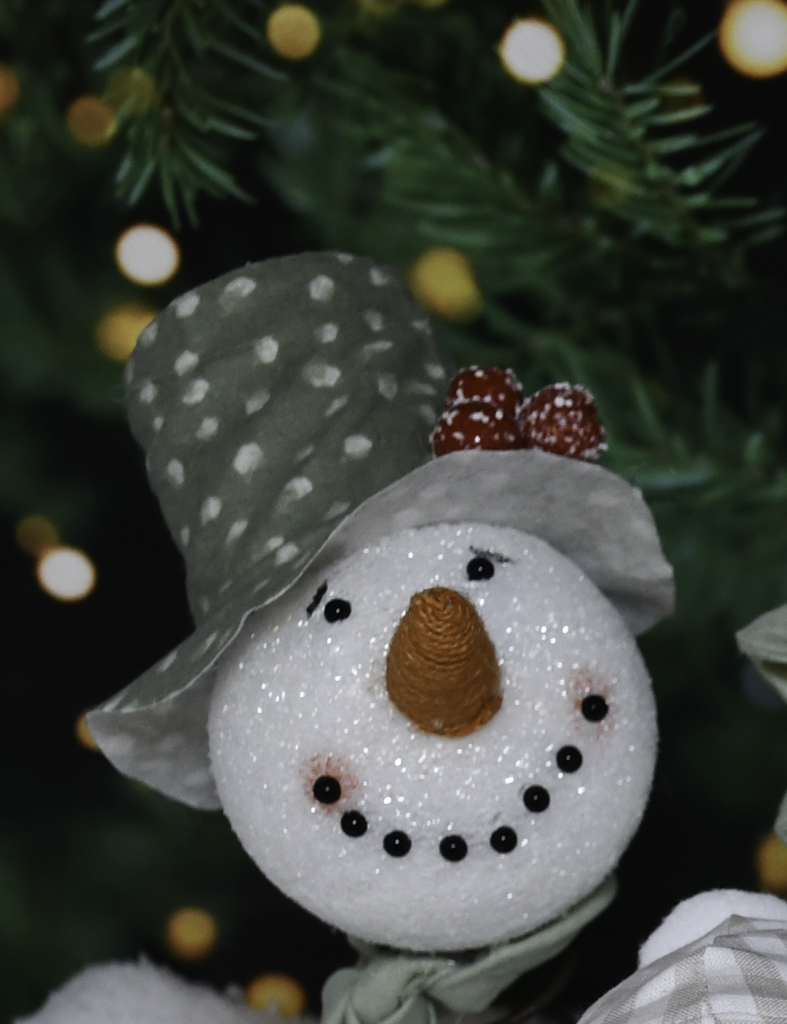
Place the hats you just made on top of the balls. Glue them on using either hot glue or e6000.
Step 5: Add the Ball to the Mattress Spring
Glue the decorated styrofoam ball to the mattress spring. Add the scarf.

I hope you enjoyed this fun sewing and crafting project. If you would like more sewing and crafting projects subscribe to our free news letter and gain access to our free printables library.
Subscribe to our Free YouTube Channel!
Join our Sew Very Crafty Fans Facebook group
If you want to ask questions and share your projects join our Facebook group here. The community will help to achieve your sewing and crafting dreams.