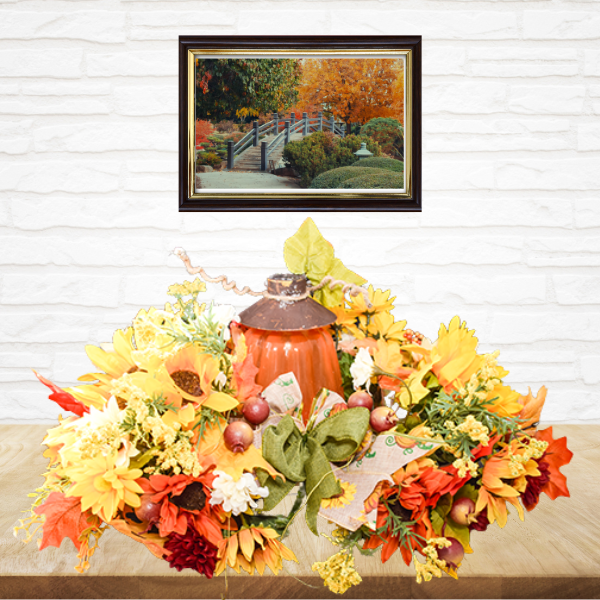
Yes, I am already thinking about my Thanksgiving table. I saw these jars at Dollar Tree and purchased one. They come in clear and orange. I should have purchased the orange but I wasn't sure what I was going to make so I go the clear. Of course, I am now going to make them orange to create this autumn Dollar Tree pumpkin centerpiece. If you would like more Dollar Tree projects head to my Dollar Tree page. For more holiday sewing and crafting projects check out my holiday project vault.
Note: This post contains affiliate links that if you click on them and make a purchase I will receive a small commission at no extra cost to you. As an Amazon Associate I earn from qualifying purchases.
What you will Need: How to Make a Dollar Tree Autumn Pumpkin Centerpiece
- 1 Dollar Tree Jar
- 1 autumn tray
- Floral foam
- 1 square candle mirror
- 1 battery operated light bulb light
- Brown paint
- Jute wire
- Autumn florals
- Hot glue
- Mod Podge (optional)
- Food coloring (optional)
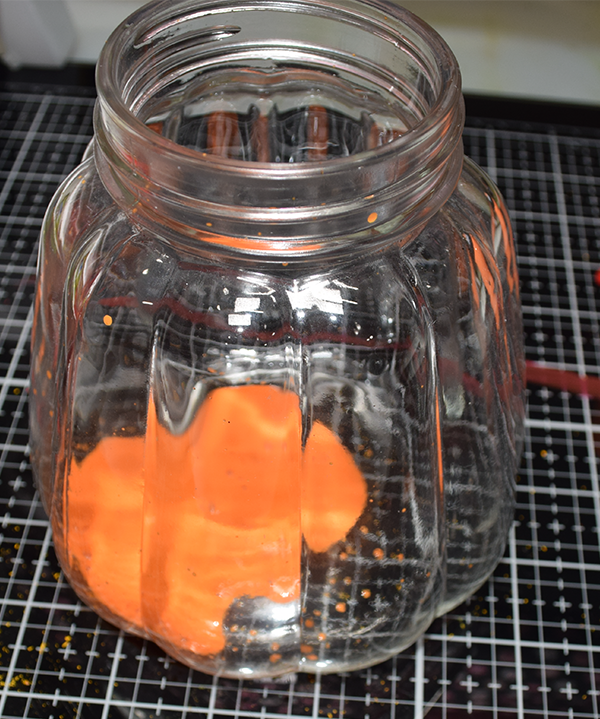
Step 1: Color the Jar
You can skip this step if you get the orange jar. If you are using the clear one color it orange. I used Modpodge and food coloring to color my jar. Use a disposable cup. Add Modpodge to it then drop the food coloring to get the color you want. Stir with a disposable spoon. Add the Modpodge mixture to the jar and swirl around until it is covers. Turn the jar over onto a plate or napkin. Allow the excess mixture drain out.
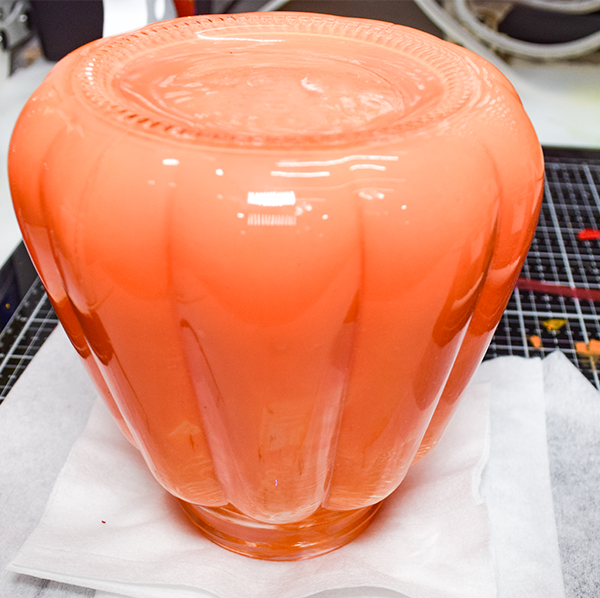
Step 2: Dry the Jar
You can let the jar dry naturally or you can place it into a 200 degree oven for about 45 minutes for a more durable finish
Step 3: Paint the Collar
There is a collar around the light bulb. Paint it brown. I needed two coats for this.
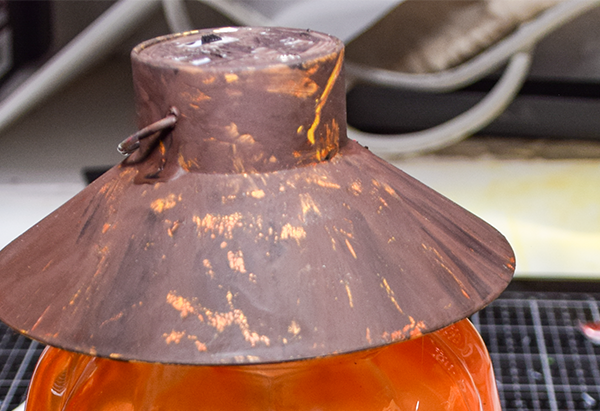
Step 4: Add the Jute Wire
Wrap a __” piece of jute wire around a pencil on each end. Leave the center of the twine unwrapped. Place the jute wire around the top of bulb. Secure it with hot glue.

Step 5: Add the Bulb
The bulb is made of plastic and has a little rim around it. Carefully, push the bulb into the top of the jar. Add a bit of hot glue to secure it to the jar. You will need to manipulate into the jar but conceit is in it will stay.
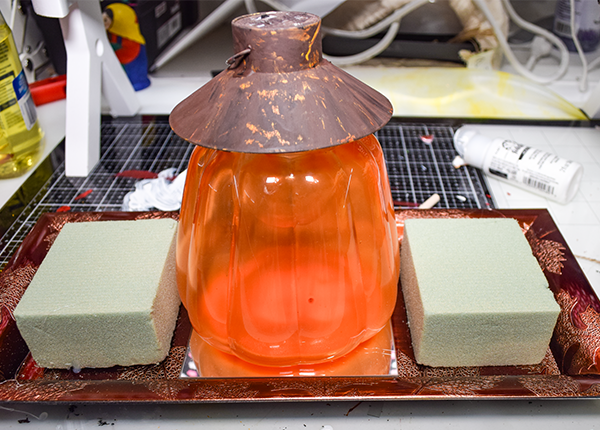
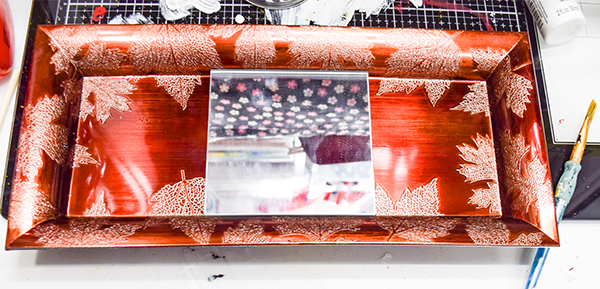
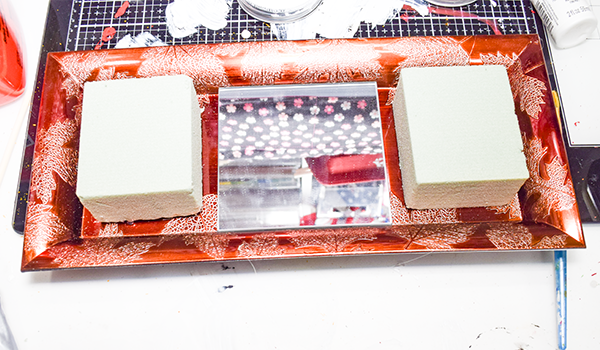
Step 6: Prepare the Tray
Using hot glue and e6000 place the mirror onto the tray. Add floral foam on either side of the mirror with e6000 and hot glue.
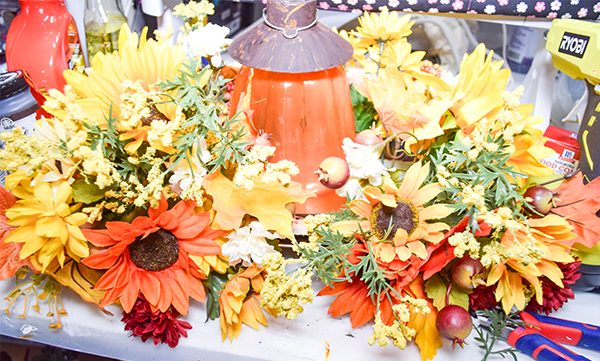
Step 5: Add the Florals
Add a variety of autumn florals and leaves to fill in the floral foam and the tray.
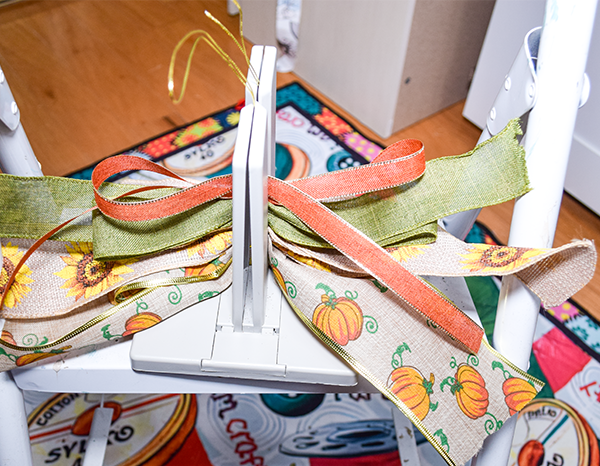
Step 7: Create a bow
Using different autumn ribbons create a nice bow for the front of the arrangement. I used a Bowdabra and the lessons I learned from Southern Charm Wreaths to create mine.
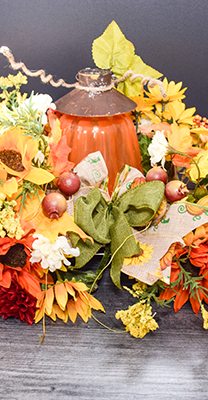
Step 8: Add the Bow
Add the bow to your arrangement. I added some floral wire to my bow so that I could push through to the floral foam beneath. Once the bow is added you have completed your Dollar Tree Autumn Pumpkin Centerpiece.
I hope you enjoyed this simple Dollar Tree project. For more sewing and crafting projects subscribe to our free newsletter and receive your free Holiday Dollar Tree eBook.
If you would like video tutorials of some of Sew Vwery Crafty's most popular posts subscribe to our free YouTube channel here.
Join our Sew Very Crafty Fans Facebook group
If you want to ask questions and share your projects join our Facebook group here. The community will help to achieve your sewing and crafting dreams.