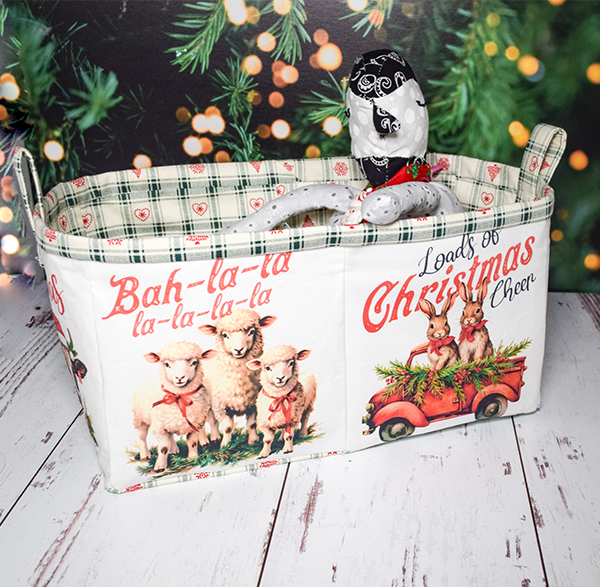
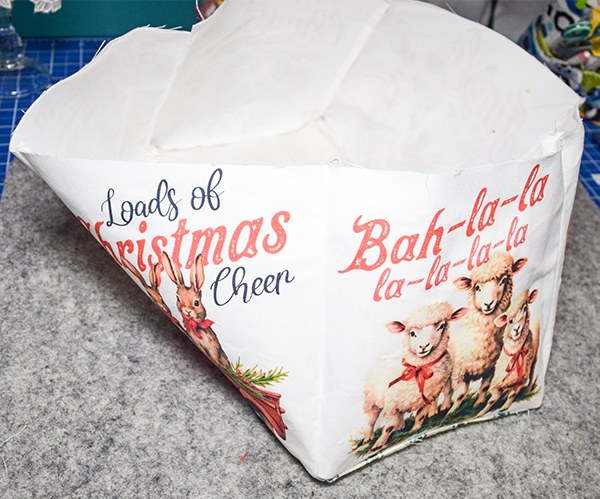
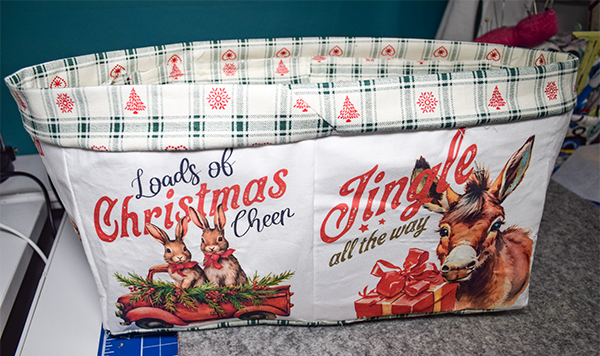
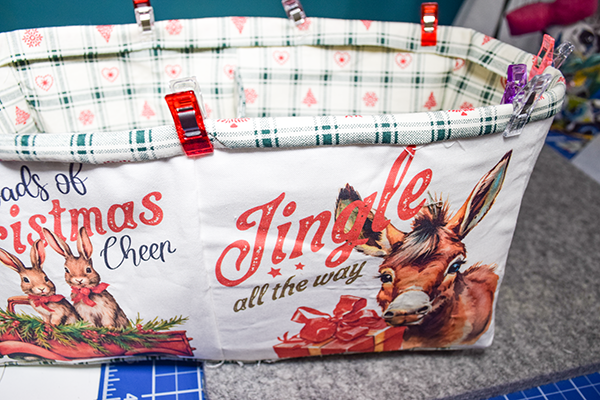
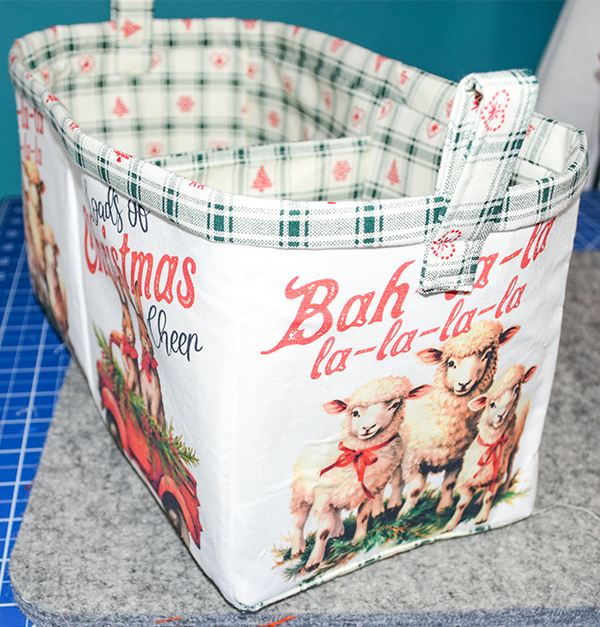
If you follow the website at all you will know that I love to make handbags. This Christmas Divided Organizer Basket is not a handbag but it is close enough. I found some really cute 6″ x 6″ ranch style Christmas panels and thought they would be perfect for this project. I got this project from the Thermoweb website and thought to share it with you. You can make it a holiday project like I did or choose any other theme. If you would like more holiday sewing and crafting projects head over to my Holiday Project Vault.
Note: This post contains affiliate links that if you click on them and make a purchase I will receive a small commission at no extra cost to you. As an Amazon Associate I earn from qualifying purchases.
What You will Need: How to Make a Christmas divided Organizing basket
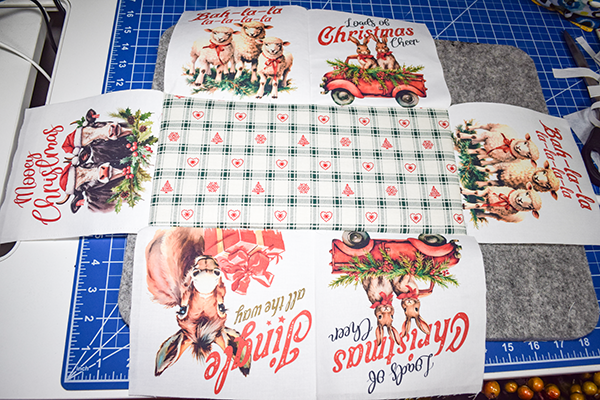
- 6 panels that measure 6″ x 6″
- 6″ x 12 1/2″ rectangle for the bottom
- 8 6″ squares for the inside of the basket
- 2 5 1/2″ x 5″ squares for the divider
- 2 3″ x 6″ rectangles for the handles
- 1 2 1/4″ x Width of Fabric for binding
- 14 6″ x 6″ squares of heat n bond extra firm non-woven interfacing
- 6″ x 12 1/2″ rectangle of interfacing
- 2 1 3/4″ x 6″ rectangles of interfacing
- 2 1 1/4″ buttons
- Standard sewing supplies
- Sewing machine
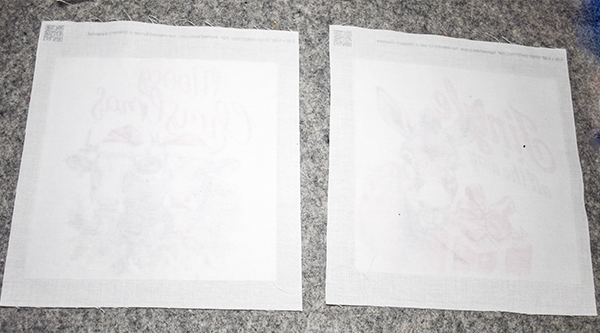
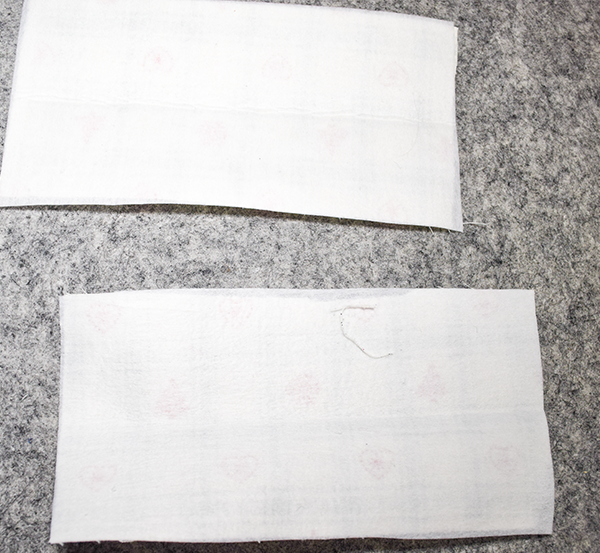
Step 1: Fuse the Interfacing
Place the glue side of the interfacing to the wrong side of all of the fabric panels. Follow the manufacturer's instructions for this process and use a hot iron.
Step 2: Mark the Panels
Place a dot on all four corners on the wrong side where the 1/4″ seams will meet.

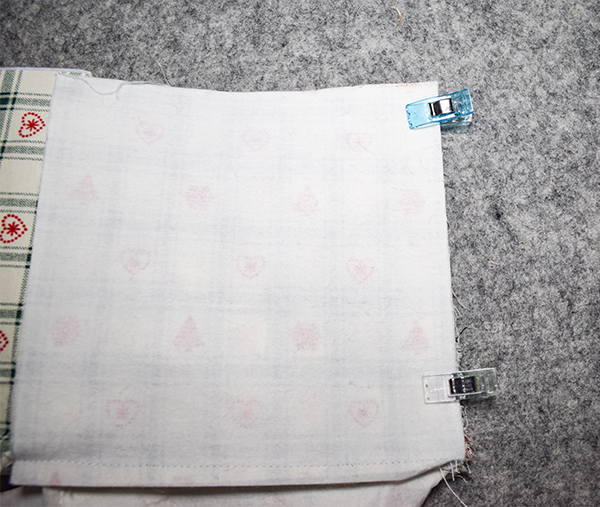
Step 3: Stitch the outer basket
I started with the side panels. Place two of the side panels right sides together and stitch them together from dot to dot on the side. Repeat for the opposite side panels. Place the panels you just stitched right sides together with the bottom rectangle. Add the end panels by placing them right sides together with the bottom rectangle. Stitch the corners matching the dots to create a box. Turn right sides out.
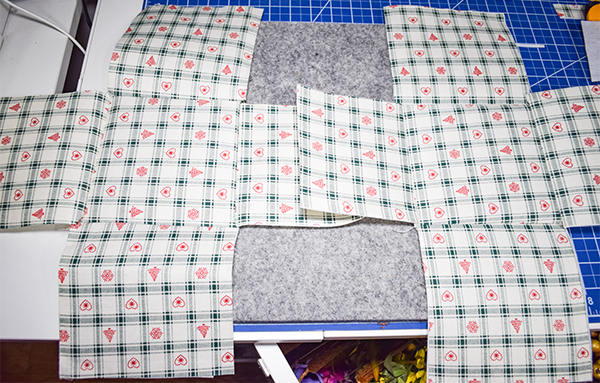
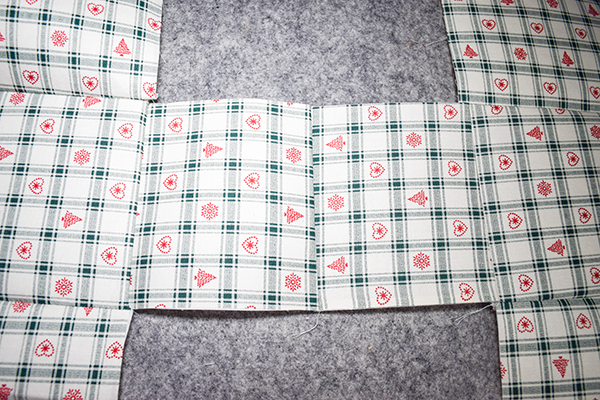
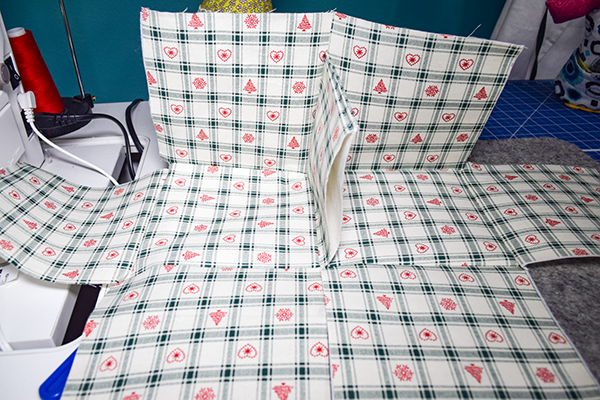
Step 4: Create the lining
This time you will be stitching two crosses using the lining panels. Place the panels right sides together with the center bottom panel creating a cross. Make sure that one of the 5 1/2″ x 5″ panels is the left of one of the crosses while the other is on the right side of the other cross.
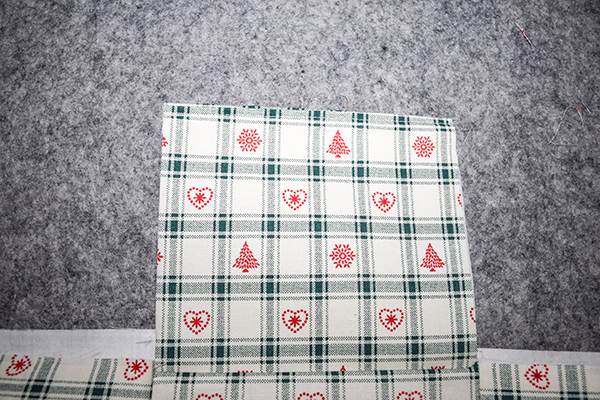
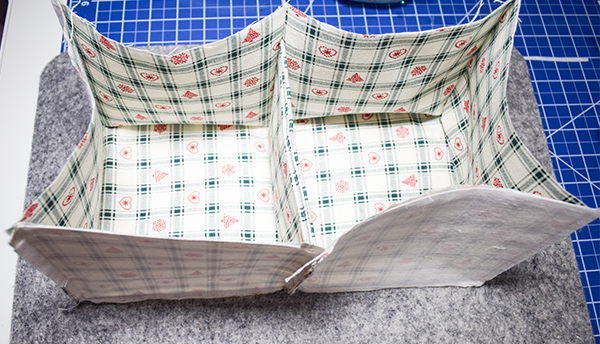
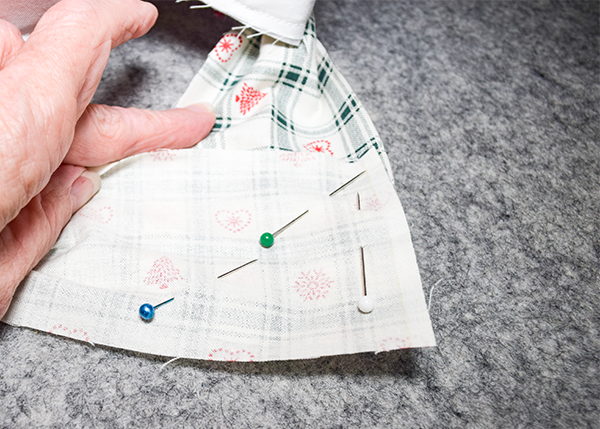
Step 5: Create the Center Divider
Take the two 5 1/2″ x 5″ pieces and place them wrong sides together. Top stitch the top of the divider and the bottom seam. Sandwich the center divider between the each of the side panels and pin. Stitch the panels to create the side and the center using a 1/4″ seam allowance from dot to dot. Once the sides are complete stitch the ends to the sides right sides together.
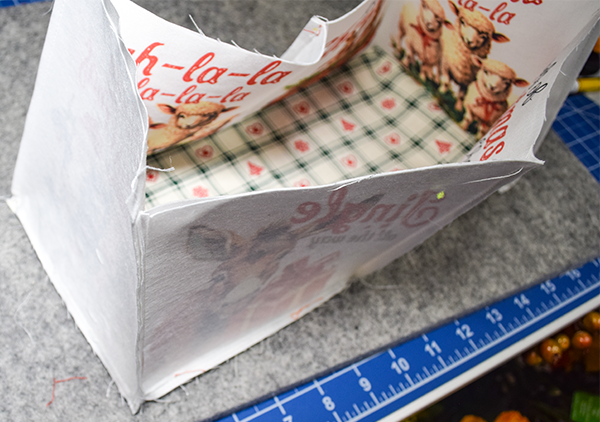
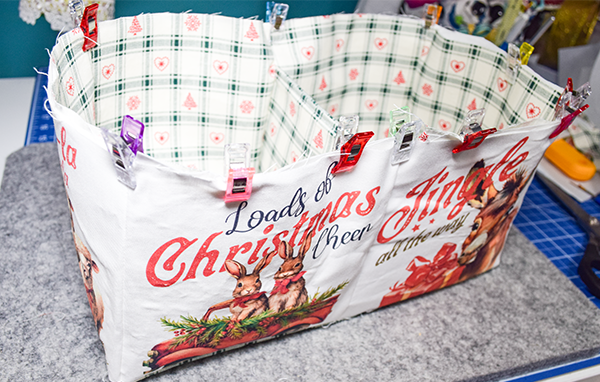
Step 6: Add the Lining to the Outer Bag
Place the lining into the outer bag with wrong sides together. Baste all the way around the top.
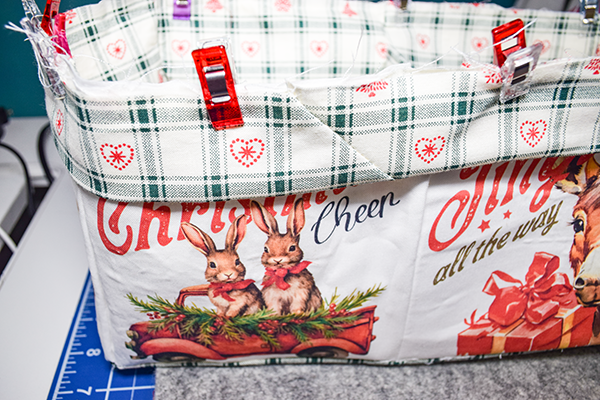
Step 7: Add the Binding
Fold the binding strip in half lengthwise wrong sides together. Place the binding right sides together with the lining side of the bag. Start at one short end and stitch 1/4″ from the edge leaving a 7″ tail. Once you finish stitching the binding backstitch but leave a 2 1/4″ tail. Overlap the tails 2 1/4″ and cut off the excess. Take the remaining tails and open them up. Place them in a cross right sides together. Stitch diagonally corner to corner. Pull the binding so that it lays flat to make sure that it fits. If it does cut off the excess corner. Continue to stitch the binding to the bag. Fold the binding over the raw edges. Pin and stitch either by hand or with your machine.
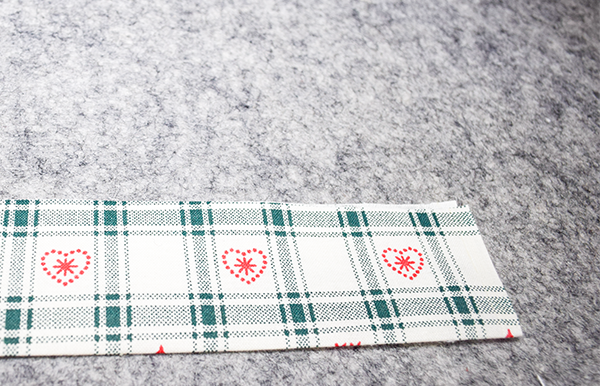
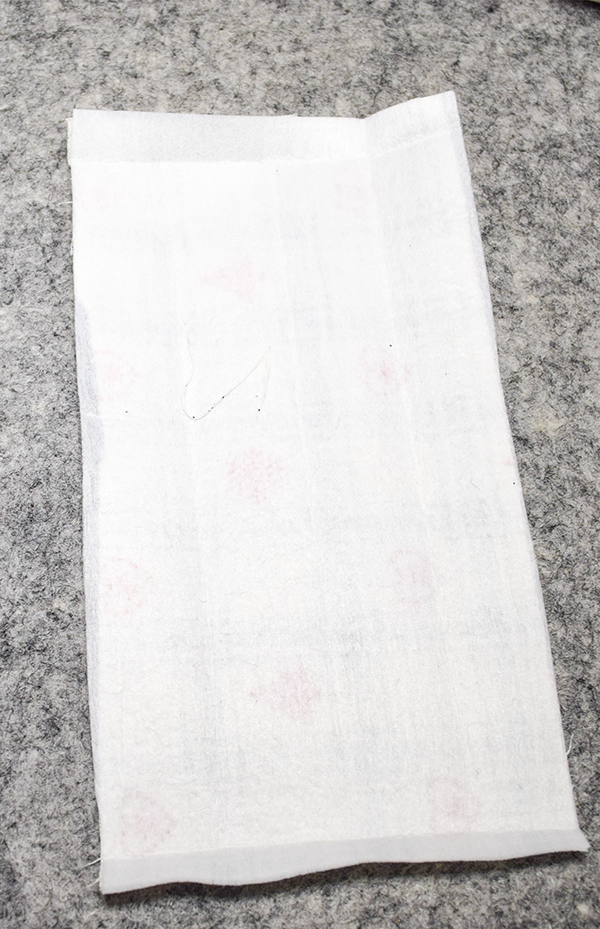
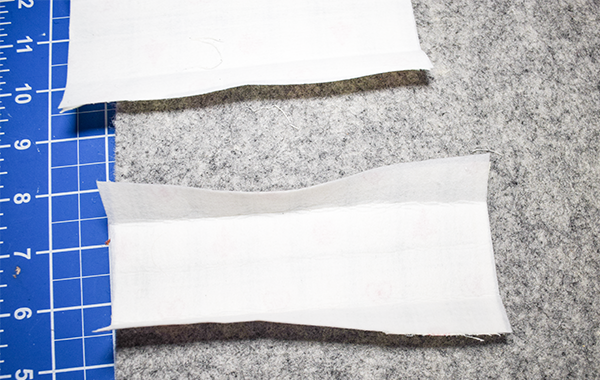
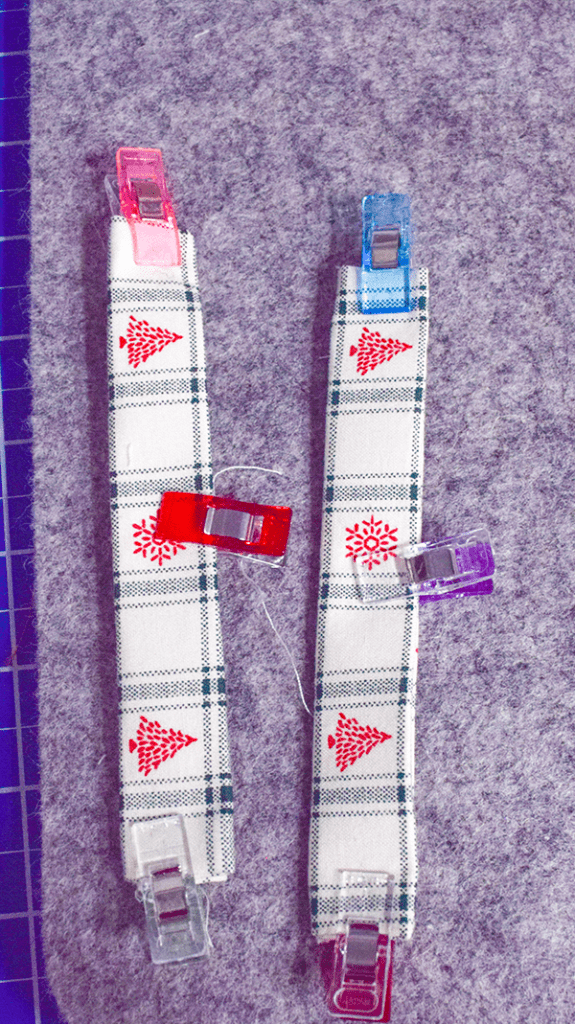
Step 8: Create the Handles
Fold the handles in half and press. Turn under the short raw edges. Place the raw edges to the center and press. Fold the entire handle in half lengthwise. Topstitch on both sides.
Step 9: Add the handles
Fold the handle in half widthwise. Place the handles in the center of the short ends about 1″ down. Stitch along the bottom and sides. Add a button on the end of each handle. Once you have added the button you have finished your Christmas divided organizer basket.
I hope you enjoyed this simple sewing project. If you would like more sewing and crafting projects subscribe to our free newsletter for many more and receive your free handbag eBook.
aw edges laceIf you would like video tutorials of some of Sew Very Crafty's most popular posts subscribe to our free YouTube channel here.
Join our Sew Very Crafty Fans Facebook group
If you want to ask questions and share your projects join our Facebook group here. The community will help to achieve your sewing and crafting dreams.