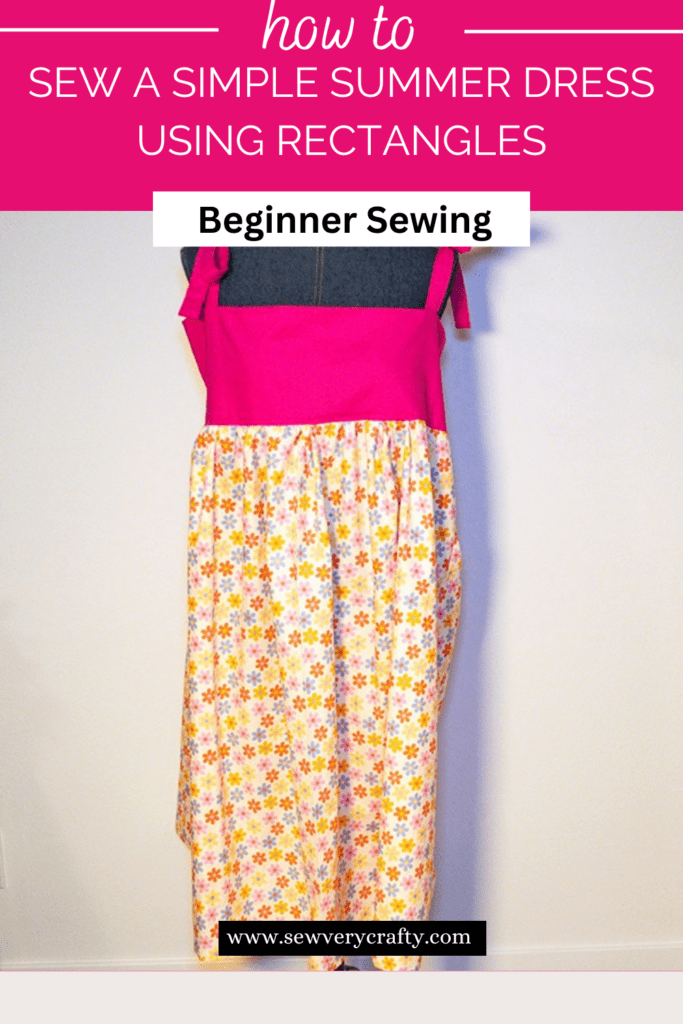
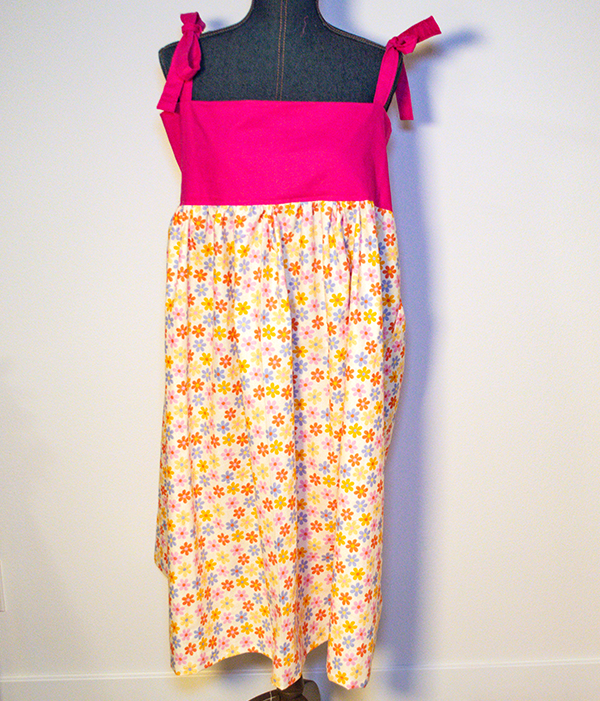
I don't often sew clothes anymore but summer is just around the corner and thought to make a beginner summer dress using rectangles. You can make this dress any size you like. It is a perfect garment sewing project for teenagers and kids. I used basic cotton for this project in a nice summer pattern. This is an amazingly simple sewing project that anyone can make in no time at all. If you like this project add a simple handbag from handbag page to match.
Note: This post contains affiliate links that if you click on them and make a purchase I will receive a small commission at no extra cost to you. As an Amazon Associate I earn from qualifying purchases.
What you will Need: How to Make a Beginner Sun Dress using Rectangles
Perfect for Summer
Step 1: Measure
First measure your bust. I would add an inch or so to this measurement for comfort. Decide how long you want the top to be. You can determine this by measuring down from the middle of your chest. I measured about 6 1/2″.
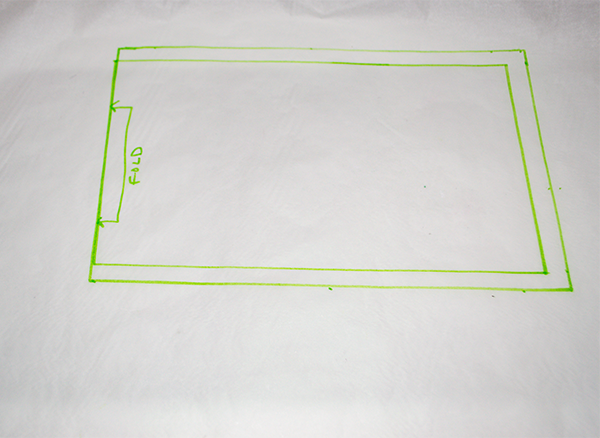
Step 2: Create the Pattern
Using your pattern paper, divide your bust measurement by four to get the width. Draw a line across the paper with this measurement. Draw a line down from each end of the first line that equals the measurement you determined for the length of the top. Join the lines to create a rectangle. Add a 1/2″ seam allowance on one short side and the two long sides. The other short side will be cut on the fold. Cut out the pattern.
Step 3: Cut the Top
Using the pattern, cut four pieces on the fold of the top fabric. Or, you can cut two of the top fabric and two for the lining if you choose to use a different fabric for the lining. Cut four straps that measure 4″ x 22″. Step 4: Stitch the Top Pieces Together

Place two of the top pieces right sides together and stitch one short end using a 1/2″ seam allowance. Repeat for the second two pieces.

Step 5: Create the Straps
Take each strap piece and fold one end down about 1/4″ and press. Fold the long raw edges to the center and press. Fold in half lengthwise and press again. Topstitch along both sides of each strap.


Step 6: Stitch the Straps to the Top
Start by placing the top pieces right sides together. Clip using wonder clips or pin. You may have to play around with this to get the straps where you want them. I measured in 4 3/4″ from each short end. Fold the two top pieces in half and place two straps on one short side. One of the straps will be attached to the front and one of the straps was placed on what will be the back of the dress. and two straps on the other side between the two top pieces. You will need to re-clip or pin all layers. Stitch along the long edge where the straps are using a 1/2″ seam allowance. Turn right sides out and press well.


Step 7: Create the Bottom
Start with your bust measurement and multiply it times two. Then, decide how long you would like the bottom to be. Add two inches to this measurement for seam allowance. Cut a large rectangle using these measurements. Gather one long edge. To do this, stitch two lines along the top long edge using the longest stitch on your machine. Start pulling the thread so that the top long edge begins to gather together. Make sure that the gathers are even all along the top. Gather the bottom so it becomes the same width as the top.


Step 8: Join the Top and Bottom
Place the top right sides together with the bottom matching the raw edges. Stitch the pieces together using a 1/2″ seam allowance. Press the seam up toward the top. Fold the top lining piece under at the bottom enclosing the raw edges. Stitch the folded under edge through all layers.


Step 9: Stitch the Side
Fold the entire piece right sides together and stitch the side using a 1/2″ seam allowance. Make sure that the join of the top and the bottom are matched. Finish the seam with a serger or a zig zag stitch to prevent fraying.


Step 10: Hem the Dress
Double fold the bottom raw edge pressing as you go. Stitch the hem all the way around either by hand or machine. Once the dress is hemmed you are finished with your beginner summer dress. As soon as the weather warms put it on and show it off.

I hope you enjoyed this simple summer dress. If you would like more sewing and crafting projects subscribe to our free newsletter and receive access to our free printables library.
If you would like video tutorials of some of Sew Very Crafty's most popular posts subscribe to our free YouTube channel here.
Join our Sew Very Crafty Fans Facebook group
If you want to ask questions and share your projects join our Facebook group here. The community will help to achieve your sewing and crafting dreams.