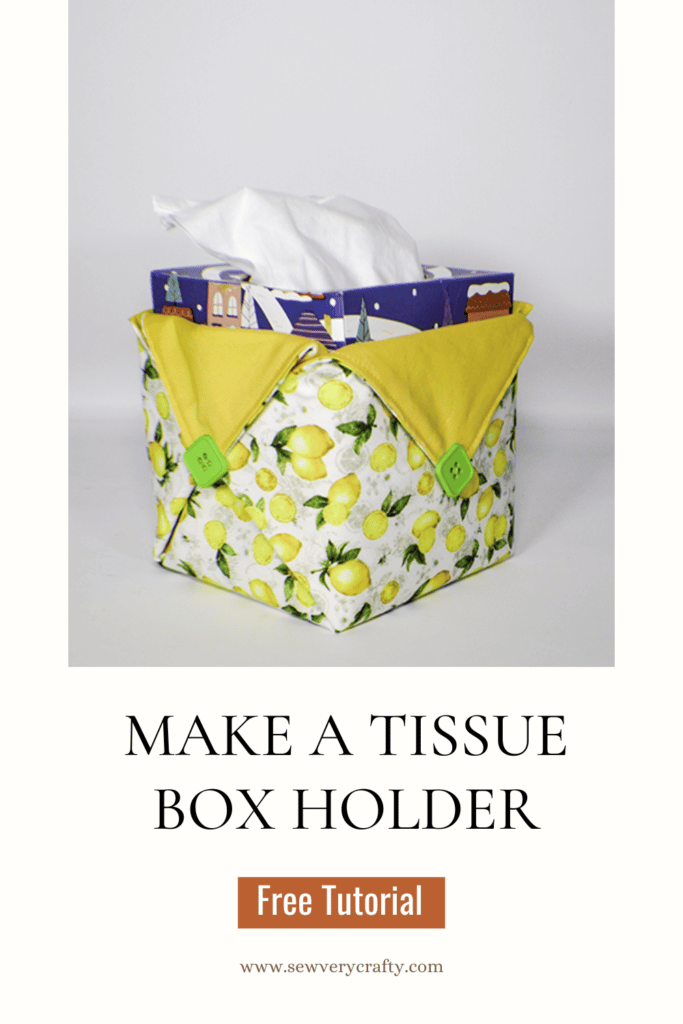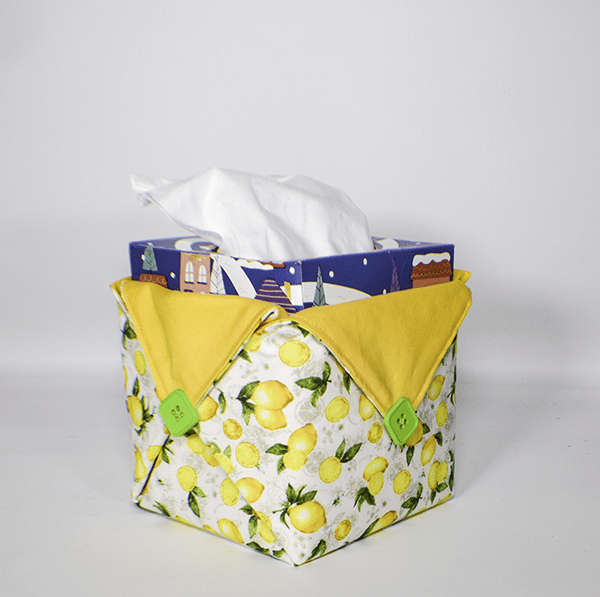
I came across this simple tissue box holder tutorial on YouTube and thought to share int with you. It is a super simple sewing project that anyone with basic sewing skills can make. It is so simple to make you can make several to match your home's decor or the holidays or seasons. I love simple sewing projects like this because they make great house warming gifts and can be made in minutes. If you would like a more tailored tissue box cover check out my post here.
I used some remnants that I had in my stash for this project and some craft buttons that I had on hand. I purchased these at JOANN Fabric & Craft Stores![]() and
and
What you will Need: How to Make a Tissue Box Holder
- 1/4 yd outer and lining fabric
- 1/4 yd Pellon 808 interfacing
- 4 craft buttons or findings
- Standard sewing supplies
Step 1: Cut Your Fabrics
Cut the outer, lining and interfacing to measure 14″ x 14″.
Step 2: Fuse the Interfacing
Fuse the interfacing to the wrong side of the fabric piece you want on the outside of your tissue box holder following the manufacturer's instructions.
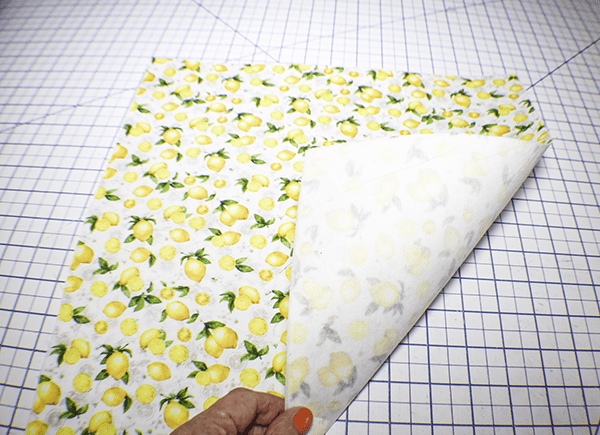
Step 3: Stitch the Fabrics
Place the fabrics right sides together. Stitch all the way around using a 1/4″ seam allowance but leaving an opening on one side for turning. Clip the corners. Turn the fabric right sides out and press. Topstitch all the way around closing the opening as you go.
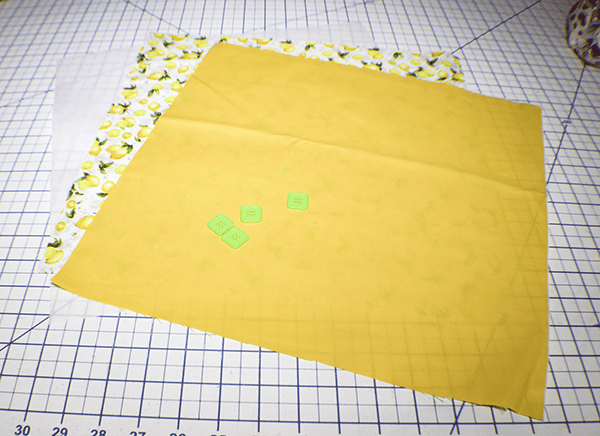
Step 4: Find the Centers
Fold the fabric in half and mark the centers on both sides. You can use a heat erasable pen to accomplish this.

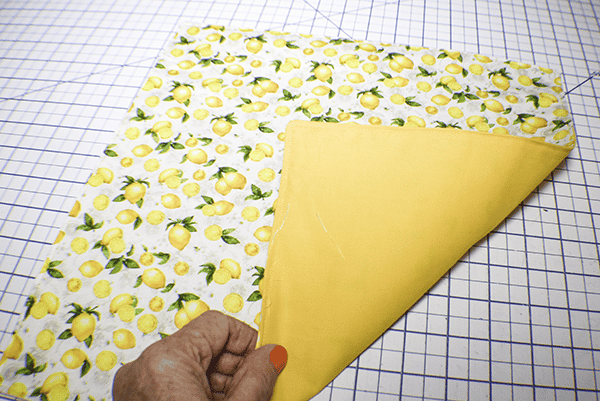
Step 5: Fold the Fabric
Decide which Fabric you want on the outside. Place this on the bottom. Fold the fabric diagonally so that the lining is on the top. Pin the fabric where you marked it so that the two layers are pinned together.
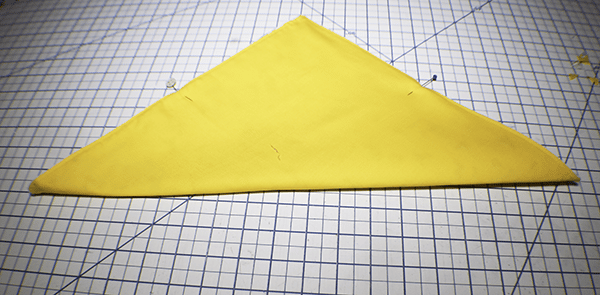
Step 6: Stitch the Sides in Place
Tack the fabric in place with just a few stitches where you pinned them together.
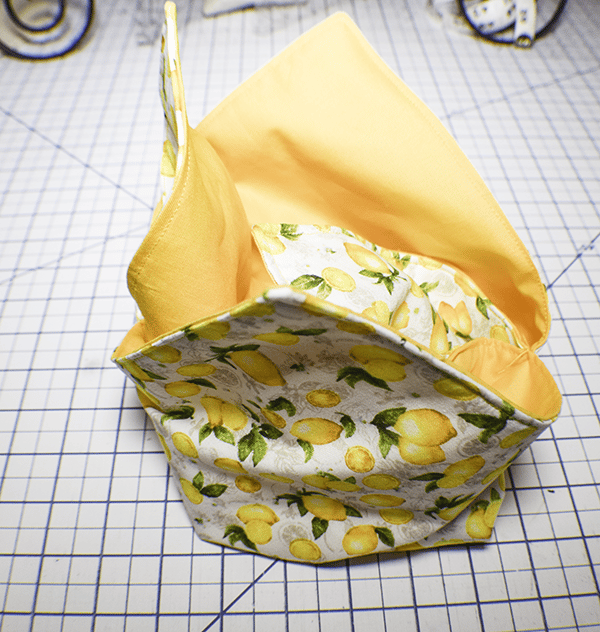
Step 7: Turn the Piece to the Other Side
Turn the fabric so that the other side is facing out. At this point you will create the square shape that makes the holder for your tissue box. It should have 4 points. Insert your tissue box to form the appropriate shape. Fold down the points and pin them.
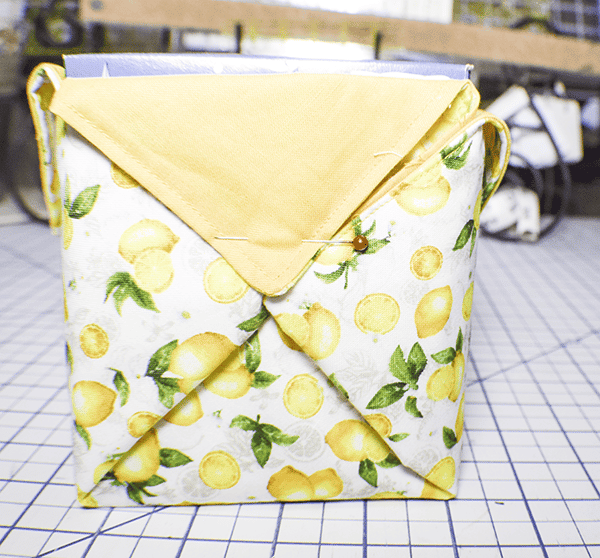
Step 8: Add the Buttons
Remove the tissue box. Place the buttons on on each point and stitch them through all layers. Reinsert your tissue box and you are finished.

I hope you enjoyed this Tissue box Holder project. If you would like more sewing and crafting tutorials subscribe to our newsletter and receive access to our free Printables Library
If you would like video tutorials of some of sew Very crafty's most popular posts subscribe to our free YouTube channel here.