

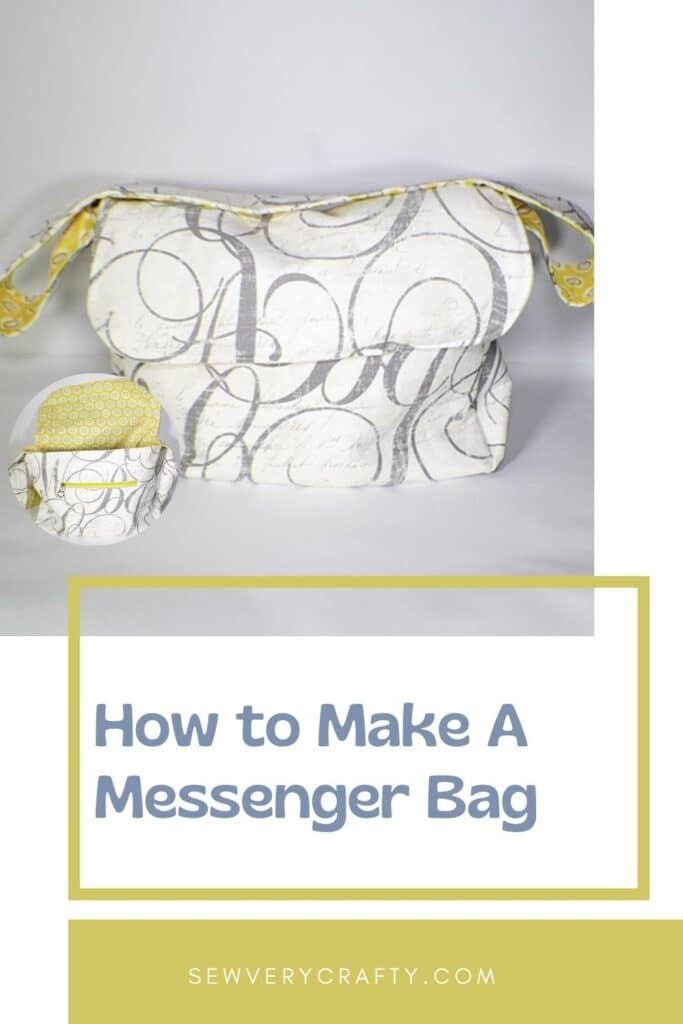
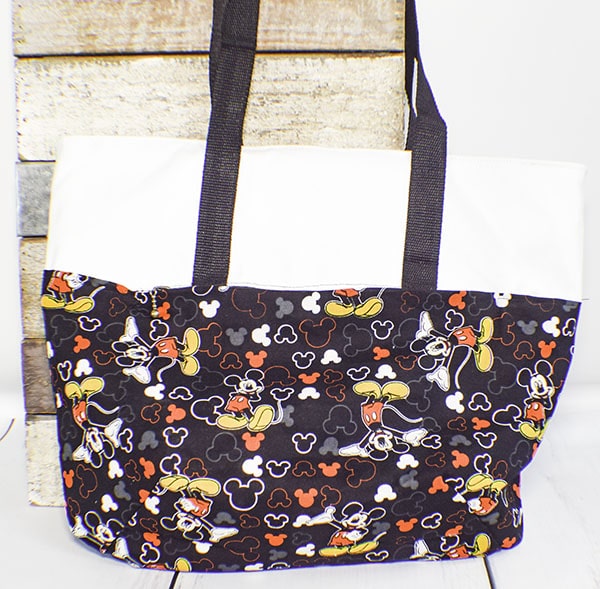
Here is another terrific bag making project from sew Very crafty. In this tutorial I will teach you how to make a large messenger bag. This messenger bag is great for back to school, back to work or use it as a diaper bag. it is large ands spacious with interior pockets for your small things as well. This is a simple sewing project that only requires basic sewing skills even though there are a lot of steps. Just follow them one-by-one and you will have this bag all for yourself.
I used one yard remnants for this project that I had in my stash for this project. I was lucky enough to get a one yard home decorator weight remnant at JOANN Fabric & Craft Stores![]() for 50% off. Quilting cotton was used for the lining. If you can't find what you want at JOANN Fabric & Craft Stores
for 50% off. Quilting cotton was used for the lining. If you can't find what you want at JOANN Fabric & Craft Stores![]() head over to
head over to
What you will Need: How to Make a Large Messenger Bag
- 1 yd outer and lining fabric
- 1 yd fusible fleece like Pellon 987F
- 12″ Zipper
- Standard sewing supplies
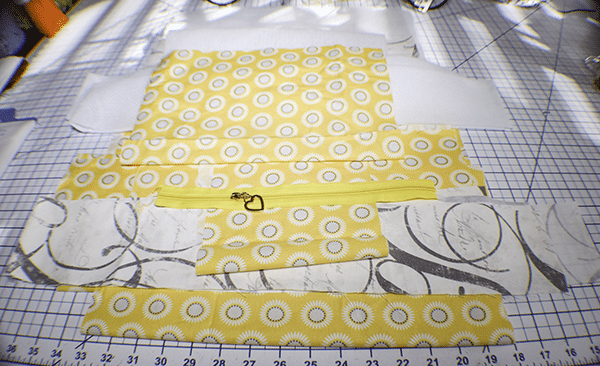
Step 1: Cut the Fabrics
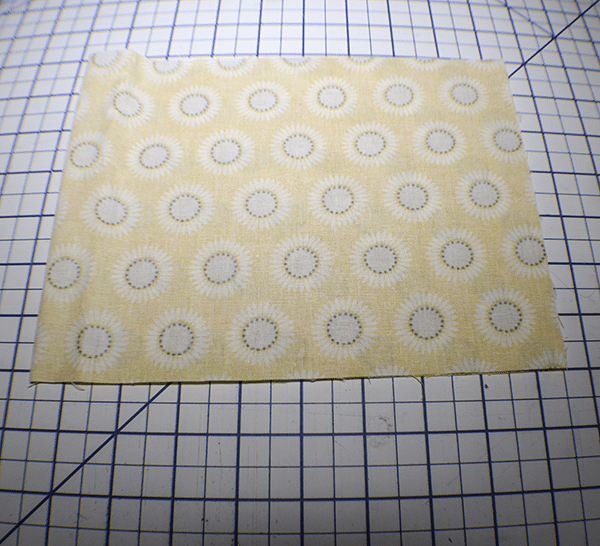
- Outer fabrics: one piece — 15″ x 13″ for the front, 15″ x 22″ for the back, two pieces that measure 4″ x 40″ for the gusset and strap
- Lining Fabrics: one piece — 15″ x 13″ for the front, 15′ x 22″ for the back, 22″ x 7″ for the slip pocket, 14″ x 24″ for the zipper pocket lining, two pieces that measure 4″ x 40″ for the gusset and strap
- Fusible Fleece: one piece — 15″ x 13″ for the front, 15″ x 22″ for the back, two pieces that measure 4″ x 40″ for the gusset and strap
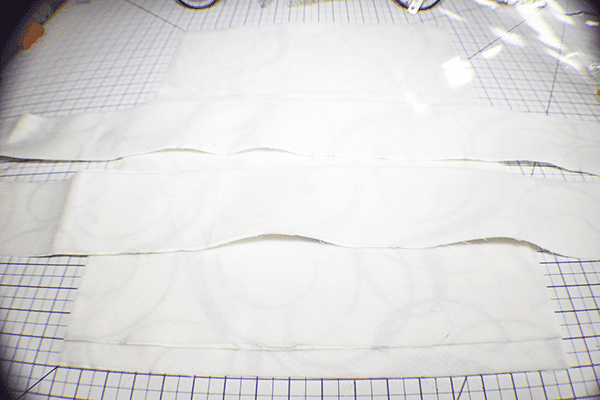
Step 2: Fuse the Fleece
Fuse the fleece to all outer pieces of fabric following the manufacturer's instructions.
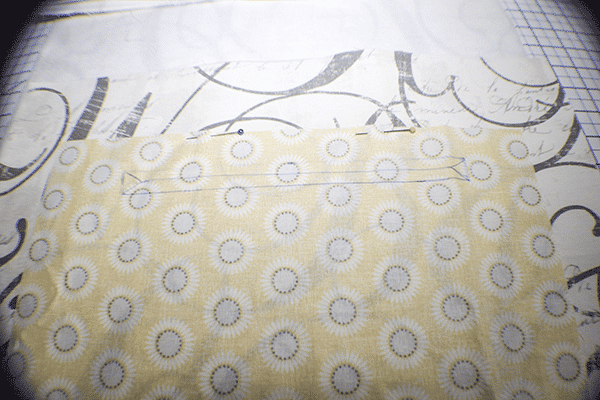
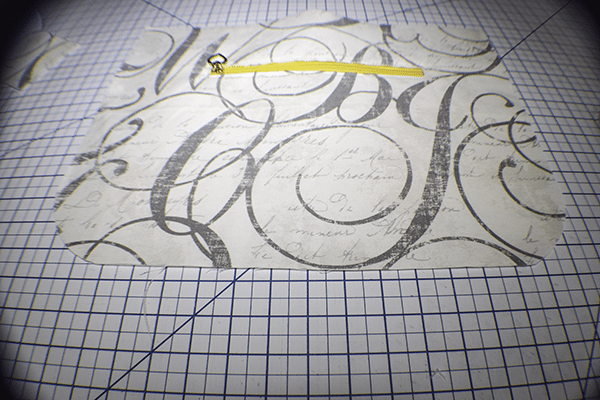
Step 3: Add the Zipper Pocket
Create the front zippered pocket using the method in my adding a zippered pocket tutorial. For my pocket I measured 2 1/2″ from the top of my front piece down and centered. I pinned the pocket piece to the front piece. I then measured 1″ down from the top of the pocket piece and centered and drew a rectangle 9″ x 3/8″ to accommodate my 12″ zipper. From there I followed the tutorial and added the zipper.
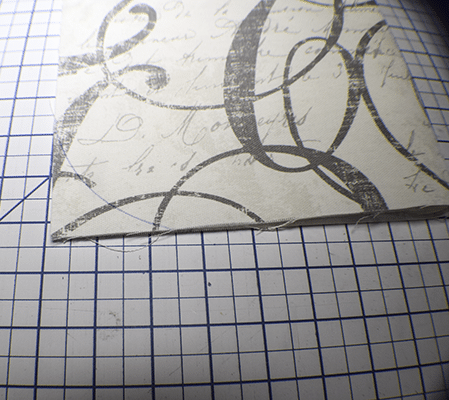
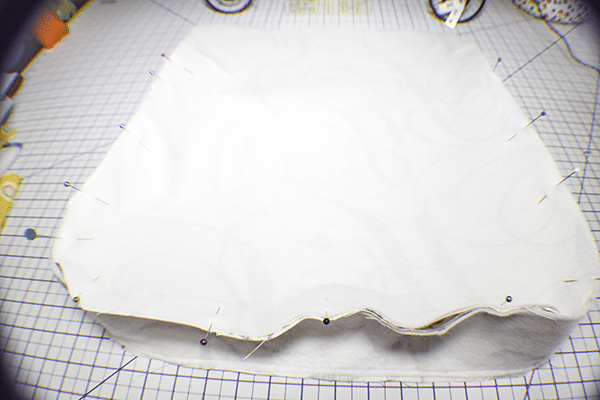
Step 4: Round the Corners
Round the corners of the front corners and back top and bottom corners of the outer and lining pieces.
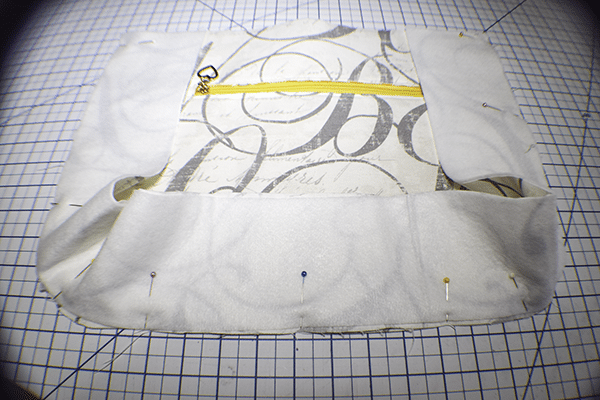
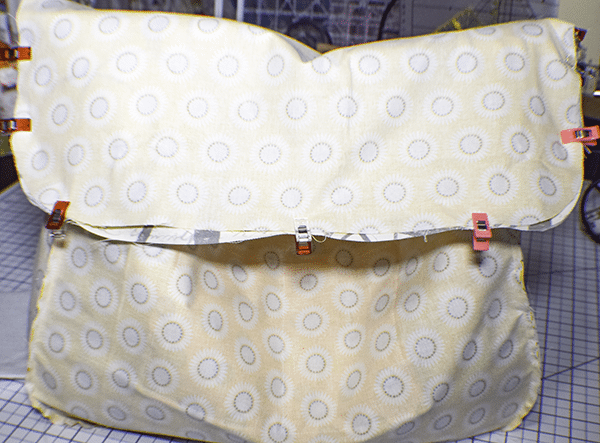
Step 5: Add the Gusset
Place the gusset right sides together with the front outer bag. Stitch the gusset to the front outer bag using a 1/4″ seam allowance. Stitch the other side of the gusset to the outer back piece in the same way. Turn right sides out.
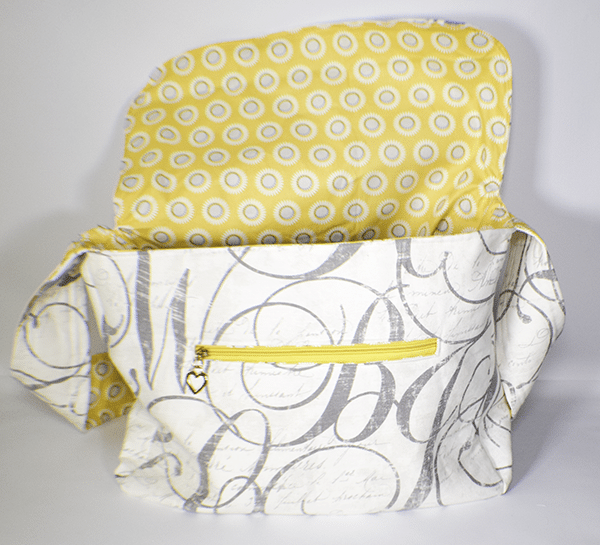
Step 6: Create the Lining
Take the 22″ x 7″ lining piece and fold it in half right sides together. Stitch along the sides and partially along the bottom, leaving an opening for turning. Turn the piece right sides out. Topstitch along the fold. Place the pocket piece ____ up from the bottom of the back lining piece and centered. Stitch around the sides and bottom to secure. Create the lining bag the same as you created the outer bag.

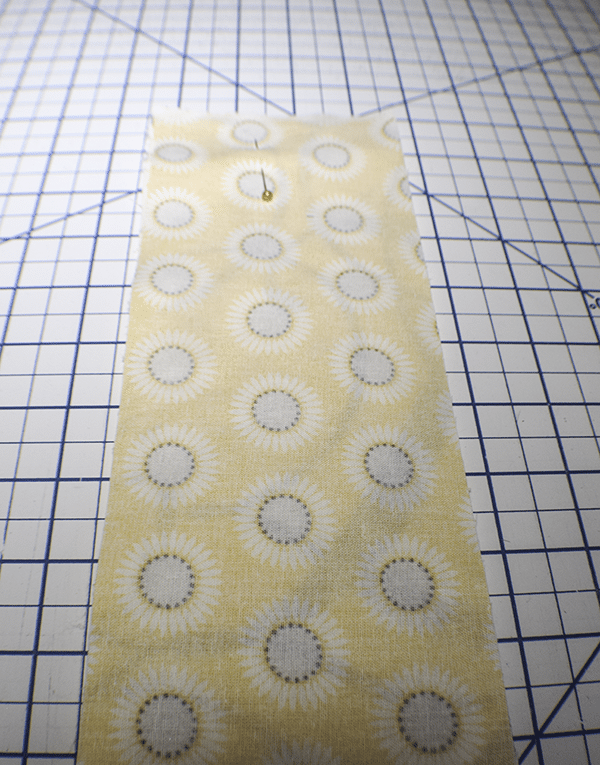
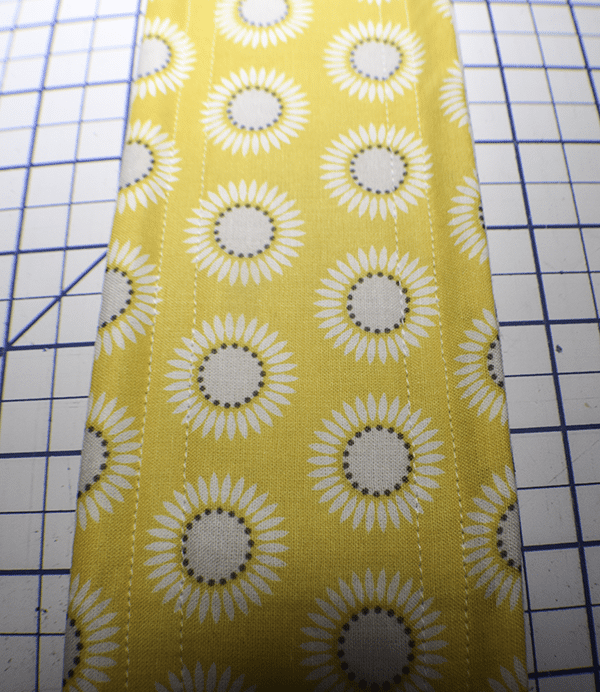
Step 7: Create the Strap
Place the strap pieces right sides together lengthwise and stitch on each side using a 1/4″ seam allowance. Turn right sides out and topstitch on both sides two lines.
Step 8: Add the Straps
Place the straps on the sides of the outer bag in the center of the gusset. Stitch using a 1/8″ seam allowance to secure.
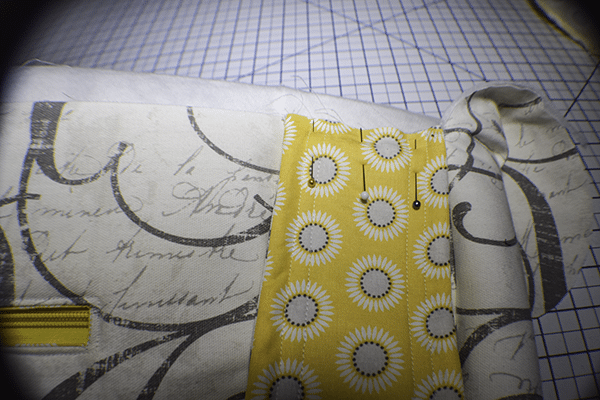
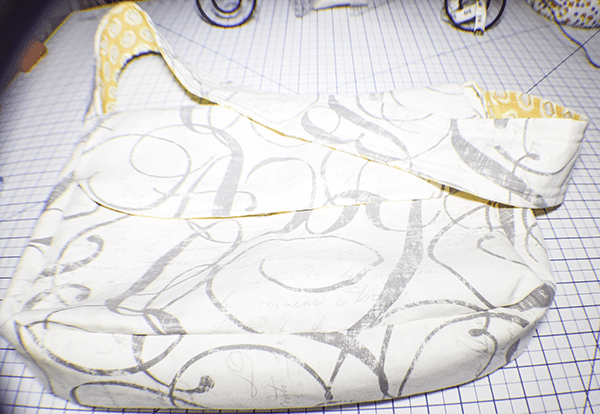
Step 9: Combine the Two Bags
Add the outer bag to the lining bag so that they are right sides together. Match all the raw edges and make sure the straps are stuffed between the two layers. Stitch all the way around the top of the bag using a 1/4″ seam allowance leaving an opening in the front of the bag for turning.
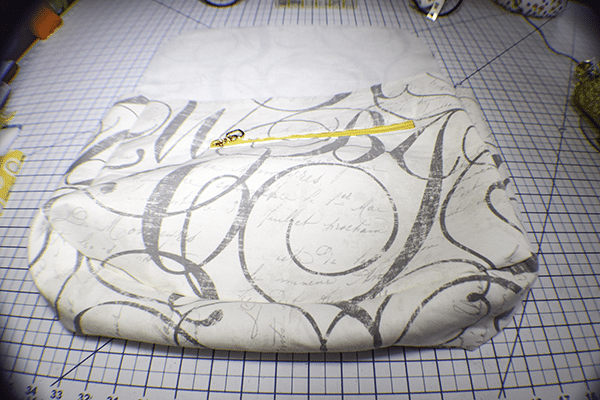
Step 10: Finish the Messenger Bag
Turn the bag right side out and press. Topstitch all around the top na flap. You have now finished your large messenger bag.
I hope you enjoyed this large messenger bag. if you would like more sewing and crafting projects subscribe to our newsletter and receive your free eBook of 15 handbag patterns and tutorial taken from the blog
If you would like video tutorials of some of Sew Very crafty's most popular posts subscribe to our free Youtube channel here.

Do you have a tutorial on the messenger bag
I do not have a video tutorial of this project but will consider doing one when I get a chance. Thanks for asking.