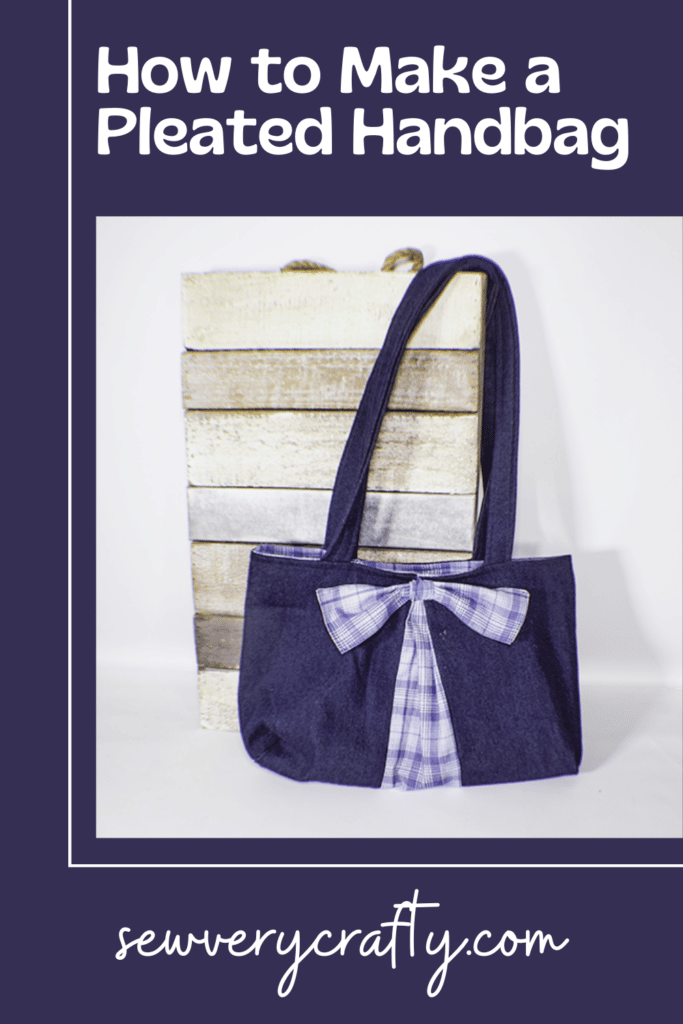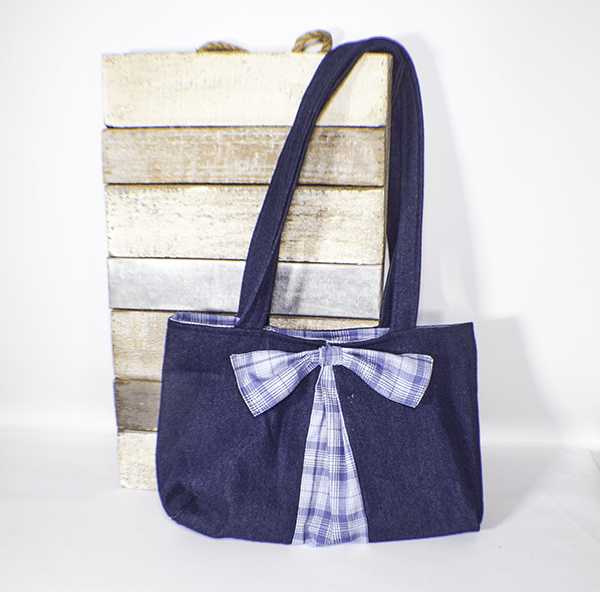
I am still upcycling jeans. This is my last jeans project for a while. I thought this was a really cute idea for another jeans handbag. It is so simple to make. All you need is some jeans and lining fabric and a magnetic snap to make this cute little project. This is a beginner pleated handbag making project so it is good for honing those bag making skills. If you would like more bag making projects head over to my handbag page and check out all of my bag making tutorials.
I used some old jeans and some lining fabric that I purchased at JOANN Fabric & Craft Stores but you could head to fabric.com or onlinefabricstore.net to et exactly what you want for your pleated handbag. This post contains affiliate links that if you click on them and make a purchase I ay receive a small commission at no extra cost to you.
What you will Need: How to Make a Pleated Handbag
- Pair of jeans or 1/2 yd of denim fabric
- 1/2 yd of lining fabric
- 1 Magnetic snap
Step 1: Cut your Fabrics
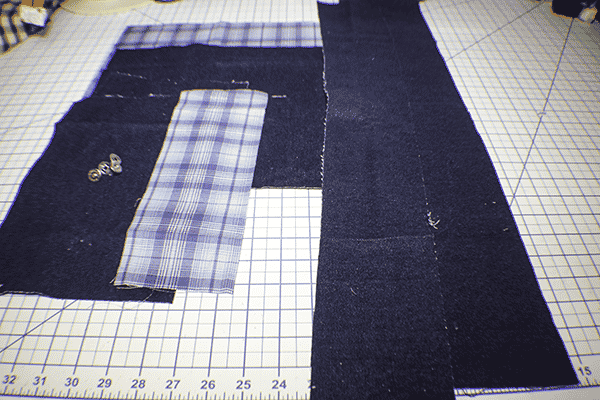
From the Jeans cut two pieces that measure 7 1/2″ W x 11 1/2″ and one piece that measures 18″ W by 13″ L. Then cut two lining pieces that measure 4 1/2″ W x 11 1/2″ L. This will be the outer bag. Cut two lining pieces that measure 14 1/2″ W x 11 1/2″ L. Cut a pocket piece that measures 11 1/2″ x 11 1/2″. Finally, cut two handles that measure 4″ W x 35″ L. Finally, cut two bow pieces that measure 5 1/2″ x 9″ and 2″ x 3″.
Step 2: Piece the Front
Place the 7 1/2″ x 11 1/2″ right sides together with the 4 1/2′ xw 11 1/2″ lining piece and stitch using a 1/4″ seam allowance. On the other side of the lining piece stitch the other 7 1/2″ x 11 1/2″ piece of jeans fabric to create the front.
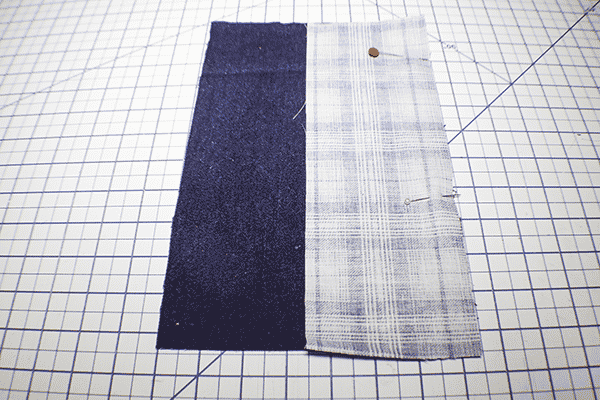
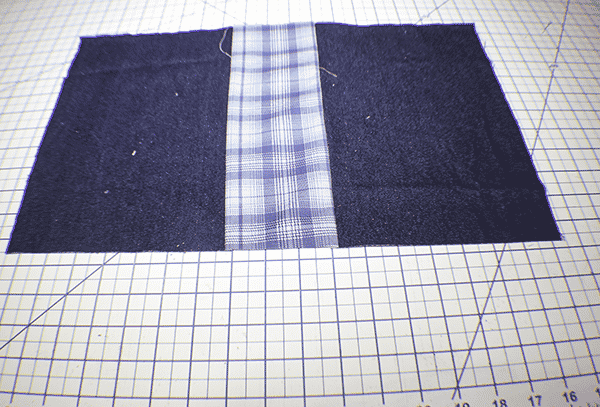
Step 3: Pleat the Front
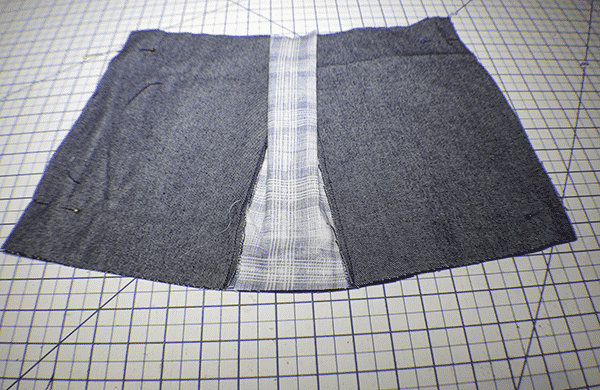
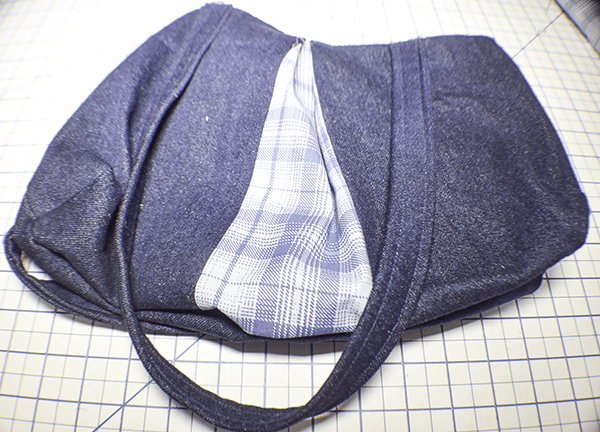
Find the center of the front that you just pieced and make a mark. Mark 1″ on each side of the center mark and 1″ on each side of those marks. Fold the pleats starting at the farthest 1″ mark to the center. Clip or pin. Repeat for the other side. Stitch the pleat in place.
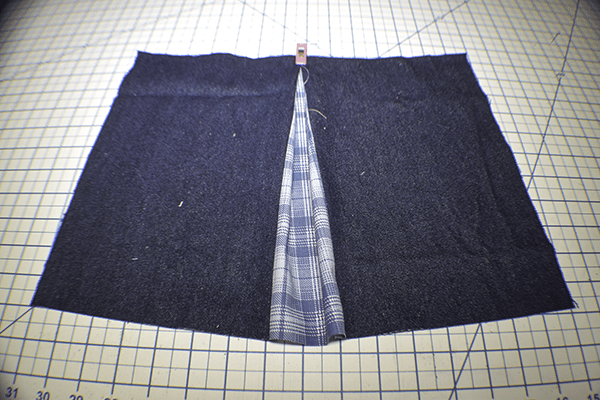
Step 4: Stitch the Outer Bag
Place the front of the bag right sides together with the back of the bag which measures 18″ x 13″. Trim around the outer bag.
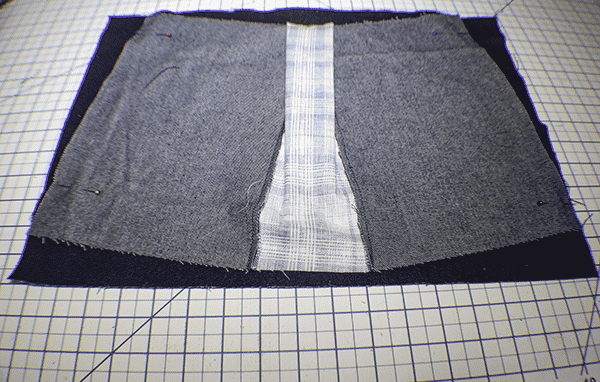
Step 5: Box the Corners
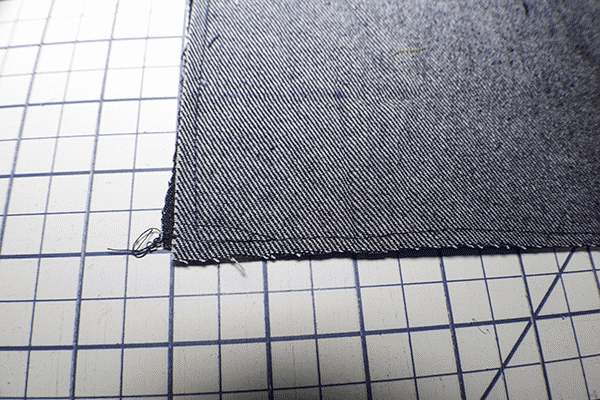
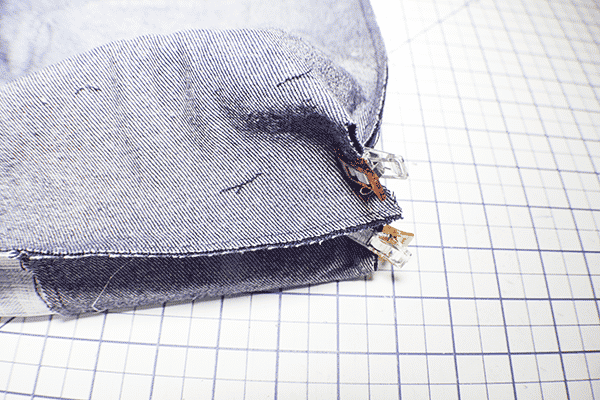
Draw a box that measures 2″ x 2″ on the bottom of each side of the bag. Cut out the square. Pinch the side and the bottom together on each side and stitch using a 1/4″ seam allowance. Turn the bag right sides out.
Step 6: Create the Pocket Piece
Fold there pocket piece in half right sides together. Stitch along the sides and part way on the bottom leaving an opening for turning. Turn right ides out. Press. Topstitch along the fold.
Step 7: Add the Pocket Piece
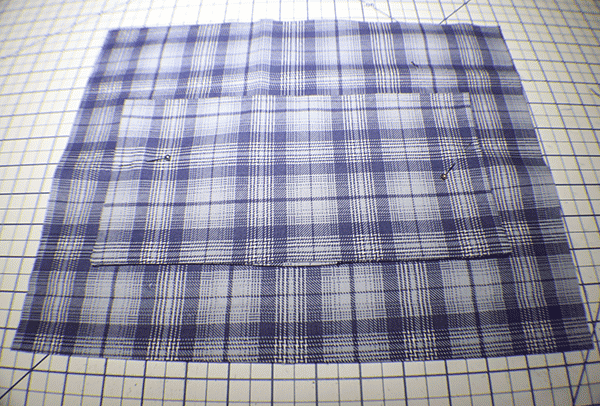
Place the pocket piece on one of the lining pieces. Find the center. Measure down 3 1/2″ from the top and place the center of the pocket piece on the center of the lining piece. Stitch along the sides and bottom enclosing the opening as you go. Stitch down the center to divide the pocket Inyo two.
Step 8: Create the Lining
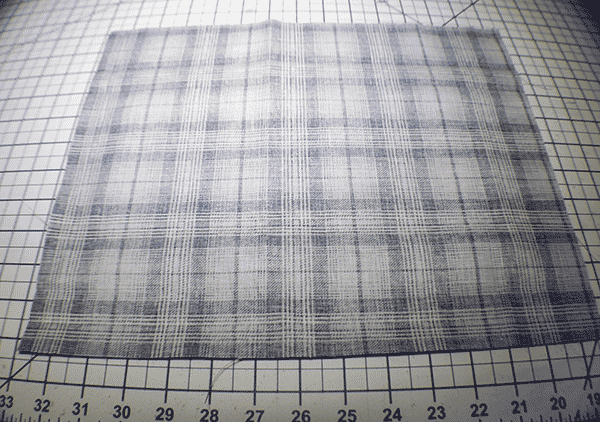
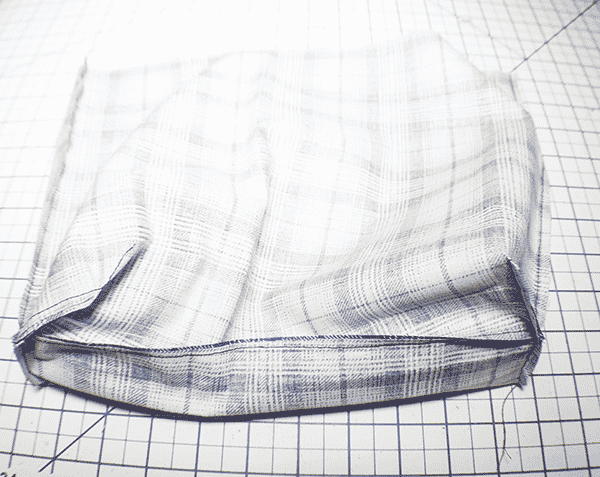
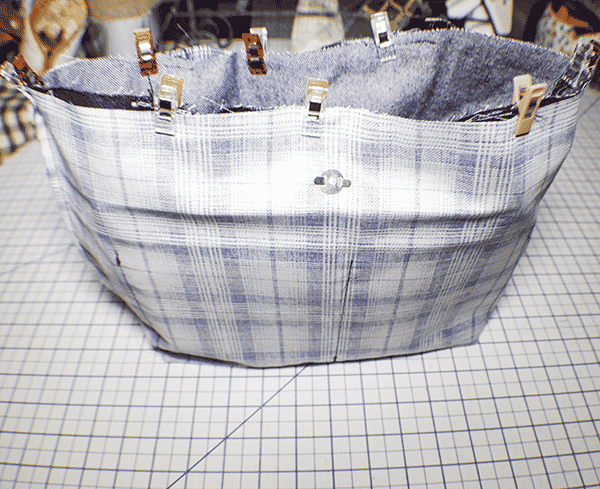
Place the two lining pieces right sides together. Stitch along the sides and bottom using a 1/4″ seam allowance and leaving an opening for turning at the bottom. Box the corners in the same way that you boxed the corners for the outer bag.
Step 9: Add the Magnetic Snap
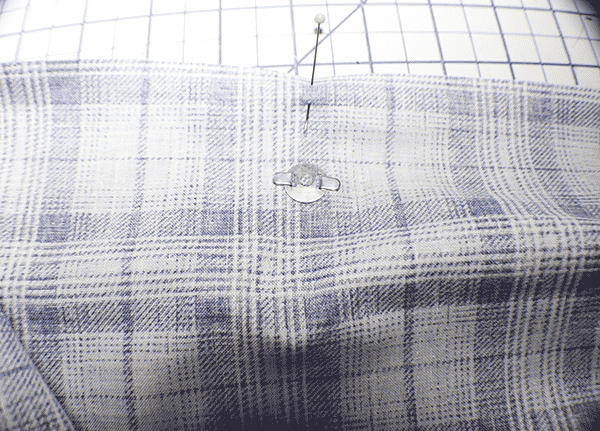
On each side of the lining bag measure down 1 1/2″ in the center and place one half of the magnetic snap on each side following the manufacturers instructions.
Step 10: Create the Handles
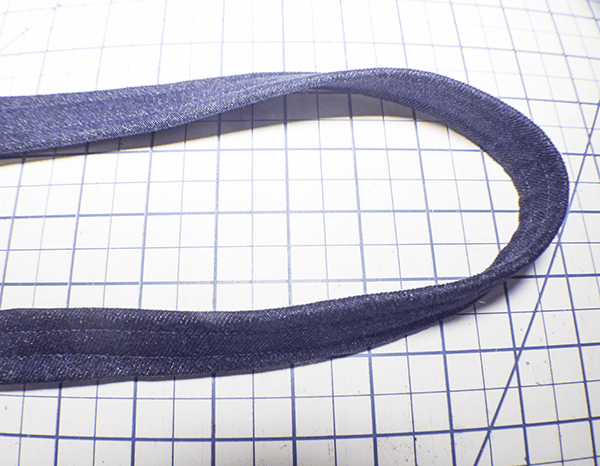
Take the handle pieces and fold the long raw edges to the center and press. Fold in half to enclose the raw edges. Stitch on both sides.
Step 11: Add the Handles
Find the center of the outer bag. Measure 3″ from either side and mark on the front and the back. Place the ends of the handles on these marks and stitch to secure.
Step 12: Add the Outer Bag to the Lining
Place the outer bag into the lining bag with right sides together. Match the side seams and the top raw edges. Stitch all the way around the top. Turn the bag right sides out. Stuff the lining into the outer bag and topstitch all the way around securing the lining to the outer bag.
Step 13: Add the Bow to the Pleated Bag
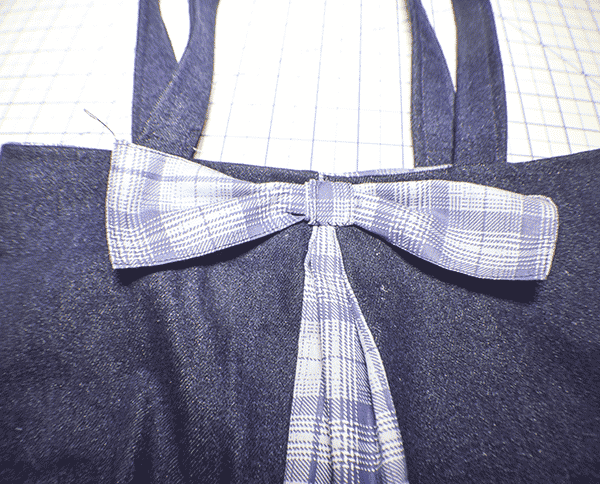
Create the bow by stitching the 5 1/2″ x 9″ piece right sides together and leaving an opening for turning. Turn right sides out. Press and top stitch to enclose the opening. Repeat for the bow center or “knot” Hand stitch the bow knot around the bow and then to the outer bag and you have finished your pleated handbag.

I hope you enjoyed this pleated handbag project. If you would like more sewing and crafting projects subscribe to our newsletter and receive your free eBook of 15 handbag patterns and tutorials taken from the blog
If you would like video tutorials of some of Sew Very Crafty's most popular posts subscribe to our free YouTube channel here.
