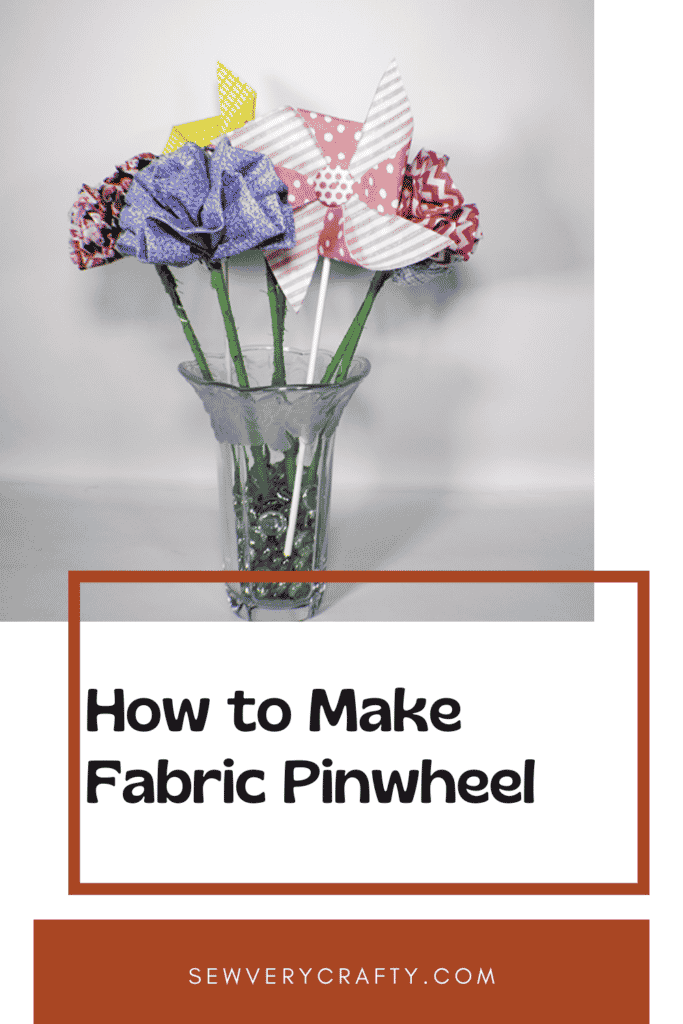
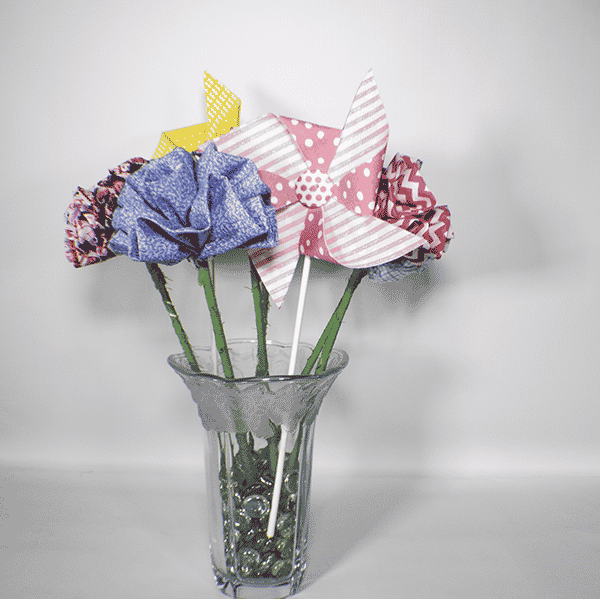
This is a simple little craft to make. Anyone can make these fabric pinwheels. They are just adorable to place in a vase or on a wreath. They are also no sew. This is a great way to decorate for the holidays or a child's room. Choose fun fabrics to match your decor or the holiday season. Make them work or not. You can glue them to a stick or pin them so they turn. It is completely up to you. Place them in a painted mason jar for a really fun look. If you would like to learn how to paint mason jars check out my mason jar crafts page.
I used fabric scraps from my stash for this fun craft project. You can use fat quarters or fat eighths for your project that you can get at Joann's or fabric.com. You will also need some Wonder Under to join your pieces together. This post contains affiliate links that if you click on them and make a purchase I may receive a small commission at no extra cost to you. As an Amazon Associate I earn from qualifying purchases.
What you will Need: How to Make a Fabric Pinwheel
- Scraps of two different fabrics
- Scrap of wonder under
- Glue or a ball headed pin and bead
- Stick or straw
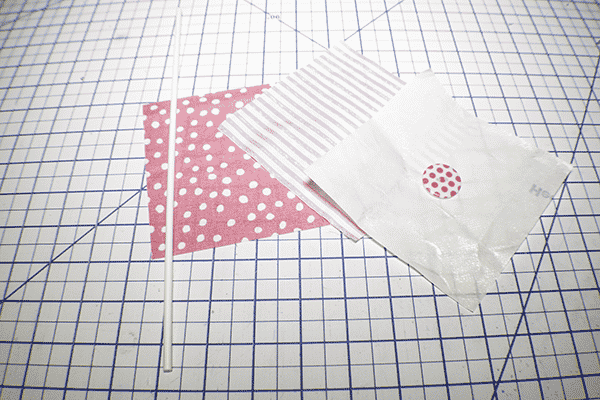
Step 1: Cut your Fabrics and Fusible Web
Choose two pieces of coordinating fabric that are square. They can be any size you like. I made mine 5″ x 5″. Cut a piece of fusible web that also measures 5″ x 5″ or the size of your square.
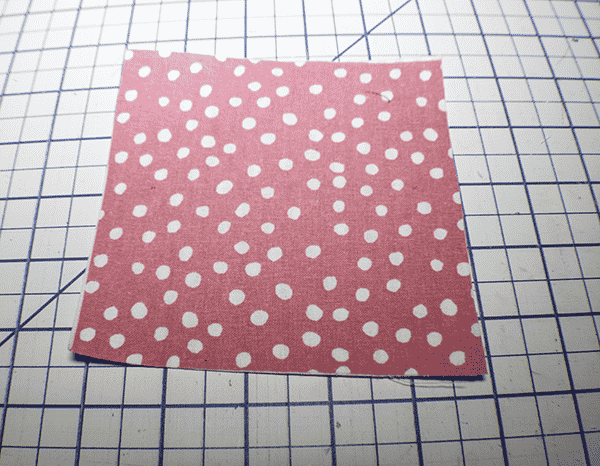
Step 2: Fuse the Fabrics Together
Press the fusible web to the wrong side of one of the fabric pieces pressing on the paper. Once it has cooled remove the paper backing and place the other piece of fabric onto the first piece of fabric wrong sides together and press again so that the fabric pieces are fused together.
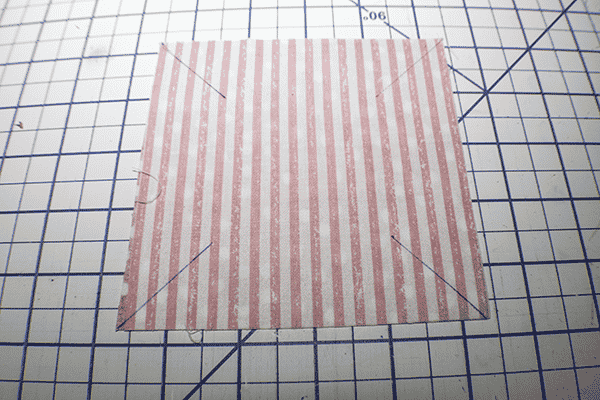
Step 3: Cut the Corners
Decide which piece you want to use as the inside of the pinwheel and place that side up. Measure from the corners to the center about half way and mark with an erasable pen. Cut each corner of the square on the marks that you just drew.
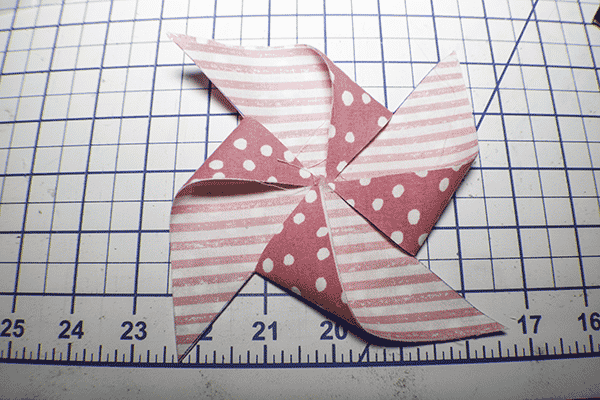
Step 4: Fold the Corners
Fold the alternate corners of the square toward the center and stitch or glue them down one at a time. I just glued mine. You will see the pinwheel shape.
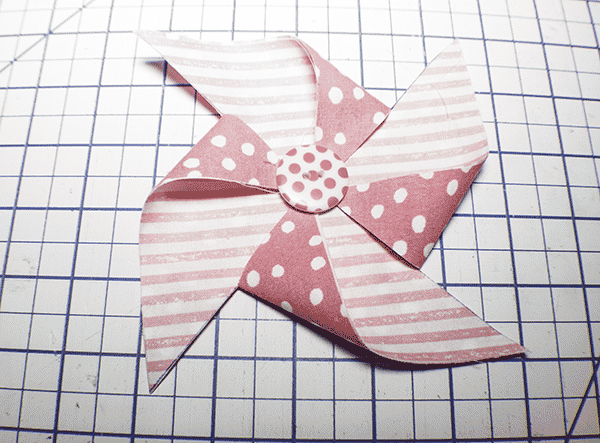
Step 5: Pin or glue the Pinwheel to the Stick
Decide if you want your pinwheel to actually work. If not just glue the pinwheel to your stick and add a craft button to the center for embellishment. If you would like a working pinwheel press a ball headed pin through the center and through the stick. Place a bead on the back of the stick through the pin and food the pin down. This should enable the pinwheel to turn. You have now finished your fabric pinwheel. If you would like to make the fabric flowers in this photograph check out my post here.
I hope you enjoyed this simple pinwheel project. If you would like more wowing and crafting projects subscribe to our newsletter and receive access to our free printables library
If you would like video tutorials of some 0f Sew Very Crafty's most popular posts subscribe to our free YouTube channel here.