DIY Travel Neck Pillow
DIY Travel Neck Pillow

I will be taking a long awaited trip to Ireland this summer so I thought I would make myself a DIY travel neck pillow to take on the plane. This is a super simple project that any beginner can make and can be sewn in a matter of minutes. I have included a tutorial and a pattern for this easy to make project. I hope you give it a try whether you are traveling by plane, train or automobile, this pillow will come in handy.
What you will Need:
- Pattern Piece 1
- Pattern Piece 2
- 1/2 yd. of fabric
- Polyester fiberfill
- Standard sewing supplies
Step 1: DIY Travel Neck Pillow
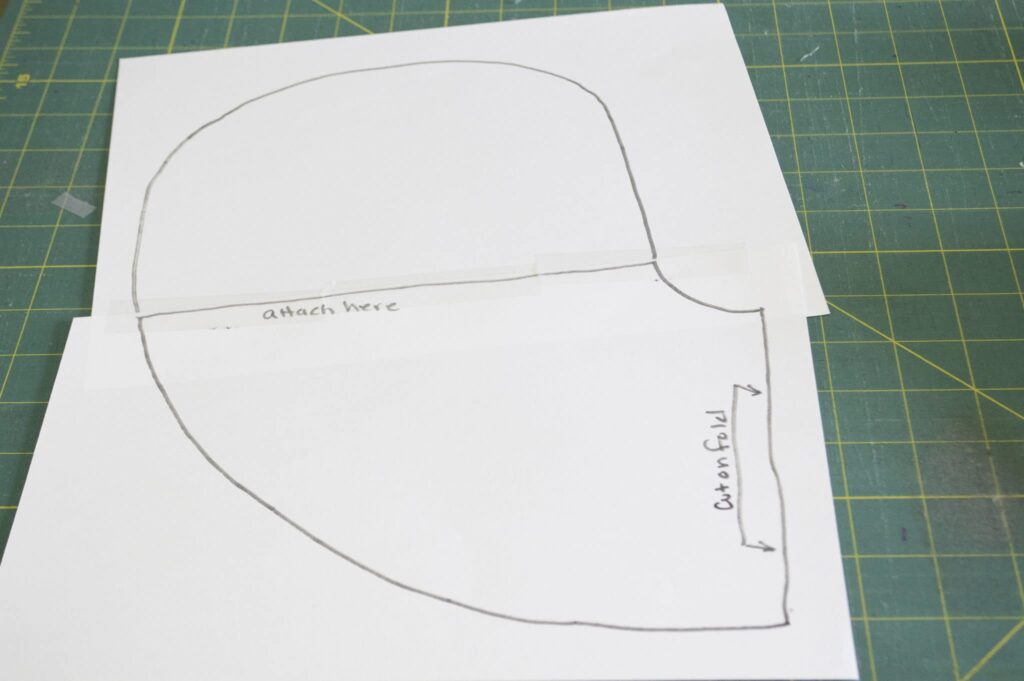
Print out the pattern and tape the pieces together. Place the pattern to the fabric on the fold and cut out two pieces.
Step 2: DIY Travel Neck Pillow
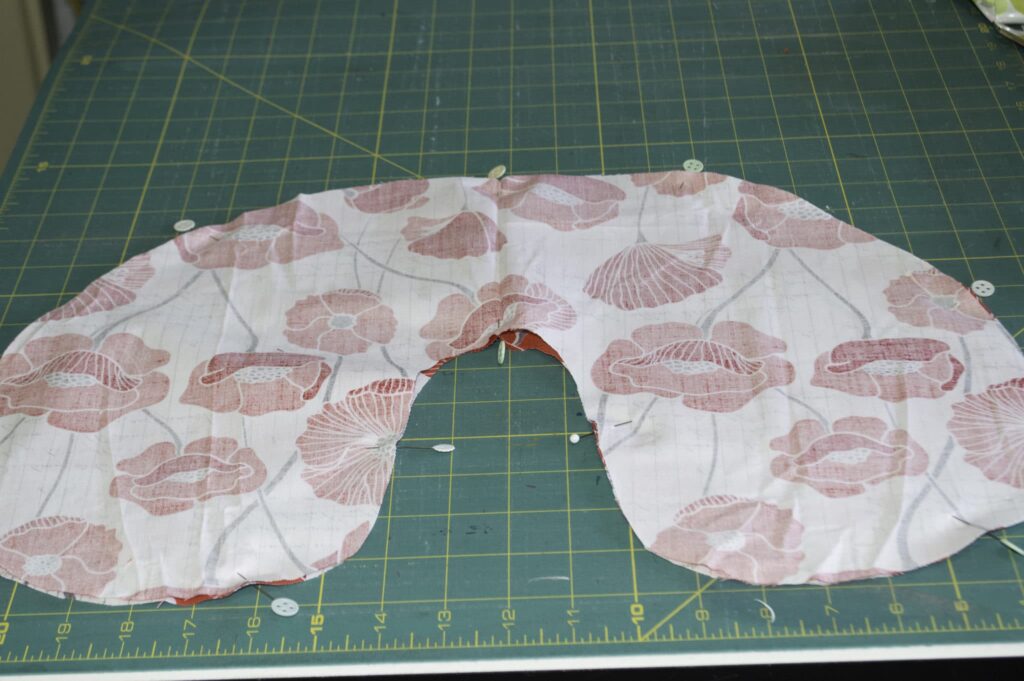
Place the pieces right size together and pin.
Step 3: DIY Travel Neck Pillow
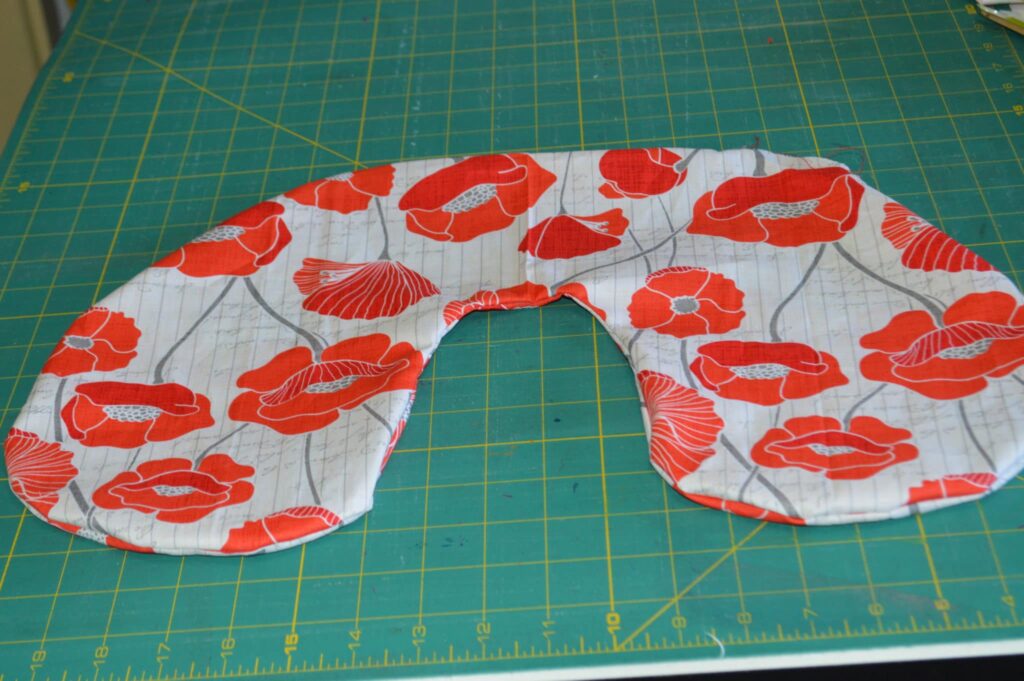
Sew the two pieces together leaving an opening for turning. Make sure to clip the inner curve so that the pillow lays flat when turned. Turn the cover right sides out.
Step 4: DIY Travel Neck Pillow
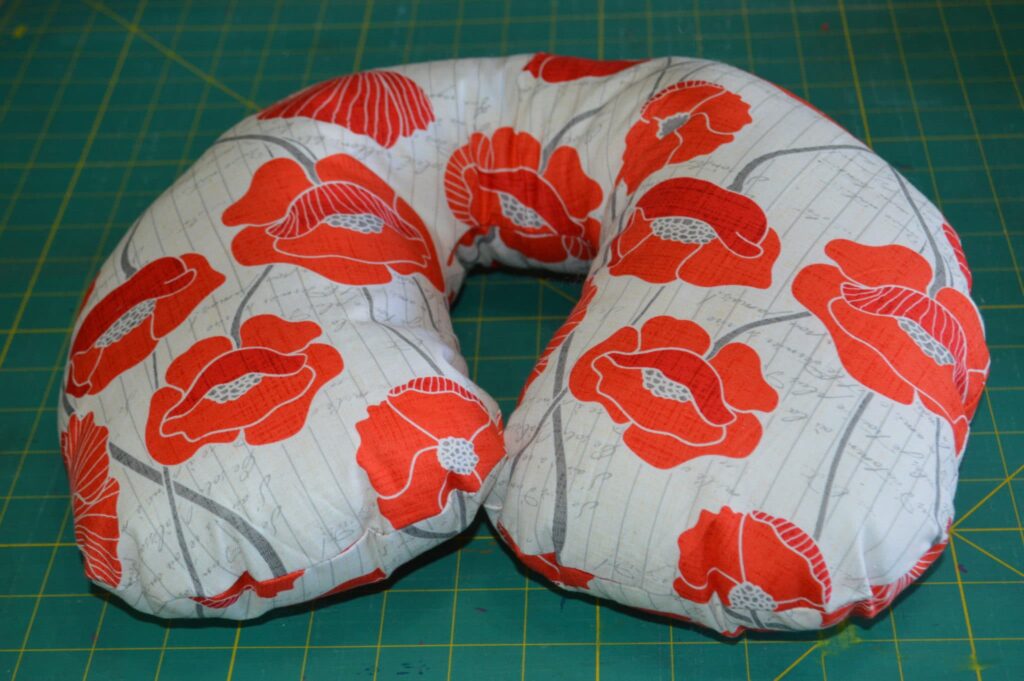
Stuff the pillow with the fiberfill using small handfuls to ensure that you have a smooth surface without stretching the fabric.
Step 5: DIY Travel Neck Pillow
Close the opening using ladder stitch and you have finished your DIY travel neck pillow.

I hope you enjoyed this project. If you did sign up for our newsletter and receive access to our free printables library.



Hi there! Do you hand sew or do you use a machine?
Kind regards,
Judy Harris
I use a machine for most things and hand sew my openings when I have to turn a project.