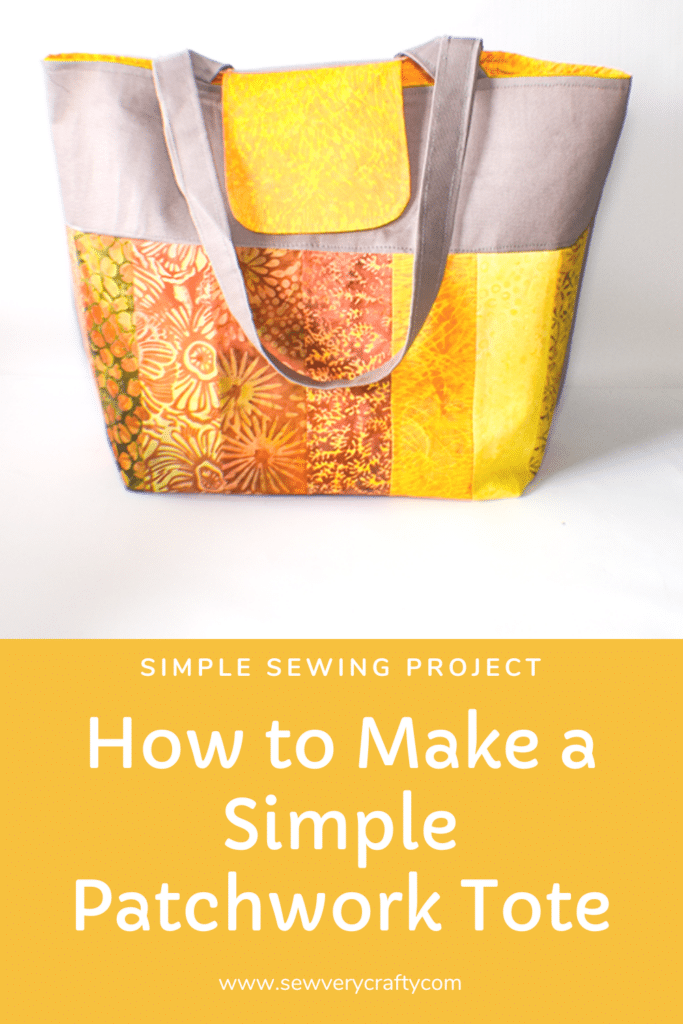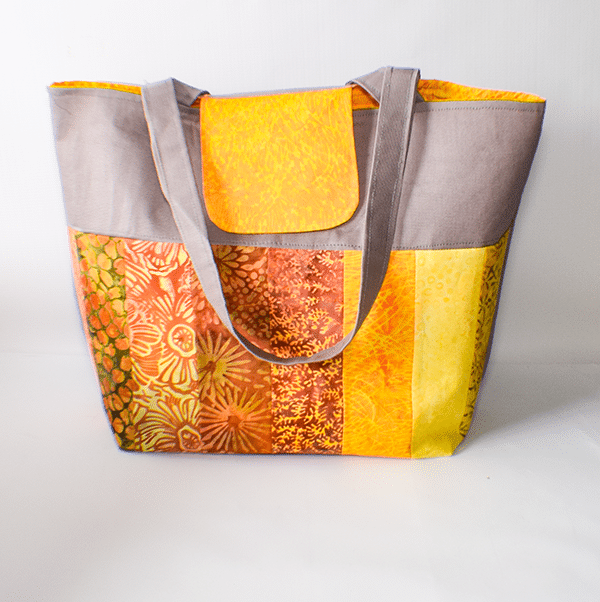
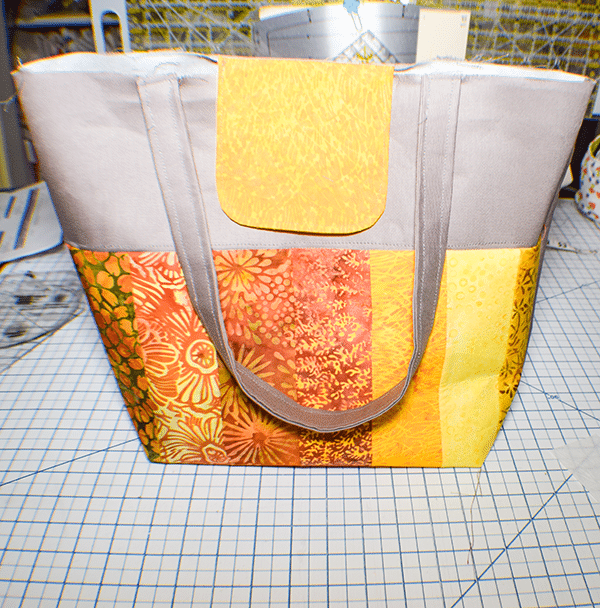
As you all know I love making handbags and this simple patchwork tote bag is no different. It is autumn now so I decided to use some autumn batik for my patchwork. I thought it would be a great seasonal project. This is a nice sized tote that is a beginner patchwork project. Of course you do not need to use autumn colors any colors work just as well. Just choose a variety. If you would like other handbag projects check out these.
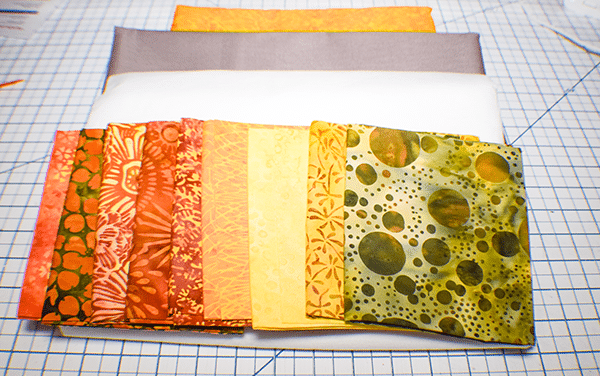
I had some fall batik fat quarters that I used for another project that I purchased at joann's the I used for this project. I also used some grey cotton canvas and a batik lining that I also purchased at Joann's. Of course you could head to Amazon Fabrics or onlinefabricstore.net to get exactly what you need for your project. This tote is also a perfect jeans upcycling project as well.
This post contains ciliate Lins that if you click on them and make a purchase I may receive a small commission at no extra cost to you. As an Amazon Associate I earn from qualifying purchases.
What you will Need: How to Make a Simple Patchwork Tote Bag
- 8 2 1/2 x 8″ strips of a variety of cotton print fabrics and a 16 1/2″ x 8″ piece of Pellon 808
- 1 16 1/2″ x 4 1/2″ piece of cotton canvas or denim and Pellon 808
- 1 16 1/2″ x 17″ piece of cotton canvas or denim and Pellon 808
- 2 pieces of 5″ x 5″ Lining fabric and Pellon 808 for the closure
- 2 22″ x 4″ cotton canvas or denim for straps
- 1 16 1/2″ x 28 1/2″ lining piece
- 2 magnetic snaps
- Sewing machine
Step 1: Cut out Your Fabrics
Cut out the fabrics and interfacing according to the measurements above.
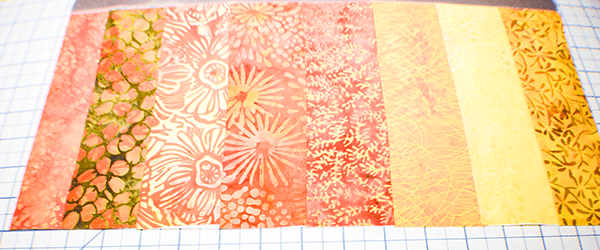
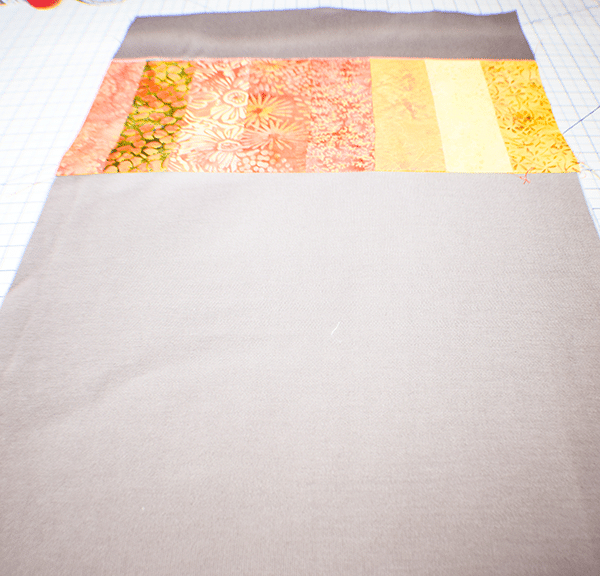
Step 2: Create the Patchwork Panel
Take the 16 1/2″ x 8″ piece of Pellon 808 and place it glue side up on your work surface. Place your first strip of cotton fabric wrong sides down on the end of the interfacing and fuse using a hot iron. Take the next strip of cotton and place it right sides together with the first and stitch it to the first using a 1/4 seam allowance. Open it up and place it wrongsides down on the interfacing and fuse using a hot iron. Repeat with all of the strips. Cut the panel down to 16 1/2″ if you need to.
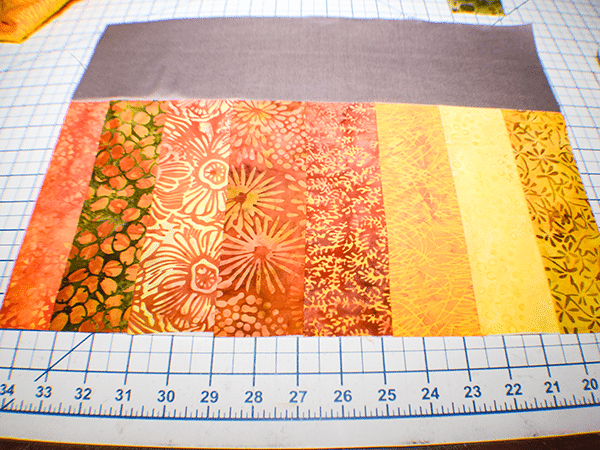
Step 3: Add the Top Panel
Take the 16 1/2″ x 4 1/2″ piece of canvas and fuse the corresponding piece of interfacing to the wrong side using a hot iron. Place the panel right sides together with the patchwork panel matching the top long edges. Stitch together using a 1/4″ seam allowance. Topstitch along the canvas side.
Step 4: Add the Body
Take the 16 1/2′ x 17″ piece of canvas and fuse the corresponding piece oof interfacing. Place the bottom of the patchwork panel to the top of the body piece right sides together and stitch using a 1/4′ seam allowance. Topstitch along the canvas side.
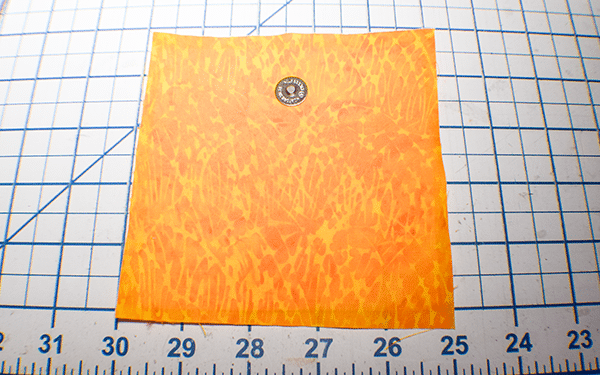
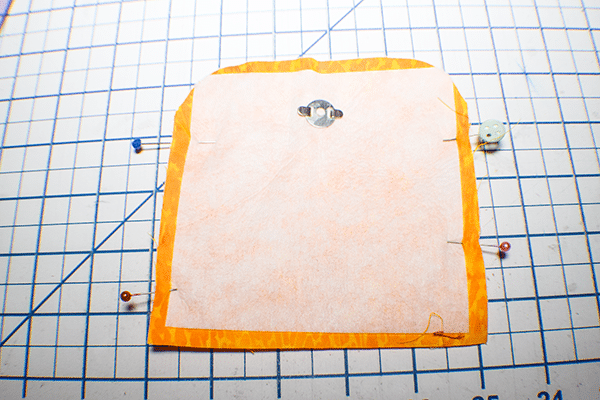
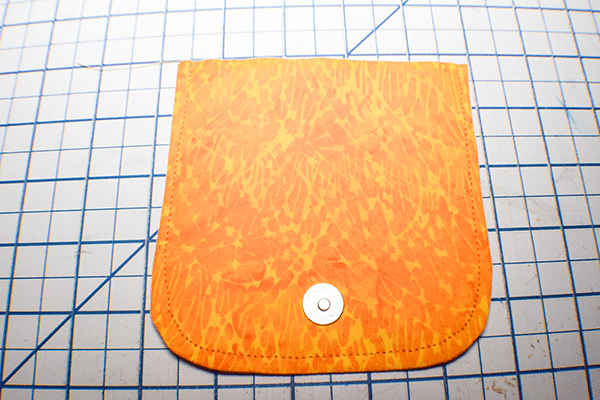
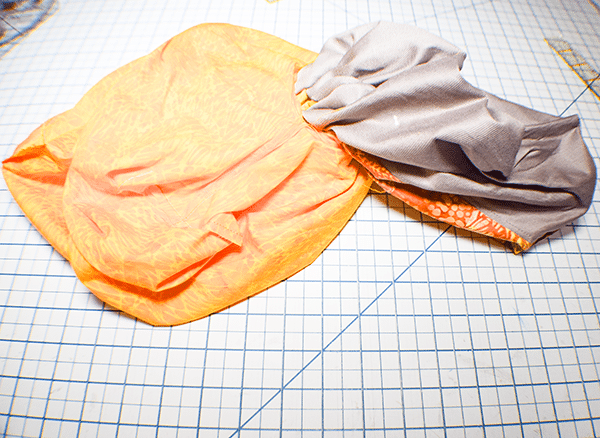
Step 5: Create the Closure
Take the two pieces of 2″ x 2″ lining fabric and fuse the corresponding interfacing. Add one side of the magnetic snap to one of the 2″ x 2″ pieces by finding the center and measuring down 1″ from the top raw edge. Place the other piece right sides together with the first. Pin or clip them together. Round the corners near the snapping a rounding ruler or tape roll. Stitch together using a 1/4″ seam allowance.along the sides and top. leave the bottom open. Turn right sides out. Topstitch along the seam leaving the bottom open.
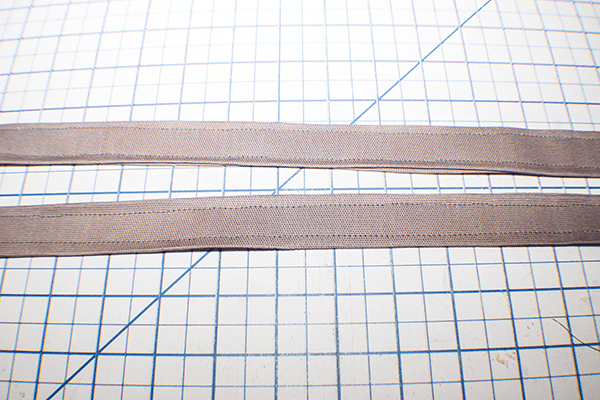
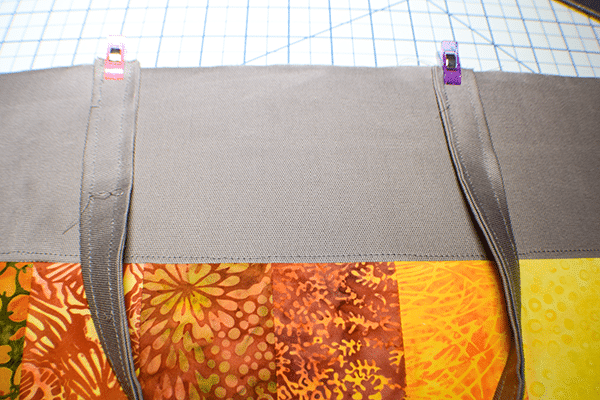
Step 6: Create the Straps
Create the straps by folding the long raw edges to the center and pressing. Then fold it in half length wise and press again. Topstitch on both sides.
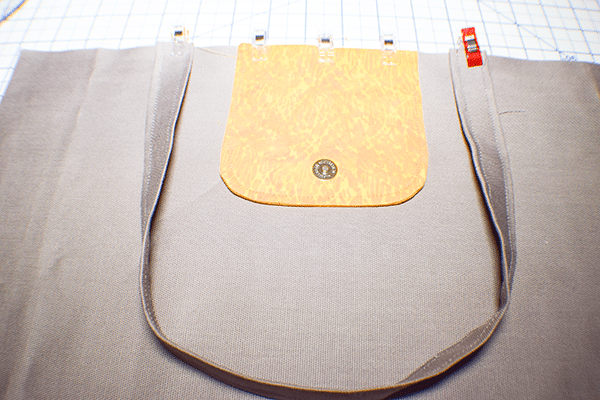
Step 7: Add the Closure and Straps
Find the center of the bottom panel and place the closure. Pin. Measure in 4″ from each side and place the strap ends. Stitch the strap and closure to secure. Repeat for the Other strap on the other end of the bag.
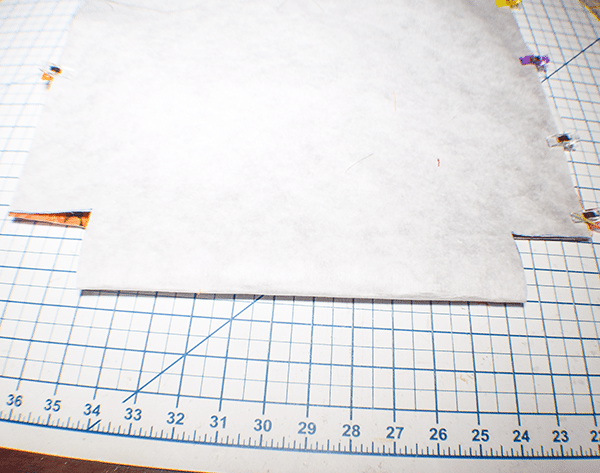
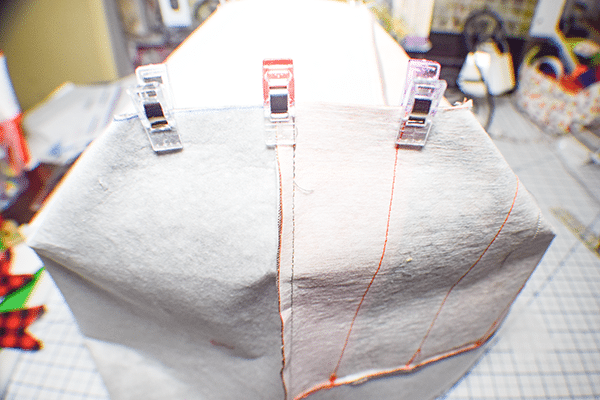
Step 8: Box the Corners
Fold the bag in half and clip together. Cut the bottom corners using a template that measures 2 1/2″ wide by 2 1/4″ tall. Stitch along both sides using a 1/4′ seam allowance. Box the corners by pinching the bottom to the side. Stitch along the seam using a 1/4″ seam allowance. Repeat for the other side. Turn right sides out.
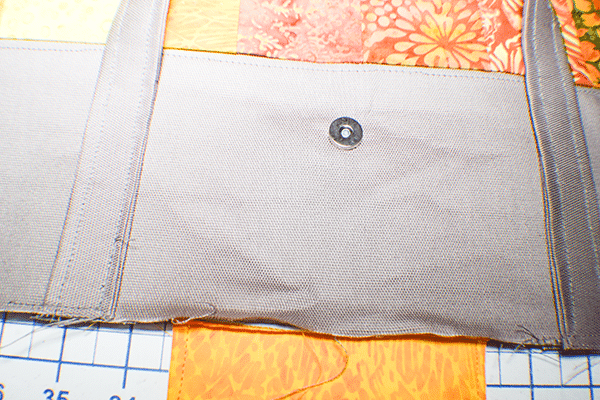
Step 9: Add the Other Half of the Snap
Fold the closure over to the front to measure for the other half of the snap. Add the snap.
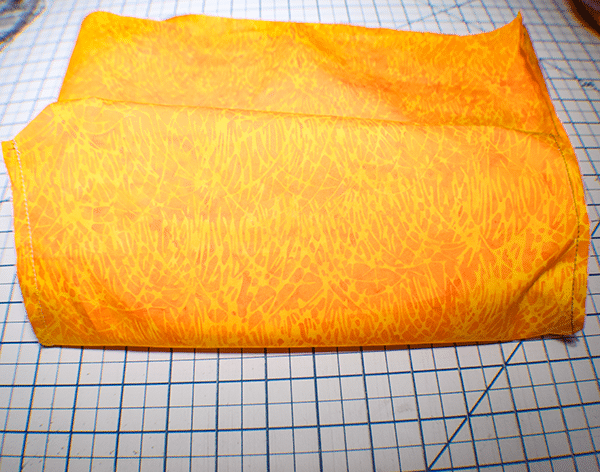
Step 10: Create the Lining
Take the lining piece and fold it in half. Box the corners in the same way that you did for the outer bag cutting out the bottom corners using the template you created. Stitch along the sides leaving an opening in one side for turning.
Step 11: Add the Lining to the Outer Bag
Insert the outer bag into the lining bag so that they are right sides together. Match the side seams. Make sure the closure and straps are tucked between the layers. Stitch a the way around the top. Turn right sides out through the opening you left in the lining. Close the opening using ladder stitch or your machine. Push the lining into the bag and press. Topstitch all the way around the top to secure the lining. you have now finished your simple patchwork tote.
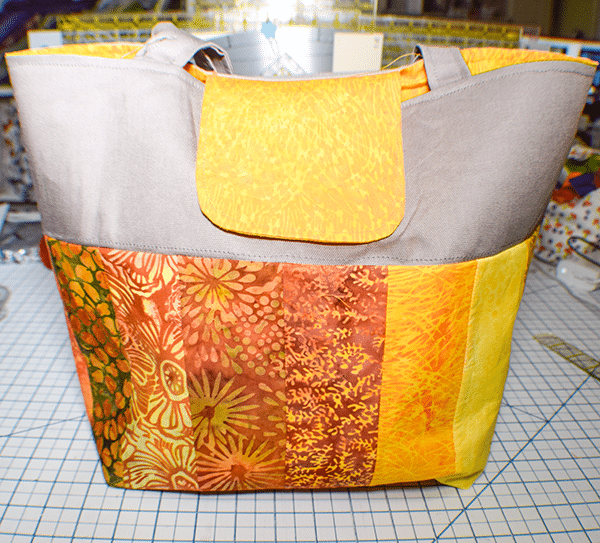
I hope you enjoyed this simple tot bag project. I you would like more sewing an crafting projects subscribe to our newsletter and receive your free eBook of15 handbag patterns and tutorials taken rom the blog.
If you would video tutorial of some of Sew Very Crafty's most popular posts subscribe to our free YouTube channel here.