Super Simple Sleep Shorts to Sew
These are super simple sleep shorts that are perfect for hot summer nights. Right now we are suffering a heat wave that does not seem to be letting up at all during the night so I just had to create some sleep shorts that are soft and comfortable and that breath in the sweltering heat. I found some very light weight cotton flannel remnant fabric at my local fabric store and took three pattern pieces and an afternoon and made these terrific sleep shorts that anyone can make. Here is everything you need and the instructions with photos. Have fun with this one. There will be a terribly terrific tank top to follow. If you need Fabric and notions for this project head over to Fabric.com or Hobby Lobby to purchase everything you need online and delivered to your doorstep.
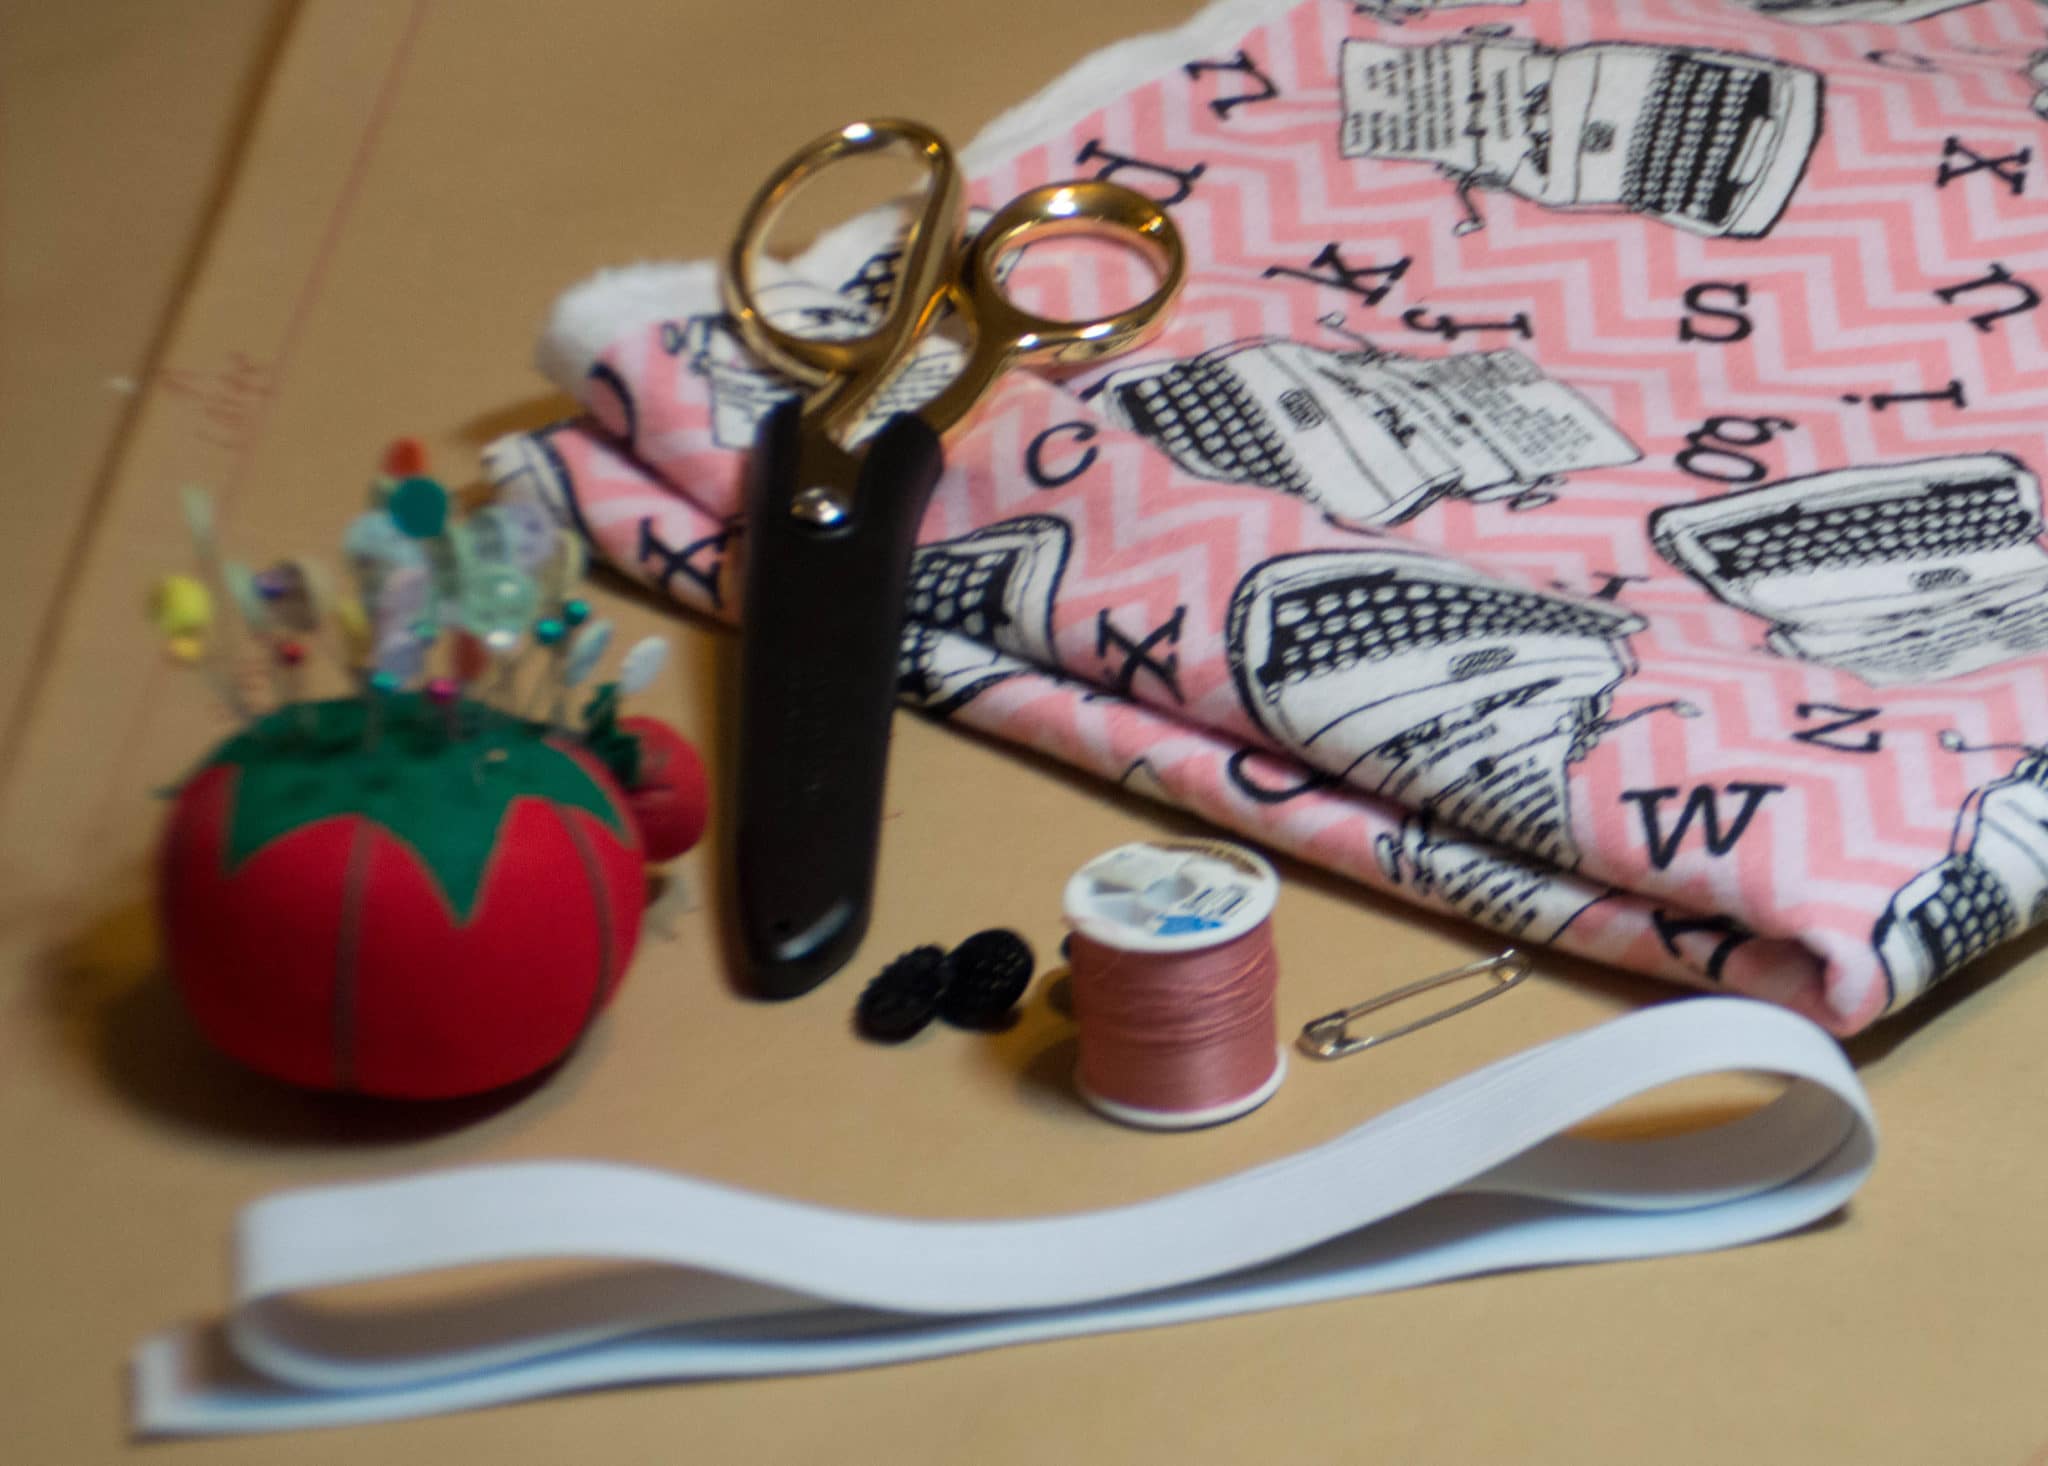
Supplies
- Pattern Pieces
- 5/8 yd cotton or cotton blend fabric
- ¾” wide elastic – to be determined by waist measurement or ribbon/twill tape
- 3 coordinating buttons (optional)
- Coordinating thread
- Safety pin
- Sewing Machine and machine needles
- Pins
- Clear tape
- Iron
Step 1
Print the three pattern pieces
Step 2
Tape the printed pieces together using clear tape and overlapping the matching numbers.
Step 3
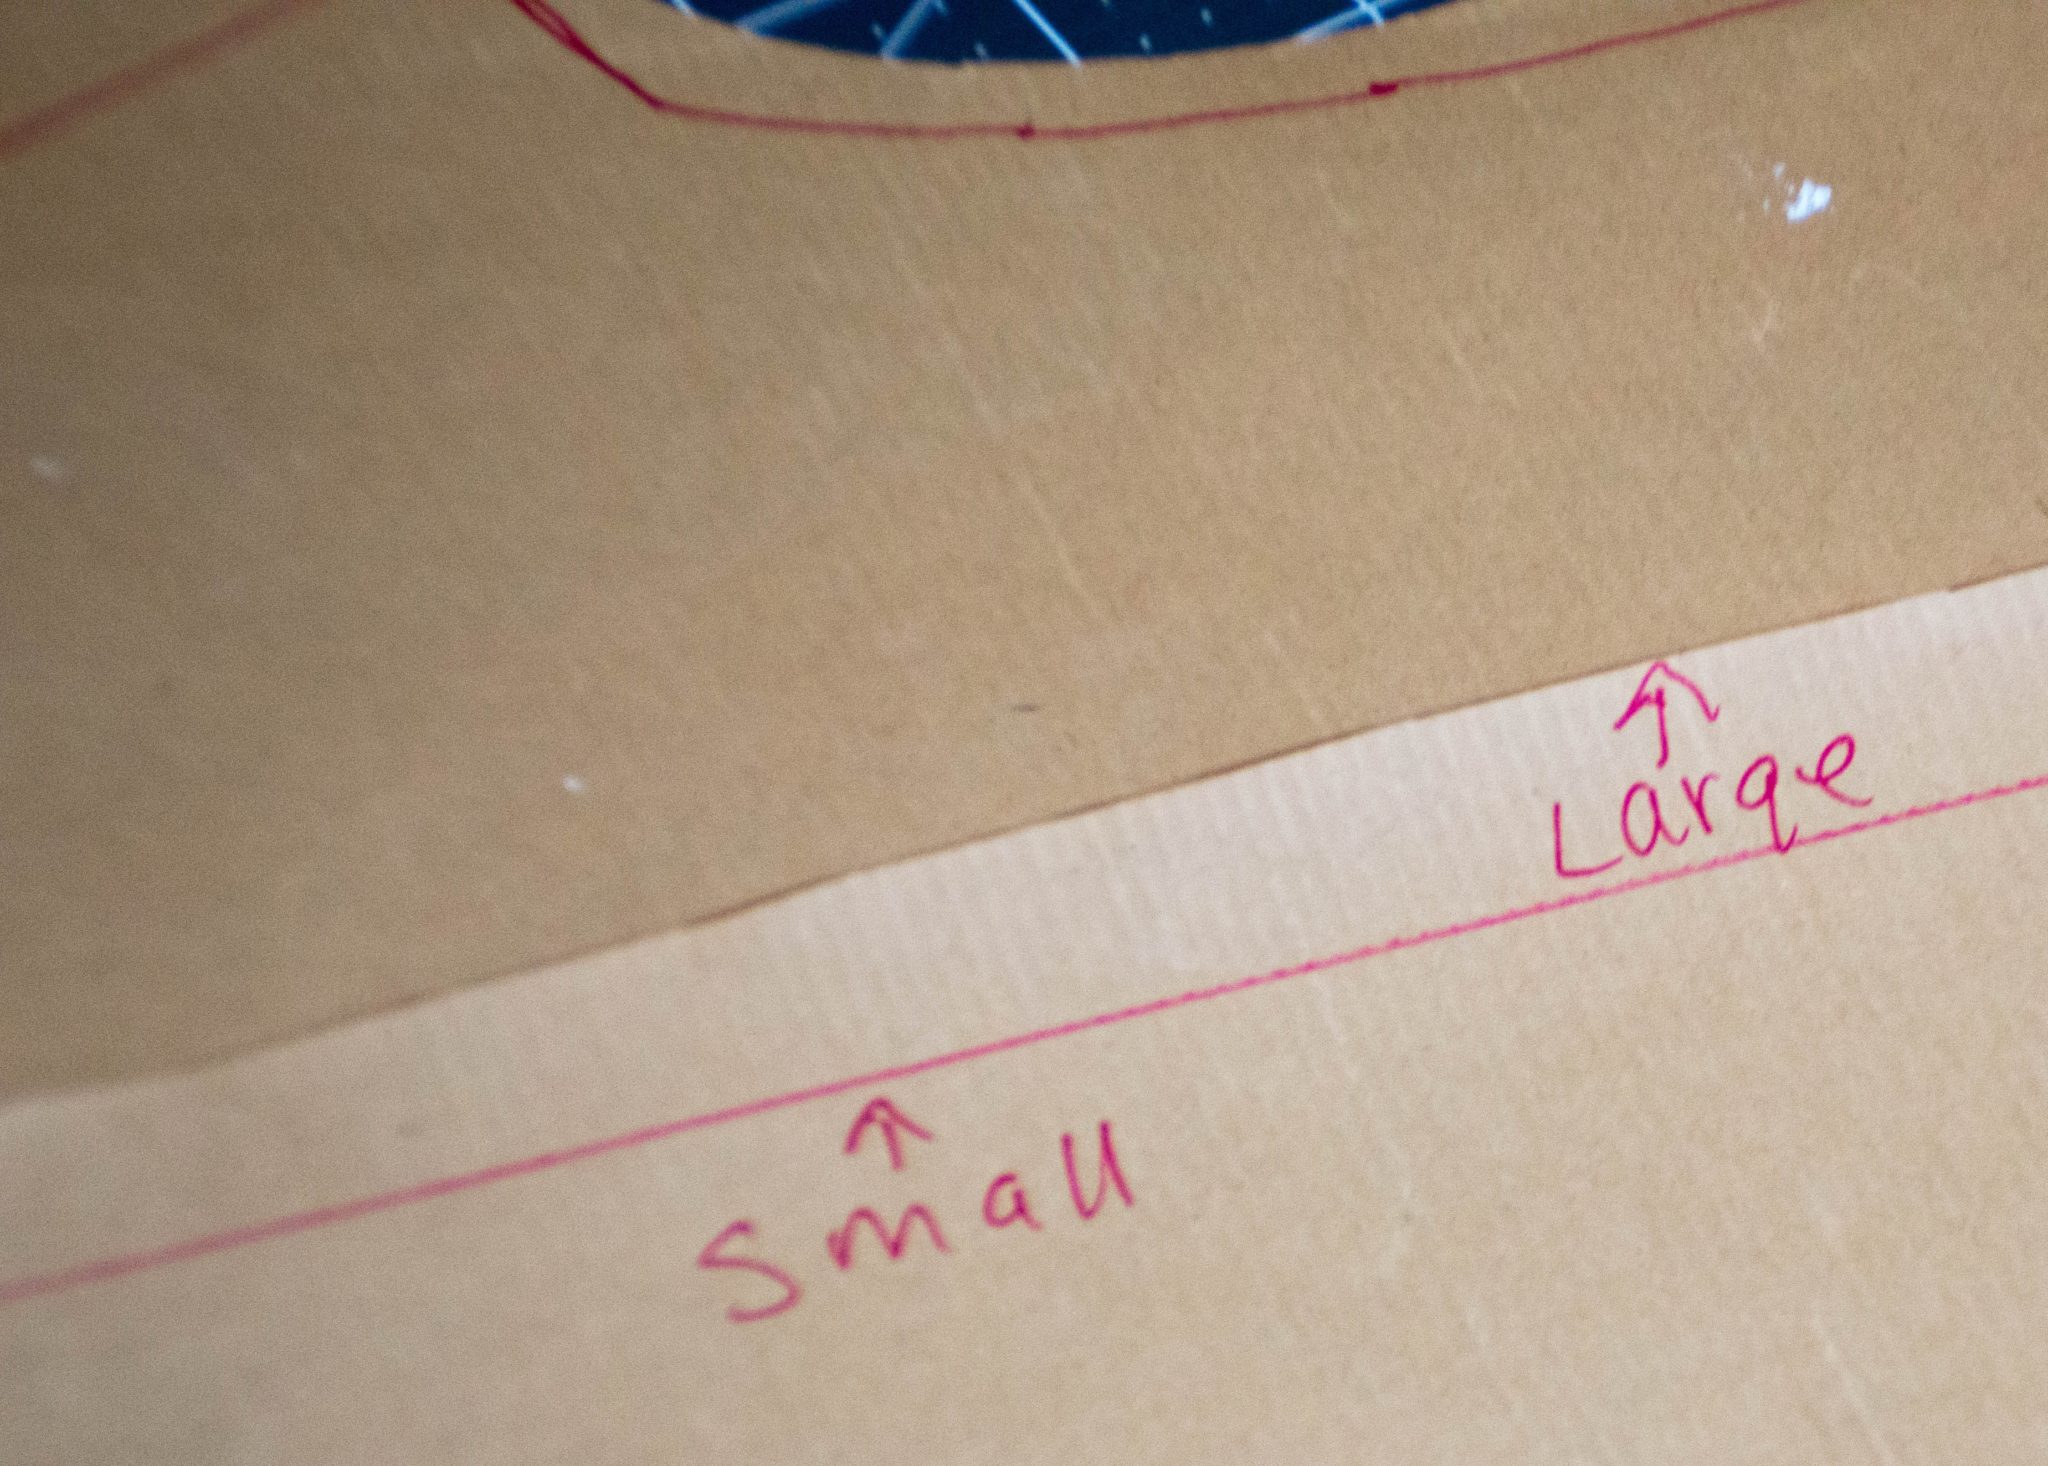
The pattern has large and small sizes. Choose the size that fits best and cut the pattern pieces. If neither size works, you can adjust the pattern either larger or smaller by measuring your waist and hip sizes then divide by 4. Add ½” for the seam allowance to the divided number. Then determine the length between your waist and hips and add inches to the top of the pattern to adjust for the difference. Re draw the pattern adding the additional inches then pin and cut in the same manner as the pattern provided.
Step 4
Determine the length of elastic, ribbon or twill tape that you will need. If you are using elastic, simply wrap the elastic around your waist pulling it slightly until it feels comfortable. Once the elastic is snug enough to hold up your shorts but comfortable enough to wear add 1” then cut the elastic. If you prefer to use ribbon or twill tape for a tie closure, cut a length between 1-1 ½ yards of the material you prefer.
Step 5
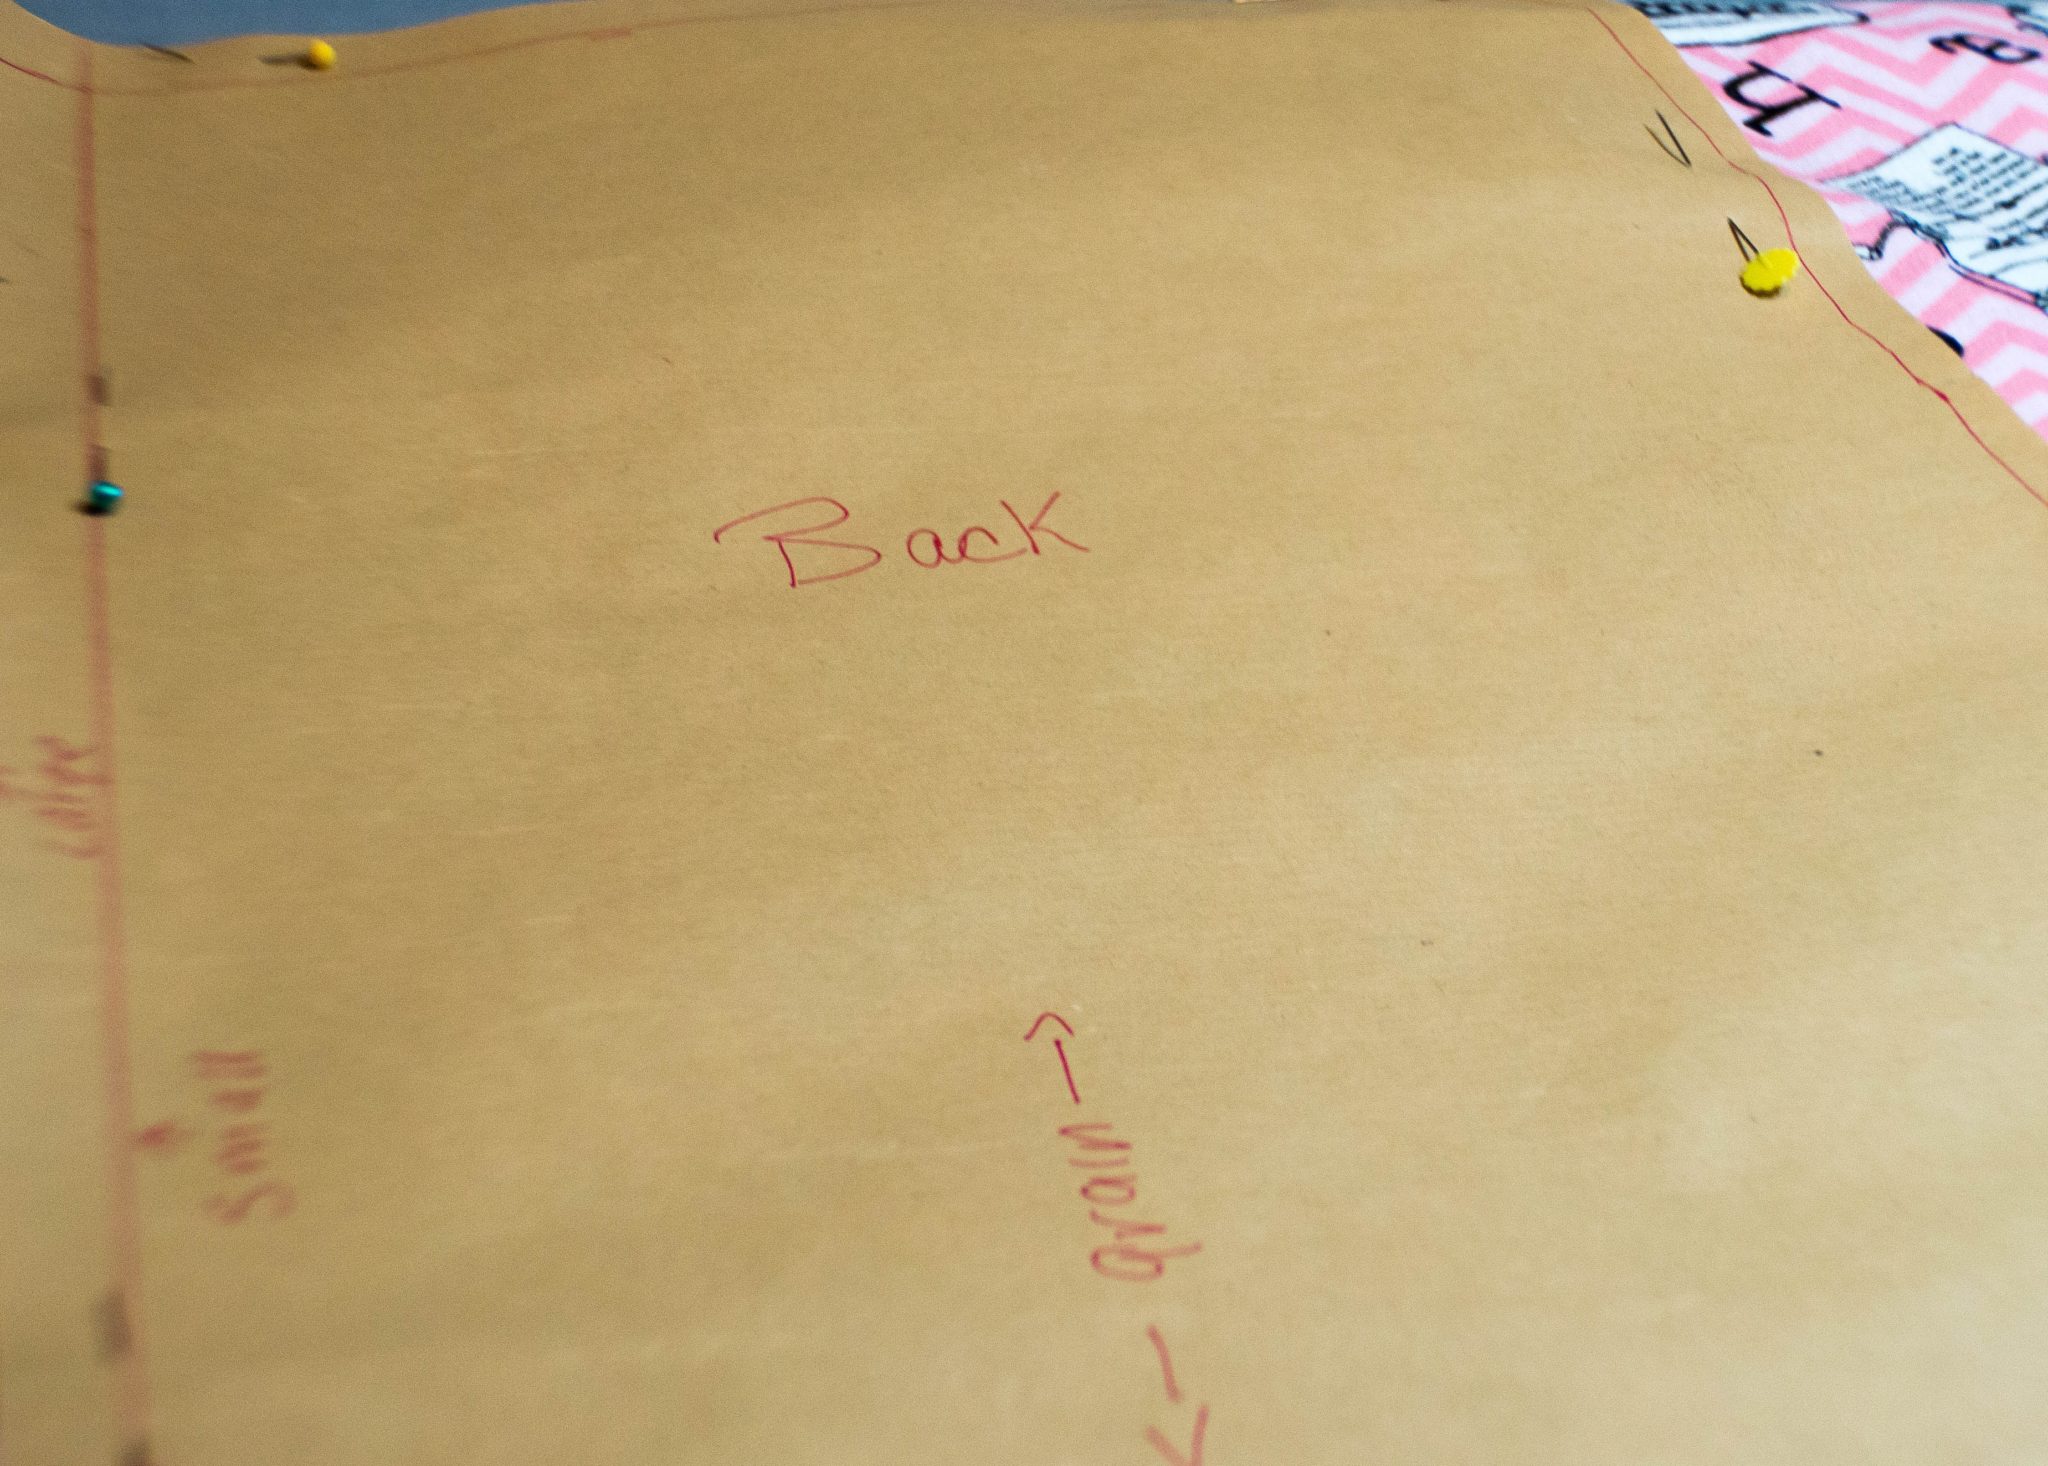
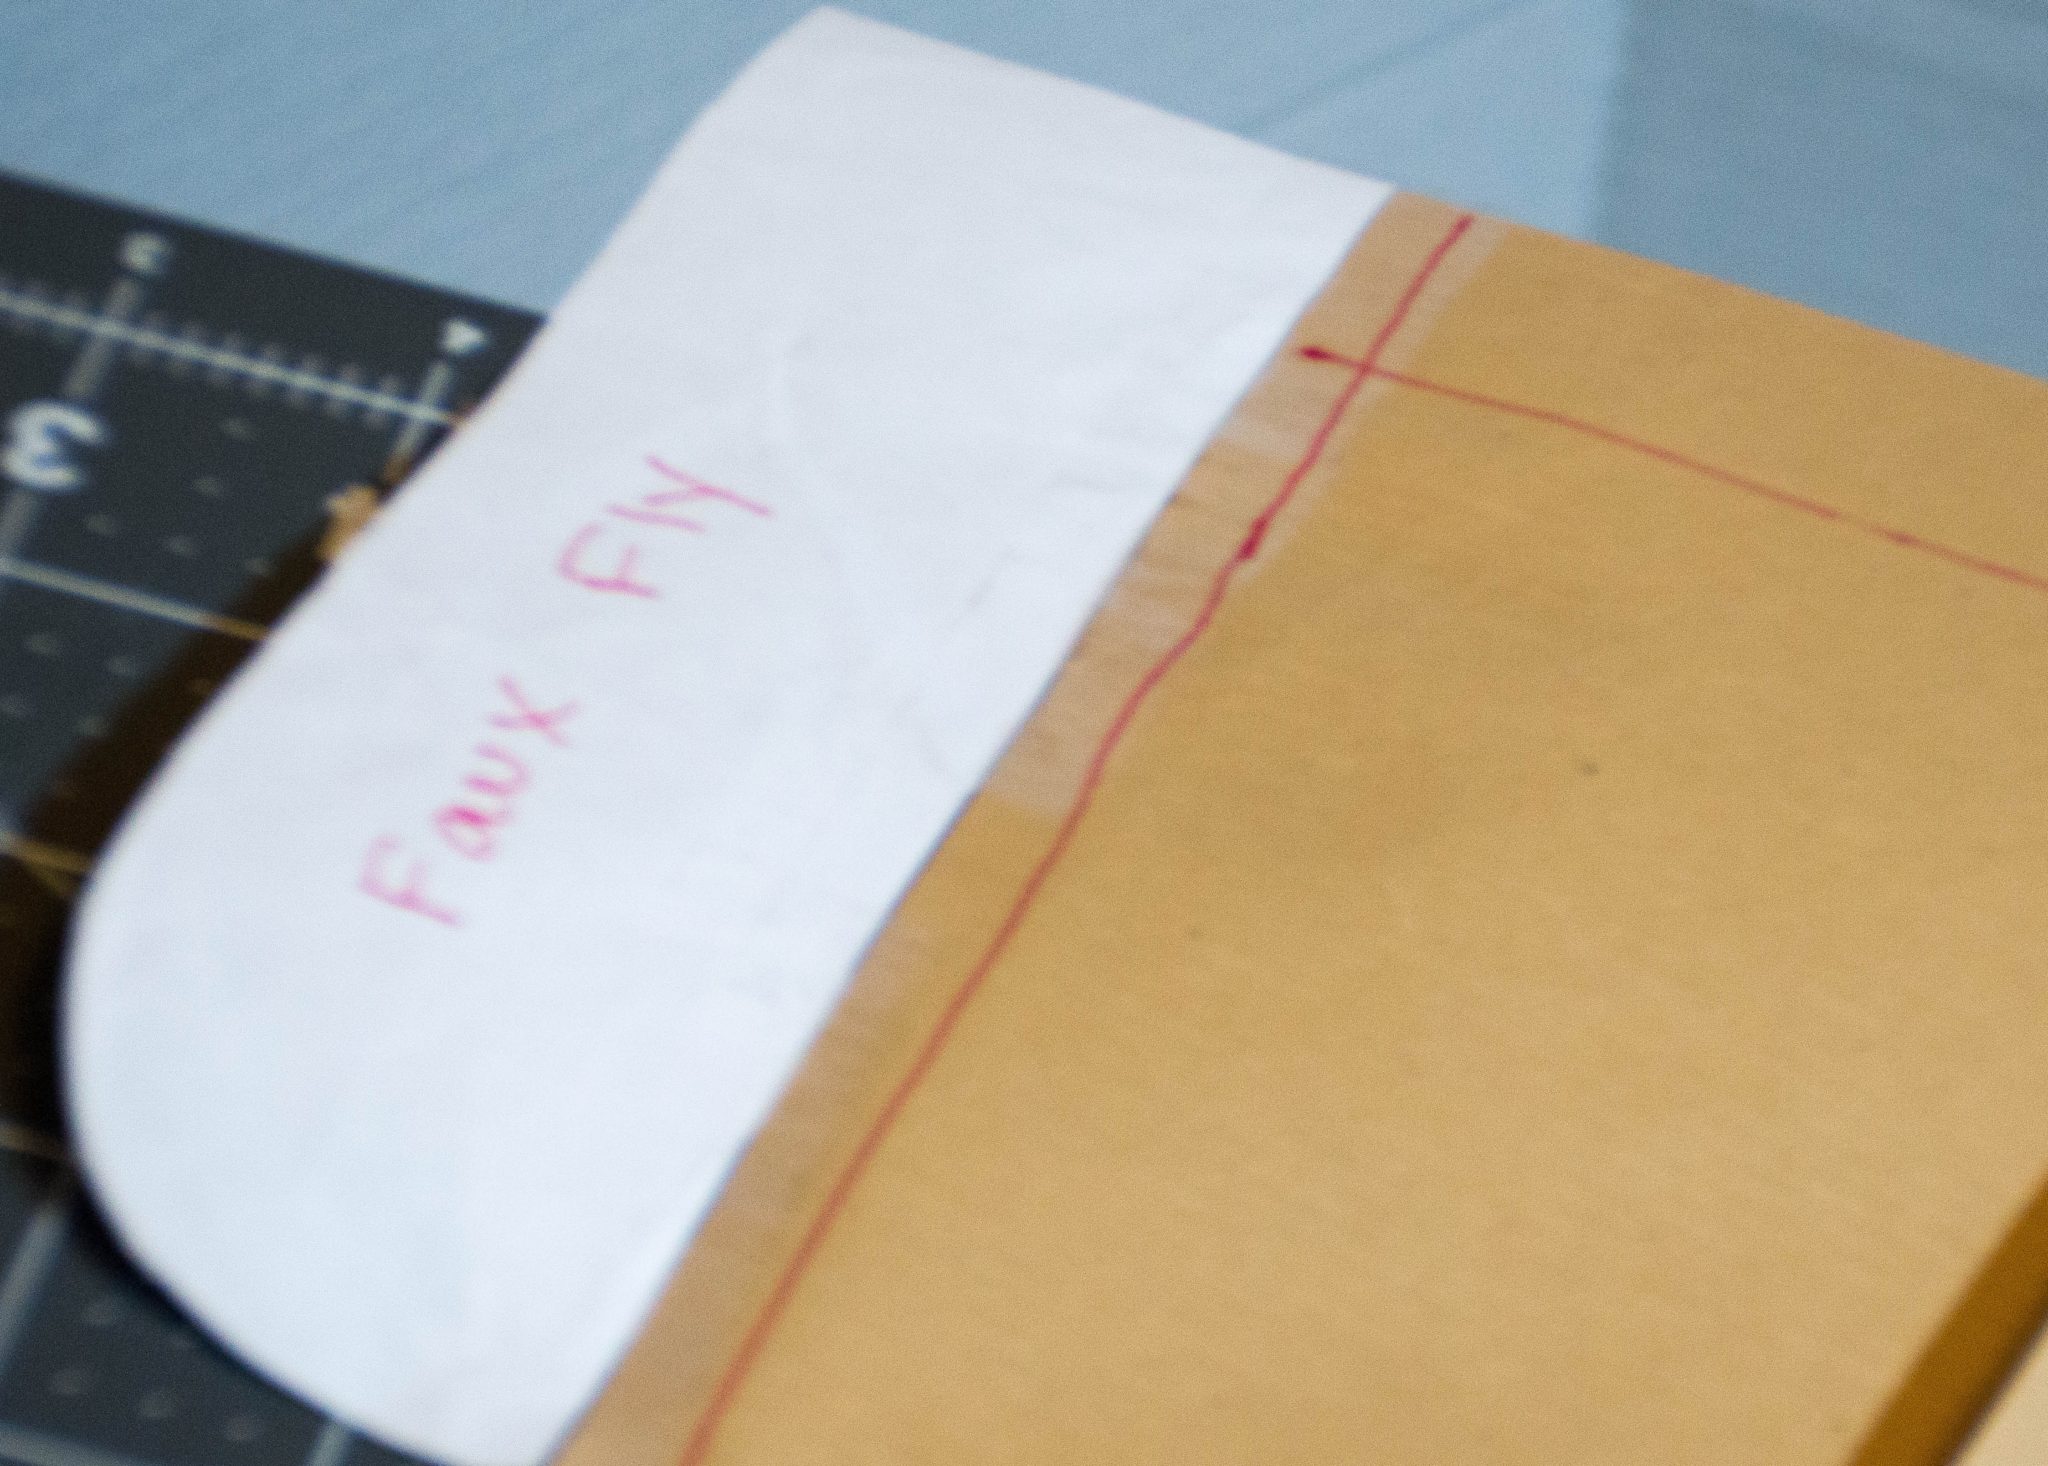
There are two pattern pieces. There is a front and a back. Pin the front and the back to the fabric making sure to note the grain line and the direction of the print if there is one. Cut one front and one back. Then turn the pattern pieces over, pin to the remaining fabric, again taking note of the grain and the print and cut out the pieces. There is a faux fly that is attached to the front of the pattern. If you would like it to remain simply cut it out with the rest of the pattern. If not, simply cut it straight off following the center seam line. The faux fly is optional and is not needed to have a complete pair of shorts but it does add a little bit of detail.
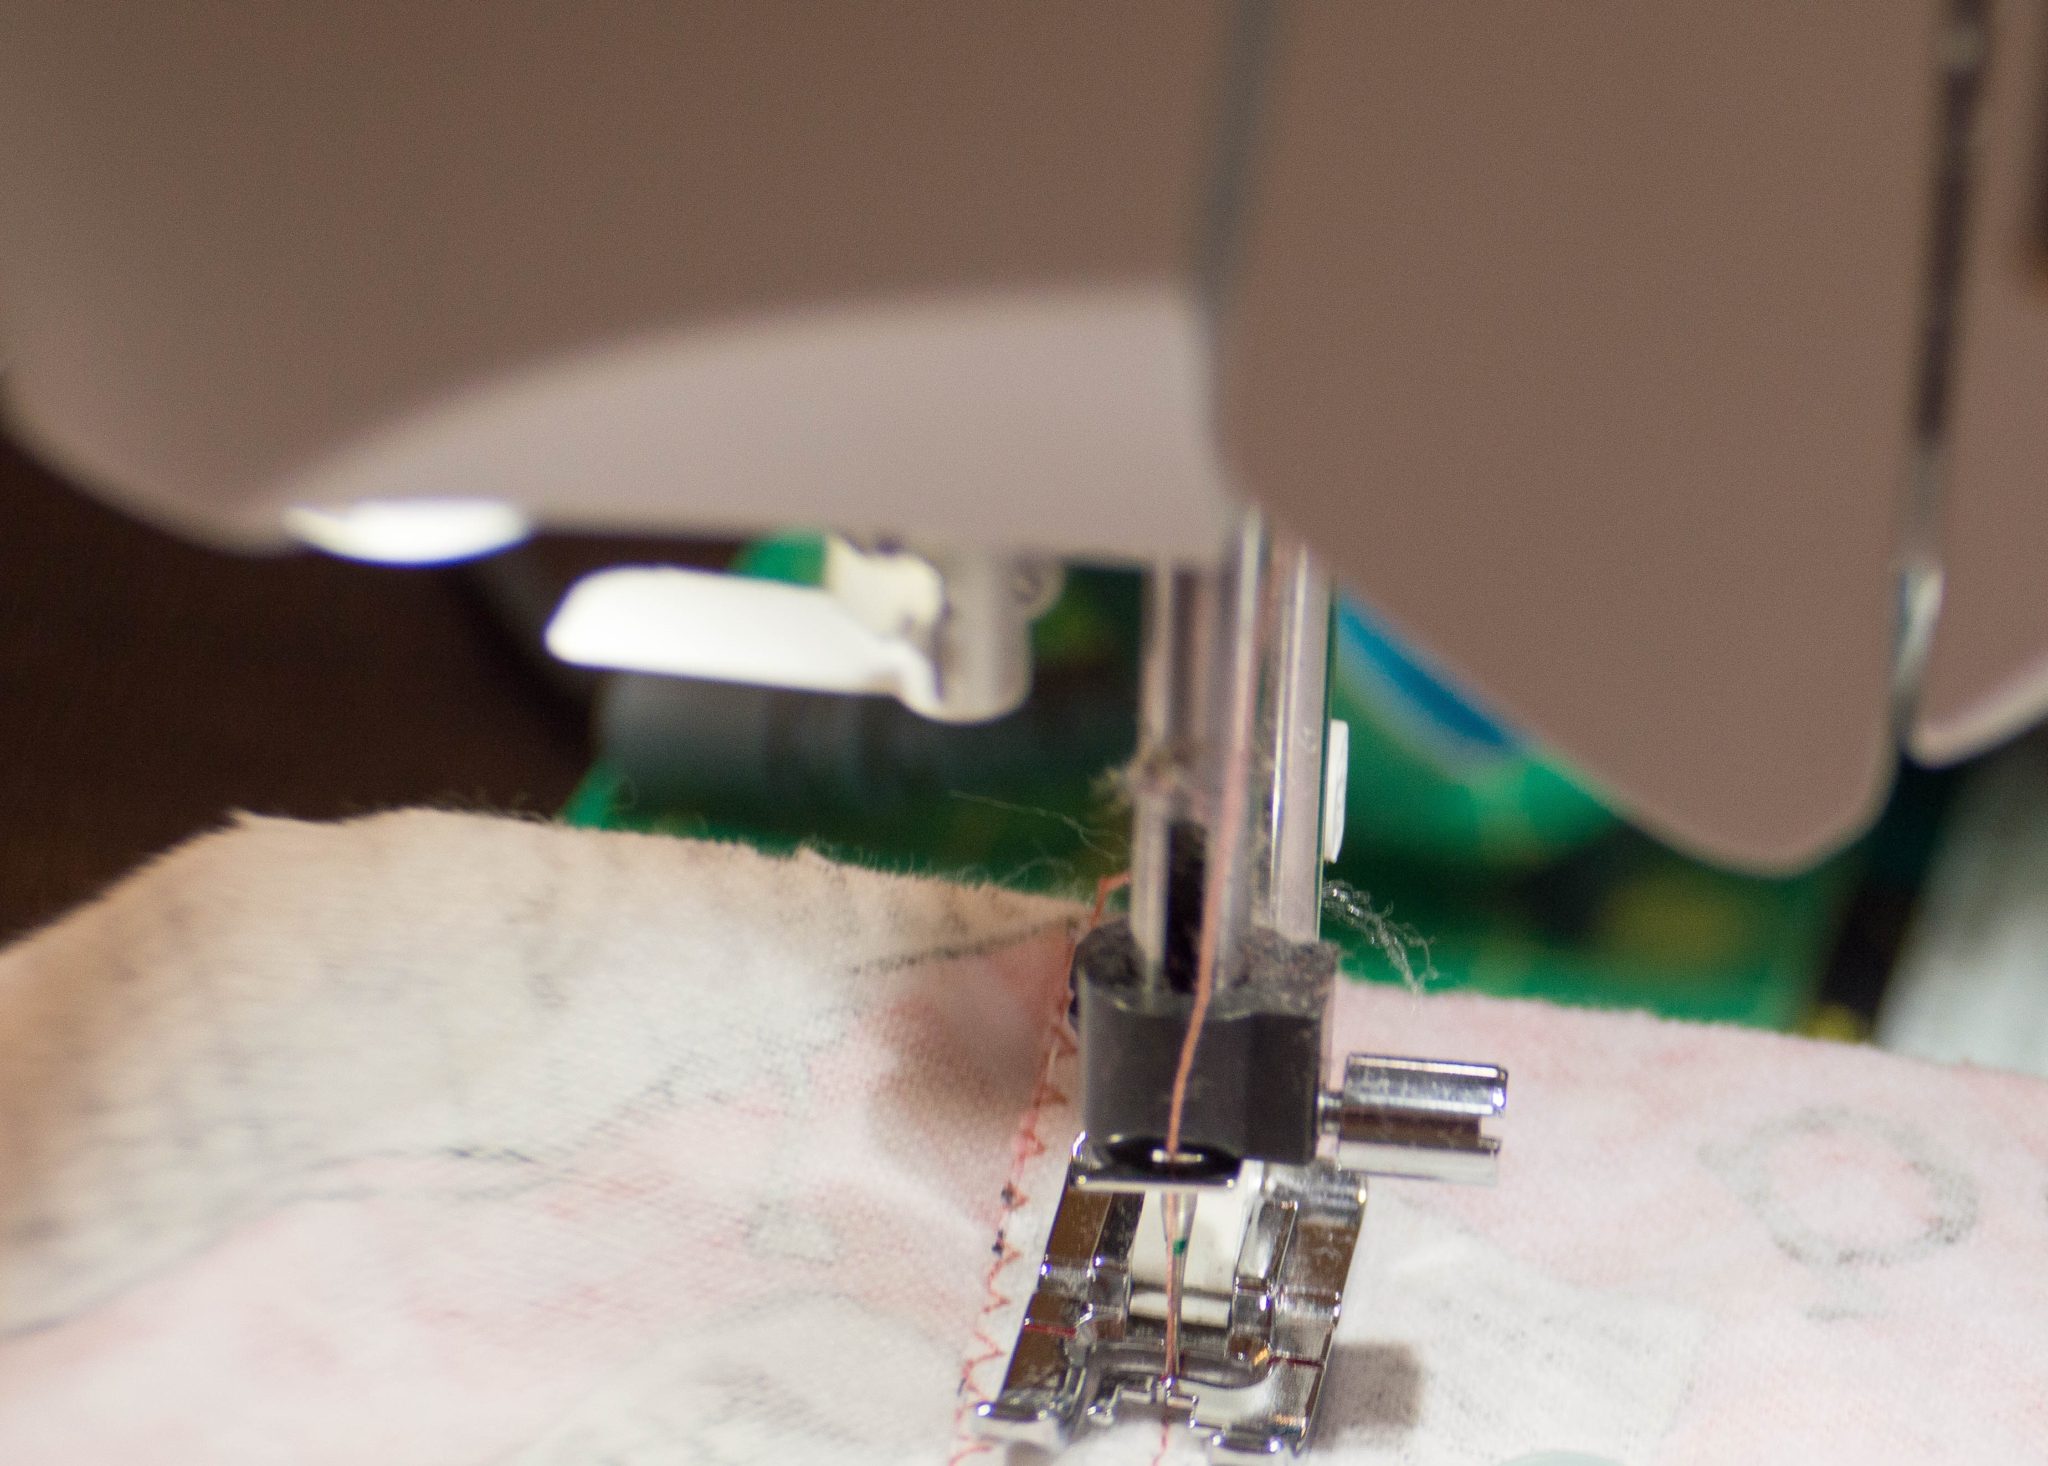
Step 6
Now it is time to sew the shorts. This pattern has a built in ½” seam allowance. You can use a straight stitch to join the fabric pieces together or a serger if you have one. If you are using a fabric that has a tendency to fray you should take the time to either zigzag the raw edges or if your machine has an overlock stitch use that to finish the edges. It prevents fraying and leaves a more professional finish.
6A. Take one of the front pieces and one of the back pieces and sew them right sides together at the side seams
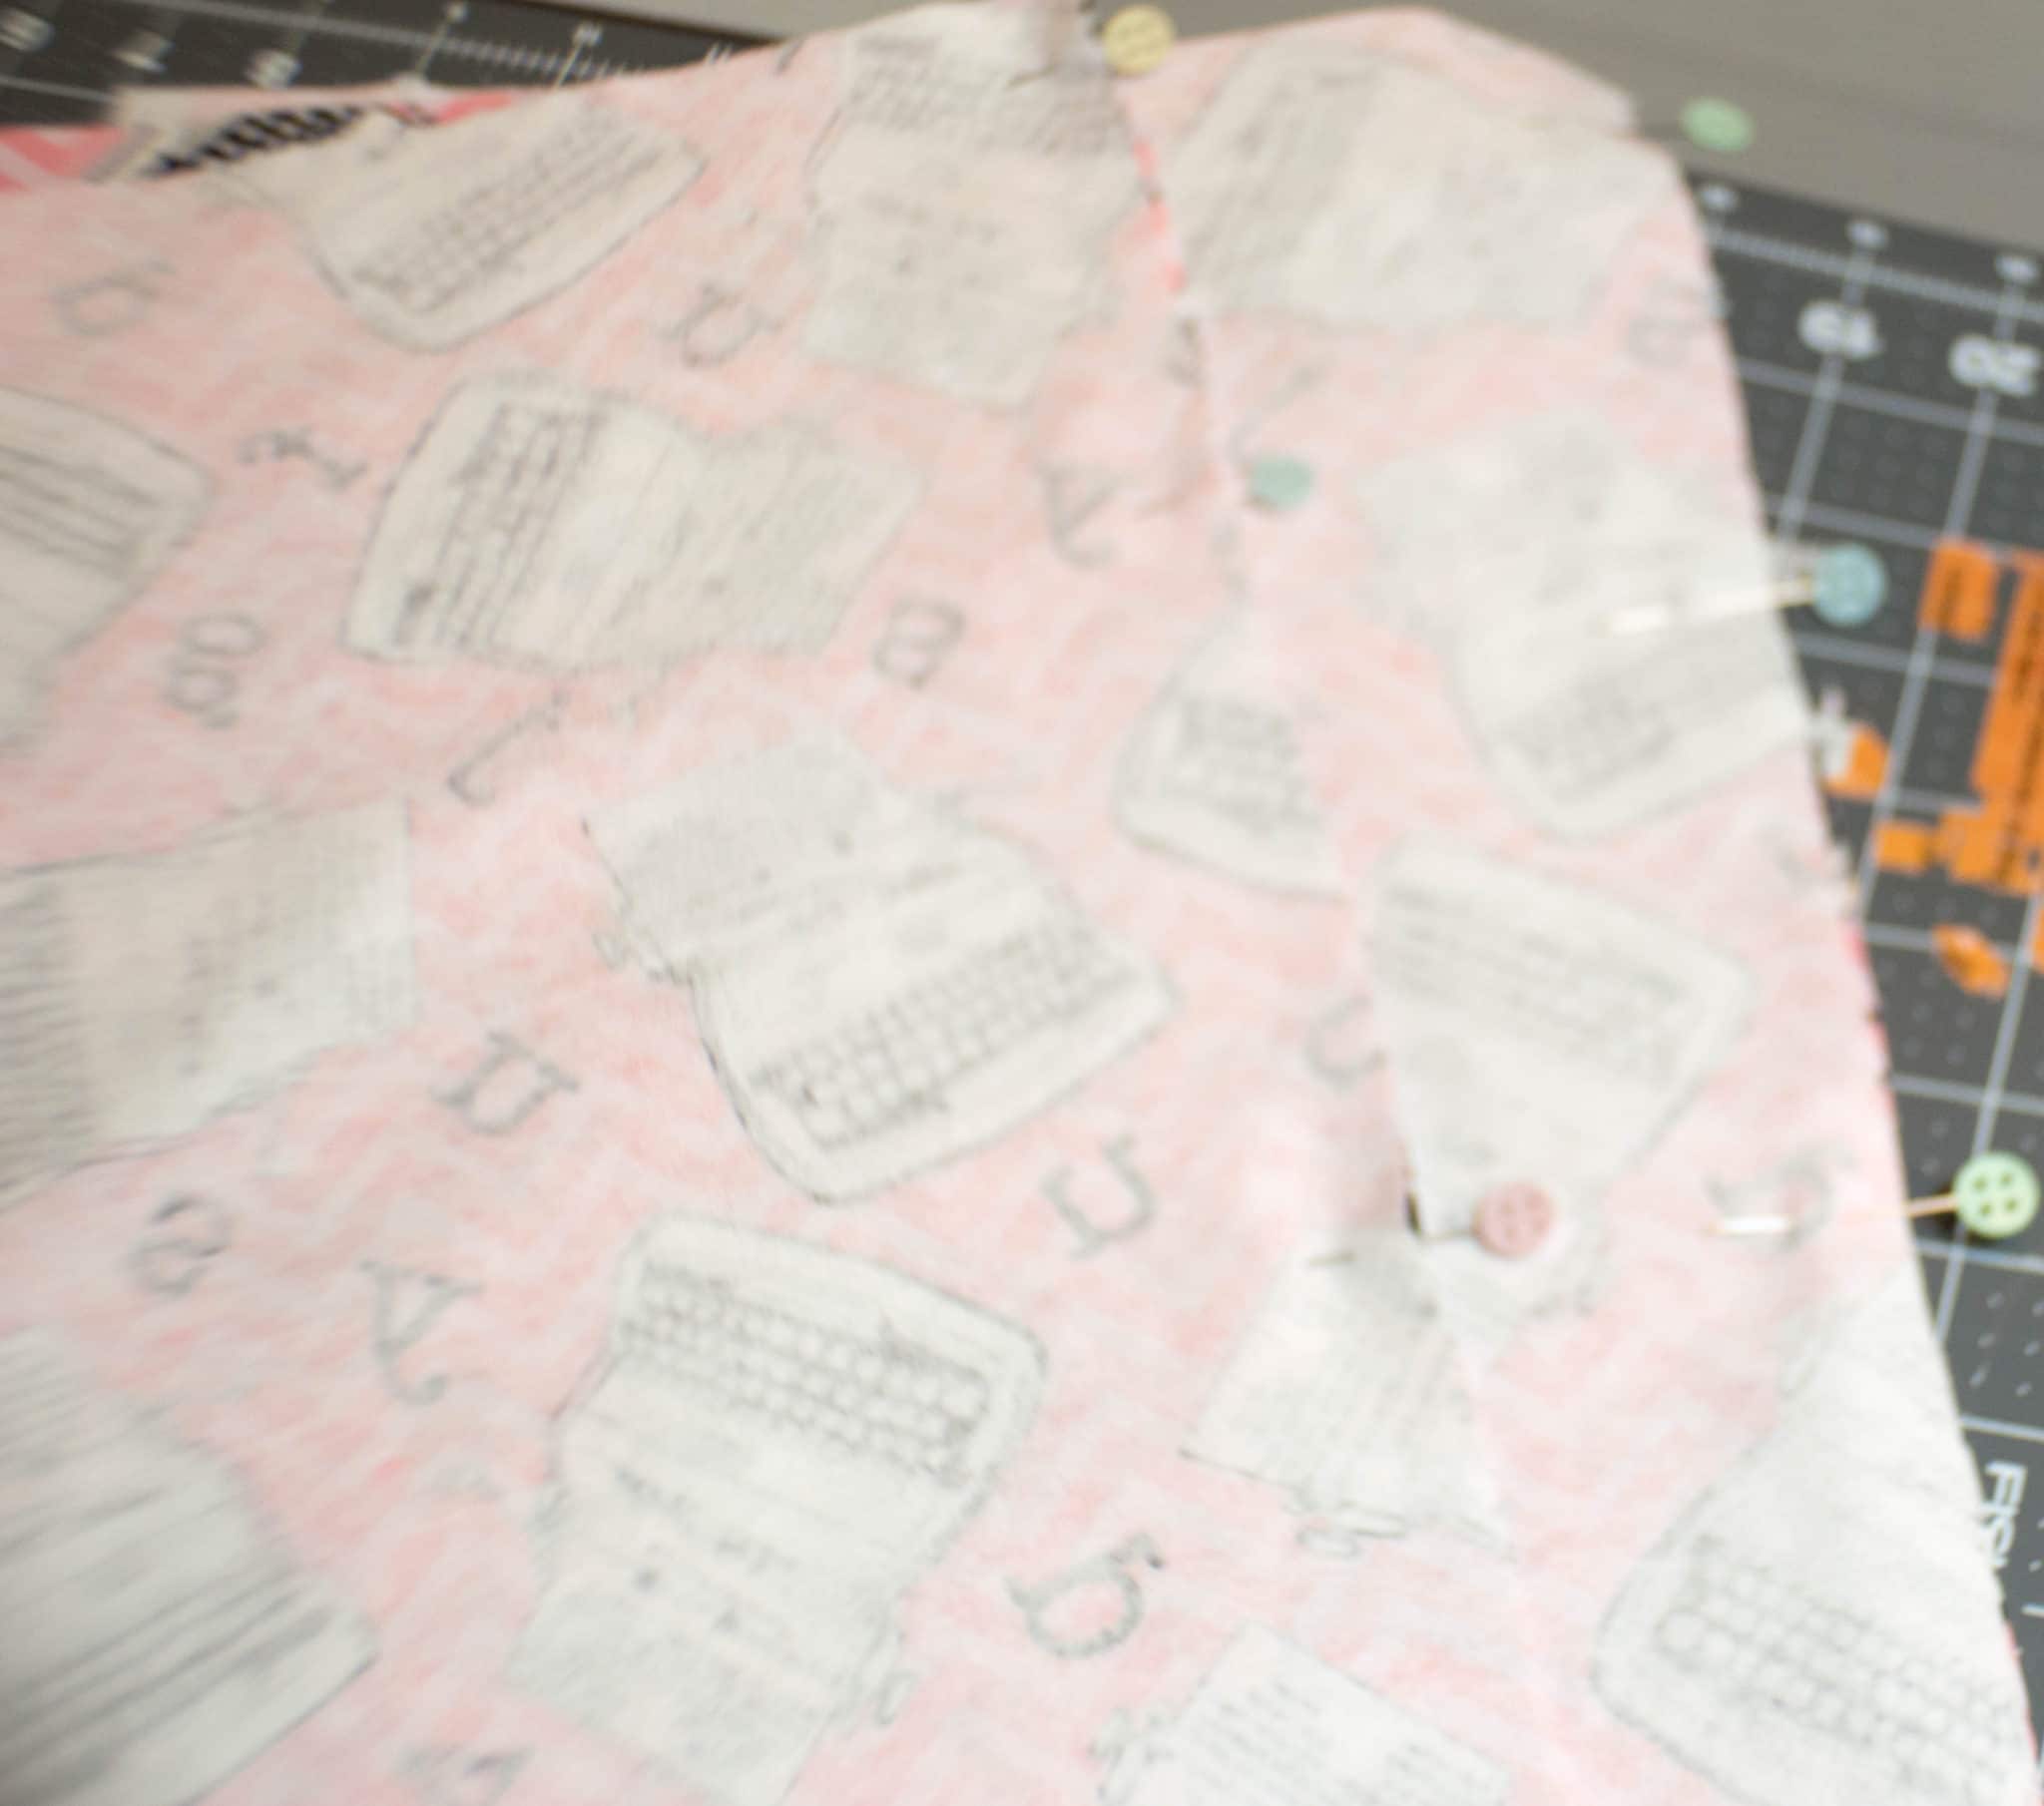
6B. Sew the inside leg seam of the same two pieces.

6C. Take the other front and back pieces and stitch the outside and inside seams in the same way that you stitched the first set.
6D. If you are choosing to add the faux fly to your shorts, now is the time to do it. Take the faux fly piece and line up the raw edge right sides together with the left front
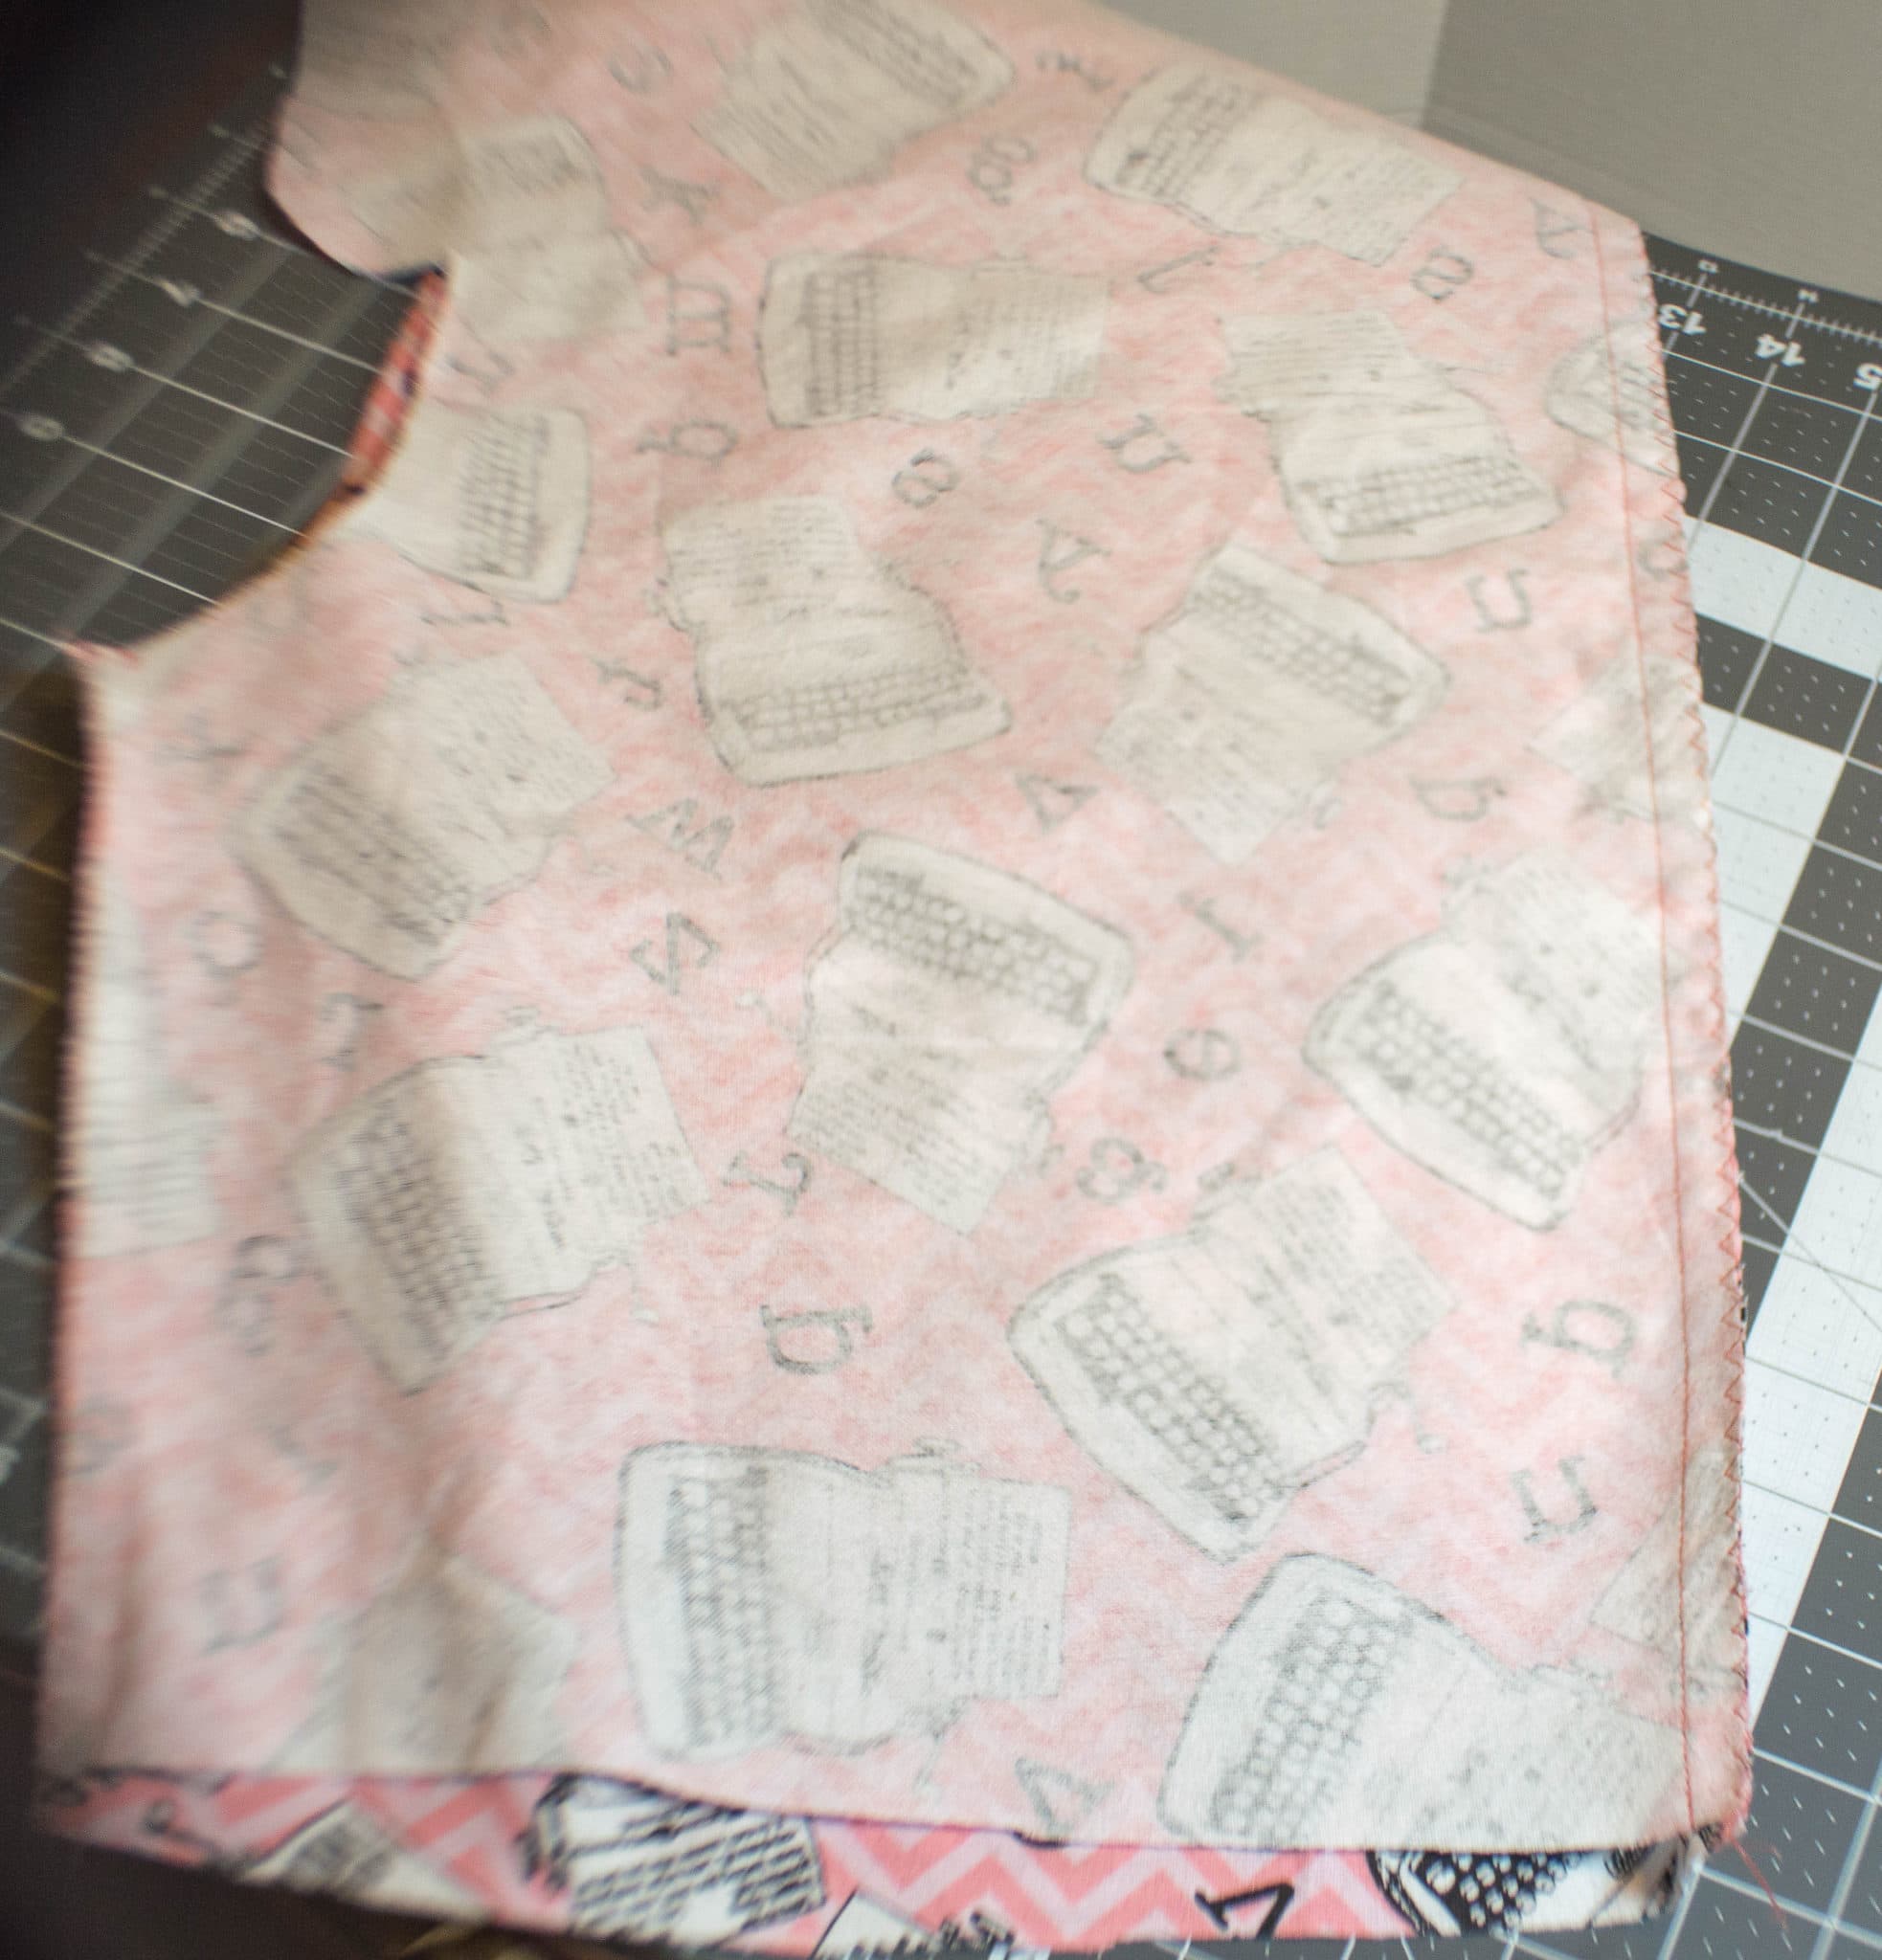
6E. With right sides together insert one leg into the other leg lining up the side seams. Pin and sew the center-front seam. If you are adding the faux fly you will follow the curved shape of the fly. If not, you simply need to sew the center-front seam straight to the top. Once this is complete, sew the center-back seam starting at the inside and sewing to the top.
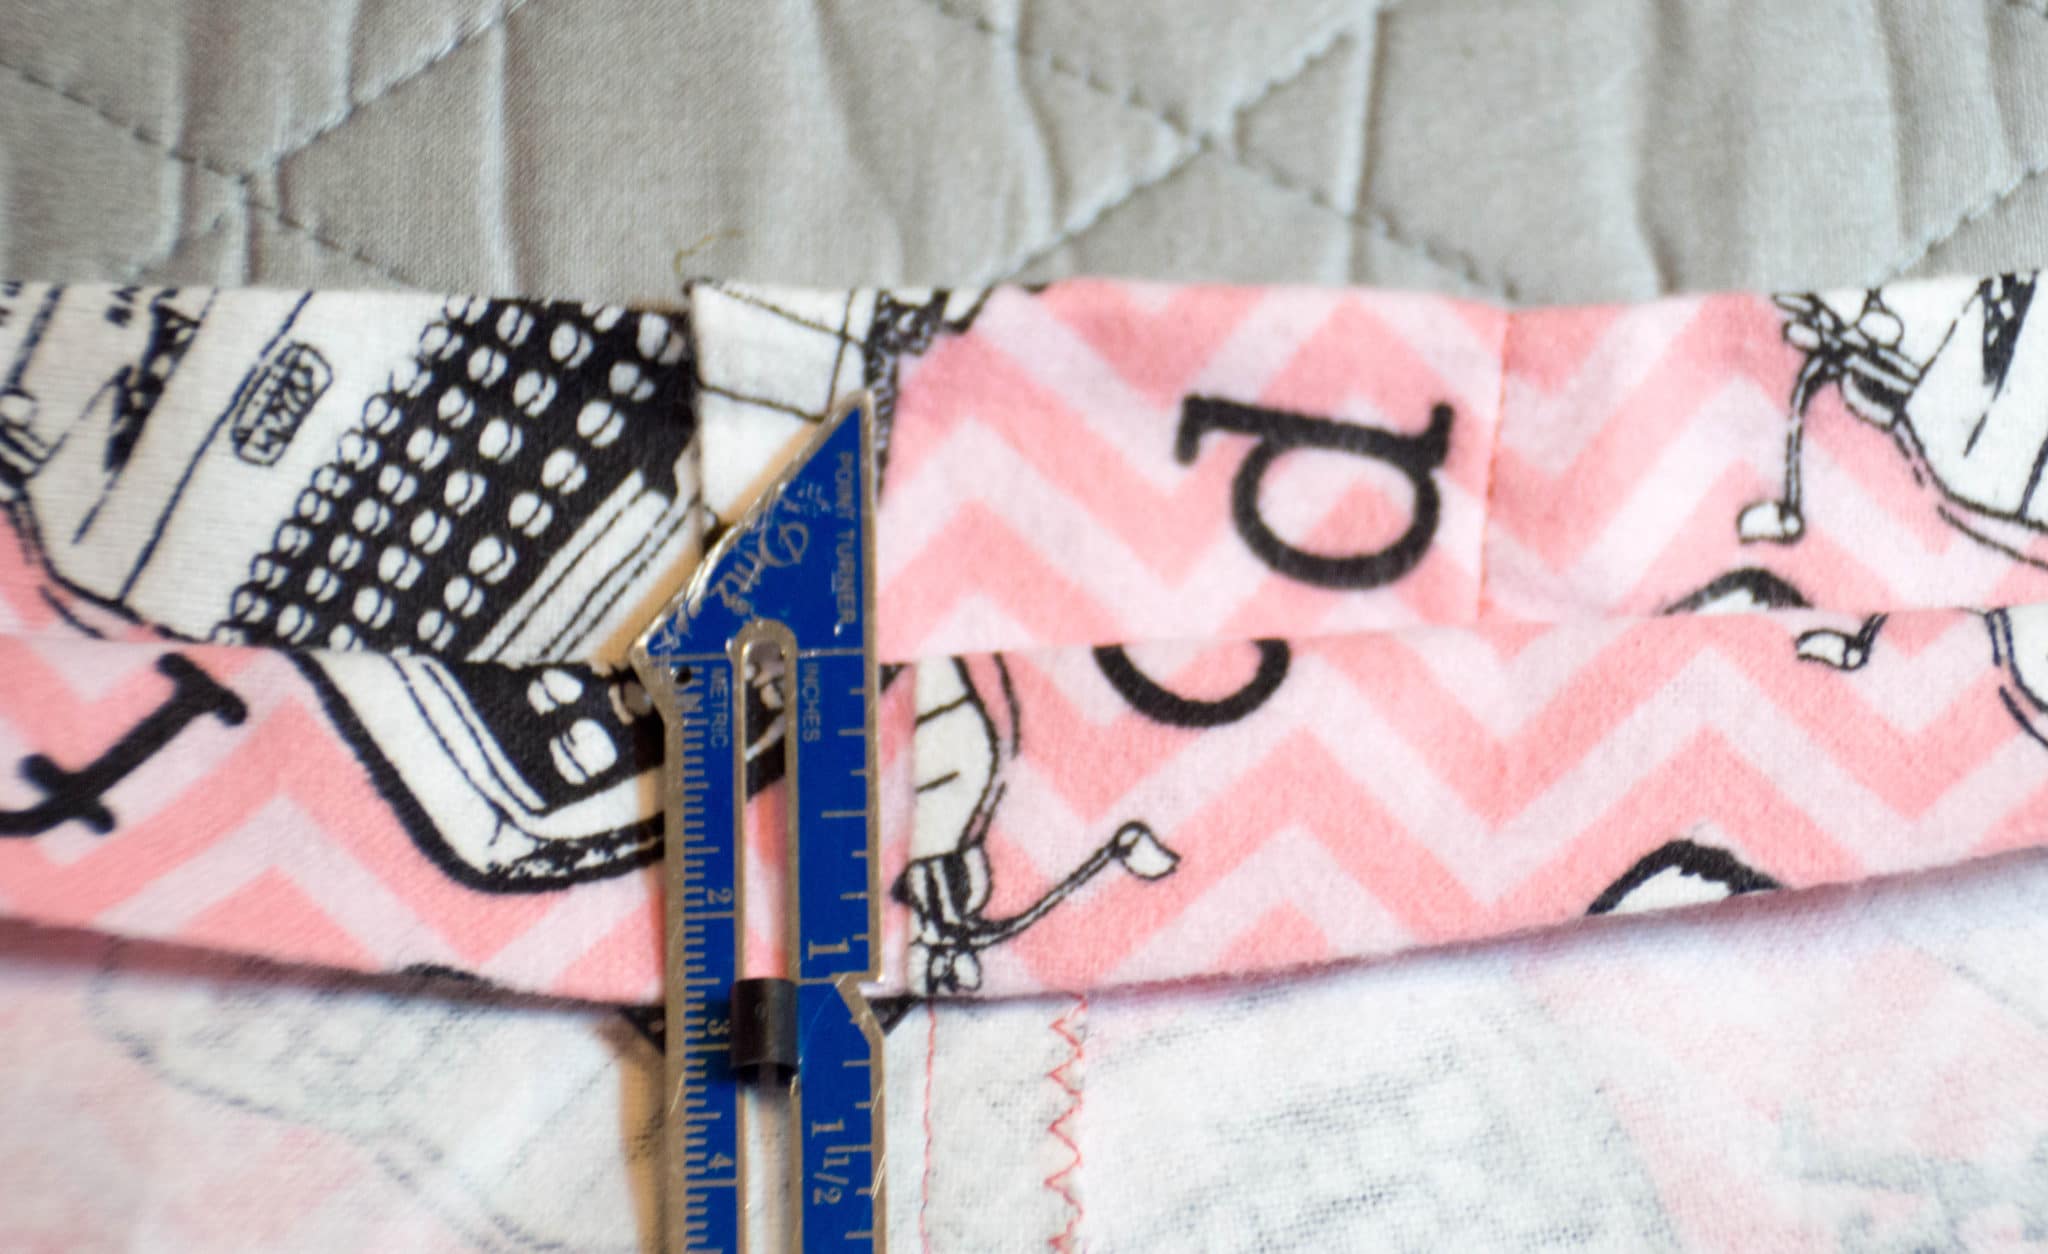
Step 7
Turn the shorts right side out and fold the top down ¼” toward the wrong side. Press so that the edge is crisp then fold the top over another 1” toward the wrong side and press again so that the top has a nice crisp edge. Stitch around the bottom of the fold leaving about a 2” gap at the center-back if you are using the faux fly option to insert the elastic. If you are using ribbon or twill tape you should leave the opening at the center front so that the ribbon/twill tape will hang from the front and can be tied.
Step 8
Take a large safety pin and attach it to the elastic and thread it into the 2” gap you left at the center back and thread the elastic around the top casing. Overlap the ends by 1” and zigzag them making sure they are secure. Then hand stitch the casing closed. If you are using ribbon or twill tape, feed it through in the same manner as the elastic but through the opening you left at the center-front. Make sure that the ends of the ribbon/twill tape are even, then stitch a few lines up and down at the center-back to prevent the ribbon/twill tape from pulling trough the casing.

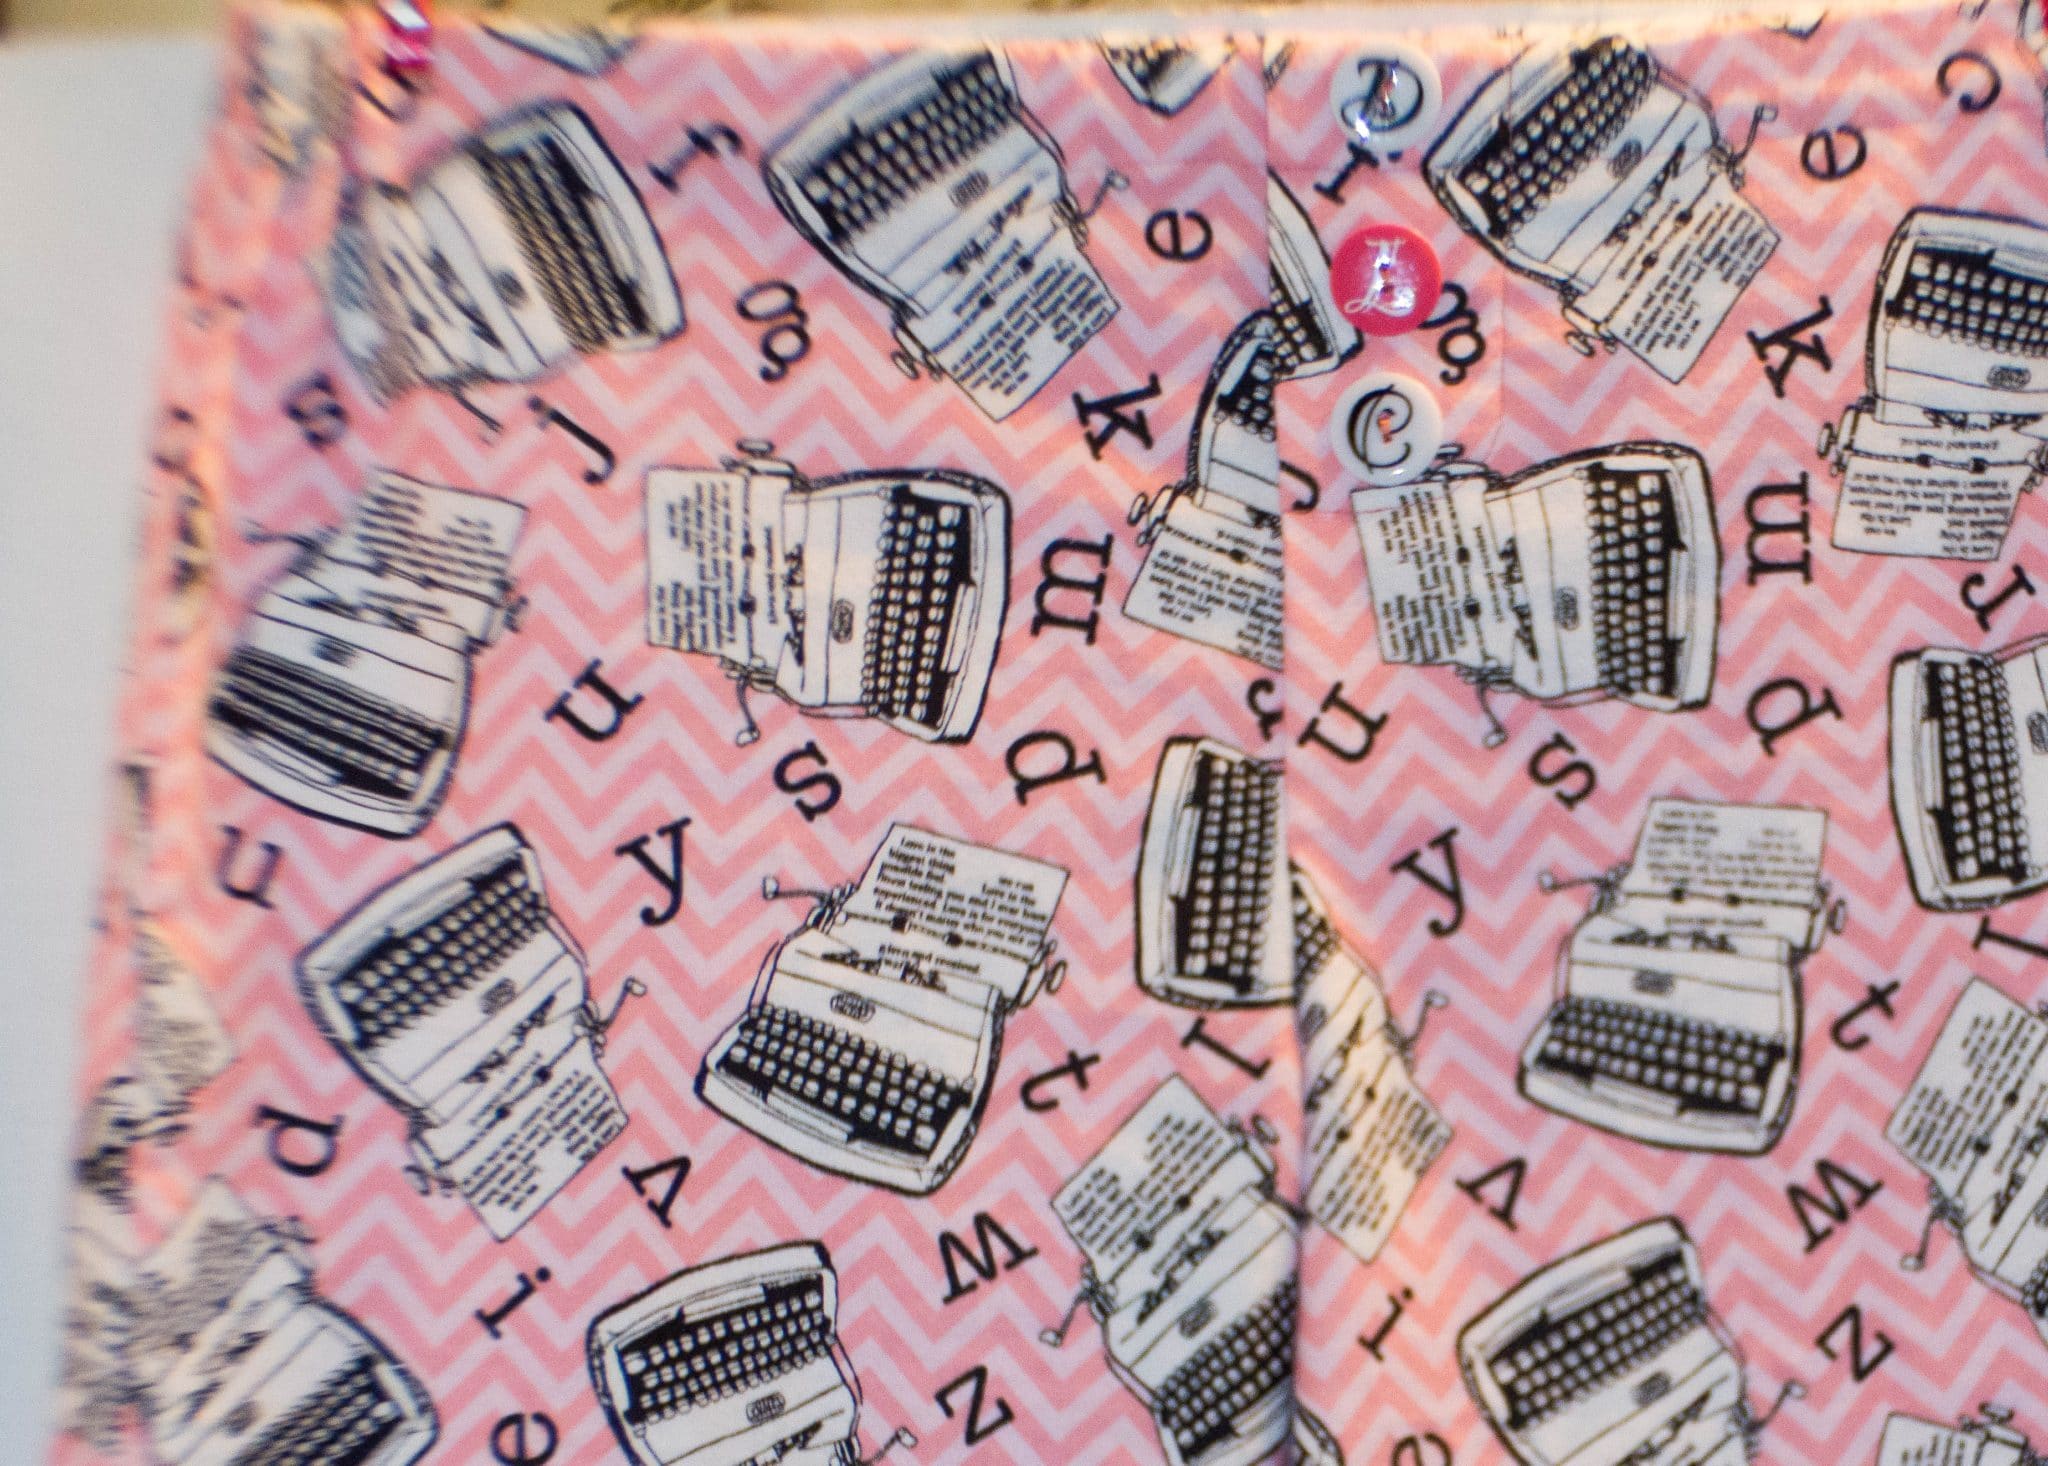
Step 9
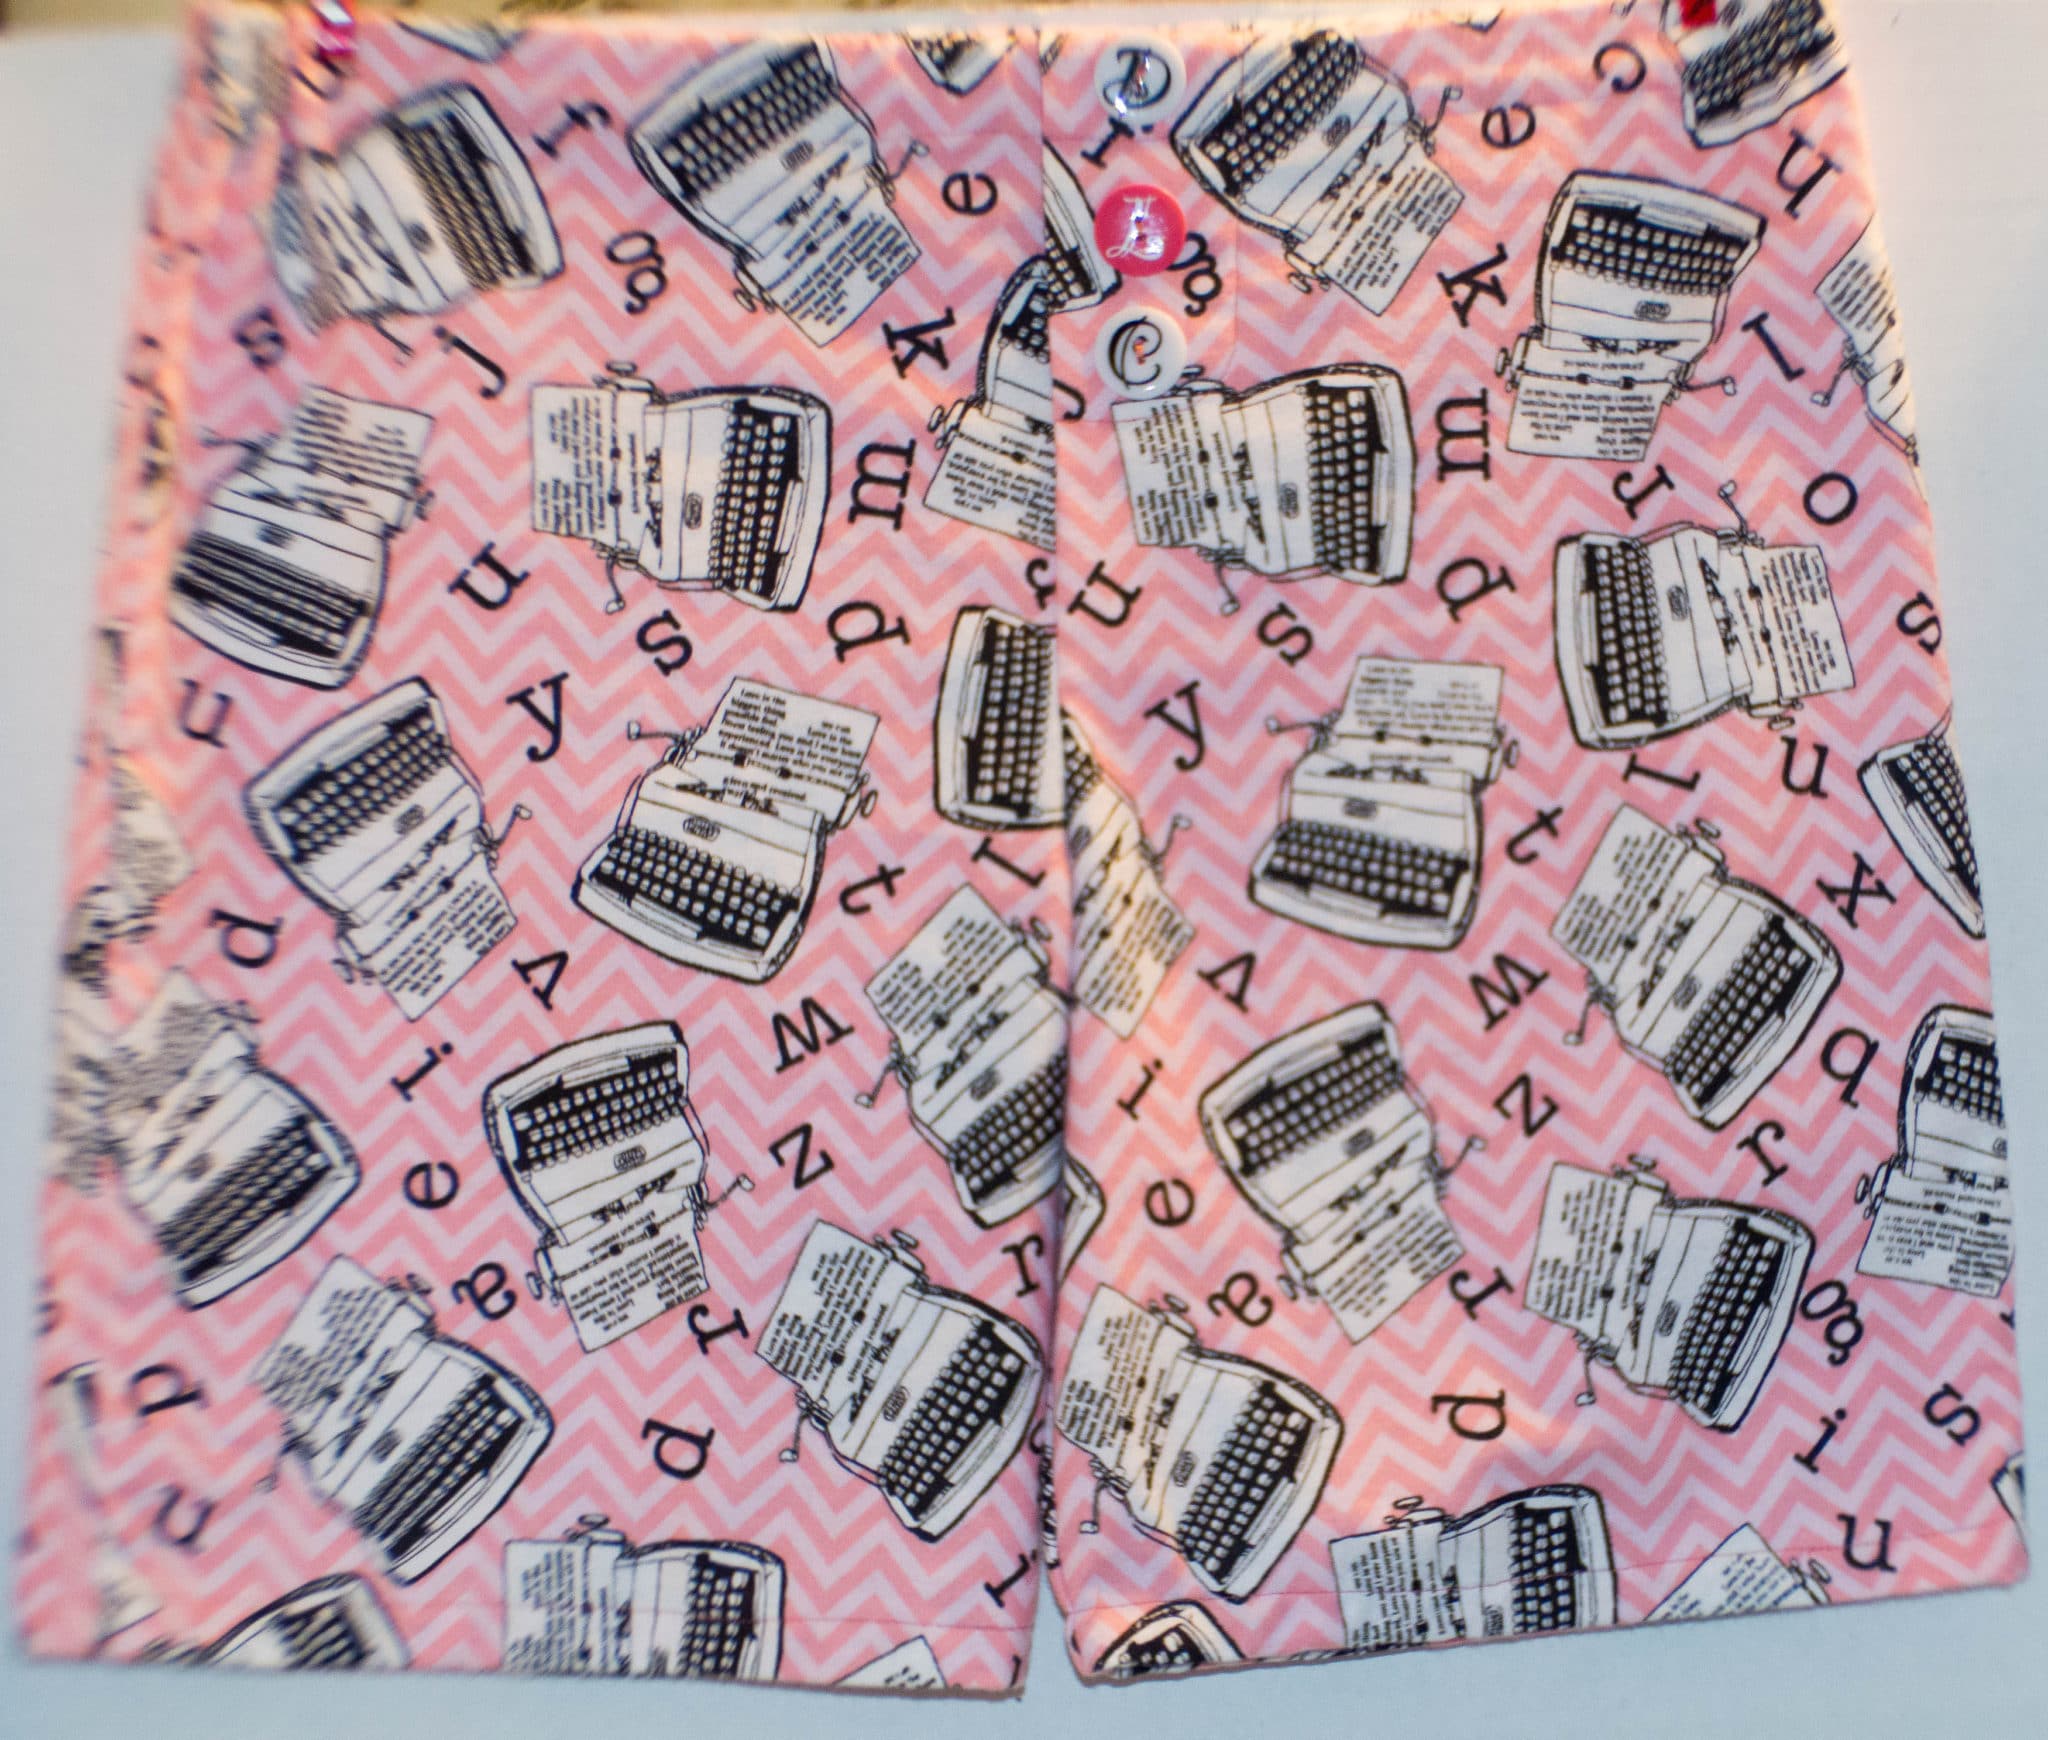
If you have inserted the faux fly, it is now time to hand-sew three buttons down the front of the fly. These buttons are purely decorative and have no functional use at all. Starting at the top of the shorts where the elastic is place your first button and space the remaining buttons about 2” apart from there.
Step 10
Now try the shorts on and determine how long you want them to be. Once that decision is made, simply fold the hem under ¼” toward the wrong-side and press to a crisp edge then fold under another 1” toward the wrong-side and again press to a crisp edge. Either hand stitch or edge stitch with your machine to secure the hem.
Voila you have created a new pair of sleep shorts perfect for the hot days of summer. Coming up, a coordinating tank top to match.
If you want more sewing and crafting projects sign up for our Newsletter and receive your free list of sewing room must haves.
This post contains affiliate links that if you click on them and make a purchase I may receive a small commission at no extra cost to you.