
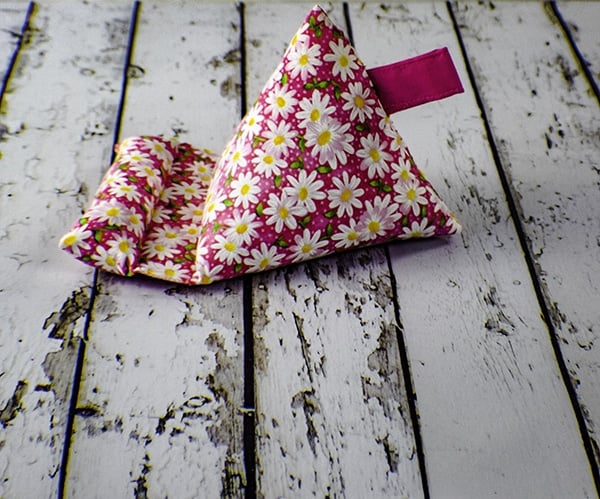
How to Make a Tablet Stand
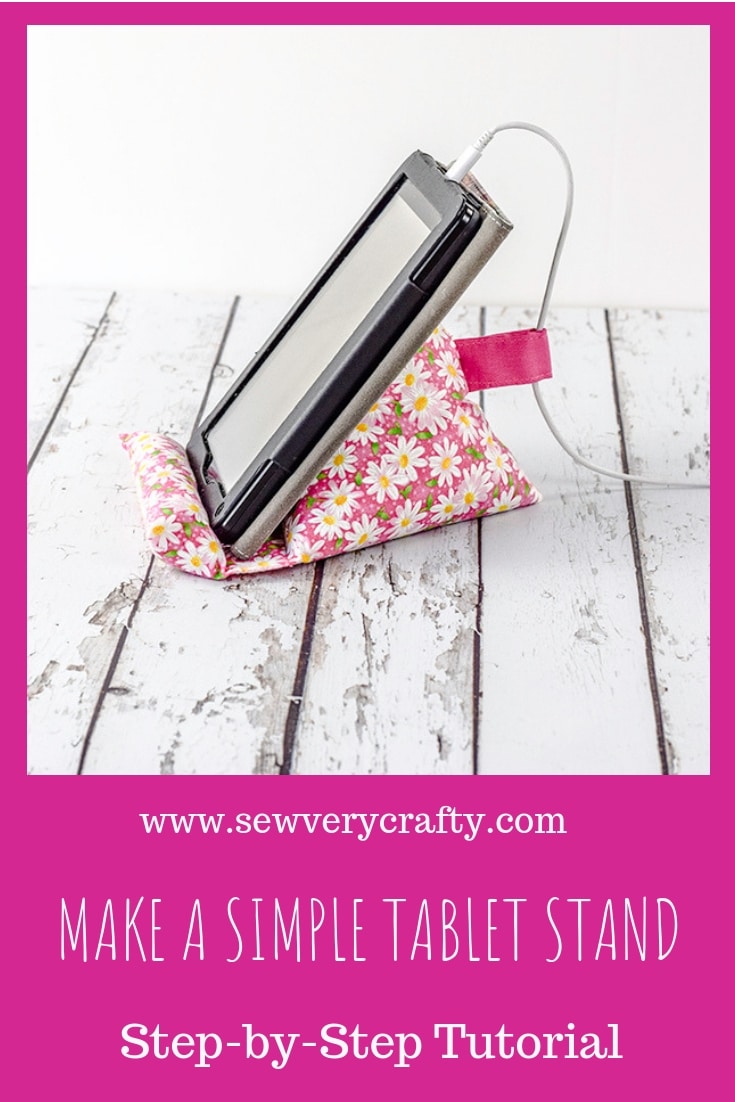
I have a Kindle and an iPad that I use all the time. I finally got around to making a tablet stand so that using them would be much easier. Factotum of Arts has a great pattern that I wanted to share with you. This pattern is easy to make and is perfect for what I needed. The pattern only requires basic sewing skills, can be adjusted to be larger or smaller, and can be made in no time at all. As many of my projects here at Sew Very Crafty I used a remnant but you could use a fat quarter if you want. The only other items you need for this project are some fiberfill, rice and a scrap piece of extra firm interfacing or a piece of cardboard. This is a fun and functional project to make so take a few minutes and create this terrific pattern.
If you would like a video tutorial of this project head over to YouTube and check out my video of this project. While you are there subscribe to my free YouTube channel for more sewing and crafting videos.

What you will Need:
- Remnant or Fat Quarter 12″ x 9″
- Scrap of coordinating fabric 4″ x 4″
- Polyester Fiberfill
- 2-3 Cups of Rice
- Heavy Weight Interfacing or Cardboard 1 1/4″ x 5 3/4″

Step 1: How to Make a Tablet Stand
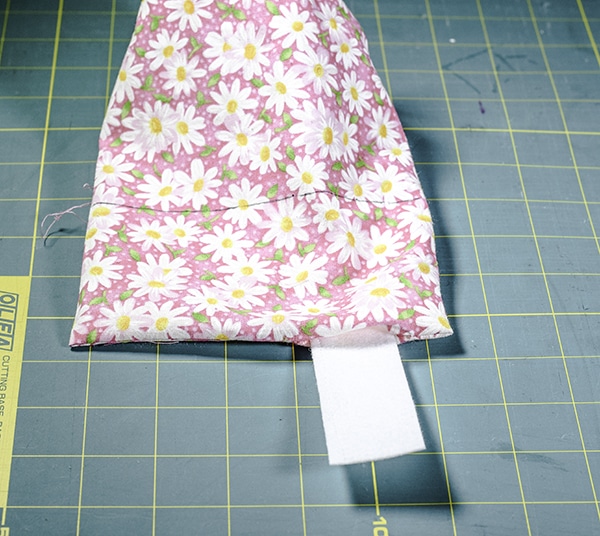
First Make your back tab. To do this take a piece of coordinating fabric 4″ x 4″ and fold it in half and press. Open it up and fold the raw edges to the press line and press again. Fold in half to enclose the raw edges. Top stitch on both long sides.
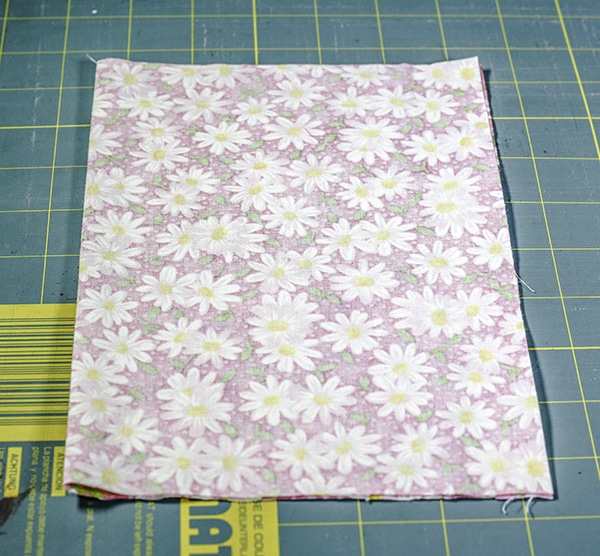
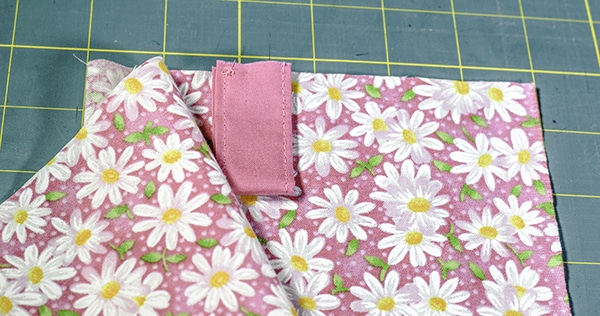
Step 2: How to Make a Tablet Stand
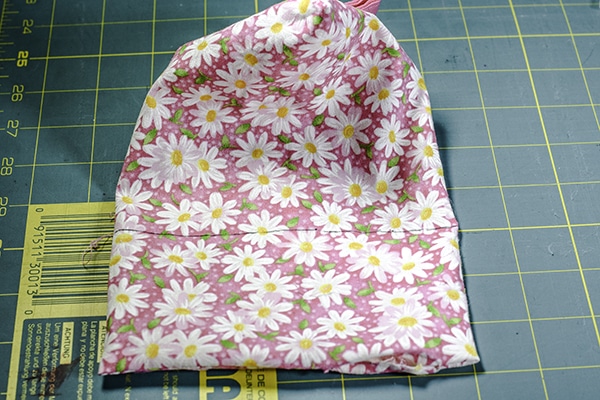
Take your 12″ x 9″ piece of fabric and fold it in half right sides together so that it is 6″ x 9″. Fold your tab in half and place it 1/3 of the way down the top short side so that the fold is facing the right side. Using a 1/4″ seam allowance sew along one short edge and the long raw edge. Leave a 1 1/2″ opening on the short edge.
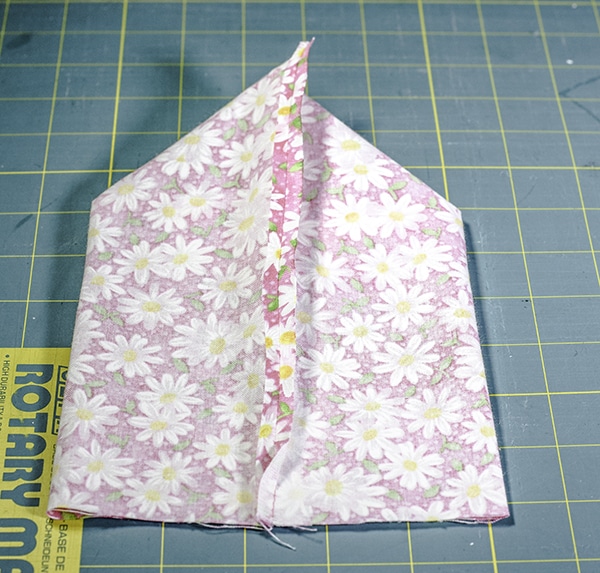
Step 3: How to Make a Tablet Stand
Fold the fabric so that the long edge is now in the middle. Press the seam open. Using a 1/4″ seam allowance sew along the bottom raw edge leaving a 1 1/2″ inch opening.
Step 4: How to Make a Tablet Stand
Turn the piece right sides out. Measure up 3″ from the bottom and draw a line using a Frixion heat erasable pen. This post contains affiliate links that if you click on them I may receive a small commission at no extra cost to you. This will be the mark you will use to place the interfacing or cardboard. Feed the interfacing/cardboard through the opening in the bottom and align it with the line you drew. Sew around the interfacing to secure it in place.
Step 5: How to Make a Tablet Stand
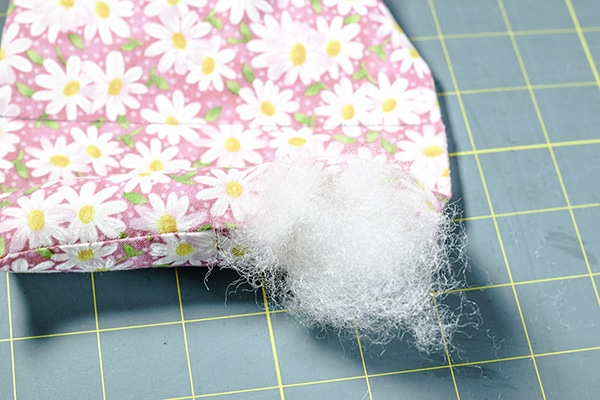
You will notice that there is a channel with an opening at the bottom of your tablet stand. Fill it with fiberfill. Close the opening using ladder stitch.
Step 6: How to Make a Tablet Stand
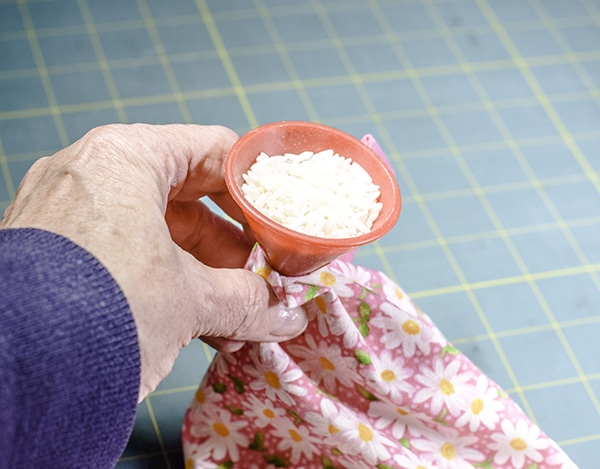
There is another opening at the top of the tablet stand. Pour your 2-3 cups of rice into the opening. You will want to fill your stand about 3/4 full. Fill the rest with fiberfill.

Step 7: How to Make a Tablet StaND
Sew the opening closed using ladder stitch. You have now completed your tablet stand.

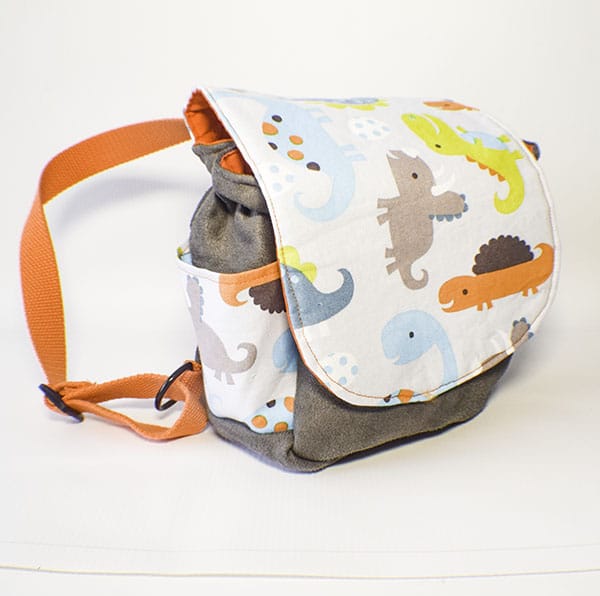
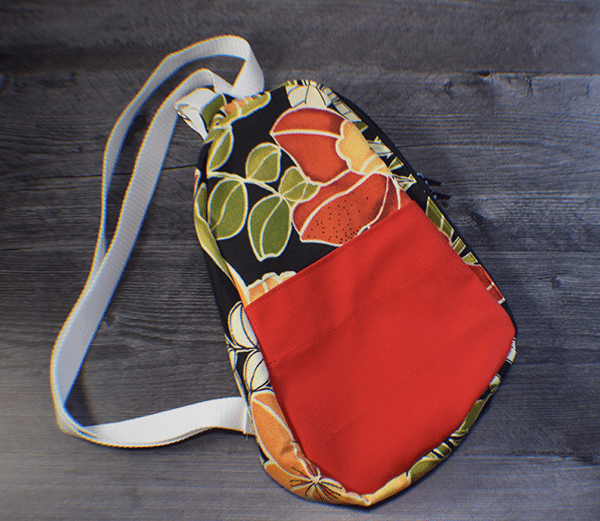
I hope you enjoyed this project. If you have a tablet you may like my tutorial on how to make a tablet carrying case.
You may also like more sewing and crafting projects. If you do, sign up for my newsletter and receive access to my free printables library.


Hi, I just finished making your tablet stand. I found to be easiest one out of several I checked out. I’m thinking it will serve me well.
Thank you for sharing your ideas and patterns/directions. Flora
You’re so welcome. I am glad you liked it.