I love to wear aprons and to make them. I have a whole variety of different aprons. My favorite is a drop cloth criss-cross apron that I made a few years ago that you can see the tutorial here. This one is a total beginner apron that anyone with beginner sewing skills can make in no time at all. This apron is a fun and functional beginner sewing project. It only requires a few pieces and can be put together quickly and easily. You will have to use some measuring skills for this one but otherwise it is super simple to make. This tutorial will walk you step-by-step on just how easy it is to create this terrific little apron.
I used basic cotton fabric that I purchased at JOANN Fabric & Craft Stores![]() for this project. You could use laminated cotton or oil cloth if you want yours to be water proof but I like the basic cotton. I can just toss it in the wash. If you don't have fabric in your stash like I did head over to JOANN Fabric & Craft Stores
for this project. You could use laminated cotton or oil cloth if you want yours to be water proof but I like the basic cotton. I can just toss it in the wash. If you don't have fabric in your stash like I did head over to JOANN Fabric & Craft Stores![]() , Hobby Lobby, Fabric.com or Onlinefabricstore.net to get the perfect fabric for your project. There are a lot of food related cotton fabrics out there or just plain ones like the one I chose out of my stash. This post contains affiliate links that if you click on them and make a purchase I may receive a small commission at no extra cost to you.
, Hobby Lobby, Fabric.com or Onlinefabricstore.net to get the perfect fabric for your project. There are a lot of food related cotton fabrics out there or just plain ones like the one I chose out of my stash. This post contains affiliate links that if you click on them and make a purchase I may receive a small commission at no extra cost to you.
What you will Need: How to Make a Simple Beginner Apron
- 1 yd of fabric
- Standard sewing supplies
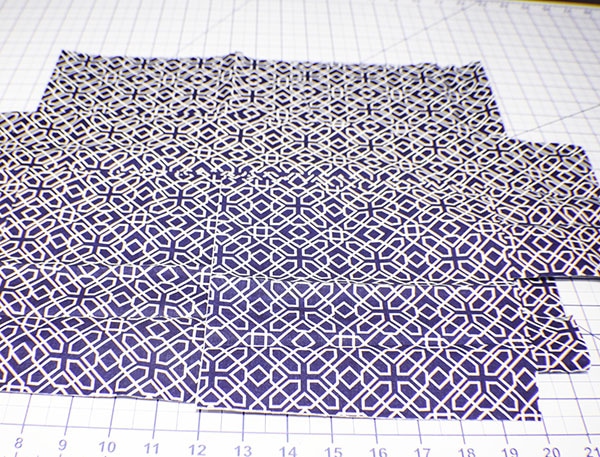
Step 1: Cut your Fabric
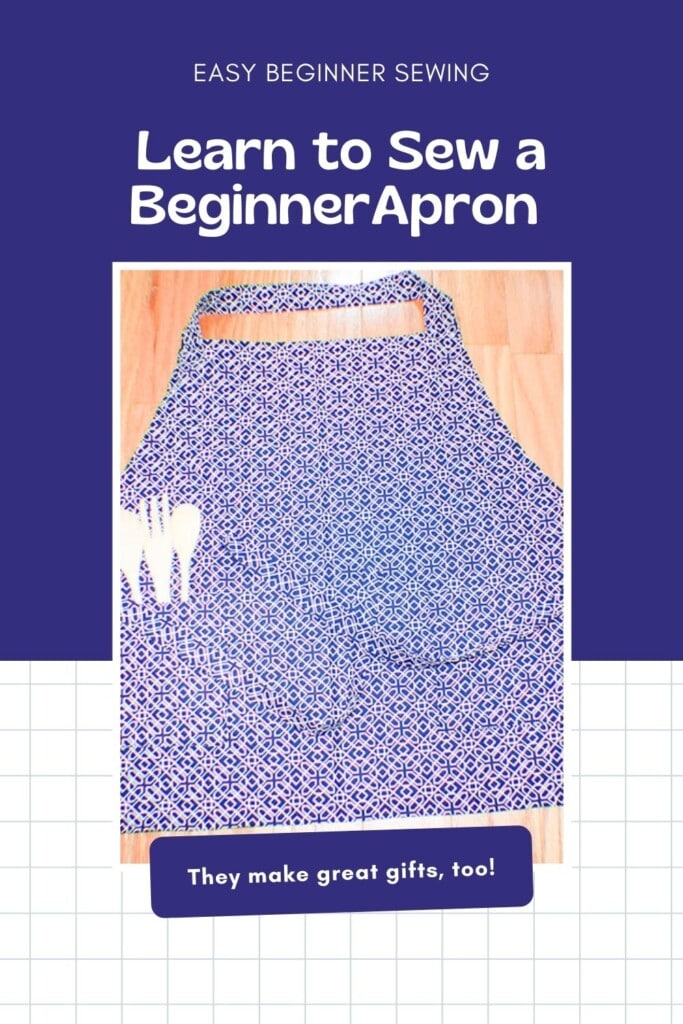
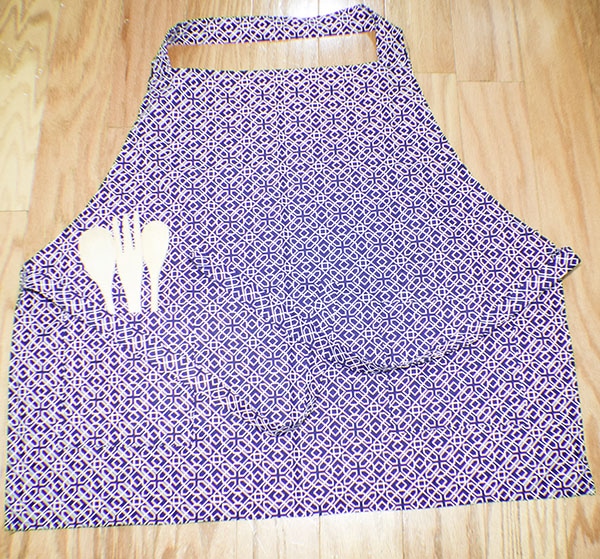
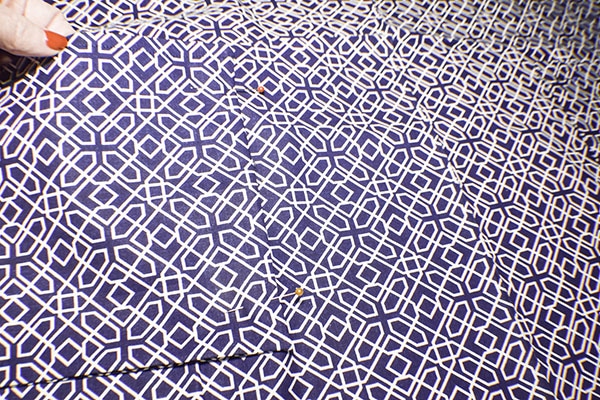
Apron Piece: Cut a rectangle that measures 32″ x 28″. Fold in half lengthwise and measure 9″ from the fold and make a mark for the neckline. Measure 16″ from the bottom of the Apron piece and mark. Cut a curved line from the side mark up to the neckline mark. This is the basic apron shape.
Neck Strap: Cut 1 piece that measures 6″ x 22″
Ties: Cut two pieces that measure 4″ x 25″
Pockets: Cut four pocket pieces that measure 8″ x 8″
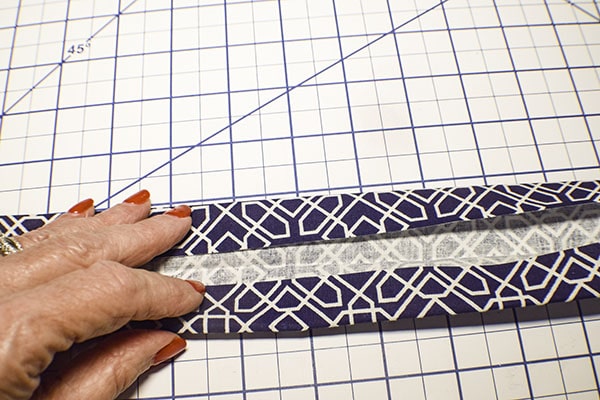
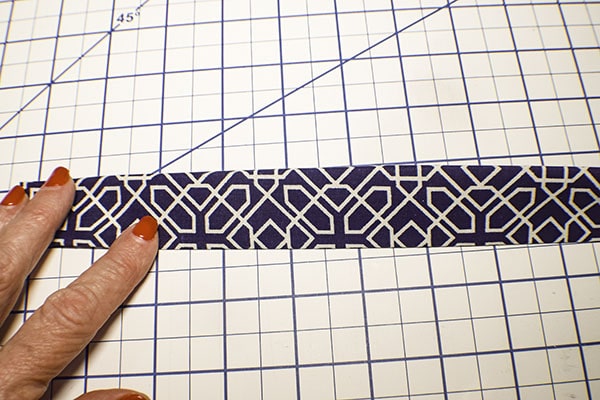
Step 2: Create the Ties and Neck Strap
You will create all three ties in the same way. Fold the pieces in half lengthwise and press. Open up and fold the raw edges to the center crease you just made and press again. Fold in half to conceal the raw edges. Fold under the raw edges on the short ends. Stitch on both sides of each piece to secure.
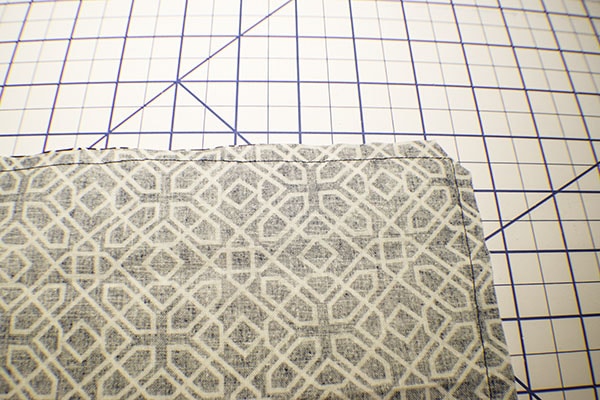
Step 3: Create the Pockets
With right sides together stitch two of the pieces together using a 1/4″ seam allowance but leaving an opening on one side for turning. Repeat for the other two pieces. Clip the corners and turn right sides out and press. Determine the top of the square and stitch along the top for more strength. Repeat for the other square.
Step 4: Place the Pockets on the Apron
Measure 4 1/2″ from the bottom and 3 1/2″ from the side to place the pockets. Stitch the pockets in place along the sides and the bottom making sure to close the openings as you go.
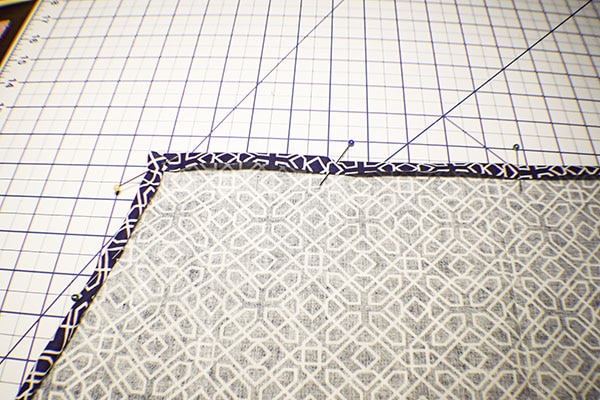
Step 5: Hem the Apron
Create a double folded hem all the way round the apron turning the fabric under 1/2″ and then another 1/23.” and press. Stitch all along the hem to secure.
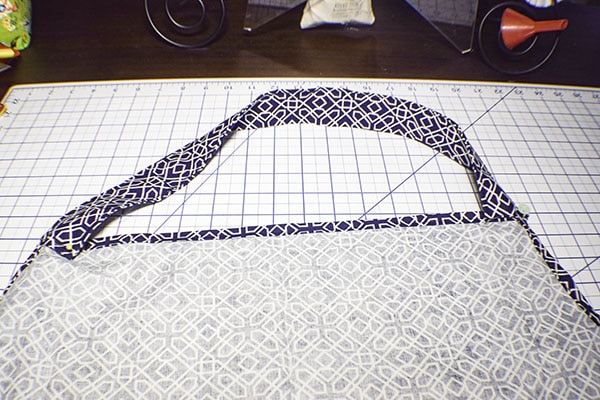
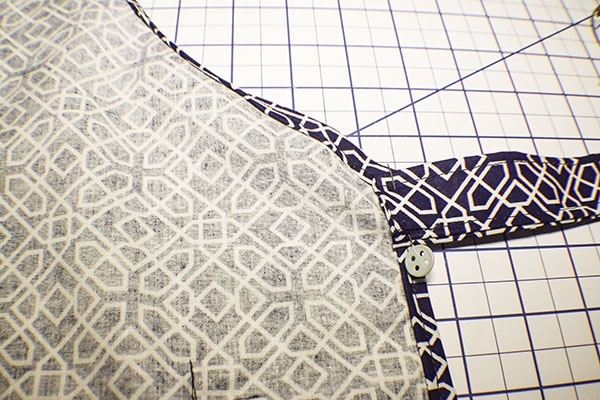
Step 6: Add the Neck Strap and Ties
Place the neck strap on either side of the top of the apron and stitch in the ditch. In other words stitch following your previous stitch line to secure. Add the ties too the corner where the curved part meets the straight part of the apron and stitch in the ditch again. You have now finished your beginner apron.
I hope you enjoyed this beginner apron project. If you would like more sewing and crafting projects sign up for our newsletter and receive access to our free printables library.
If you would like video tutorials of some of Sew Very Crafty's most popular posts subscribe to my free YouTube channel here.