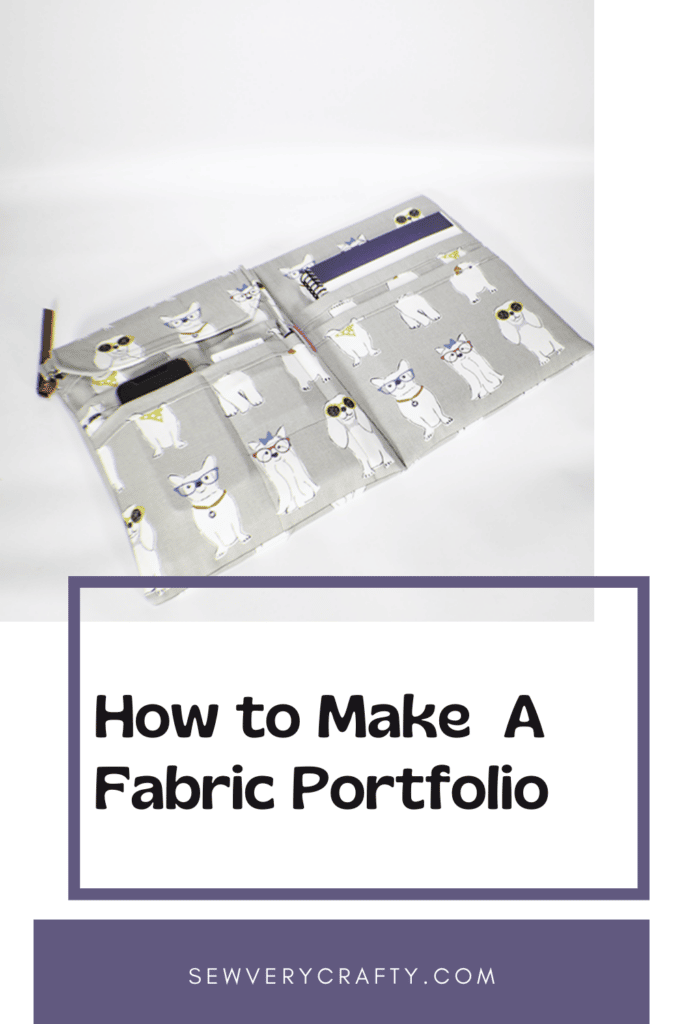
I needed a portfolio to carry all of my papers and things for work but I didn't want just a solid colored black one so I decided to make one myself. It was surprisingly simple to do and it looks great. The pattern was modified from one I saw on Sewspire on Youtube. I wanted to show you how to make a portfolio too. I did use a specialty product for this project but it is easy to find. It is plastic cardboard. It is a rigid plastic that you can cut that is often used in handbag making to give a purse a stiff bottom. I will put a link in the post for where to get this product. I just love this portfolio project and I hope you will too but if you would like just a tutorial on how to cover a journal check out this post.
For this project I decided to head to JOANN Fabric & Craft Stores![]() to actually purchase fabrics instead of raiding my stash. But you could head to
to actually purchase fabrics instead of raiding my stash. But you could head to
What you will Need: How to Make a Portfolio
- 2 yds of home decorator weight fabric
- 1 yd of Fusible fleece
- Small piece of Velcro
- 2 pieces of plastic card board that measure 9 1/4″ x 11 1/2″.
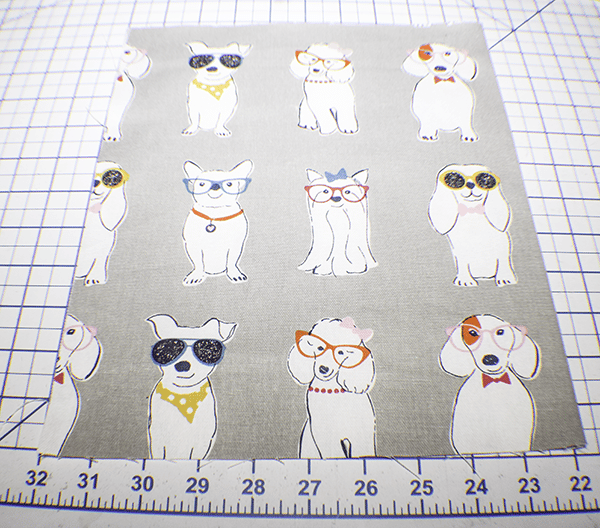
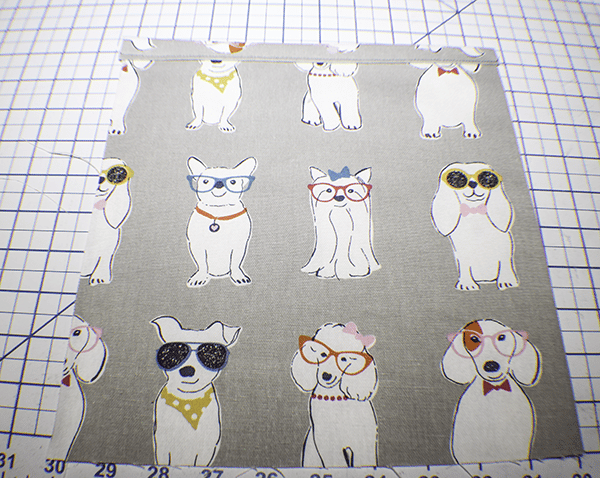
Step 1: Cut your Fabrics
(2) 13″ x 21″ body panels
(2) 18″ x 21″ pocket panels
(1) 12″ x 20″ iPad pocket
(1) 12″ x 8″ iPad pocket flap
(1) 13″ x 21″ Fusible Fleece
(2) 6″ x 8″ Fusible fleece
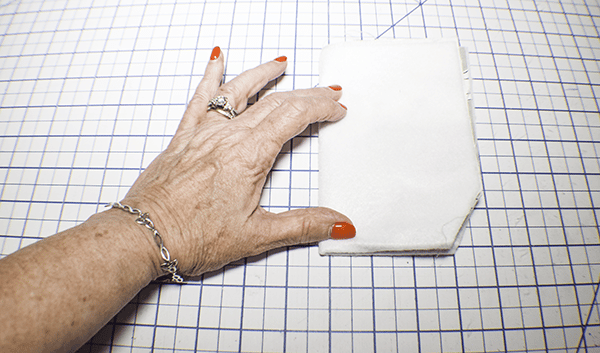
Step 2: Fuse the Fleece
Fuse the fleece to one of the 21″ x 13″ pieces of fabric following the manufacturer's instructions. Then fuse the second piece of fleece to one side of the 8″ x 12″ piece of fabric.
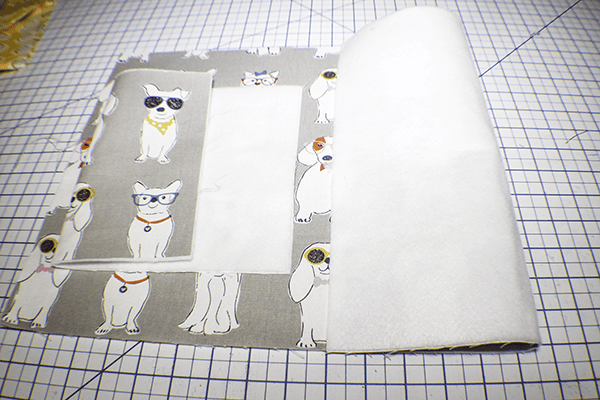
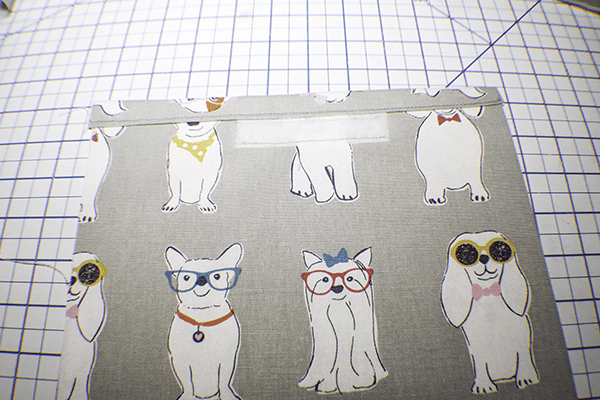
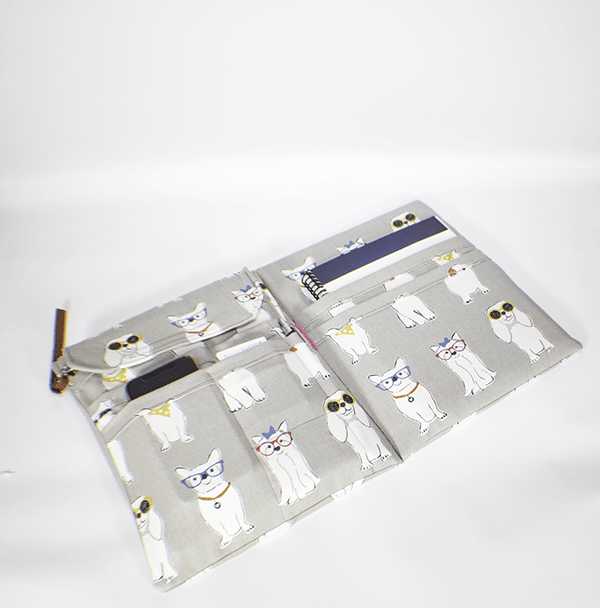
Step 2: Create the iPad Pocket
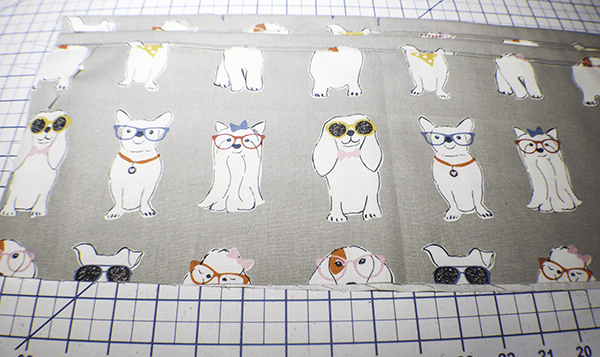
Take the fabric piece that measures 20″ x 12″ and fold it in half. Fold the top edge down 1/2″ then another 1/2 inch and stitch across the top. Place the soft side of the Velcro on the center of the piece just under the lip of the edge you just stitched and stitch it to the pocket piece. Attach the piece to the left side of the larger piece of fabric that measures 21″ x 13″ that you added fleece matching the side and bottom raw edges. Stitch along the folded side.
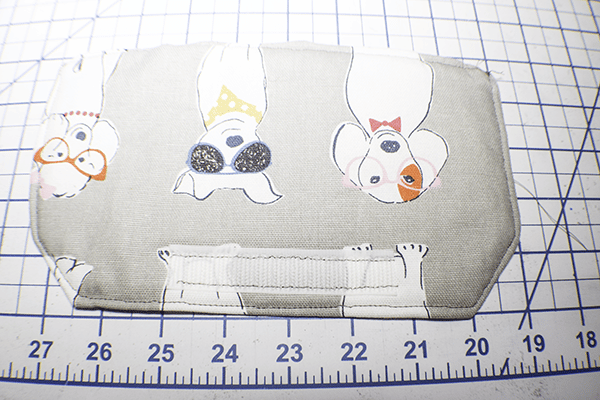
Step 3: Create the Flap Pocket
Take the piece that measures 8″ x 12″ and fold it in half right sides together. One half should have fleece and the other should not. Fold the piece in half again. Clip off the corner from the folded edge to the raw edge on the side. Stitch along the the sides. Leave the top open for turning. Turn right sides out. Fold the raw edges in by about 1/2″ and press. Topstitch all the way around enclosing the opening. Place the other half of the Velcro at the bottom of the flap.
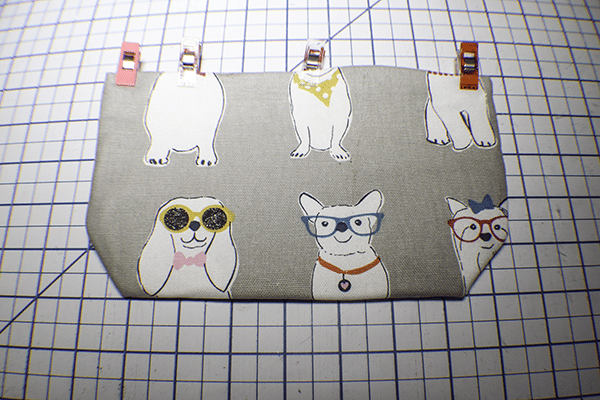
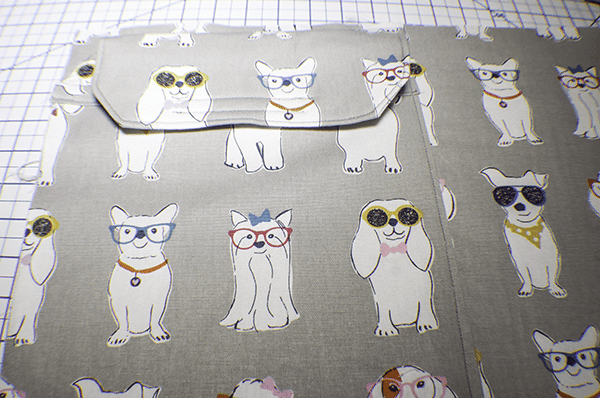
Add the flap to the pocket using the Velcro. The flap should extend beyond the main fabric piece. Fold it under. Open up the flap and stitch just the flap to the larger piece. The flap piece should abut the pocket piece.
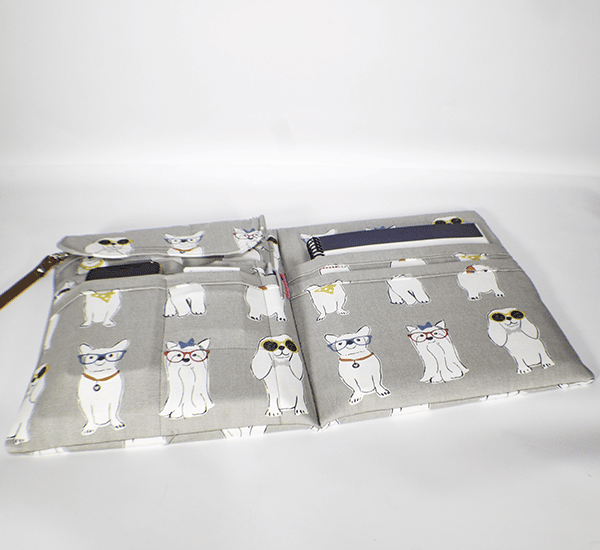
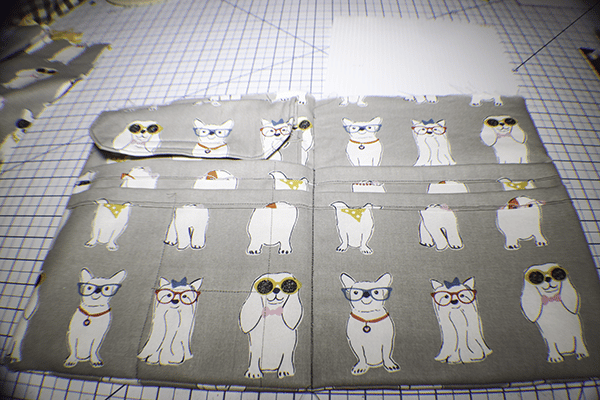
Step 4: Create the Divided Pockets
Take the two pieces that measure 18″ x 21″ and fold them in half. Fold down the the folded edge by 1/2″ and stitch. Layer the two pieces so that one lip is underneath the other and pin. Fold it in half and mark the center line. measure over 1 1/2″ to the left and mark another line. From there, measure 3″ and mark a third line. Stitch through all of the layers on the marks you just created to create divided pockets. For the second row of pockets measure down 4″ and stitch across. This pocket is for business cards and you do not want them to get lost.
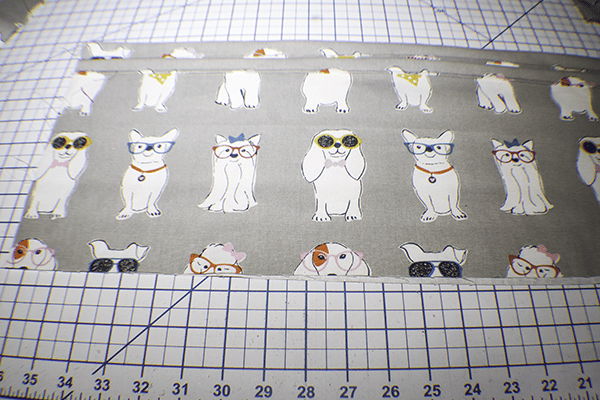
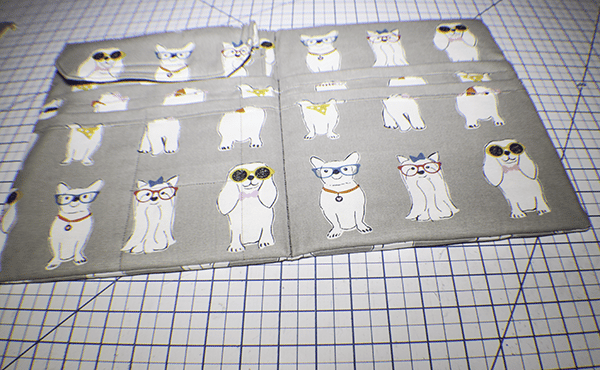
Step 5: Add the Divided Pockets
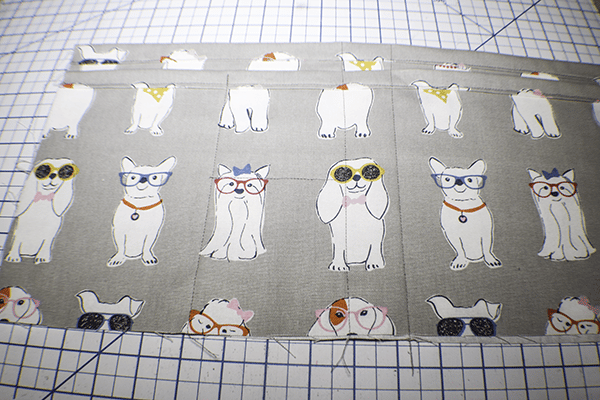
Place the divided pockets on top of the piece with the iPad pocket about 5″ from the top. Stitch down the center line to attach the divided pockets to the main portfolio.
Step 6: Add the Back of the Portfolio
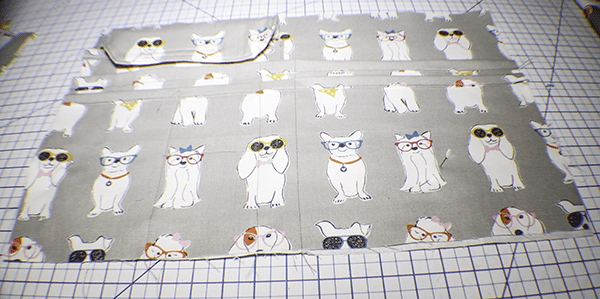
Place the final piece right sides together making sure that the top and sides are aligned. Stitch along the sides and the bottom using a 5/8″ seam allowance. Leave the top open. Turn right sides out. Trim off any excess. Press.
Step 7: Add the Plastic Card Board to the Portfolio
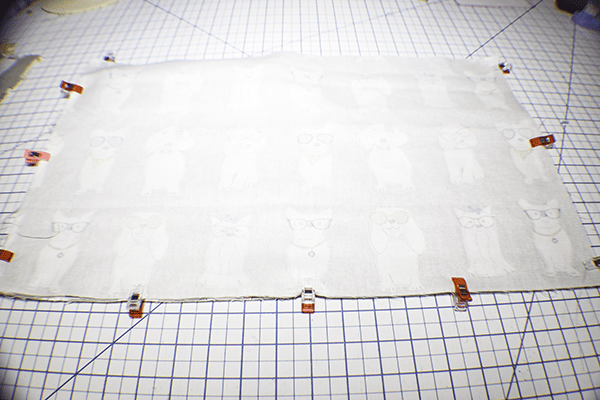
Once again stitch down the center of the portfolio starting creating two sides. Place the plastic cardboard in each side of the portfolio. Fold under the top raw edge. Stitch it closed using ladder stitch.
I hope you enjoyed this portfolio project. if you would like more sewing and crafting tutorials subscribe to our newsletter and receive access to our free Printables library
If you would like video tutorials of some of Sew Very Crafty's most popular posts subscribe to our free YouTube channel here.