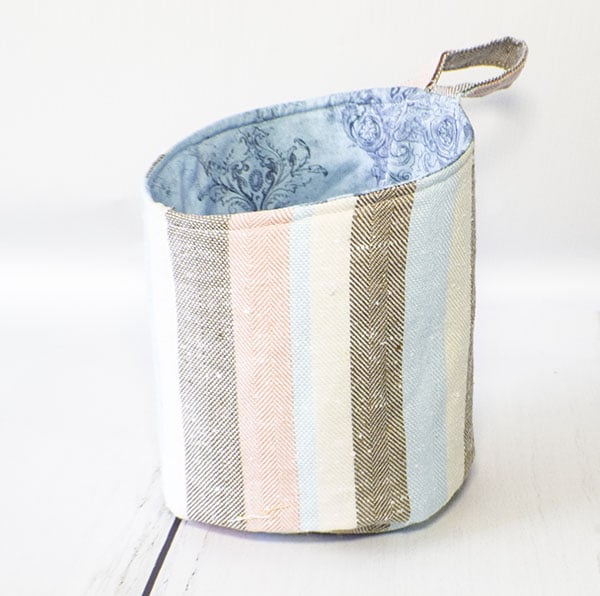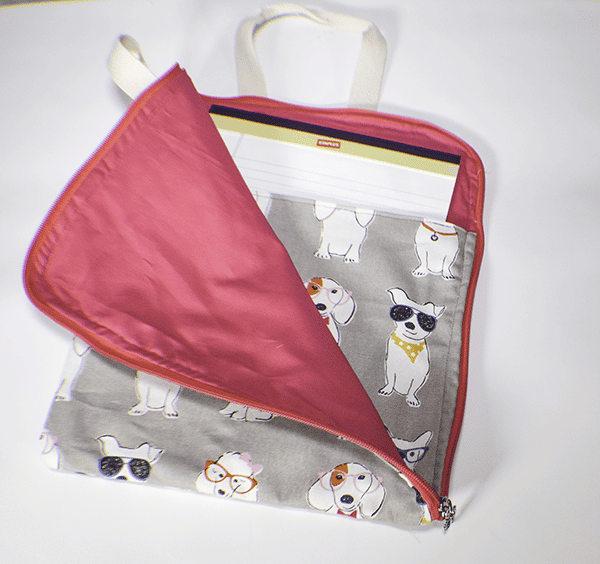
I recently created a fabric portfolio for work and shared here on the website. I came across this pattern for a document case at Ae Poom on YouTube and thought to make it as a companion to it. When I made the portfolio I used some fun home decorator weight fabric and decided to use the left overs for this. This is a fairly simple sewing project to make and extremely useful to carry documents and notepads. If you are interested in my portfolio project check it out here.
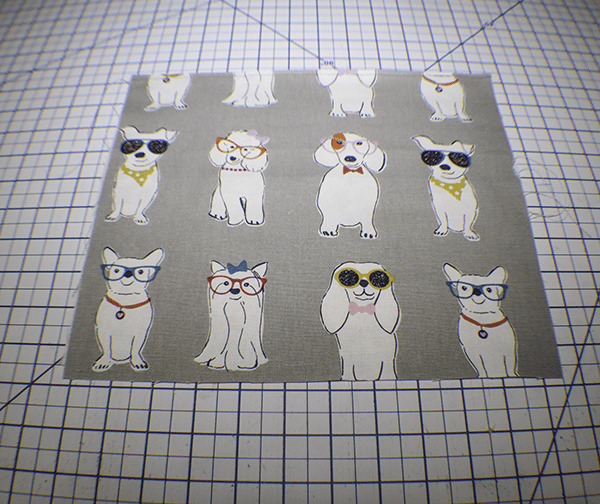
For this project I used decorator weight fabric but canvas would work well also. I purchased this adorable fabric at JOANN Fabric & Craft Stores![]() but you could head to
but you could head to
What you will Need: How to Make a Document Case
- 1 yd outer canvas or decorator weight Fabric
- 1/2 yd lining fabric
- 1/4 yd Pellon 808
- 28″ of 1″ cotton webbing
- 25 1/2″ continuous zipper
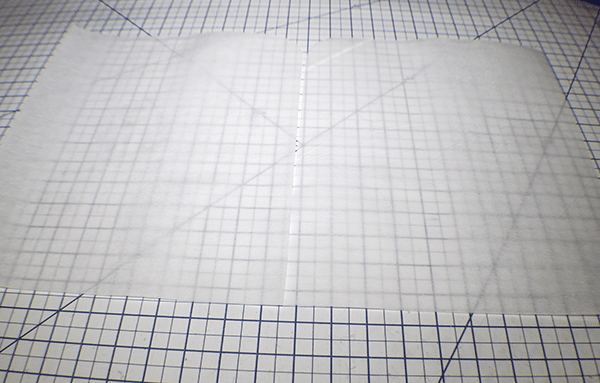
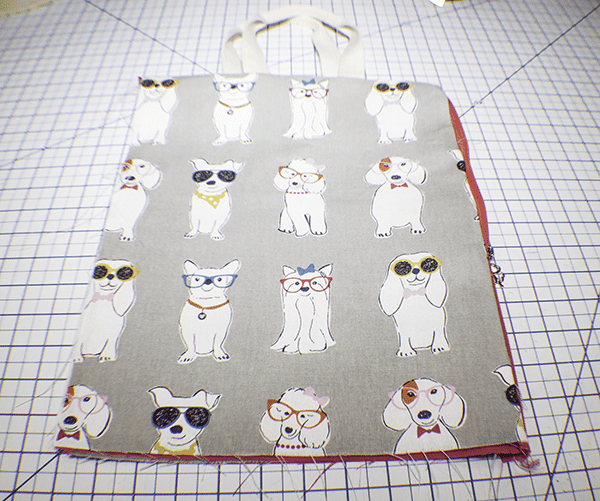
Step 1: Cut your Fabrics
Cut two outer and two lining pieces that measure 14 1/2″ x 11 3/4″ and one outer piece that measures 19 5/8″ x 11 3/4″. Cut two pieces of Pellon 808 that measure 13 3/4″ x 11″. You will also nee3d two pieces of 1 3/4″ binding. It does not need to be cut on the bias but you can if you want. You will will need one piece that measures 13″ x 1 3/4″ and another that measures 16 1/2″ x 1 3/4″. I used my lining fabric for the binding.
Step 2: Prepare the Interfacing
Take the two pieces of interfacing and round the top right corner of one piece and the top left corner of the other piece.
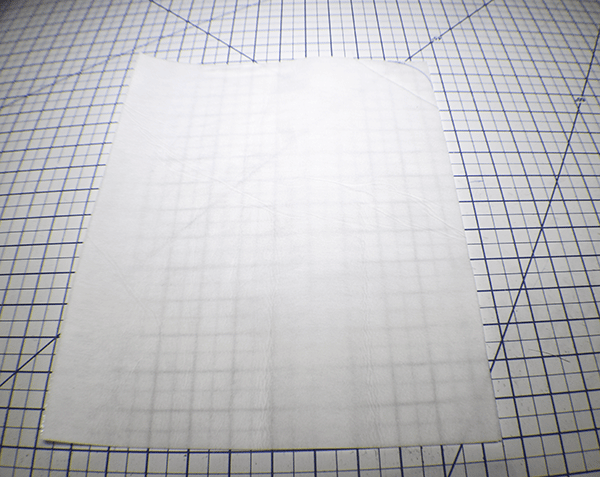
Step 3: Fuse the Interfacing
Fuse the interfacing to the wrong side of the corresponding outer pieces. Round the respective corners. Then round the corresponding corners of the interfacing.
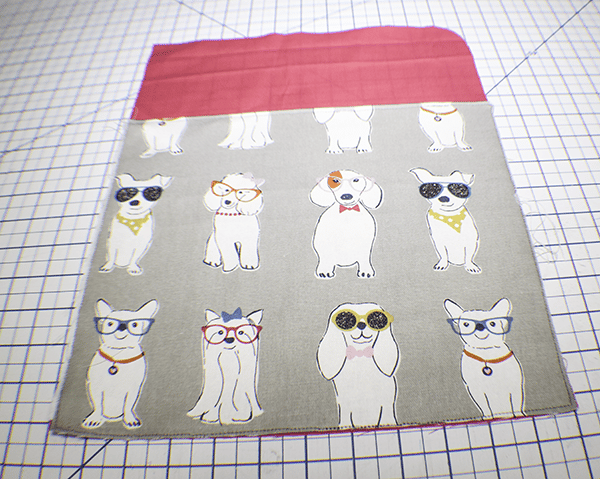
Step 4: Create the Pocket
Take the large piece of outer fabric and fold it in half wrong sides together. Press. Topstitch along the fold.
Step 5: Add the Pocket
Place the pocket piece to the right side of the lining piece that has the top left corner rounded. Stitch along the sides and bottom.
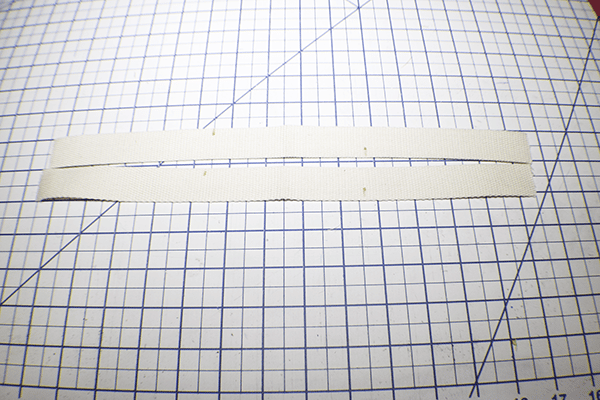
Step 6: Create the Handles
Cut the cotton webbing in half. Fold each of the pieces in half. Measure 2 1/8″ from the fold and make a mark on each side. Fold the handle in half lengthwise and stitch between the marks you just made. Do this for both handles.

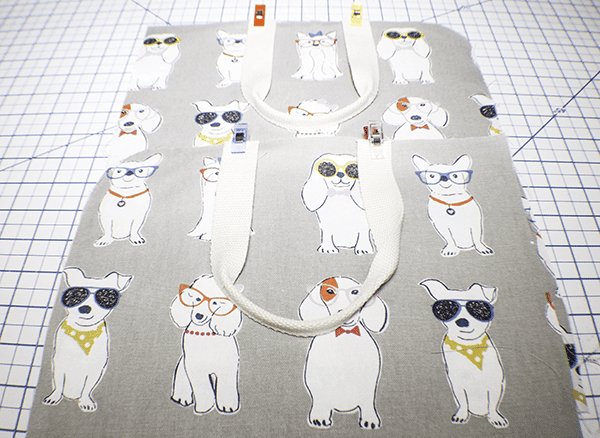
Step 7: Add the Handles
Find the center of each of the outer pieces. Measure 1 3/4″ on either side of the center mark and place the ends of each handle and stitch. Do this for both handles.
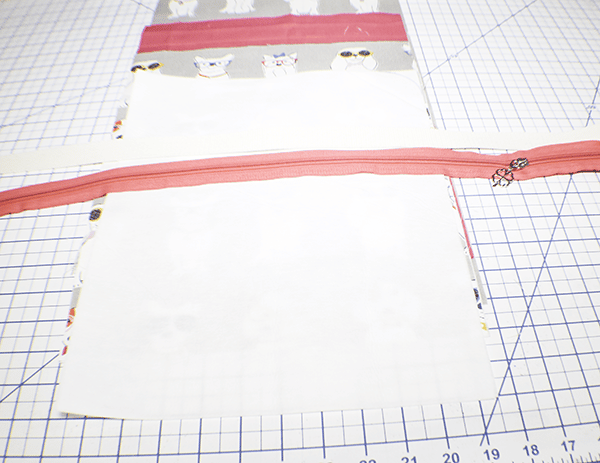
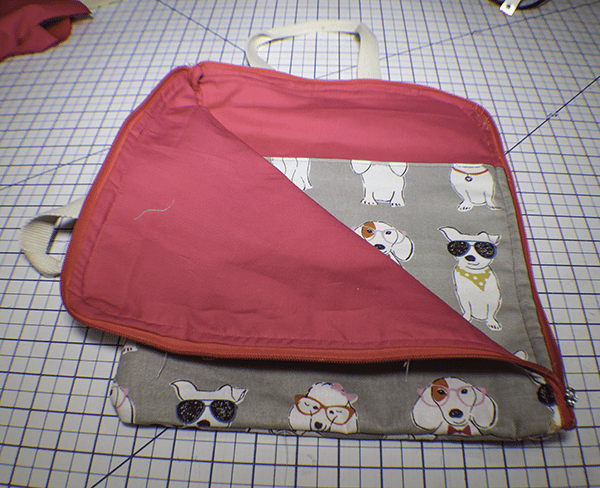
Step 8: Add the Zipper
Take one of the lining pieces and place it right sides up but with the rounded edge at the bottom on your work surface. Place the zipper along the long side of the lining piece right sides up and clip or pin until you get to the rounded corner. Clip the zipper and fold it around the rounded edge until you have clipped it to the short edge of the of the lining. Stitch the zipper in place. Place the outer piece right sides down on top of the zipper and stitch. Topstitch all the way around the zipper. Repeat for the other side of the zipper using the remaining outer and lining pieces.
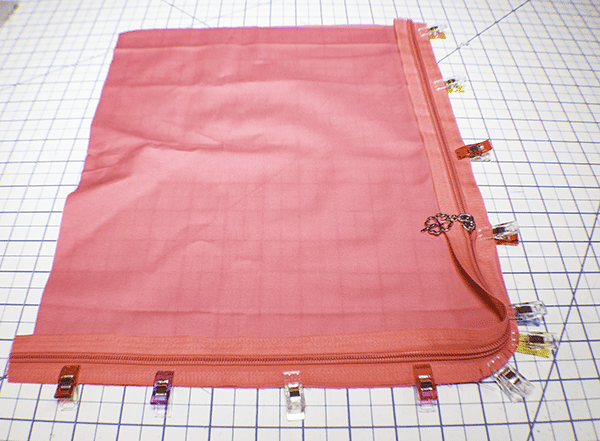
Since you are using a continuous zipper the zipper pull will be in the middle. Open the zipper partially just in the center of the zipper not on the ends.
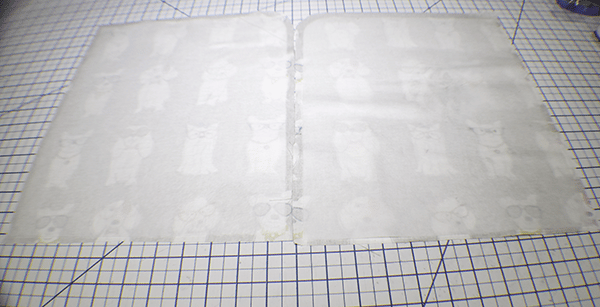
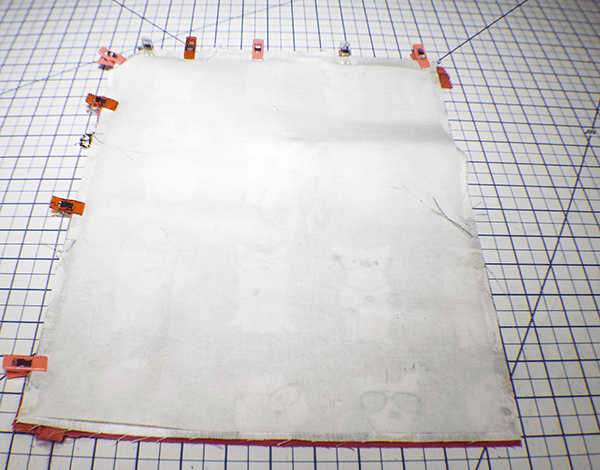
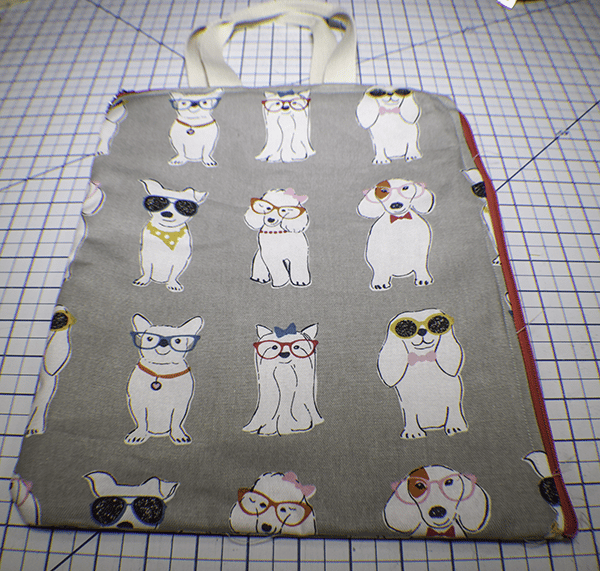
Step 9: Stitch the Document Case
Turn the document case wrong sides out and stitch along the raw edges using a 3/8″ seam allowance.
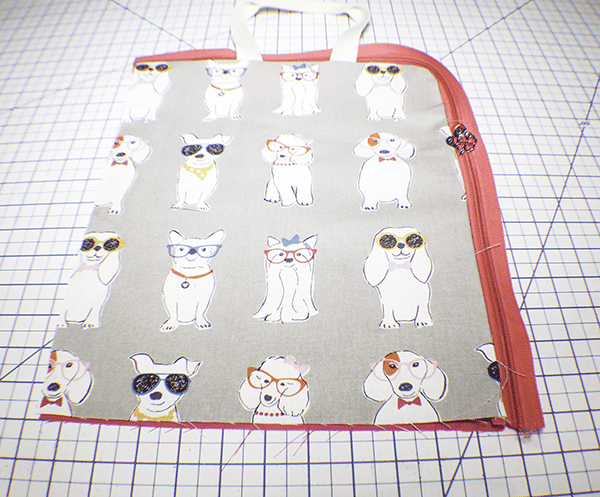
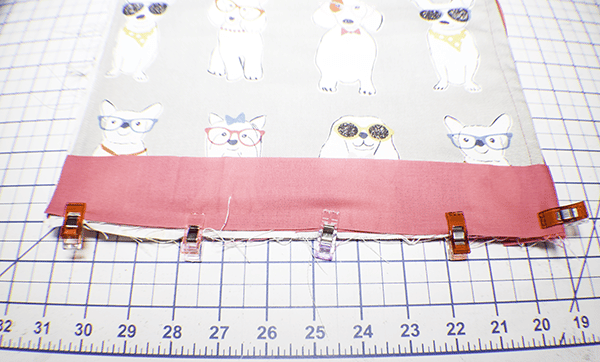
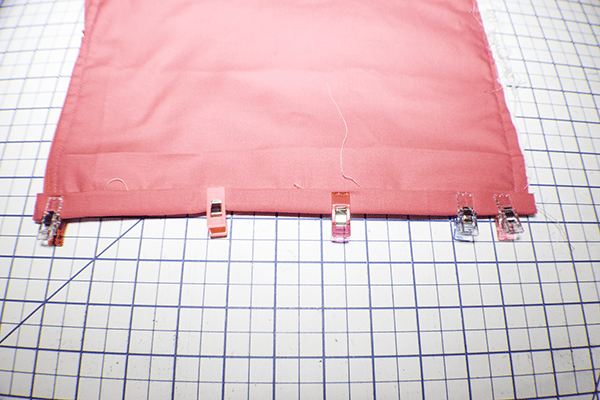
Step 10: Add the Binding
Start with the bottom of the document case. Wrap the binding around the zipper and clip. Clip the binding along the short end of the case and stitch it using a 1/4″ seam allowance. Double fold the binding to conceal the raw edges. Clip and stitch. Repeat the process for the long side of the case making sure to wrap both ends to enclose the raw edges.
I hope you enjoyed this Document Case project. if you would like more sewing and crafting projects subscribe to our newsletter and receive access to our free printables library
If you would like video tutorials of some of Sew Very Crafty's most popular posts subscribe to our free YouTube channel here.