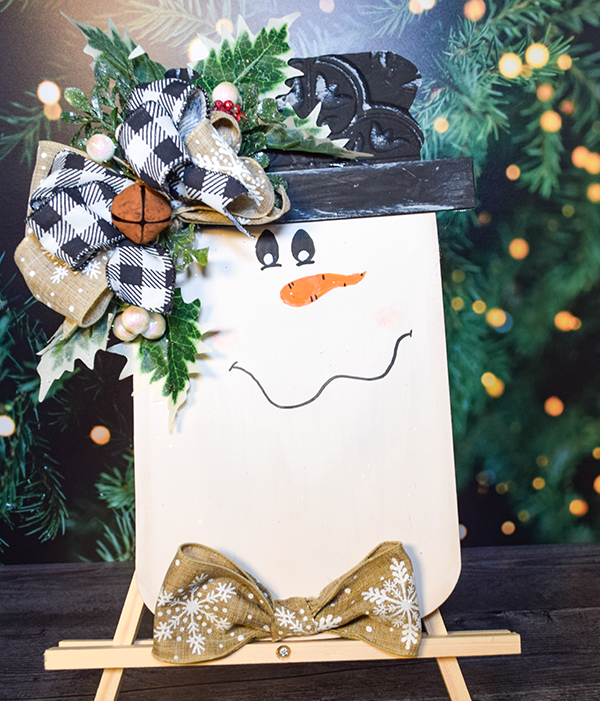
At Dollar Tree they have these mason jar scarecrow door hangings. They are cute but it is nearing Christmas so I decided to turn mine into a snowman. This is such a simple crafting project that has a sweet look for the Christmas season. You can head to Dollar Tree and get either the scarecrow or they have a snowman mason jar plaque that can be transformed. I hope you enjoy this project. For more Dollar Tree crafts check out my Dollar Tree page. For more holiday sewing and crafting head over to the holiday project vault.
Note: This post contains affiliate links that if you click on them and make a purchase I will receive a small commission at no extra cost to you. As an Amazon Associate I earn from qualifying purchases.
What you will Need: How to Make a Dollar Tree Snowman from a scarecrow
- 1 Dollar Tree Mason Jar plaque
- Milk jug chalk Paint
- Black chalk paint
- Orange chalk paint
- White chalk paint
- Black paint pen
- Dollar Tree Christmas florals
- Ribbon
- Rusted jingle bell
- Distress Oxide
- Dollar Tree self adhesive tile
- Blush
- Sand paper
- Hot glue
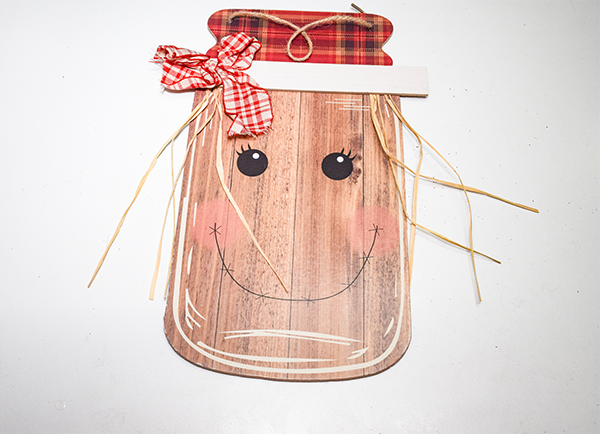
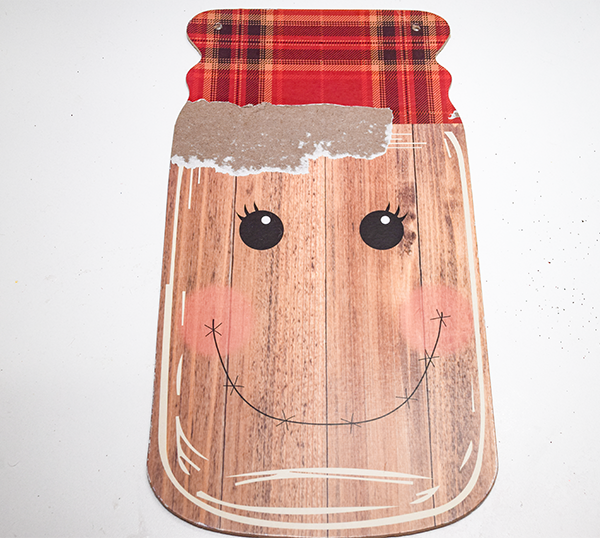
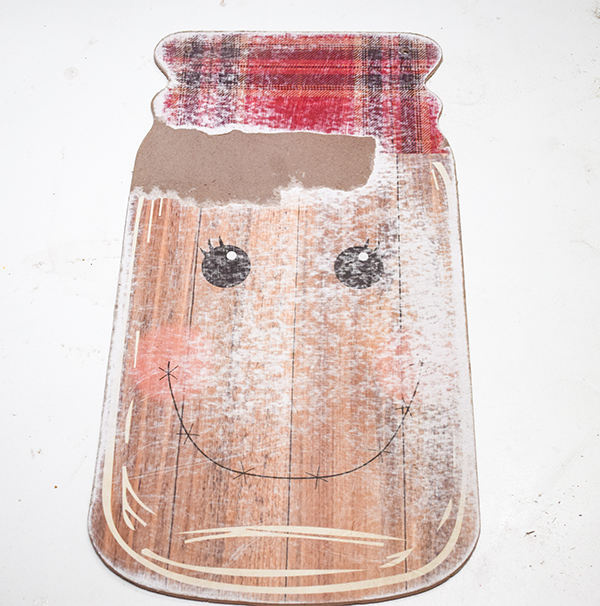
Step 1: Prepare the plaque
To prepare the plaque, remove the twine hanger, hat brim, bow and straw. Sand the plaque for greater adhesion.
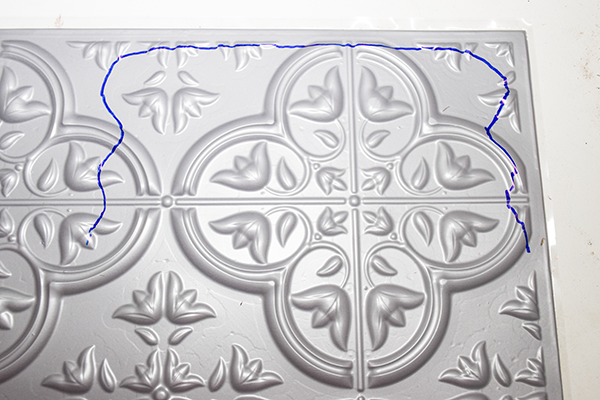
Step 2: Cut the Tile
Place the top of the mason jar plaque onto the tile. Trace around the top of the plaque to get a perfect fit. Cut out the shape.
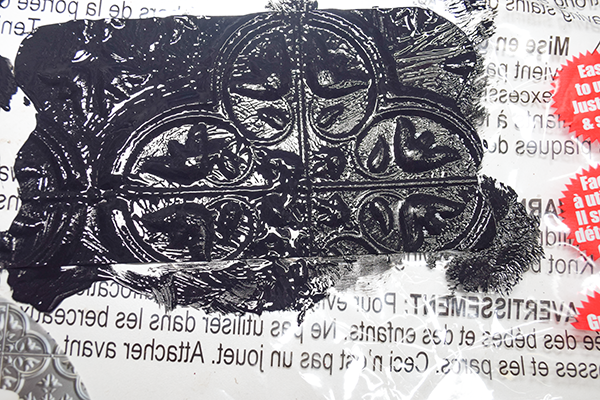
Step 3: Paint the tile
Paint the tile black and let dry completely. Take a very dry brush with the milk jug paint and brush it to highlight the pattern in the tile.
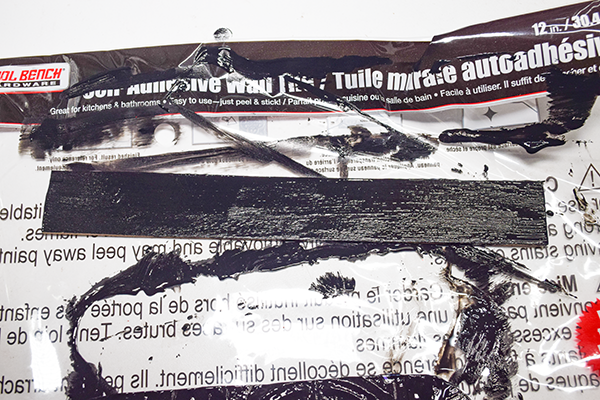
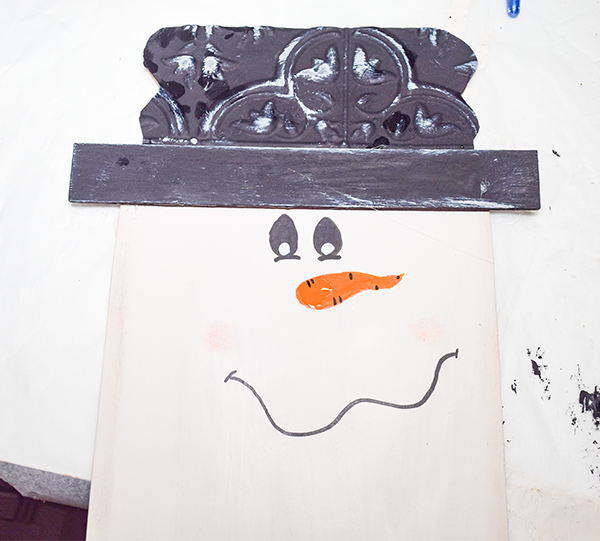
Step 4: Paint the Hat Brim
The rectangle piece you took from the scarecrow is the brim of the hat. Sand it using sand paper. Paint it black. Take a dry brush with the milk jug paint and highlight the brim.
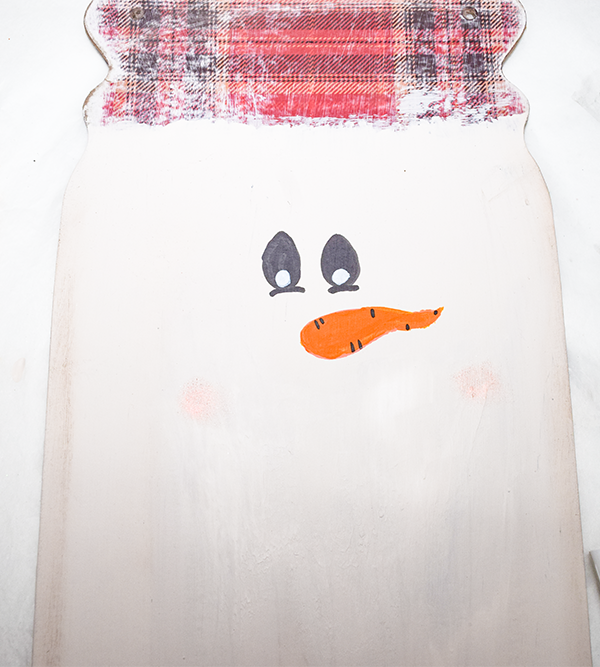
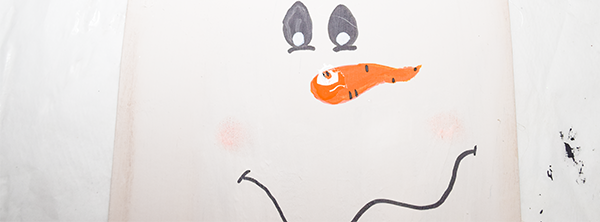
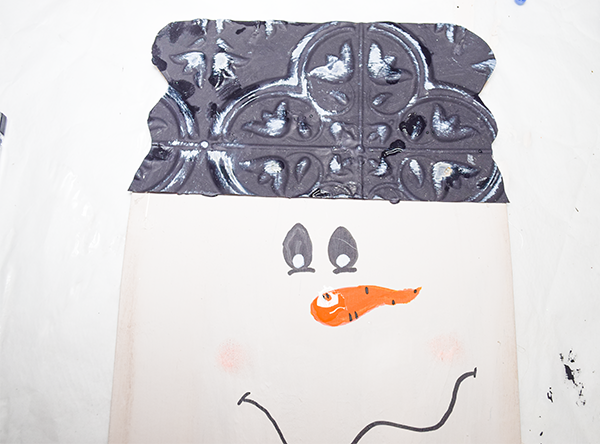
Step 5: Paint the Face
Using the milk jug paint cover the face. Use at least two coats for good coverage. Let dry completely. Once the paint has dried use the distress oxide to age the face around the edges and a bit in the center. Take the rouge and create some rosy cheeks. Finally Paint the eyes, nose and mouth using the black, white and orange paints.

Step 6: Add the tile
The tile I chose can be self adhesive or just plain. I chose the self adhesive version. Once it is painted add the tile to the top of the mason jar. Use an awl to poke holes through the tile where the holes in the plaque are.
Step 7: Add the Brim
Hot glue the brim you just painted to the seam between the tile and the face.
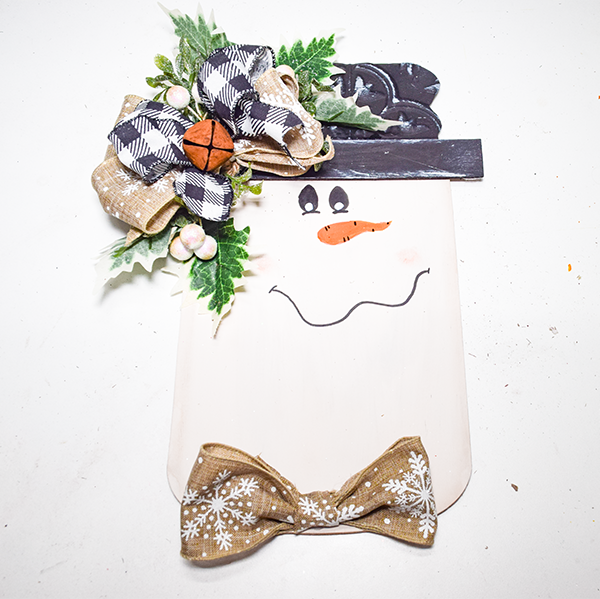
Step 8: Add the Greenery and Bow
Take some Dollar Tree greenery and hot glue it to the top of the plaque just above the brim and to the left of the face. I used a combination of greens, white berries and flowers. I added a little age using the distress oxide on the berries and flowers.
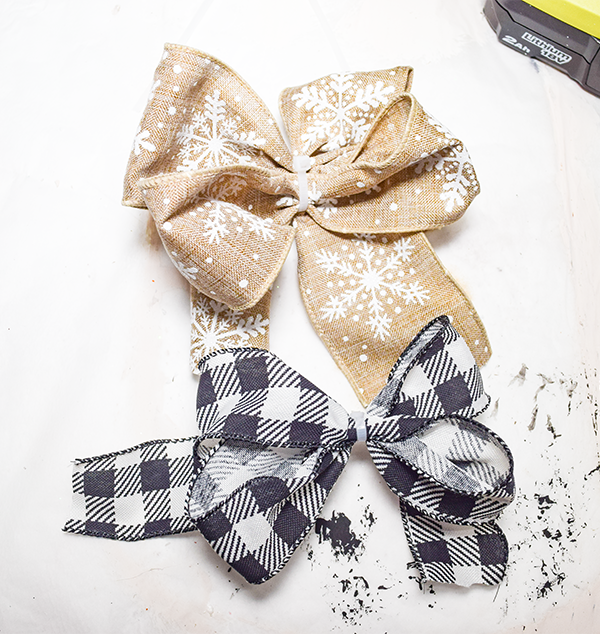
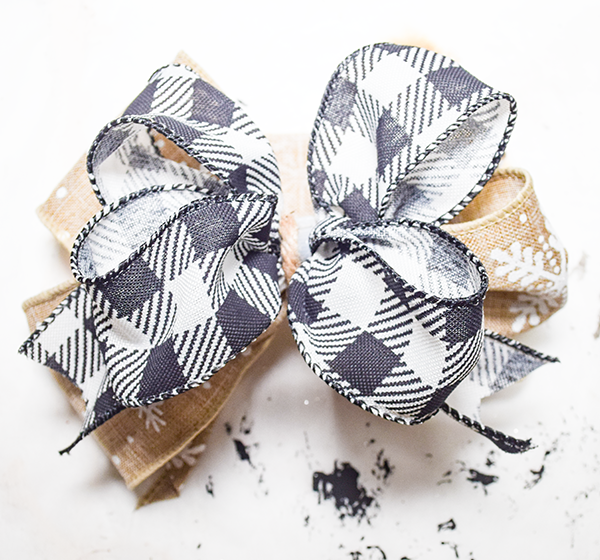
I created a bow using the techniques from Southern Charm Wreaths' bow making course and my Bowdabra. Burlap and black checked ribbon were used for the bow. Hot glue the bow on the corner of the greenery. Add a large rusted jingle bell to the center. Re-attach the twine hanger through the holes you created. Once the bell and hanger has been added your Dollar Tree Snowman from a scarecrow is complete.
I hope you enjoyed this simple Dollar Tree Christmas craft. If you would like more sewing and crafting projects subscribe to our free newsletter for many more and receive your free Dollar Tree holiday eBook.
If you would like video tutorials of some of Sew Very Crafty's most popular posts subscribe to our free YouTube channel here.
Join our Sew Very Crafty Fans Facebook group
If you want to ask questions and share your projects join our Facebook group here. The community will help to achieve your sewing and crafting dreams.