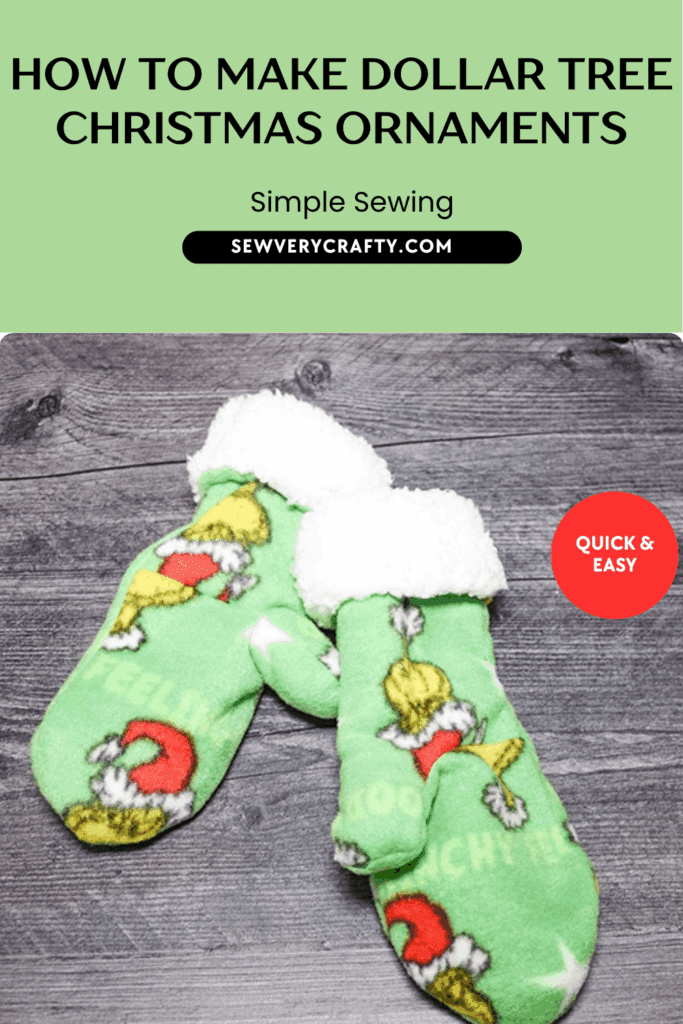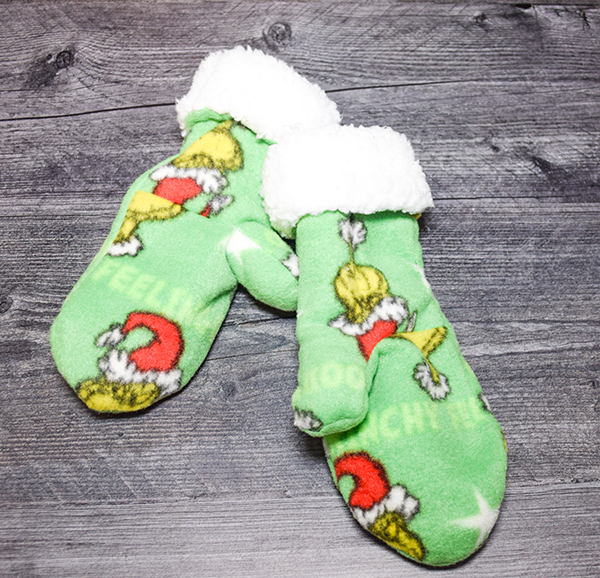
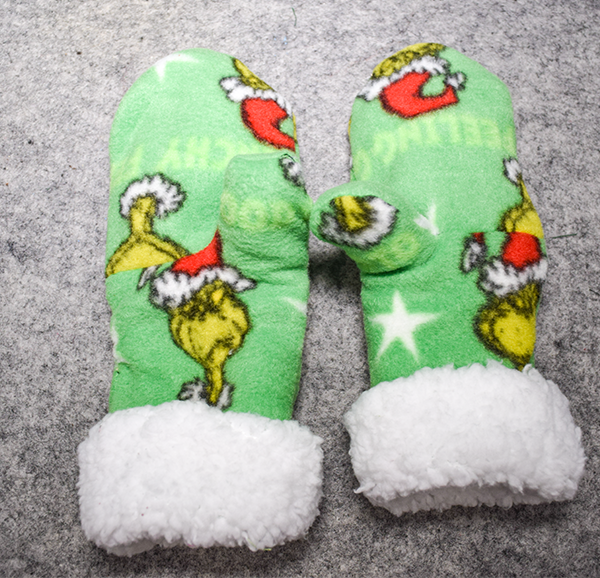
While it is warm here in California it is cold in the rest of the country so I thought I would create these fur lined fleece mittens for those of you who live where it is cold. This is a super simple beginner sewing project that anyone with basic sewing skills can make in no time. The pattern, of course, is free. I found this pattern at Onlinefabricstore.net. There are only three pieces for the outer mitten and three pieces for the inner mitten. Of course you need to make two. If you would like more holiday sewing and crafting projects head over to our holiday project vault for many more.
Note: This post contains affiliate links that if you click on them and make a purchase I will receive a small commission at no extra cost to you. As an Amazon Associate I earn from qualifying purchases.
What you will Need: How to make fur lined fleece mittens
- Pattern you can get by clicking on this link
- 1/2 yard outer fleece
- 1/2 yard faux fur for the lining
- Sewing Machine
- Standard sewing supplies
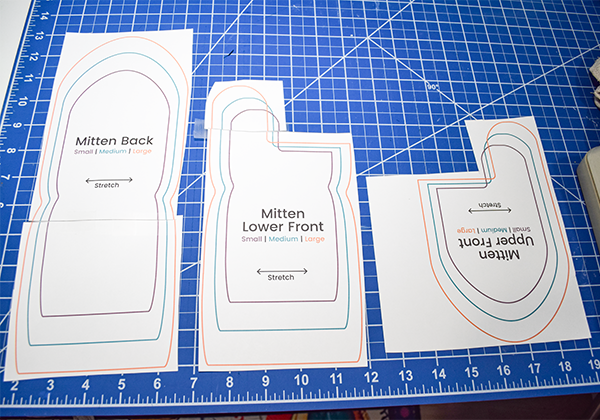
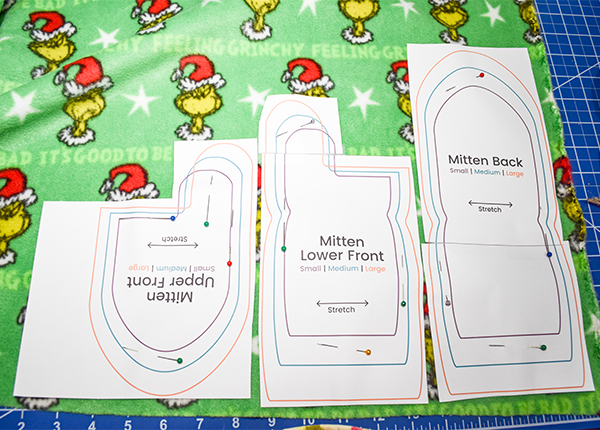
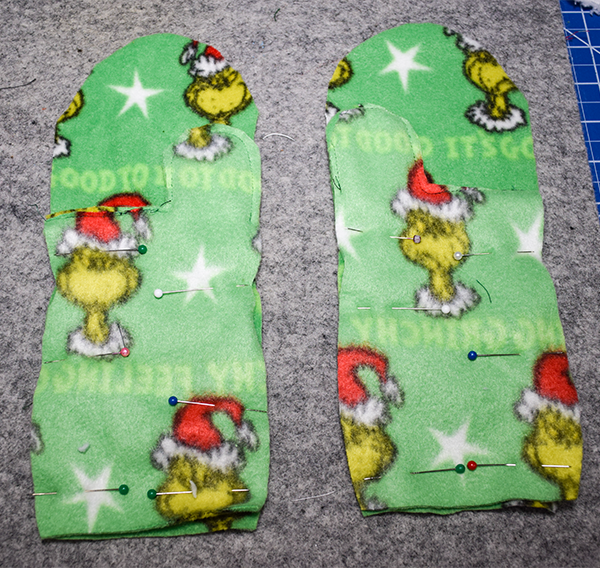
Step 1: Cut out the pattern
You will need to print the pattern. Tape the pieces together and choose the size you would like to create. For one mitten cut out three outer pieces and three lining pieces. For the other mitten flip the pattern over and cut the same six pieces. When cutting the faux fur use small snips to keep from cutting too much pile and to prevent shedding.

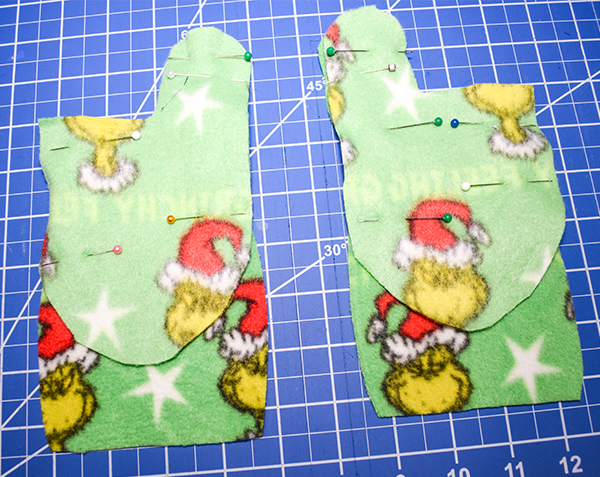
Step 2: Stitch the upper and lower fleece fronts
Place the fleece fronts right sides together. Using a 1/8″ seam allowance stitch across the horizontal line that will be the palm and around the thumb. Once you reach the spot just across from the palm line stop and back stitch.
Step 3: Stitch the Back fleece to the front fleece
With right sides together stitch the front piece to the back piece. Begin stitching at the bottom of the thumb side. Using a 1/4″ seam allowance stitch until you reach the thumb. Fold the thumb down and continue stitching until you reach the bottom opposite the thumb size and back stitch. Trim the seams. Repeat for the other mitten.
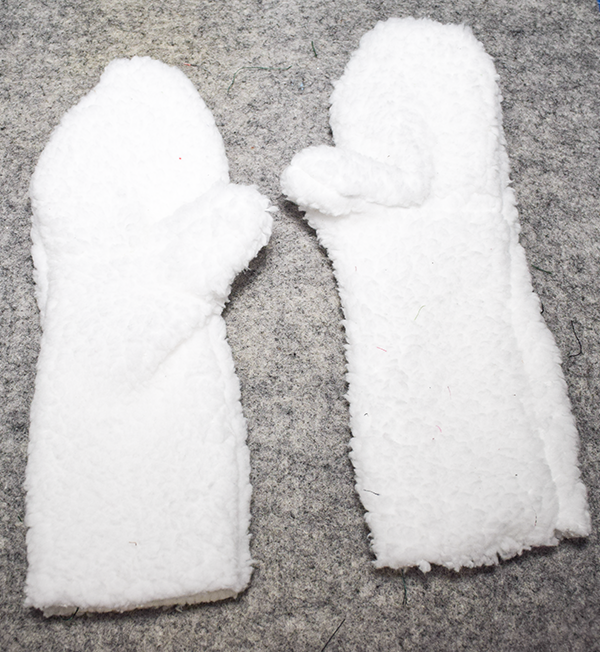
Step 4: Create the Faux Fur Mitten
Using exactly the same steps for the fleece side create the faux fur mitten for both hands. Turn the faux fur nightsides out.
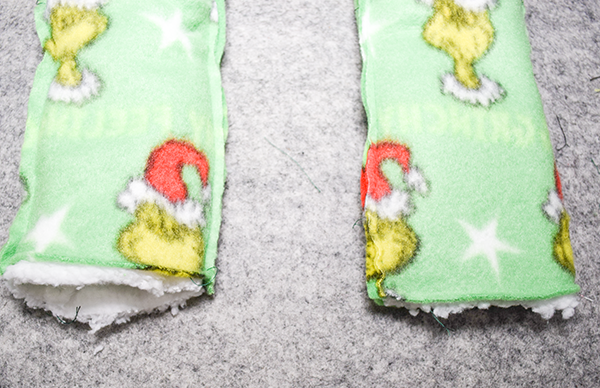
Step 5: Add the Faux Fur to the Fleece
Insert the faux fur into the fleece so that they are nightsides together. It is easier to do this if you place your hand into the faux fur and slip it into the fleece. Stitch around the bottom leaving an opening for turning. Turn right sides out through the opening you left.
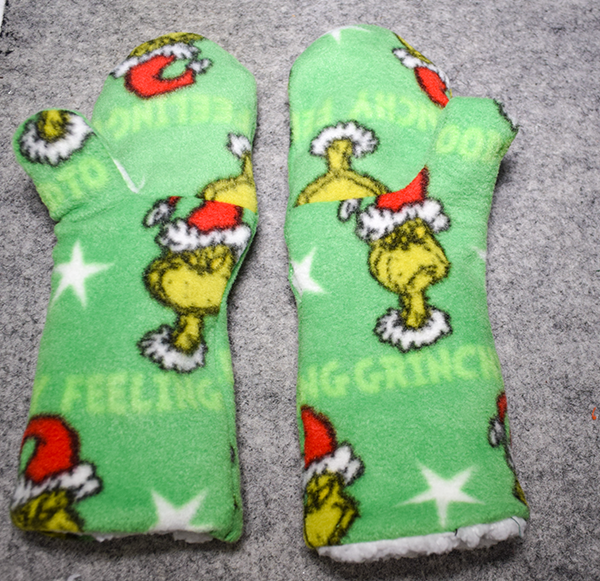
Step 6: Close the opening
Hand stitch the opening closed using ladder or invisible stitch. Once the opening has been closed you have now finished your fur lined fleece mittens. Try them on and roll down the fur to act as the cuff.
I hope you enjoyed this simple sewing project. If you would like more sewing and crafting tutorials subscribe to our free newsletter and receive access to our free printable library.
If you would like vide tutorials of some of Sew Very Crafty's most popular posts subscribe to our for Youtube channel here.
Join our Sew Very Crafty Fans Facebook group
If you want to ask questions and share your projects join our Facebook group here. The community will help to achieve your sewing and crafting dreams.