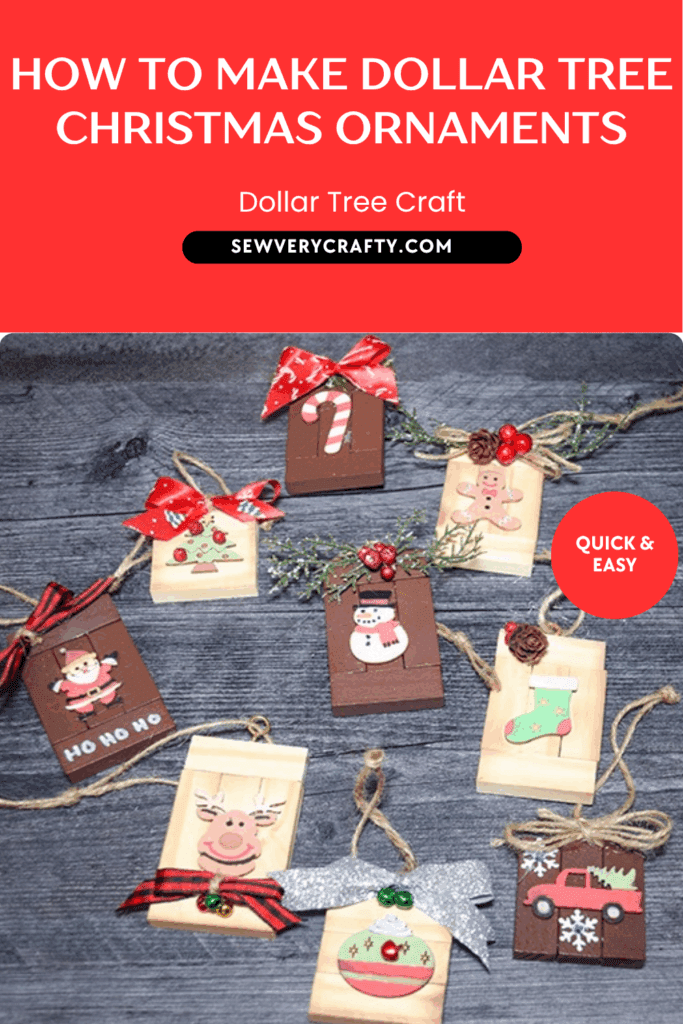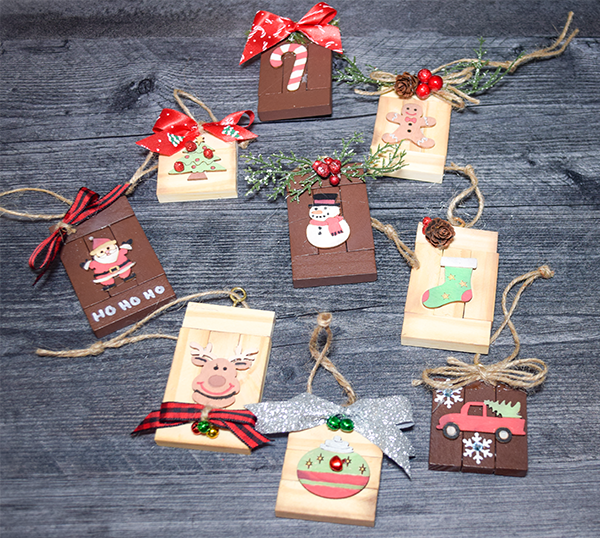
I have a bunch of the Dollar Tree tumbling tower games in my Dollar Tree stash. I like to have them in hand because they can be used for a variety of things. This time I decided to make Christmas ornaments out of them. Last Christmas I found some small wood cutouts at Hobby Lobby. I decided to combine my tumbling tower games with the wood cutouts to create five minute Christmas ornaments. If you would like more holiday projects head over to our holiday project vault. For more Dollar Tree projects check out my Dollar Tree page.
Note: This post contains affiliate links that if you click on them and make a purchase I will receive a small commission at no extra cost to you. As an Amazon Associate I earn from qualifying purchases.
What you will need: How to make five minute Christmas ornaments
- Dollar Tree Tumbling Tower Game
- Small Wood Cutouts
- Hot Glue
- Wood Glue
- Acrylic Paint Pens
- Espresso Distress Oxide
- Cinnamon
- Mod Podge
- Ribbon
- Greenery
- Screw Eyes
- Twine
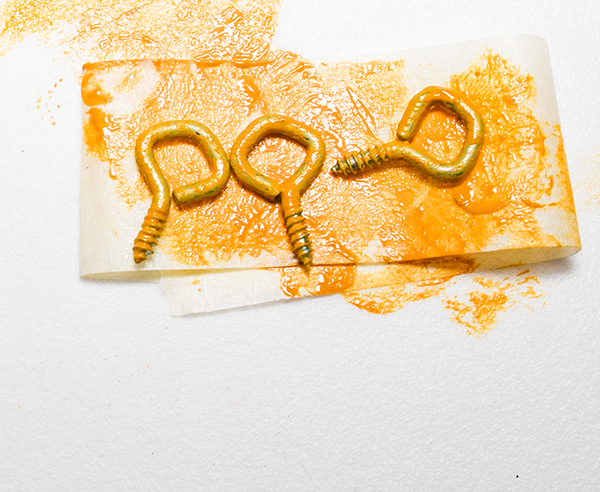
Step 1: Paint the Screw Eyes
My screw eyes were silver. I wanted an aged look so I painted them gold. While they are still wet sprinkle the screw eyes with ground cinnamon while. Let dry. Once they are dry cover them with matte Mod Podge to seal them.


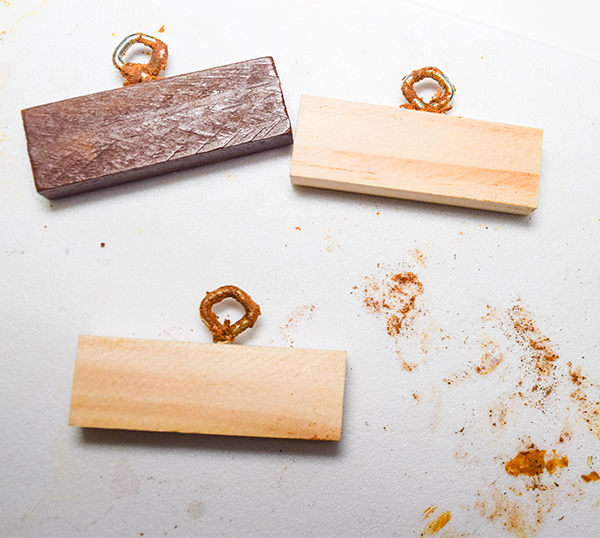
Step 2: Add the Screw Eyes
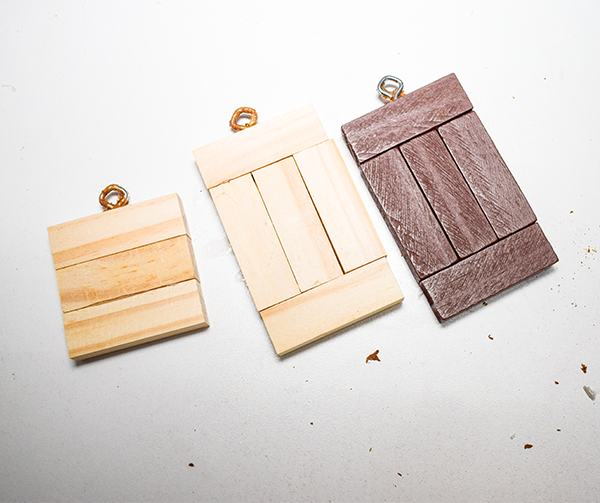
Lay out your tumbling tower blocks and determine which blocks will be the top one of each ornament. Find the center of the block. The blocks are two inches long. Mark the center. Screw the screw eyes into the top block on the mark you just made. Repeat for your other ornaments.
Step 3: Glue the Tumbling Tower Blocks
Using a combination of hot glue and wood glue attach the blocks together. On some of the ornaments use three blocks and on others use five blocks. The three block ornaments will be horizontal while the five block ornament will have one horizontal on the top then three vertical blocks underneath and another horizontal on the bottom.
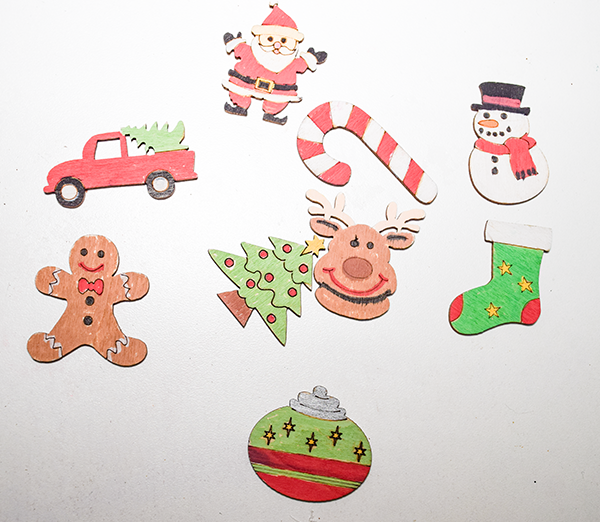
Step 4: Paint the Small Cutouts
This step is optional depending on the look you would like. For a more rustic look leave the cutouts raw. Otherwise paint them to your taste.
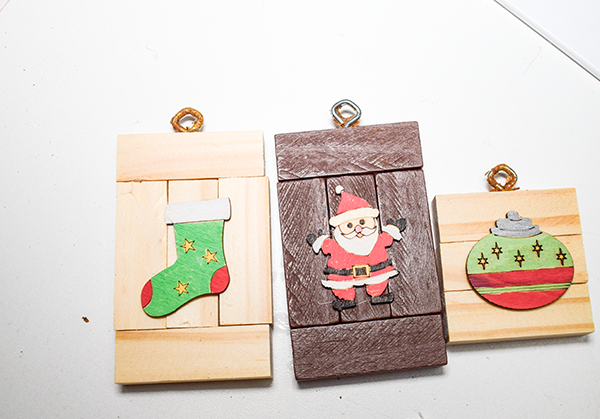
Step 5: Add the Cutouts to the blocks
Using hot glue and wood glue attach the cutouts to the blocks.
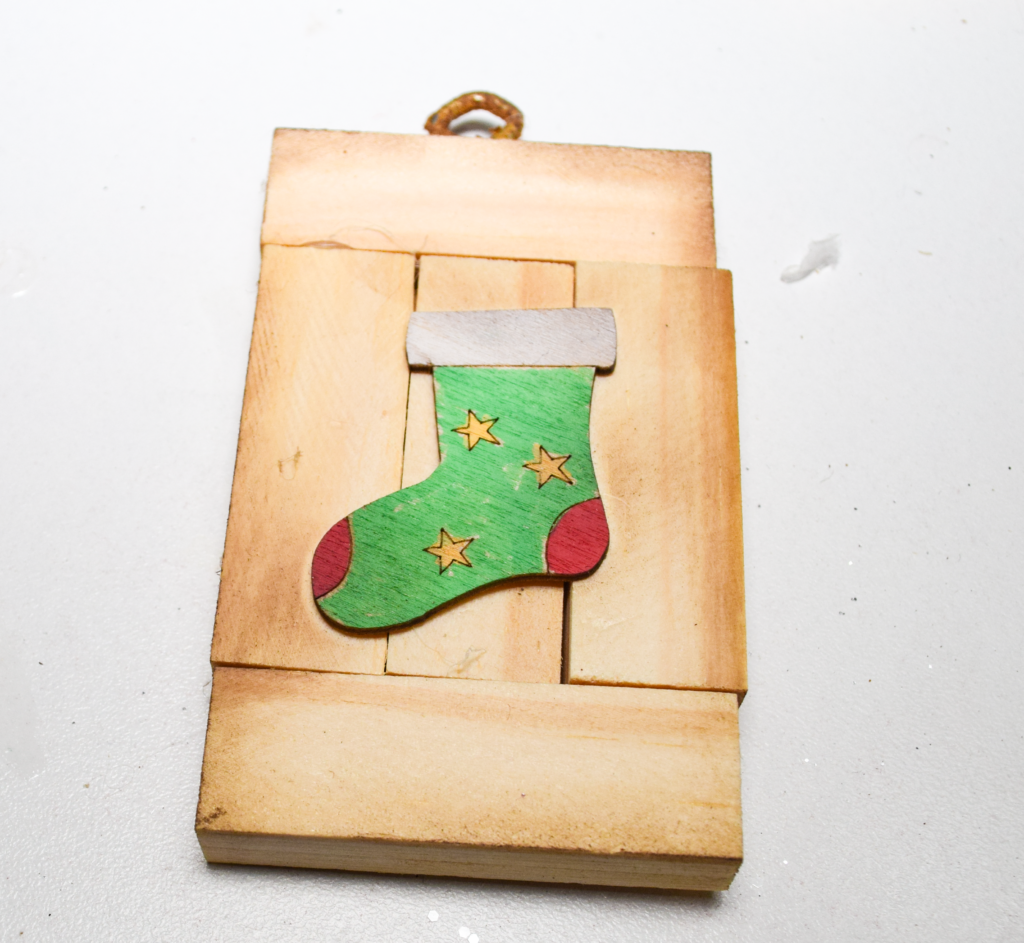
Step 6: Age the Cutouts and Blocks
Using the espresso distress oxide highlight the edges of the cutouts and blocks to create an aged look.
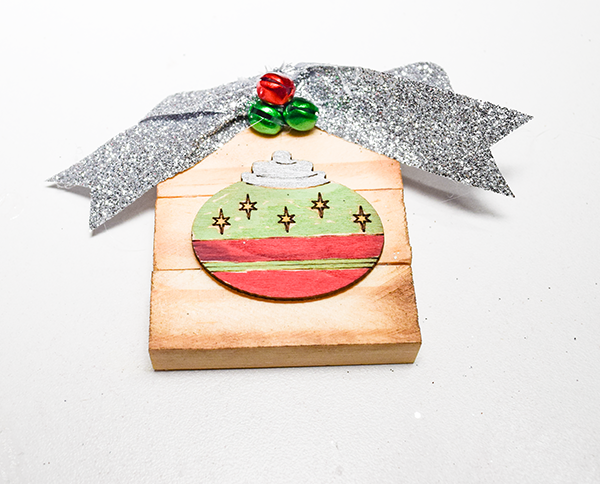
Step 7: Embellish the Blocks
I used a combination of ribbon and greenery to embellish the ornaments. Tie a small bow and hot glue it to the top near the screw eye. Hot glue some greenery and berries.
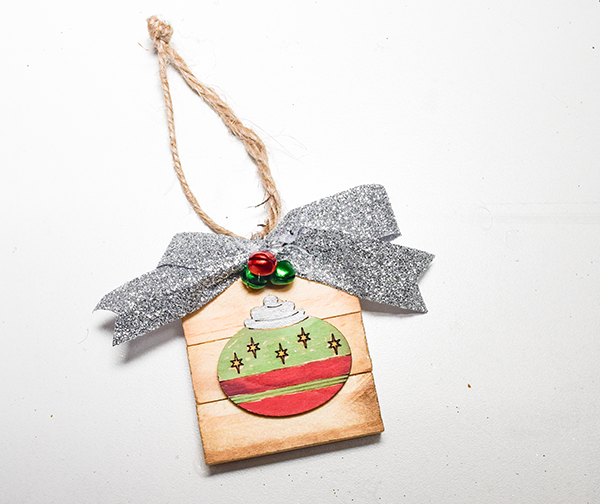
Step 8: Add the Twine
Cut a piece of twine the length you would like the ornament hanging from the tree. Thread the twine through the screw eye and tie in a knot. Once you have added the hanger you have finished your five minute Christmas ornaments. Add to your tree and enjoy.
I hope you enjoyed this five minute project. For more sewing and crafting projects subscribe to our free newsletter and receive your for Dollar Tree Holiday eBook.
If you would like video tutorials of some of Sew Very Crafty's most popular posts subscribe to our free YouTube channel here.
Join our Sew Very Crafty Fans Facebook group
If you want to ask questions and share your projects join our Facebook group here. The community will help to achieve your sewing and crafting dreams.