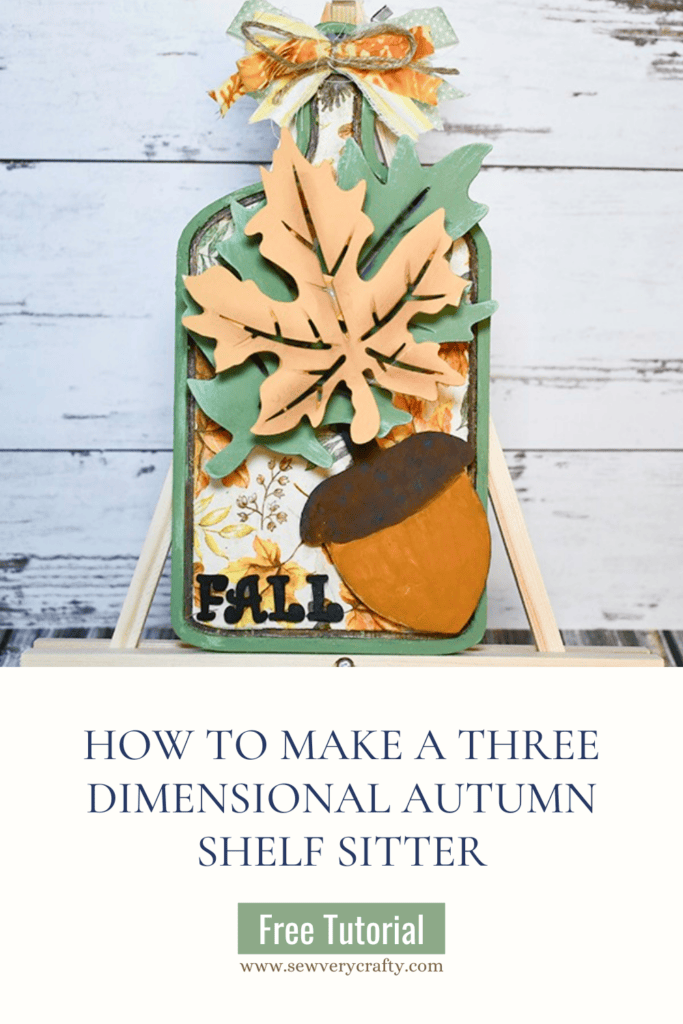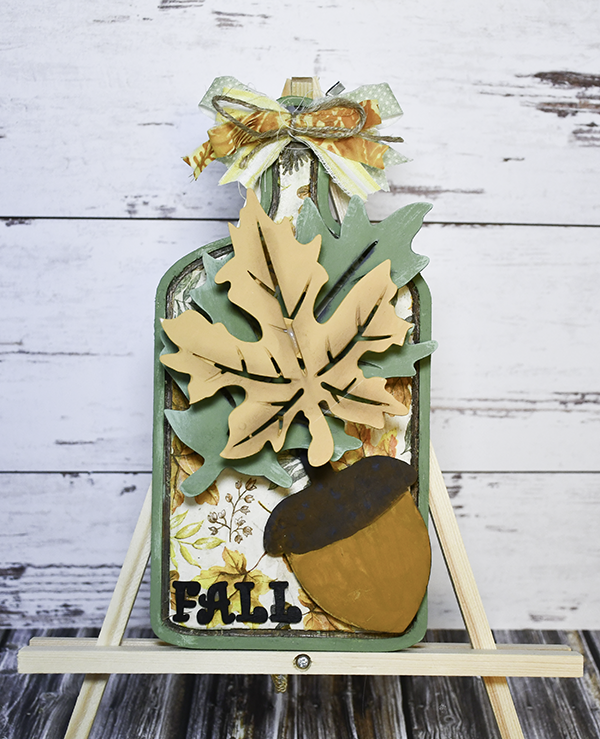
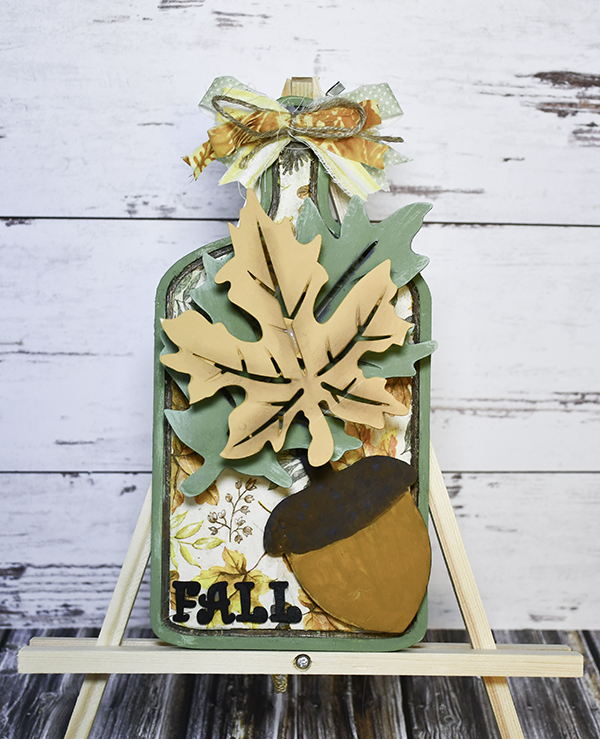
Believe it or not this project started out in the Fourth of July 75% off sale at Hobby Lobby. I saw these mini cutting boards that were on sale for $1.75 in the sale aisle just after the fourth. After wandering around the store I came up with an idea for an autumn three dimensional leaf shelf sitter. The wood leaf shapes came next, then the leaf themed napkins. I knew that I had some autumn themed fabric and ribbon as well as a Dollar Tree acorn cutout. After a little thought this adorable shelf sitter came into focus for me. I hope you enjoy it. If you would like more holiday crafts head over to my holiday project vault. For Dollar Tree crafts try out my Dollar Tree page.

Note: This post contains affiliate links that if you click on them and make a purchase I will receive a small commission at no extra cost to you. As an Amazon Associate I earn from qualifying purchases.
What you will Need: How to Make an Autumn Three Dimensional Leaf Shelf Sitter
- Small cutting board
- Two different wood leaf cutouts
- Two wood cubes
- 1 napkin
- Craft knife
- Mod Podge
- Spackle
- Autumn fabric and/or ribbon
- Hot glue
- Wood Glue
- 1 craft stick
- Milk Jug chalk paint
- Sage Chalk Paint
- Antiquing wax
Step 1: Paint the Center
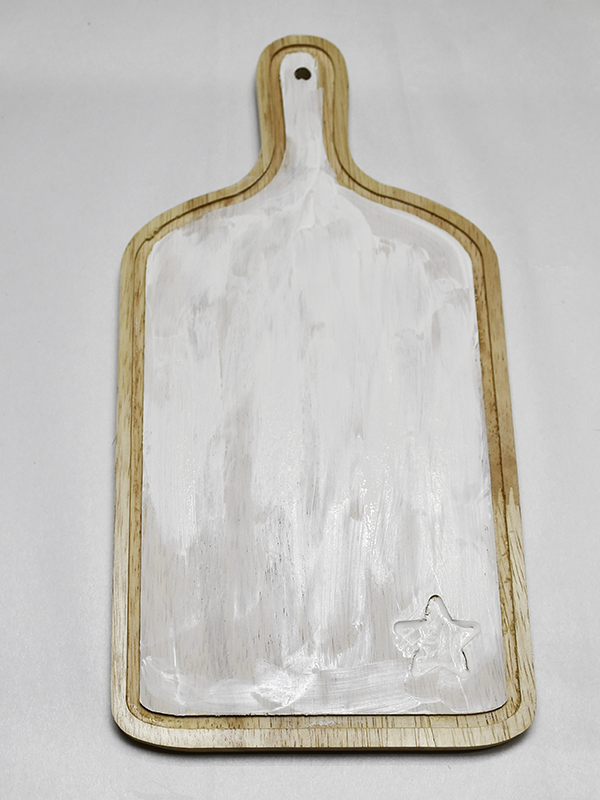
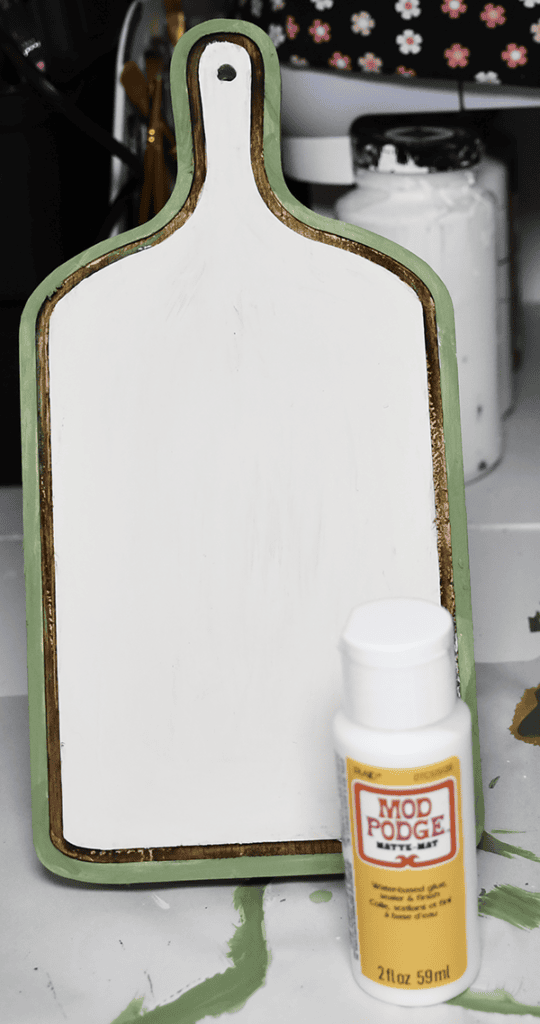
The cutting board that I found has a trough around the edge. Paint the center of the board milk jug chalk paint or the color that matches the background of your napkin.
Step 2: Fill in the Star
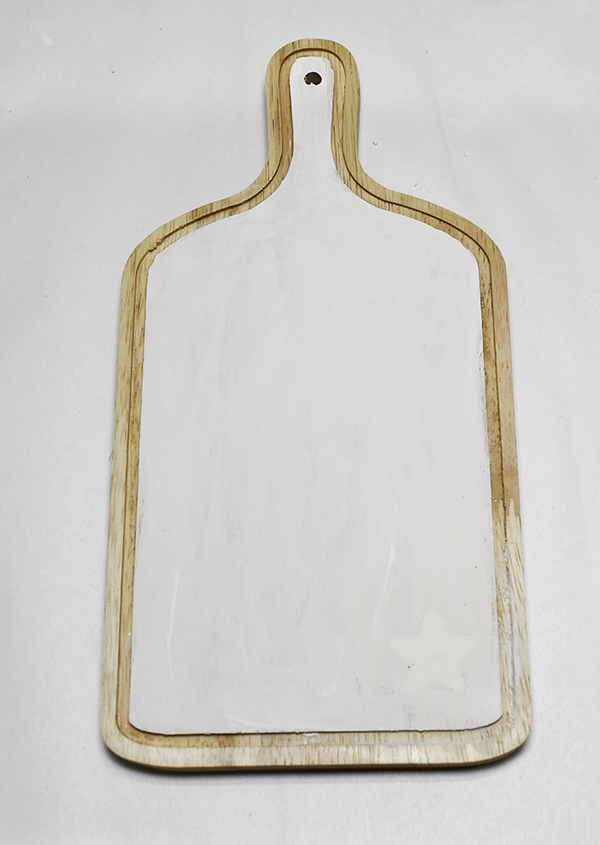
using spackle or wood filler fill in the star cutout at the bottom of the cutting board. You do not have to do this if you choose a different cutting board.
Step 3: Wax the Trough
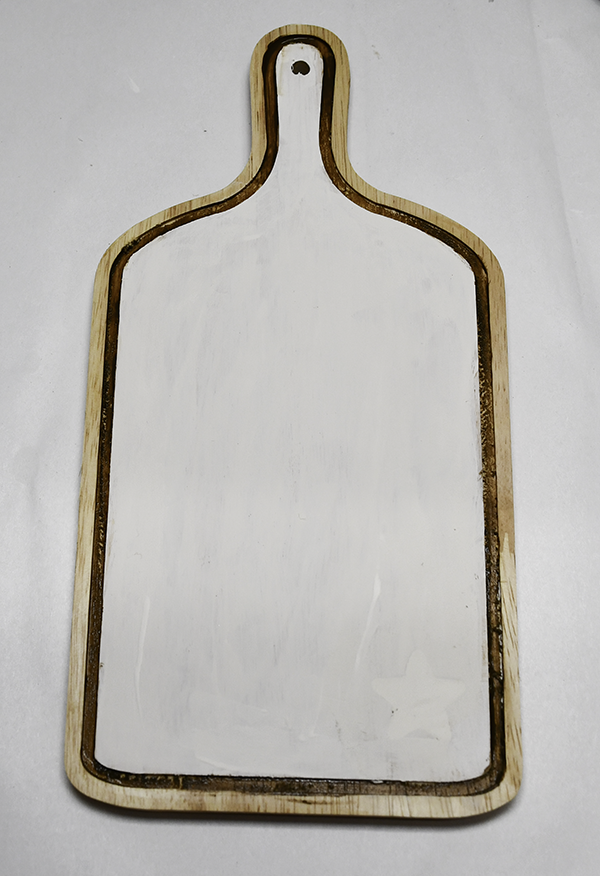
Using a small paint brush add some antiquing wax to the trough around the board.
Step 4: Paint the Rest of the Board
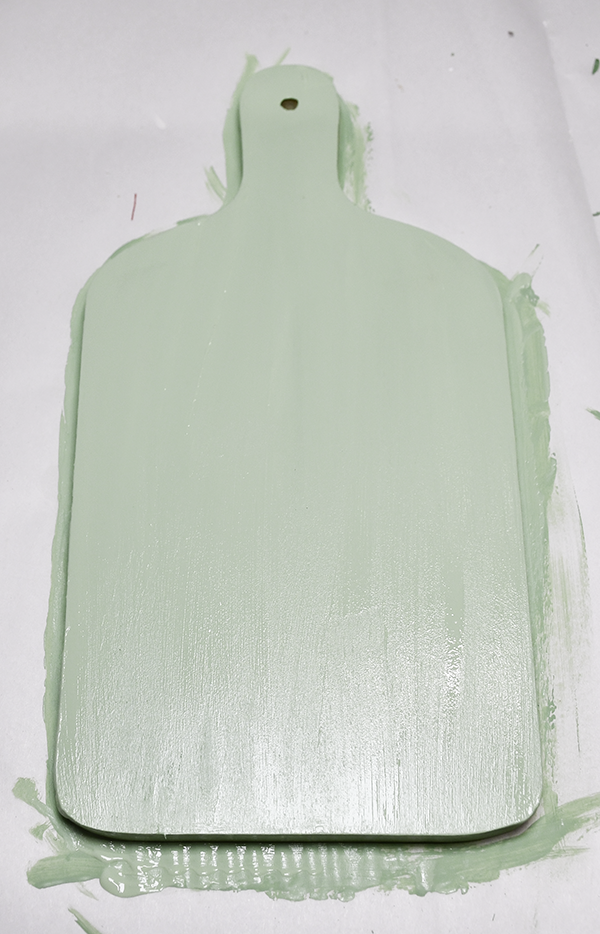
I chose to paint the outside edge, sides and back of the board in sage green. It wasn’t quite the color I wanted so I added some moss chalk paint to it to give it a bit of depth.
Step 5: Add the Mod Podge
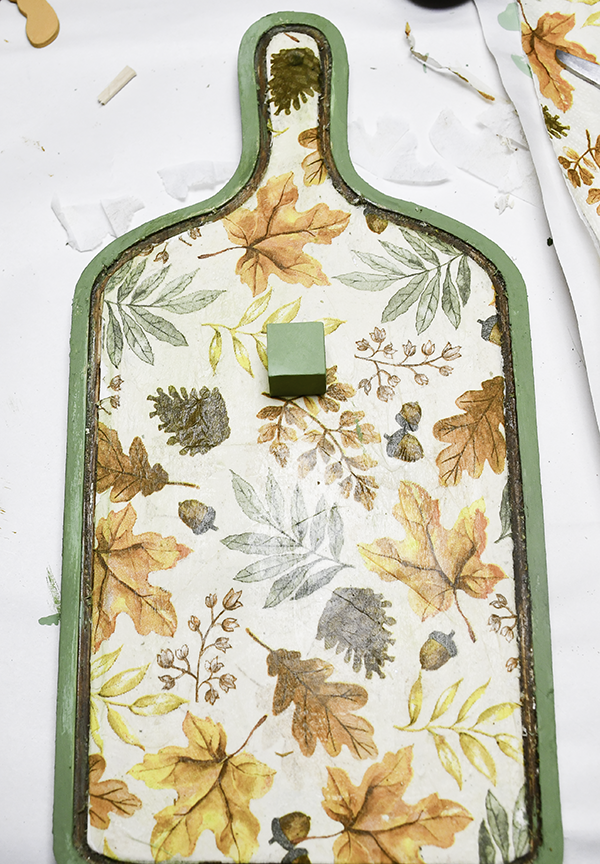
Cover the entire board with Mod Podge. The center will be decoupaged with the napkin and the rest of the Mod Podge will seal in the paint. Allow it to dry.
Step 6: Add the napkin
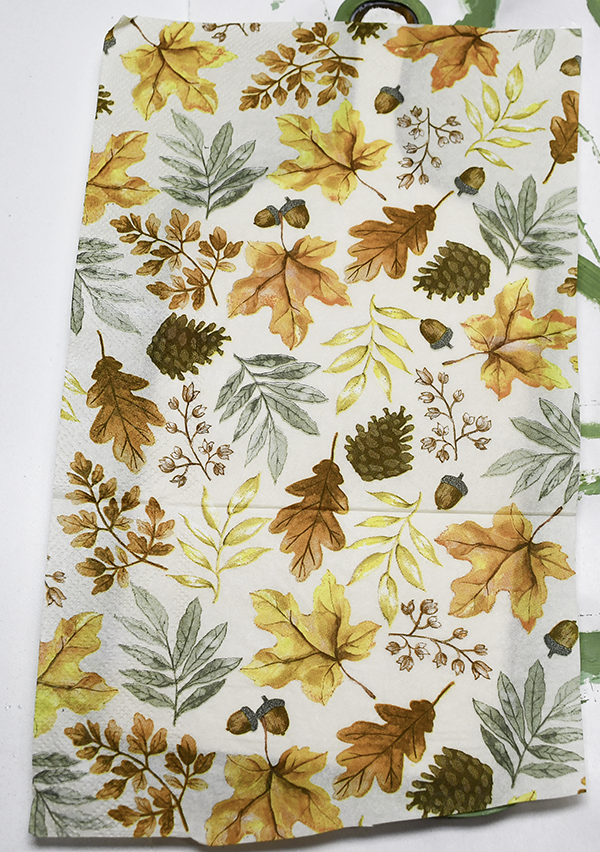
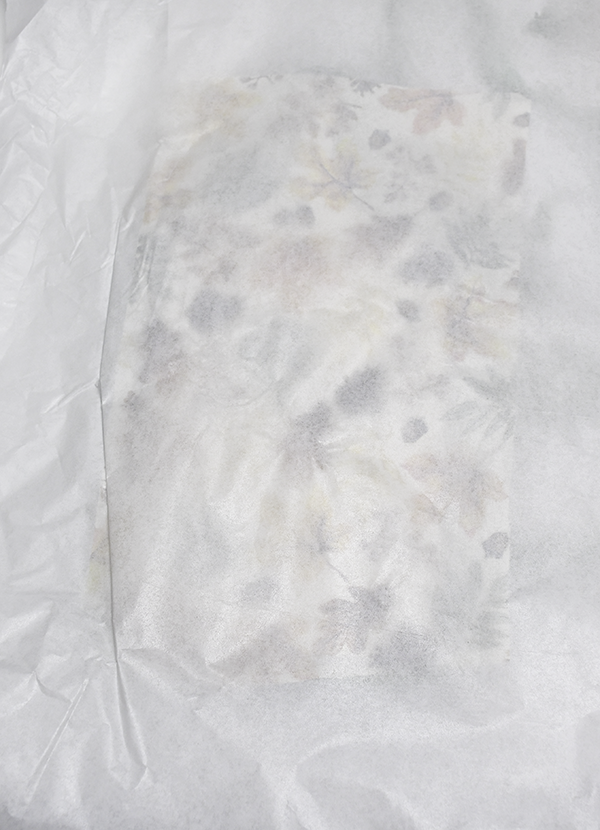
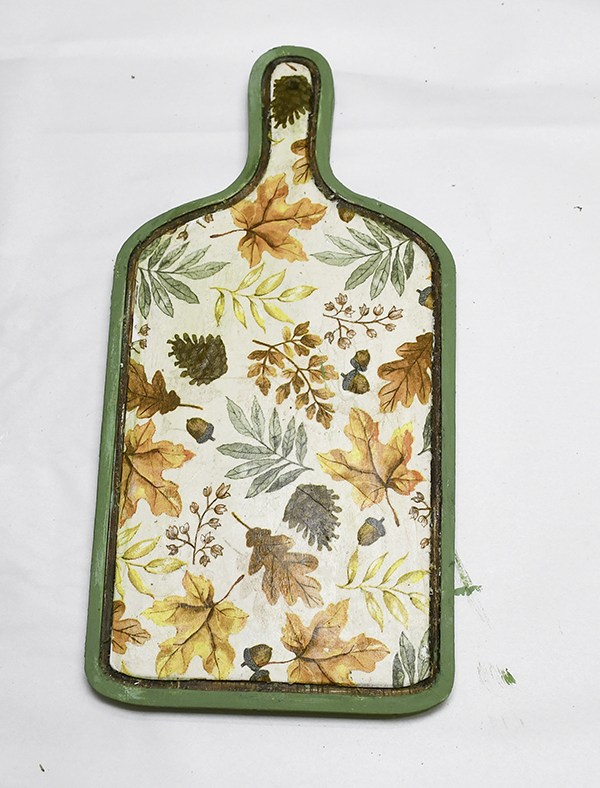
Remove the layers of the napkin so that you only have the top layer left. Cut it down to a size close to the size of the center of the board. Place the napkin on the center of the board and cover it with parchment paper. Iron the parchment so that the napkin fuses to the center of the board. Remove any excess napkin using a craft knife. Cover the napkin with another coat of Mod Podge.
Step 7: Paint the Wood Pieces
Paint the small wood blocks the same color as the piece that goes on top. in my case, I painted them gold, brown, and green. Set them aside. Pint the two leaves and color you like. I painted mine Green and gold. Finally paint the acorn. My acorn is brown and tan. Highlight the leaves and acorn with highlights.
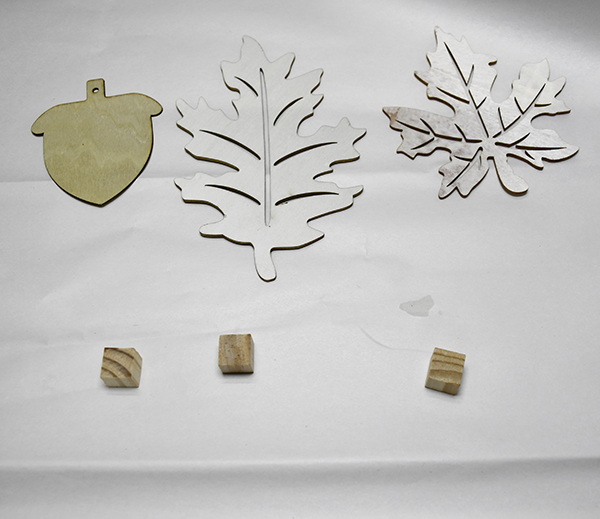
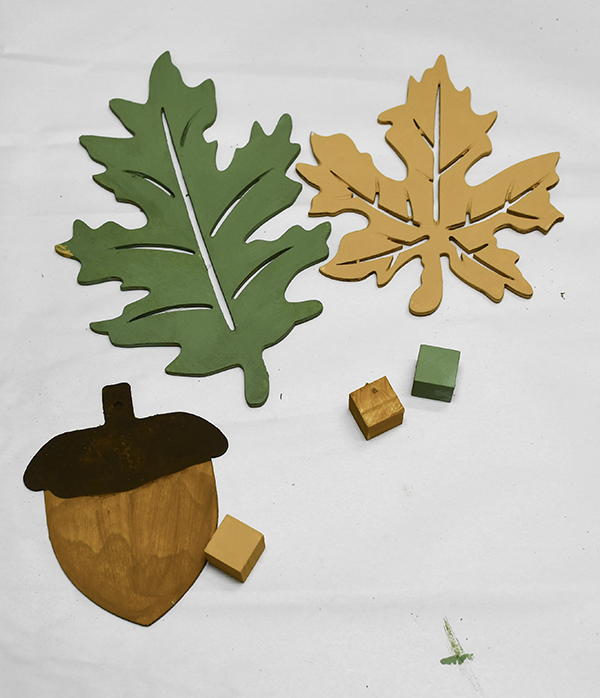
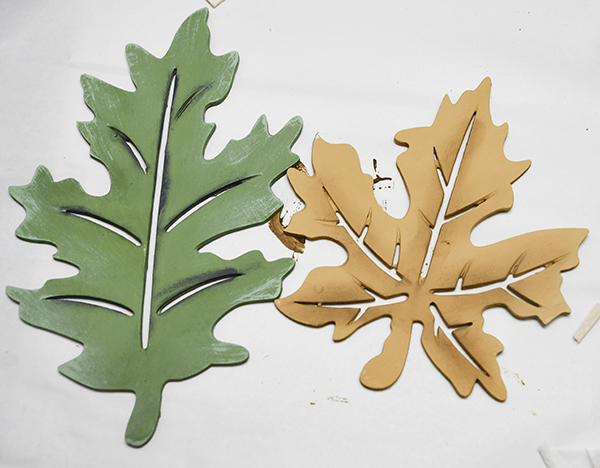
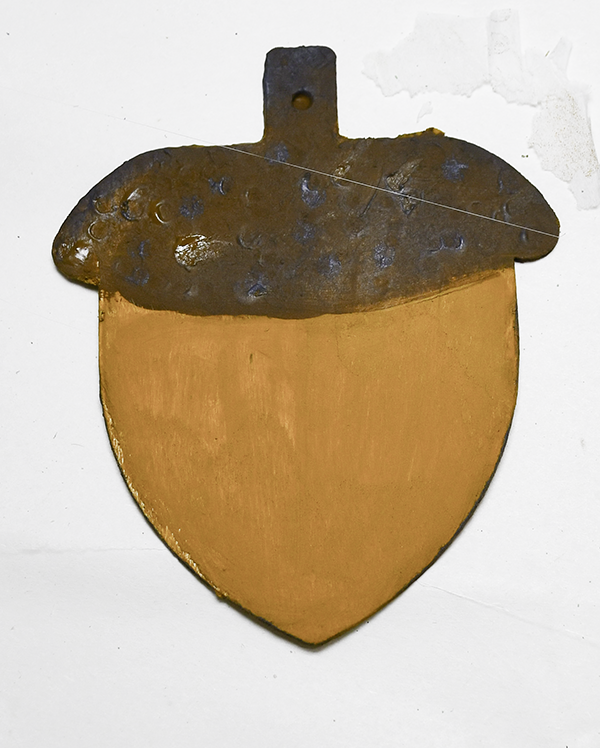
Step 8: Glue the Pieces
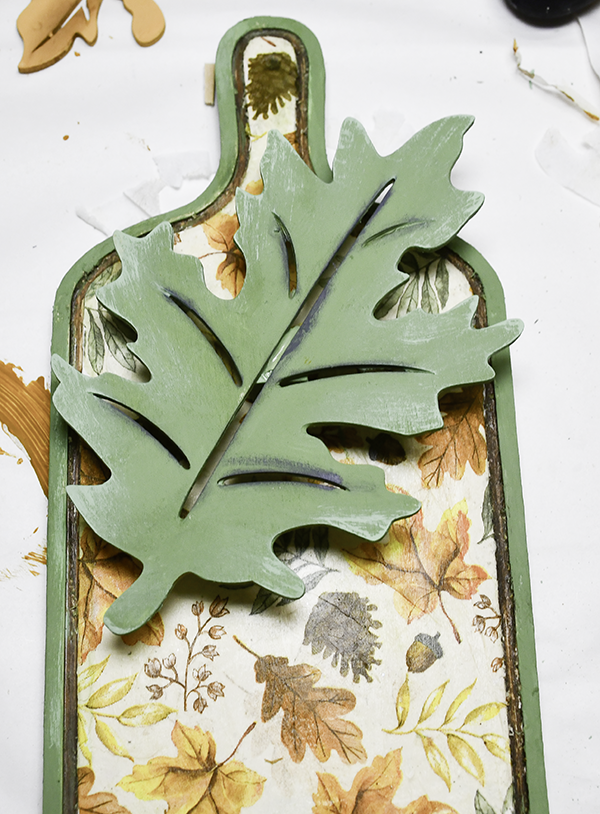
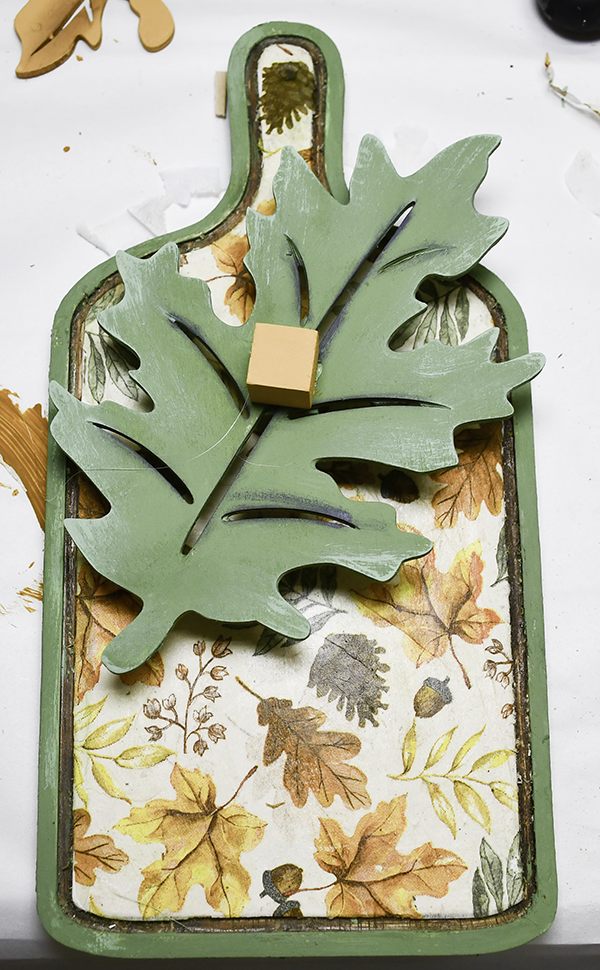
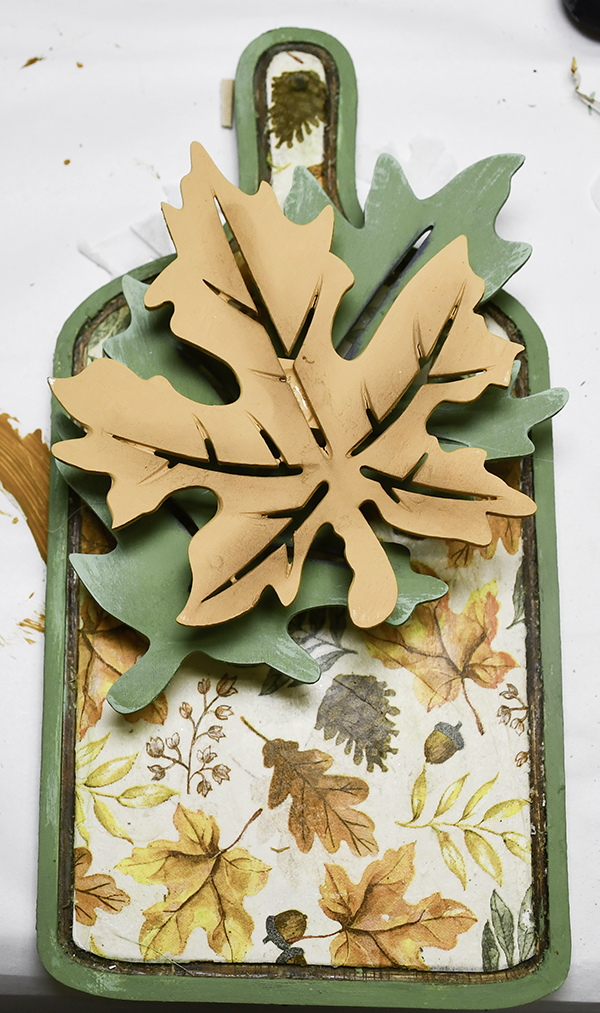
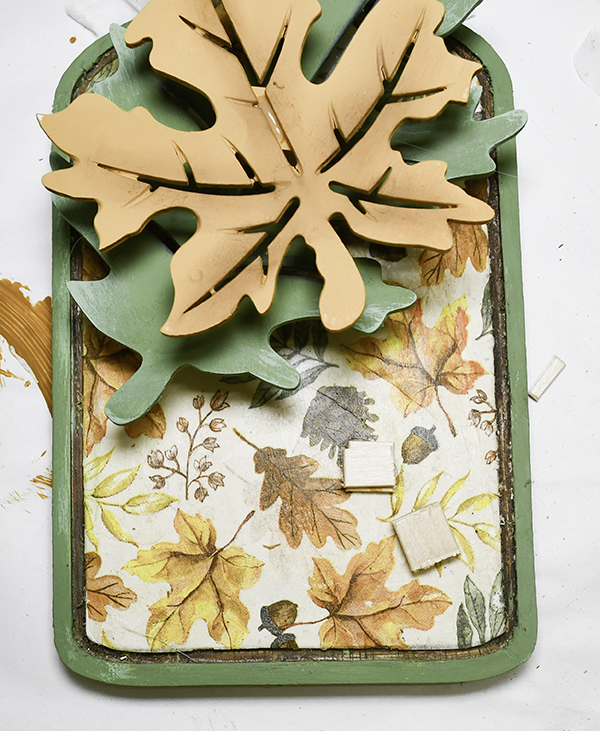
I placed the first block in the center of decoupaged napkin. The larger of the two leaves was glued on top using hot glue and wood glue. Then, place the second wood Block on top of the large leaf using both glues. Glue the smaller leaf on top of that wood block. Finally, place two stacks of two cut craft sticks to the bottom right of the board and add the acorn on top.
Step 9: Add the letters
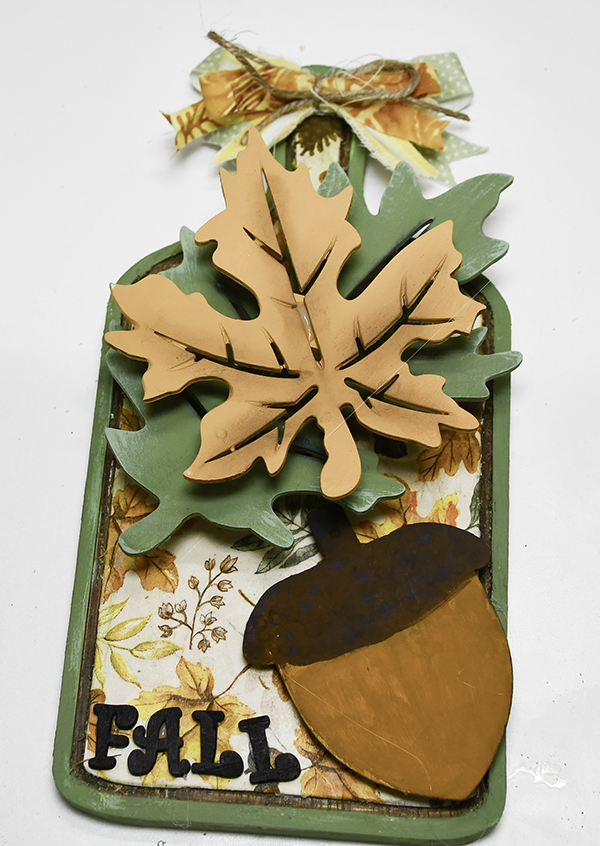
I painted some small wood letters black and added them to the bottom left of the board.
Step 10: Create an add a Bow
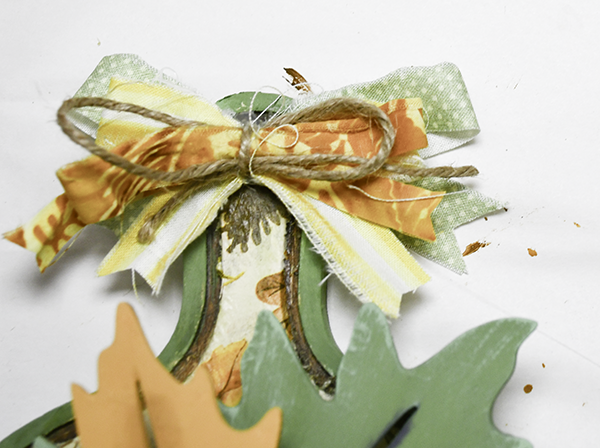
Using some strips of autumn fabric and some twine create a bow. Hot glue it to the top of the cutting board.
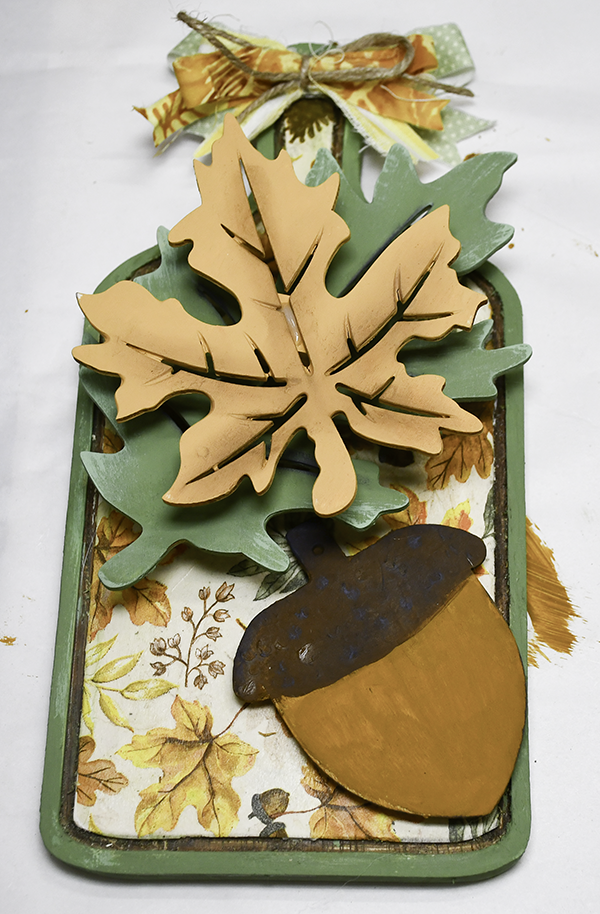
I hope you enjoyed this simple fall craft project. For more sewing and crafting projects subscribe to our free newsletter and receive your free Dollar Tree holiday eBook.
Subscribe to our Free YouTube Channel!
Guide to Cricut Maker 3
This is a Beginner’s Guide to Cricut Maker 3. An ebook all about Cricut Maker 3, its accessories and Cricut Design Space. Perfect for the beginner so let’s Cricut now!