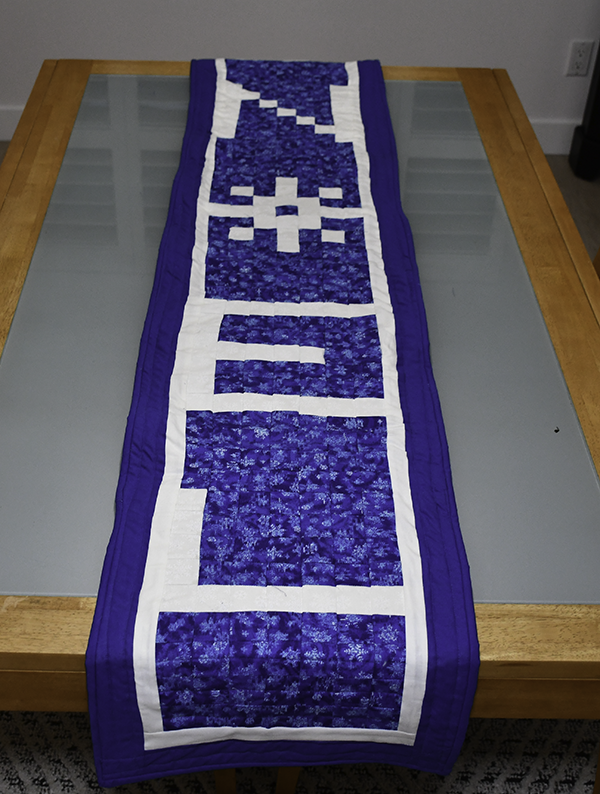
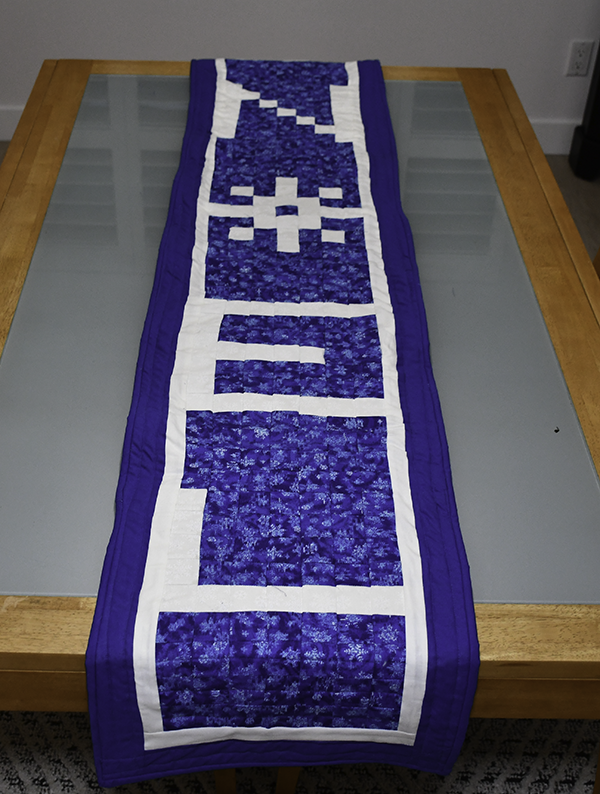
I wanted to create an absolute beginner Christmas Table runner so I thought to make a Christmas Noel Table runner using fusible grid. Fusible grid is a simple way to make a quilt using only squares of fabric. it is a great way for beginners to create their first quilt. I made this runner extra long because my table extends. With family coming over for the holidays it needs to extend for all of them. You can make yours smaller by removing some of the blue rows. It is up to you. I hope you like this very easy runner. If you would like more quilting projects head over to my quilting page. For more holiday sewing and crafting projects check out my Holiday Project Vault.

Note: This post contains affiliate links that if you click on them and make a purchase I will receive a small commission at no extra cost to you. As an Amazon Associate I earn from qualifying purchases.
What you will Need: How to make a Christmas Noel Table Runner using fusible grid
- 1 yd of background fabric
- 1/2 yd fabric for letters
- Quilt batting
- 2 yds of backing fabric
- Fusible Grid
- Sewing machine
- Standard sewing supplies
Step 1: Cut your fabrics
- Cut 225 2″ x 2″ squares of your background color. I chose blue
- Cut 111 2″ x 2″ squares of the word fabric. I chose white
- 1 1/2″ x Lengths and widths of the runner using the letter fabric for first border
- 2 1/2″ x Lengths and widths of the runner using the letter fabric for second border
- 2 1/2″ x Circumference of the quilt plus 10″ for the binding
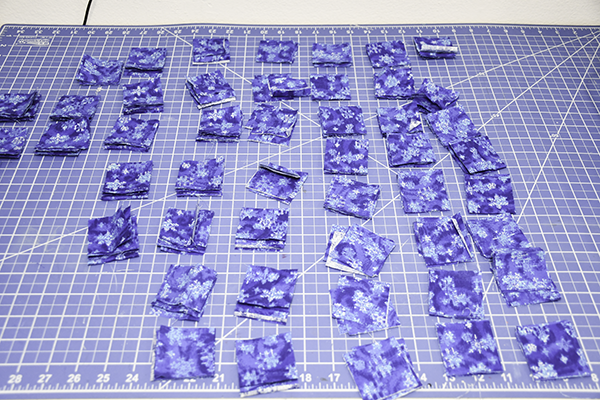
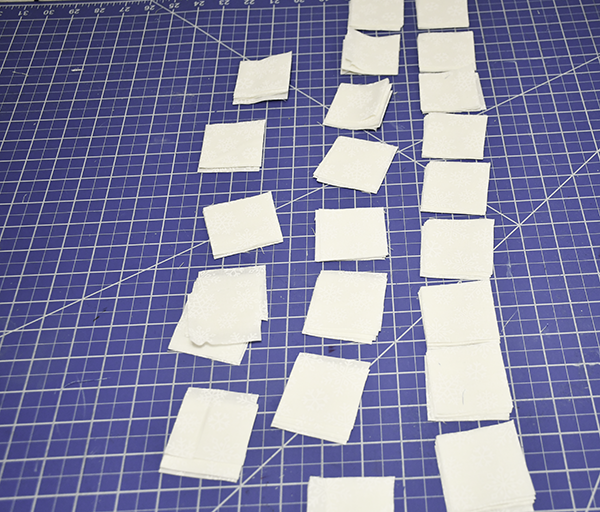
Step 2: Cut the fusible grid
Cut a piece of fusible grid the size of your runner. Mine was 7 columns wide and 48 rows long.
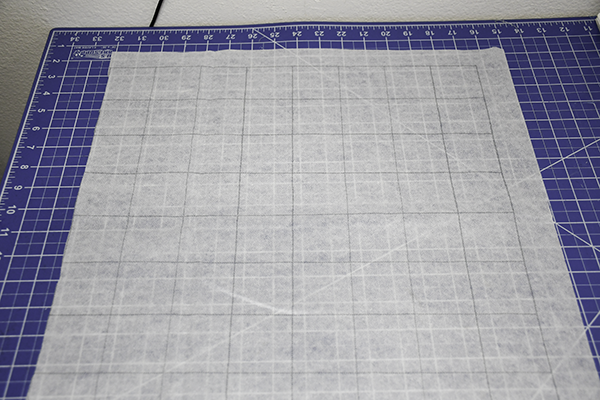
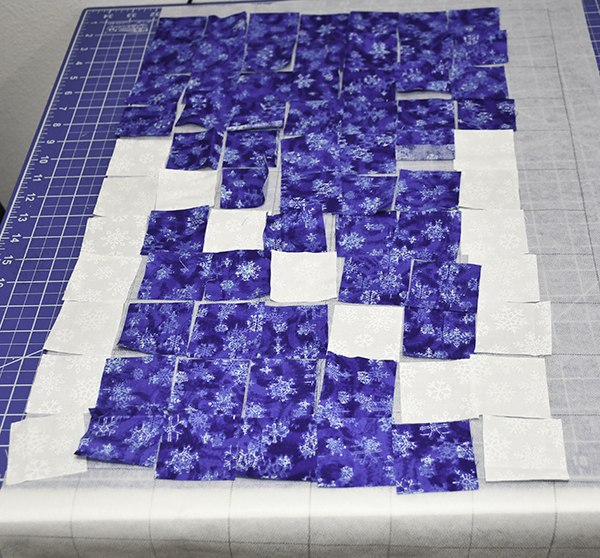
Step 3: Lay out the squares
Lay out the squares. Arrange your 2″ fabric squares precisely inside the grid lines using the chart above. Start with four rows of background fabric. To create the letters.
■ = Letter Color | ❄ = Snowflake Color | · = Background Color
Rows 1–3:   Background Spacer (3 rows)

Rows 4–12:  LETTER "N" (9 rows)
Row 4:      ■  ·  ·  ·  ·  ·  ■
Row 5:      ■  ■  ·  ·  ·  ·  ■
Row 6:      ■  ·  ■  ·  ·  ·  ■
Row 7:      ■  ·  ·  ■  ·  ·  ■
Row 8:      ■  ·  ·  ·  ■  ·  ■
Row 9:      ■  ·  ·  ·  ·  ■  ■
Rows 10-12: ■  ·  ·  ·  ·  ·  ■

Rows 13–15: Background Spacer (3 rows)

Rows 16–24: SNOWFLAKE "O" (9 rows)
Row 16:     ·  ·  ·  ❄  ·  ·  ·
Row 17:     ❄  ·  ·  ❄  ·  ·  ❄
Row 18:     ·  ❄  ·  ❄  ·  ❄  ·
Row 19:     ·  ·  ❄  ❄  ❄  ·  ·
Row 20:     ❄  ❄  ❄  ❄  ❄  ❄  ❄ (Center)
Row 21:     ·  ·  ❄  ❄  ❄  ·  ·
Row 22:     ·  ❄  ·  ❄  ·  ❄  ·
Row 23:     ❄  ·  ·  ❄  ·  ·  ❄
Row 24:     ·  ·  ·  ❄  ·  ·  ·

Rows 25–27: Background Spacer (3 rows)

Rows 28–36: LETTER "E" (9 rows)
Row 28:     ■  ■  ■  ■  ■  ■  ■
Rows 29-31: ■  ·  ·  ·  ·  ·  ·
Row 32:     ■  ■  ■  ■  ■  ·  ·
Rows 33-35: ■  ·  ·  ·  ·  ·  ·
Row 36:     ■  ■  ■  ■  ■  ■  ■

Rows 37–39: Background Spacer (3 rows)

Rows 40–48: LETTER "L" (9 rows)
Rows 40-47: ■  ·  ·  ·  ·  ·  ·  (Repeat for 8 rows)
Row 48:     ■  ■  ■  ■  ■  ■  ■
Step 4: Fuse the fabric to the grid
Using a hot iron press straight down on the squares to adhere the squares to the fusible grid.
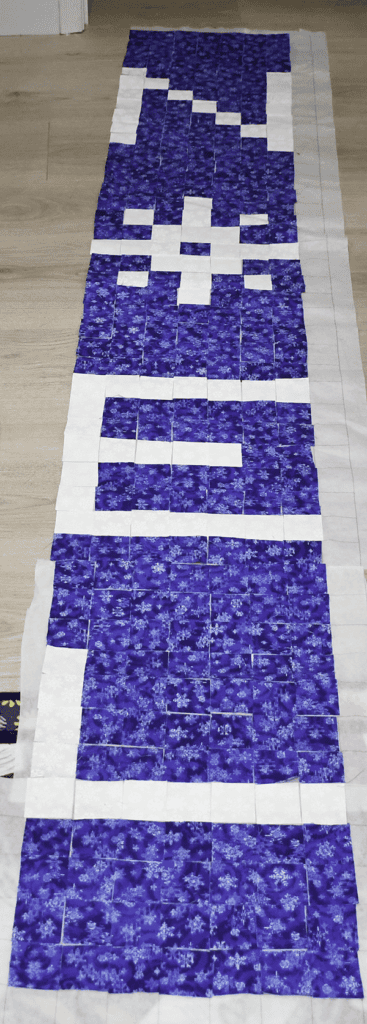
Step 5: Sew the Rows
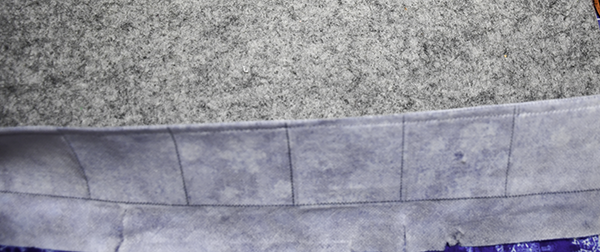
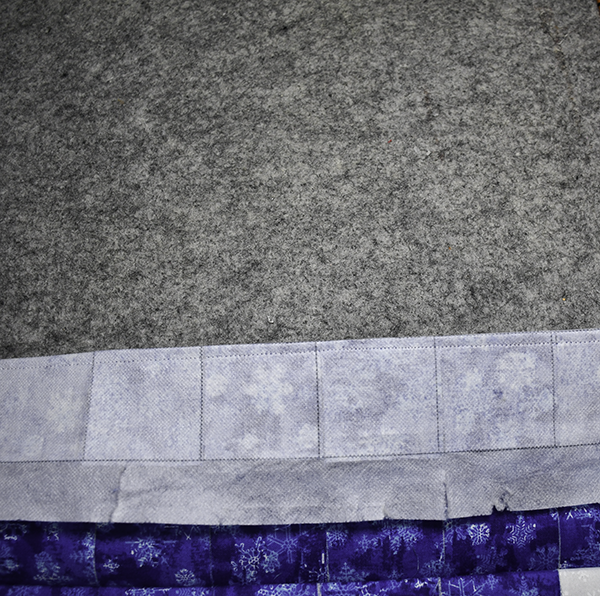
Fold the squares right sides together so that the grid line is in the center of the fold. Stitch along the fold using a 1/4″ seam allowance. Stitch all the rows in the same way. Press.
Step 6: Sew the Columns
Clip the columns along the grid lines then place the squares right sides together with the line in the center of the fold and stitch using a 1/4″ seam allowance. Repeat for all columns. Press.
Step 7: Add the first Border
Place the first border right sides together along the long sides and stitch using a 1/4″ seam allowance. Place the short ends of the first border right sides together with the pieced piece and extending to the long side borders. Press the border. Stitch the short end borders to the sort ends of the first border and stitch using a 1/4″ seam allowance. Repeat the process for the long sides. Press.
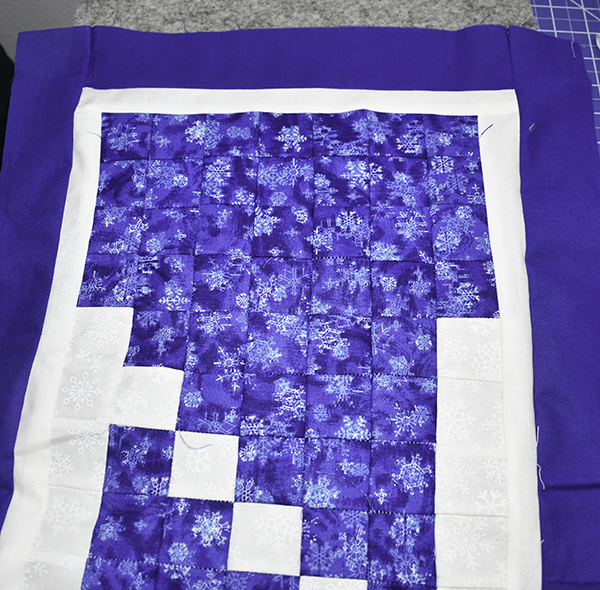
Step 8: Sandwich the pieces
Place the backing fabric right sides down. Spray with basting spray and add the quilt batting. Spray the batting with quilting spray and addd the runner top. Quilt any way you like. Then trim the quilt using a rotary cutter.
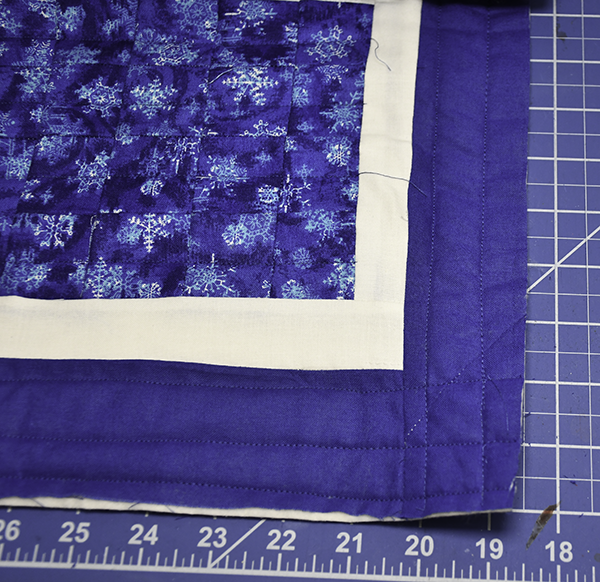
Step 9: Finish the quilt
Bind the quilt. If you do not know how to bind your quilt head over to this post to learn.
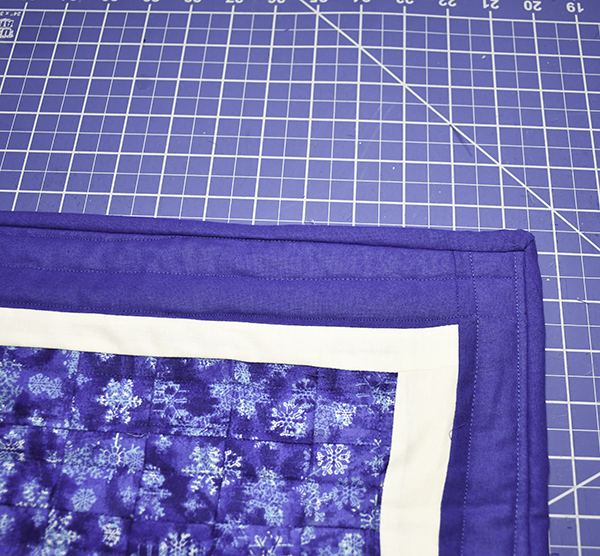
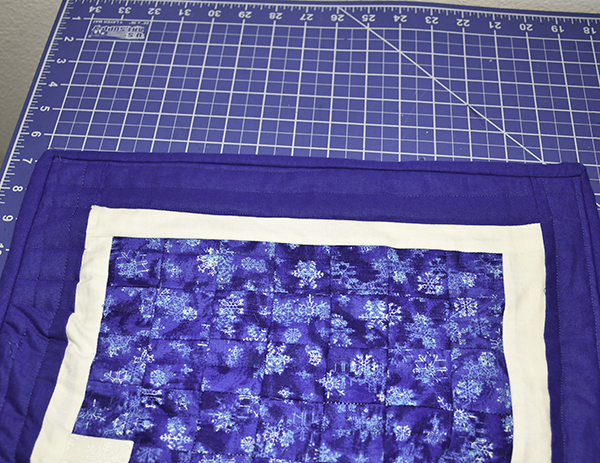
I hope you enjoyed this beginner Christmas table runner. If you would like more sewing and crafting projects subscribe to our for newsletter and receive access to our free printables library.
Join our Sew Very Crafty Fans Facebook group
If you want to ask questions and share your projects join our Facebook group here. The community will help to achieve your sewing and crafting dreams.

Subscribe to our Free YouTube Channel!


This turned out beautifully! 🙂
Thank you.