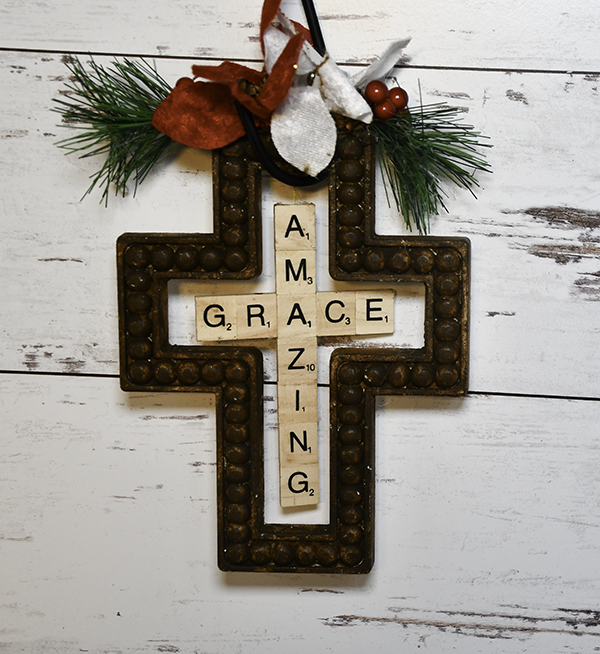
I bought this cross at Dollar Tree a while ago but did not know what to do with it. It is Christmas craft time and I came up with this idea to make a Dollar Tree Christmas Hanging Cross. I really hope that you like it. It took me a bit to figure out just how it was all going to come together but in the end I stick with simplicity for this holiday season. If you would like more Dollar Tree crafts head over to my free Dollar Tree page. For more holiday projects check out my free Holiday Project Vault.

Note: This post contains affiliate links that if you click on them and make a purchase I will receive a small commission at no extra cost to you. As an Amazon Associate I earn from qualifying purchases.
What you will Need: How to Make a Dollar Tree Christmas Hanging Cross
- 1 Dollar Tree cross — I could not find the link for these
- Alphabet wood tiles
- 2 Dollar Tree Christmas Picks
- 2 Dollar Tree flowers
- Antiquing wax
- Gold thread
- Hot glue
- Wood glue
Step 1: Antique the Cross
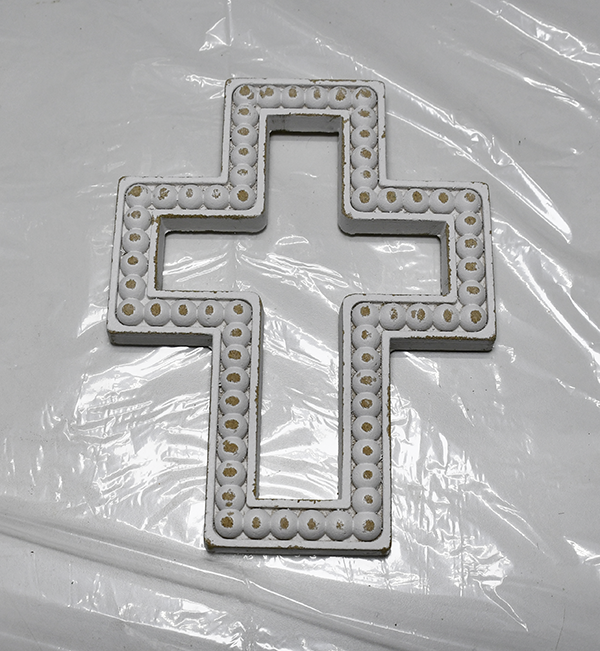
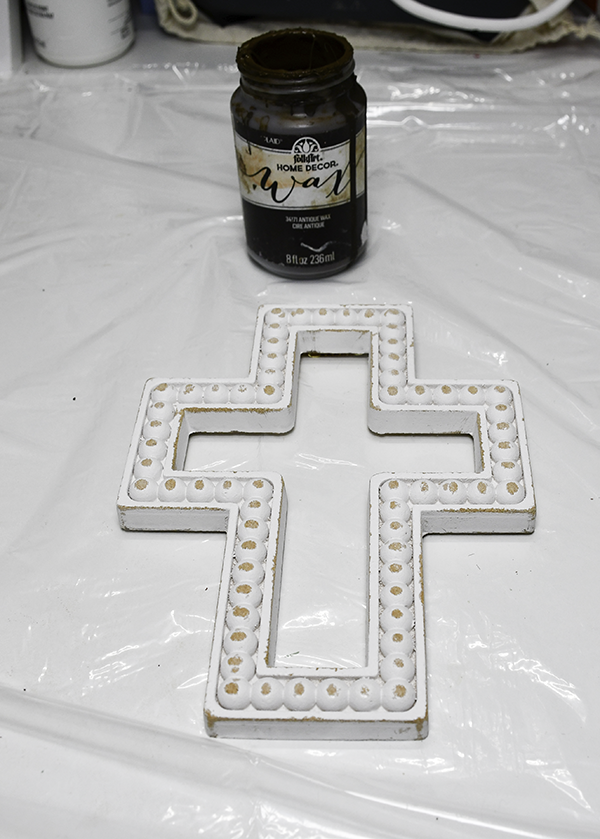
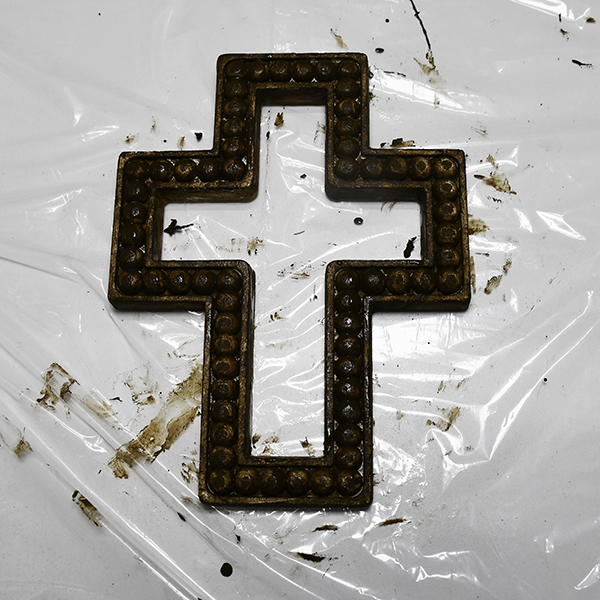
The cross was white and not at all what I was looking for in this project. I took some antiquing wax and covered the entire cross to give it a darker wood look.
Step 2: Create the Words
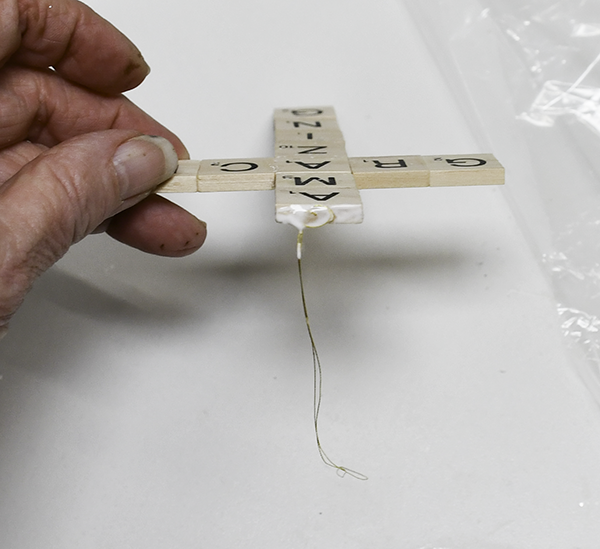
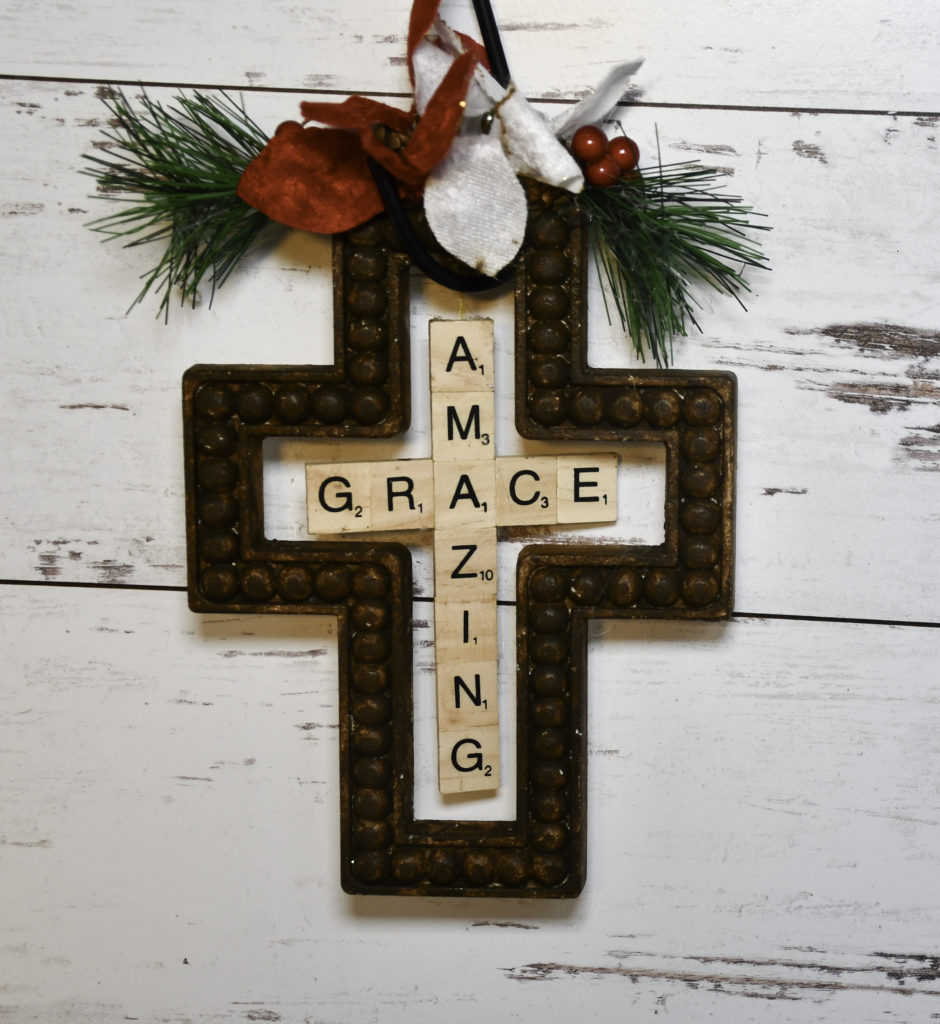
Use the Alphabet wood tiles for this part. Start by creating the word Amazing. Place wood glue and hot glue on the bottom of the first tile and attach the second tile to it. Continue until you have created the word Amazing vertically. Next, add the word Grace to the word amazing starting with the letter R. Add the hot glue and wood glue to the right side of the R and attach it to the A. Add the letter C in the same way but put the wood and hot glue on the left side of the C and attach it to the A. Continue in the same way with the remaining letters.




Step 3: Attach the Gold Thread
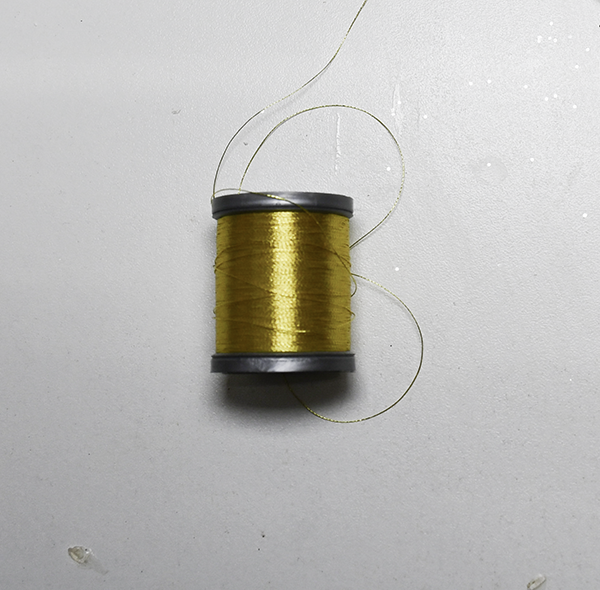
Measure the thread so that when you fold it in half and knot it the letters will hang in the center of the cutout. Using wood and hot glue attach the gold thread to the top off the letter A.
Step 4: Attach the words to the cross
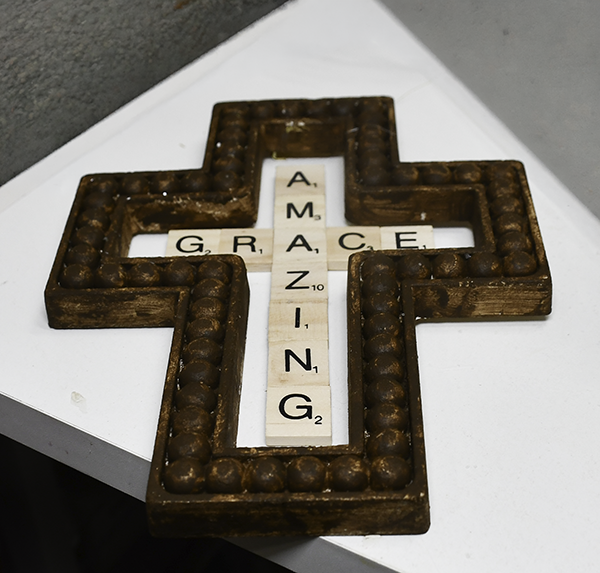
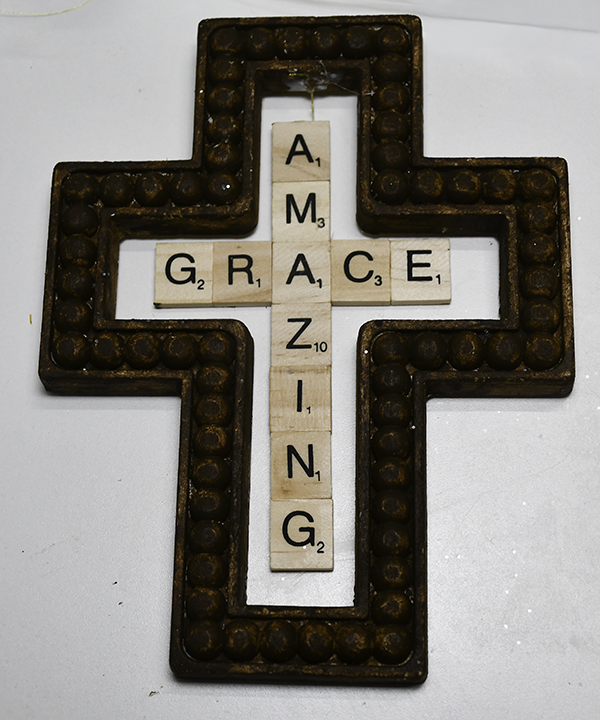
Place wood and hot glue on the underside center of the cross cutout and place the other end of the wood thread to it. The words should hang right in the center of the cut out.
Step 5: Add the Picks
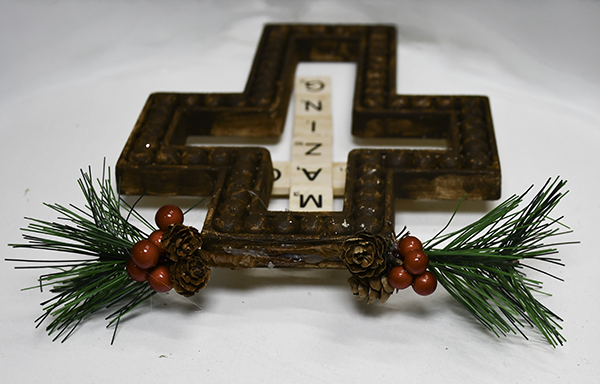
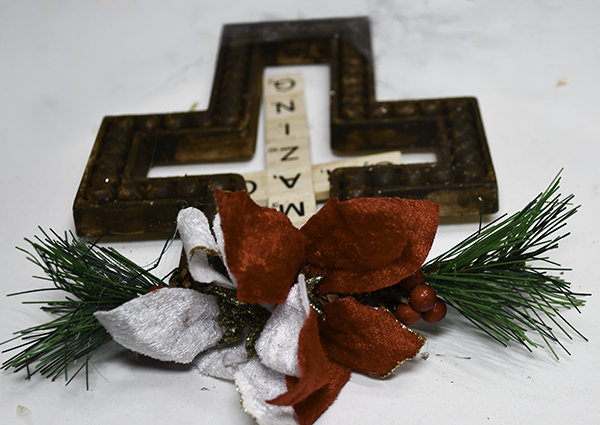
Take the first pick and glue it so that the pick end is in the center of the top of the cross. Glue the other pick in the opposite direction so that the pick ends meet in the center.
Step 6: Add the flowers
Using hot glue and wood glue attach the flowers in the center of the top of the cross between the two picks.
I hope you enjoyed this simple Dollar Tree Christmas Project. For more sewing and crafting projects subscribe to our free newsletter and receive your free Dollar Tree Holiday eBook.
Subscribe to our Free YouTube Channel!
Join our Sew Very Crafty Fans Facebook group
If you want to ask questions and share your projects join our Facebook group here. The community will help to achieve your sewing and crafting dreams.