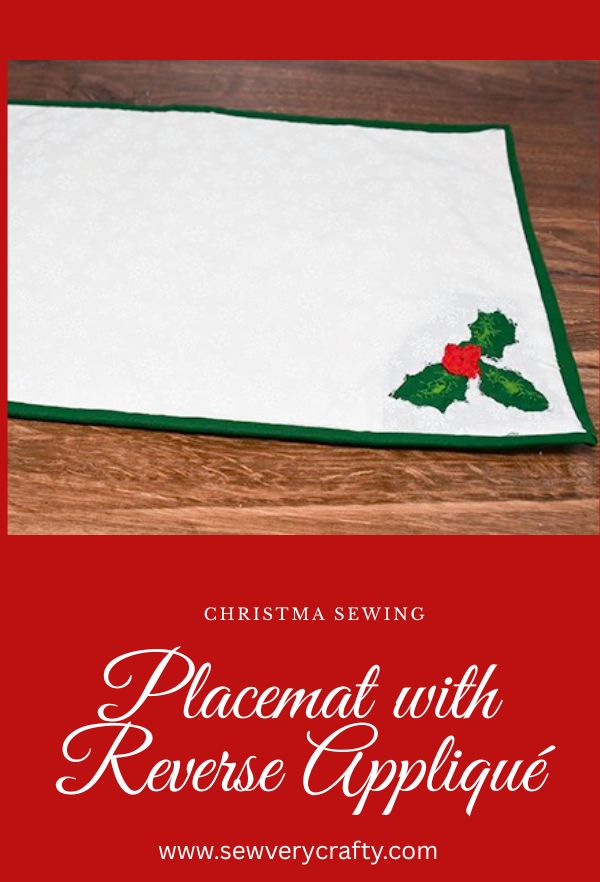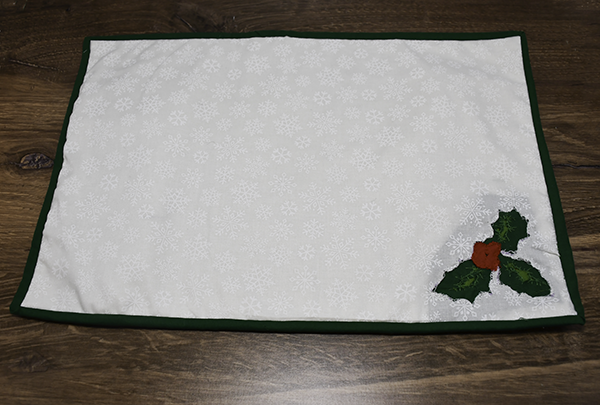
I have been looking for a unique way to making some Christmas placemats. I decided to try a technique that I have never tried before which is multicolored reverse appliqué. Believe me it sounds much more difficult than it really is. OI was quite surprised. I have done reverse appliqué before but never with three colors. I had this idea in my mind so I set out to figure out how to make it happen. If you enjoy this project you can use this technique for any season or holiday to make it truly your own. If you would like more holiday sewing and crafting projects head over to my Holiday Project Vault for many more.

Note: This post contains affiliate links that if you click on them and make a purchase I will receive a small commission at no extra cost to you. As an Amazon Associate I earn from qualifying purchases.
What you will Need: How to make Christmas placemats with Multicolored reverse appliqué
- Pattern you can get by clicking on this link
- I yd of main outer fabric — I chose white
- 1/2 yd of binding fabric — I used dark green
- Scraps of the colors you want to use for the reverse appliqué — I chose dark green, light green and red
- 1/2 yd of quilt batting
- Small sharp scissors
- Quilt spray
- Sewing machine
- Standard Sewing Supplies
Step 1: Cut the Placemats
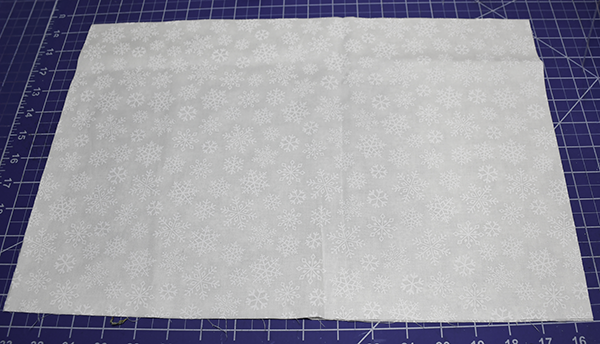
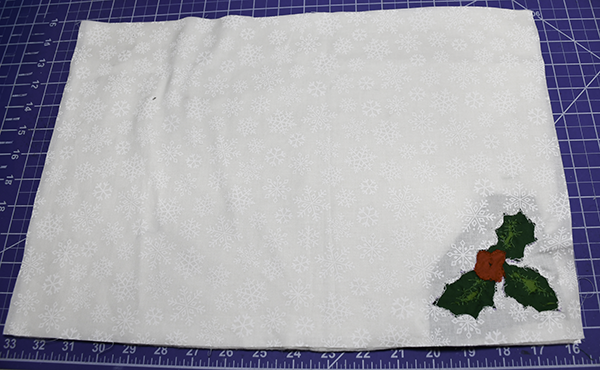
I made four placemats. I started by cutting eight pieces of white cotton fabric and four pieces of batting that measure 12″ x 16″. Once I decided on the size of my reverse appliqué I cut squares of the three colors about an inch larger than I wanted the appliqué to be.
Step 2: Arrange the squares
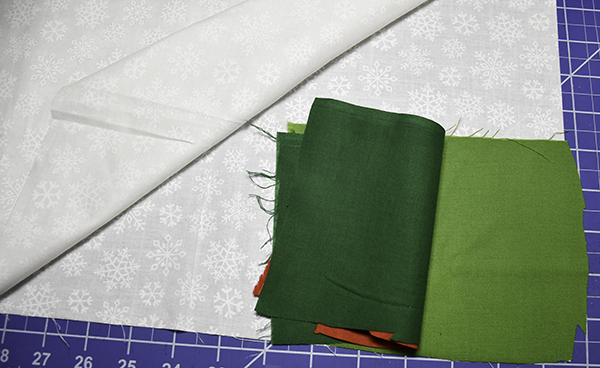
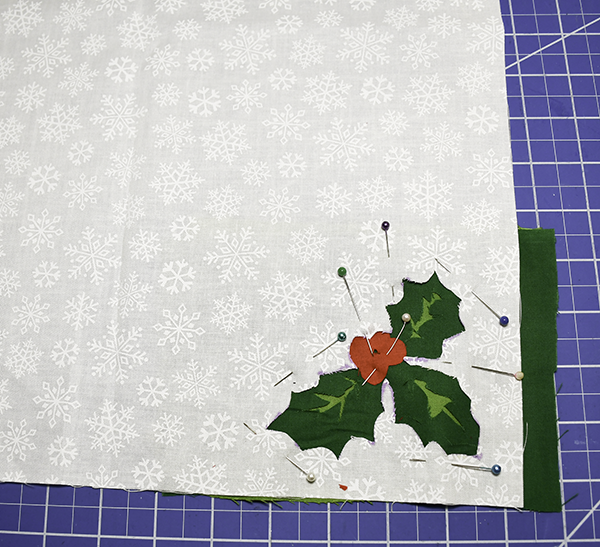
Arrange your fabrics in the desired color order from top to bottom.Place the white fabric right side down followed by the red, dark green and light green. Baste or pin the entire stack together around the outer edges so the layers do not shift during sewing. I opted to hand baste mine.
Step 3: Transfer the Pattern
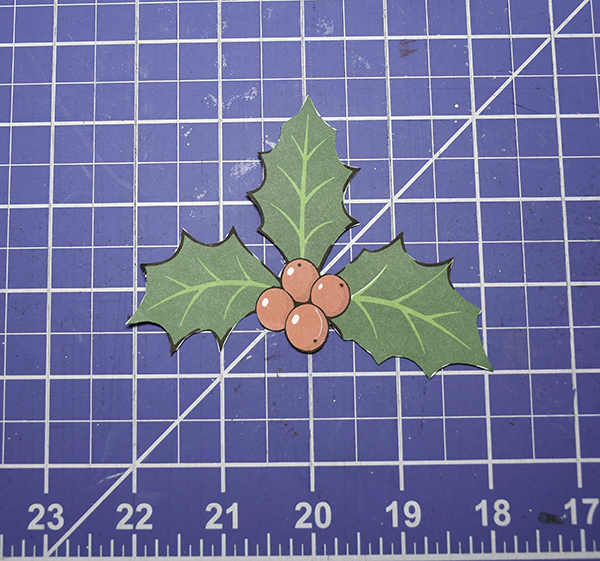
Trace around the pattern piece making sure to trace all of the elements. I used a heat erasable pen for this part.
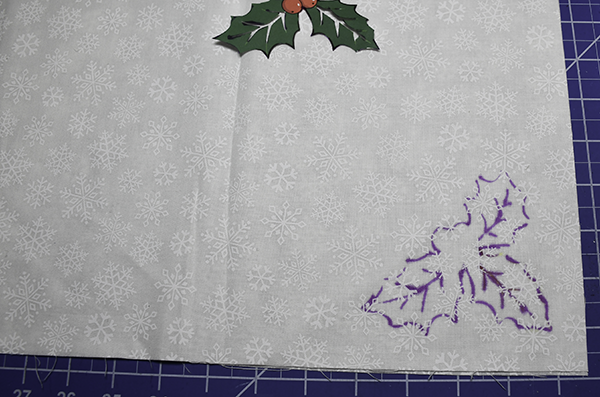
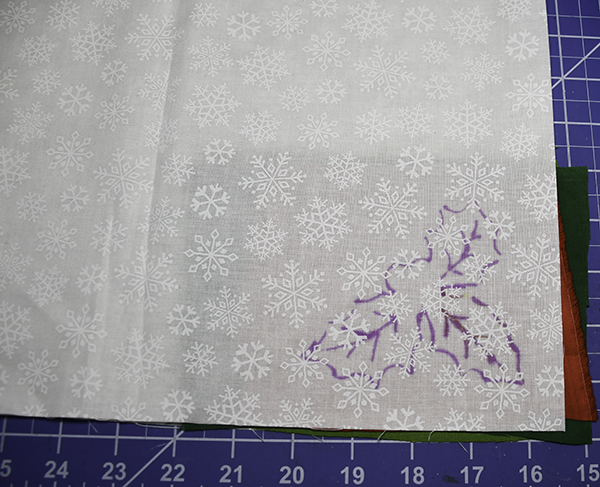
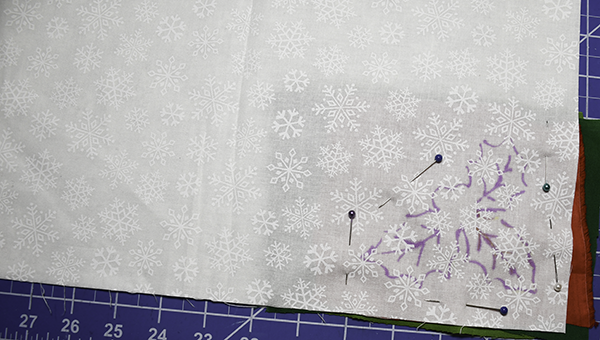
Step 4: Cut the First layer
You will want to reveal the bottom layer first. To do this cut along the veins of the holly through the white, red and dark green fabrics leaving only the light green. You will need small sharp scissors. My scissors were slightly curved to easily cut out the small details.
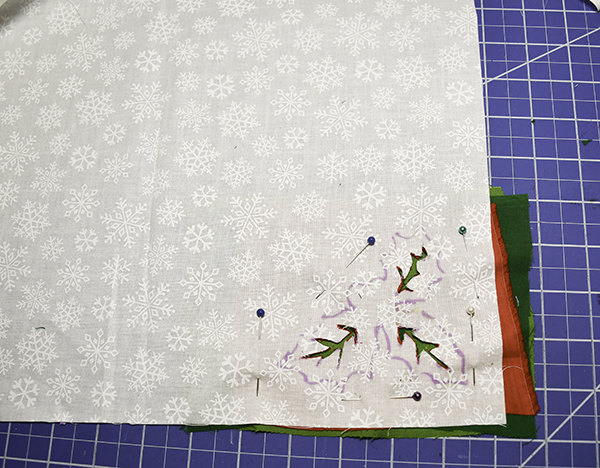
Step 5; Cut the second Layer
Next, cut through the white and red layers to reveal the dark green layer. This should get you the complete holly leaves.
Step 6: Add the berries
Cut the berries separately and add them to the holly leaves.
Step 7: Stitch the layers
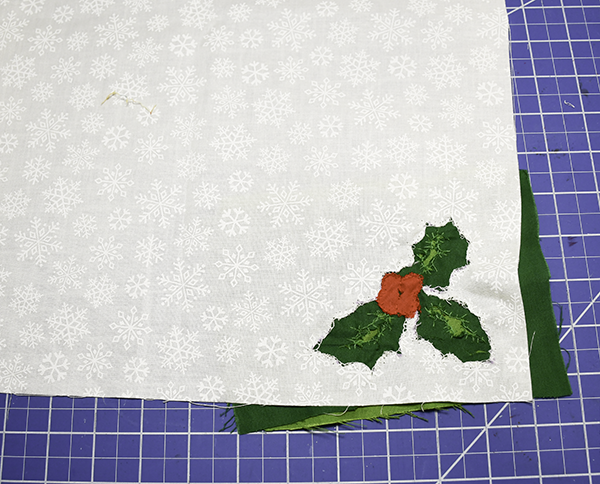
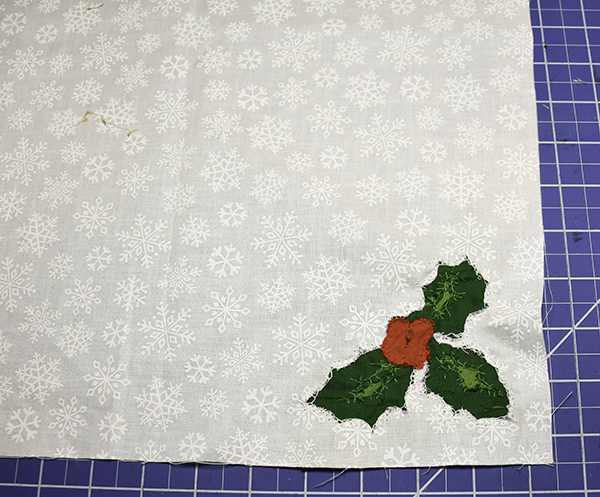
Using matching thread to each layer stitch start by stitching around the light green veins using either a straight stitch, zig zag, or blanket stitch. Then stitch the dark green, the red and finally the white. I hand stitched mine so you can use a machine,
Step 8: Layer the Batting and backing
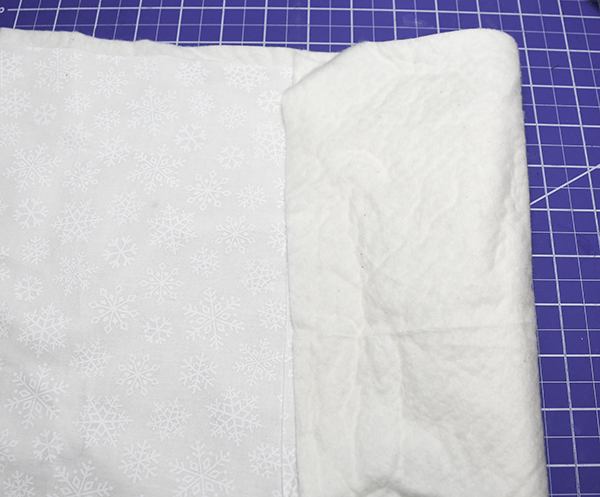
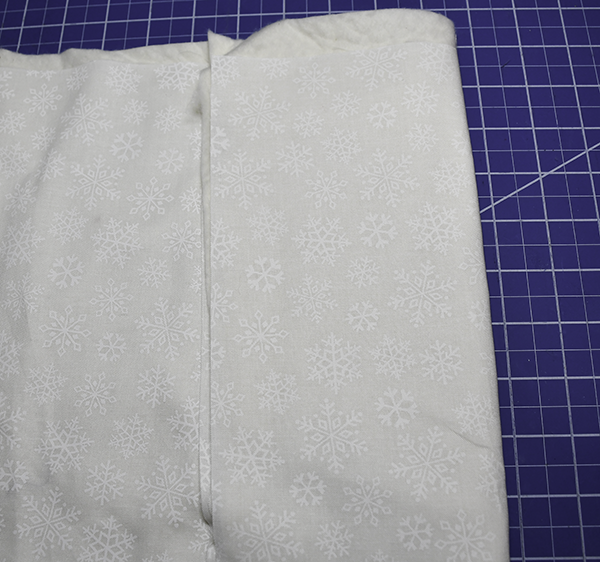
Spray the wrong side of the appliquéd piece with quilting spray. Place the batting onto the wrong side. Spray the batting with quilt spray and add the backing.
Step 9: Cut the binding
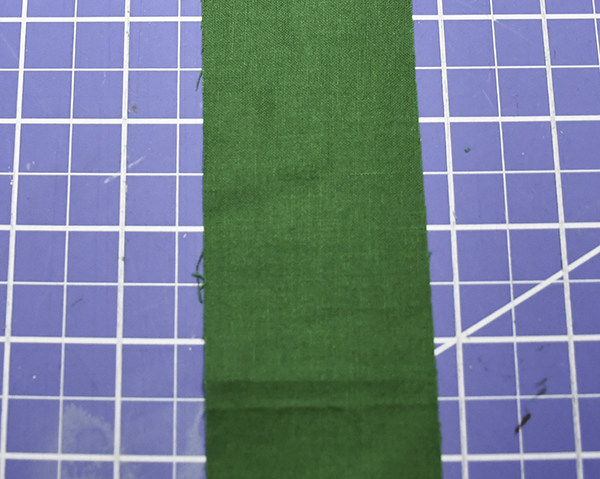
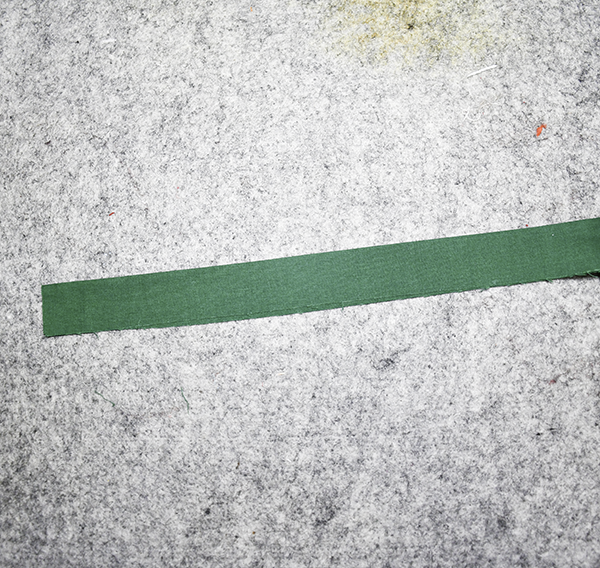
Cut 2″ strips by the width of fabric.
Step 10: Stitch the Binding
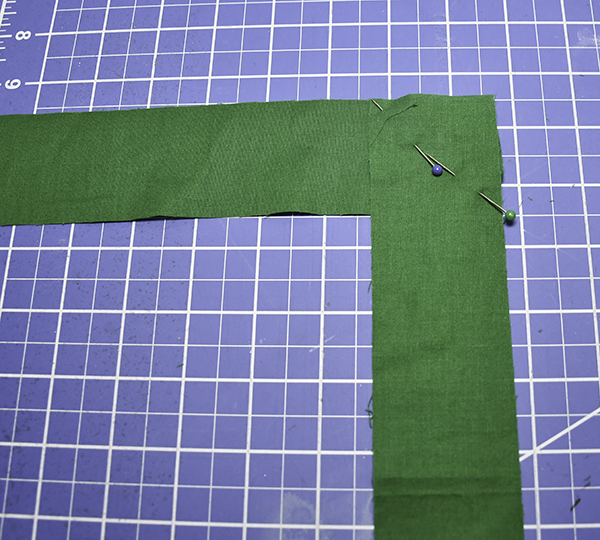
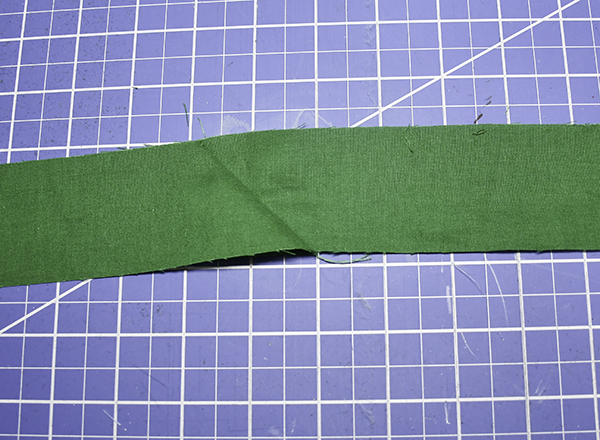
Stitch the binding strips together to create sufficient binding for all of your placemats. To do this place the ends of the strips right sides together perpendicular to each other. Stitch diagonally from the top left to the bottom right across the square you created when you placed them perpendicular. Cut the excess and open the strips to create one large strip. Then, fold the entire strip in half lengthwise.
Step 11: Attach the binding strips
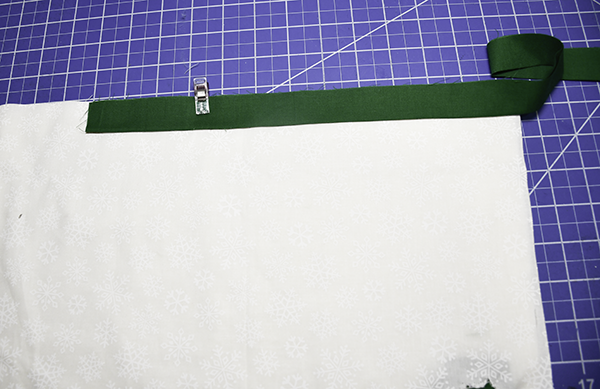
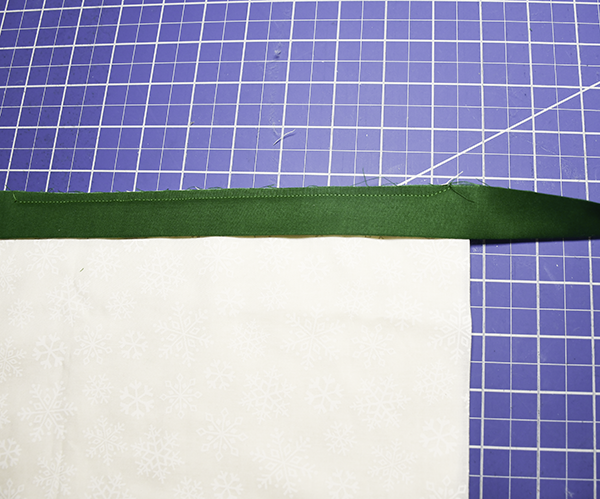
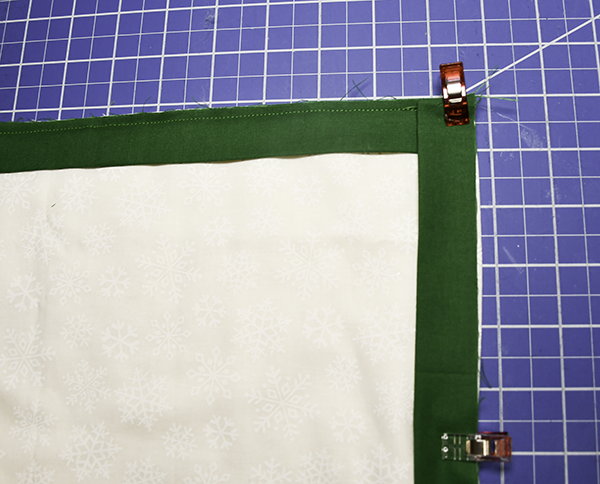
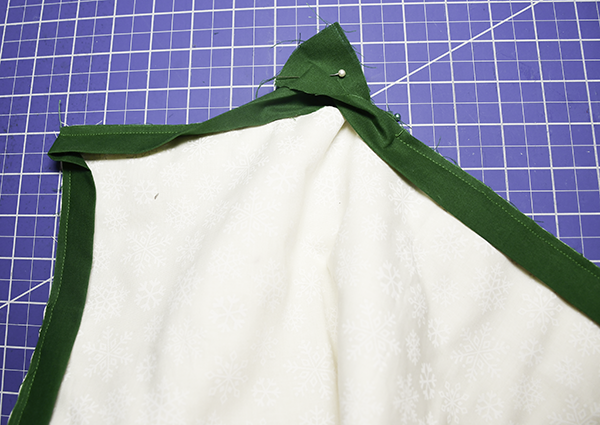
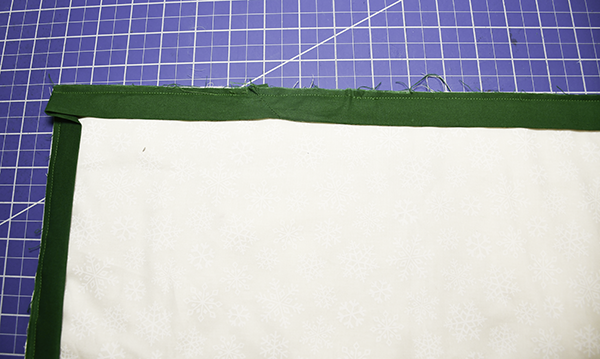
Starting on one of the long sides of the placemat pin the strip right sides together matching the raw edges and leaving a 3″ tail. Stitch the binding through all layers until you are about 1″ from the corner then stitch diagonally off the corner using a 1/4″ seam allowance. Fold the binding So that the folded edge is even with the side you just stitched and the strip is going down the next side right sides together. Stitch in the same way all the way around. When you reach the beginning overlap the strips by 2″ and trim off any excess. Place the two ends right sides together and perpendicular. Stitch diagonally in the same way you attached the strips together. Trim off the excess and finish stitching the last side.
Step 12: Finish the Binding
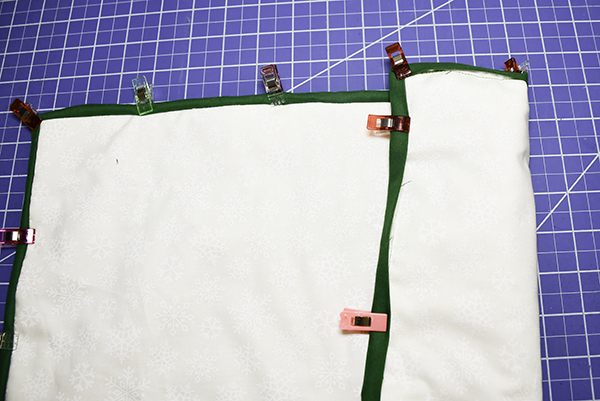
Fold the binding strips to the other side of the placemat and pin or clip. Hand stitch the folded edge using blind stitch to finish the binding. Once the binding is finished so are you.
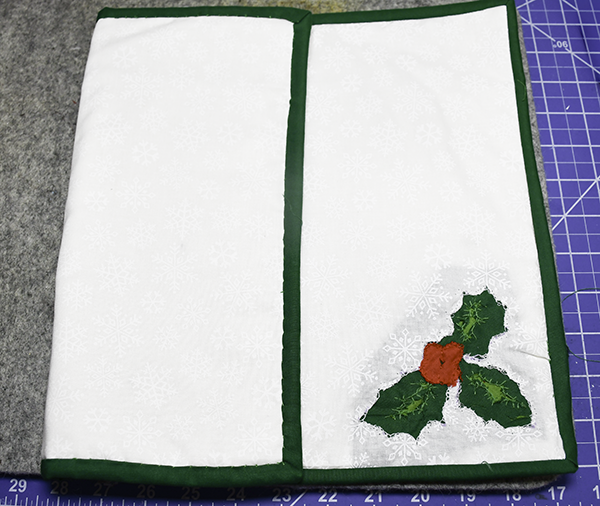
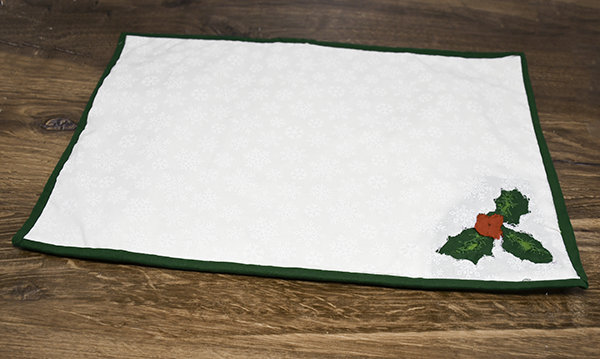
I hope you enjoyed these lovely Christmas placemats. For more sewing and crafting projects subscribe to our free newsletter and receive access to our free printable library.
Subscribe to our Free YouTube Channel!
Join our Sew Very Crafty Fans Facebook group
If you want to ask questions and share your projects join our Facebook group here. The community will help to achieve your sewing and crafting dreams.