How to Make a Grommet Pillow
Pillows are a terrific way to decorate your home. You can make them in any colors you like to match your home's decor. There is the current fashion for farmhouse design that uses burlap and muted tones or you can use brighter colors like I enjoy to make the same design. Use monochromatic pattern to differentiate your fabrics rather than color as I have. Regardless of the type of home decor you prefer this simple grommet pillow will add beauty and softness. This grommet pillow is also super simple to make. It only requires basic sewing skills to complete but the result is fabulous.
I, of course, used fabrics that I had left over from other home decor projects that I have done in the past but you can use any home decorator weight fabric that you like for this project. I would recommend that you search Hobby Lobby online or Fabric.com to get the perfect fabrics for your grommet project. My main fabric for this project came from Fabric.com while the accent fabric came from my local fabric store. This post contains affiliate links that if you click on them and make a purchase I may receive a small commission at no extra cost to you.
What you will Need:
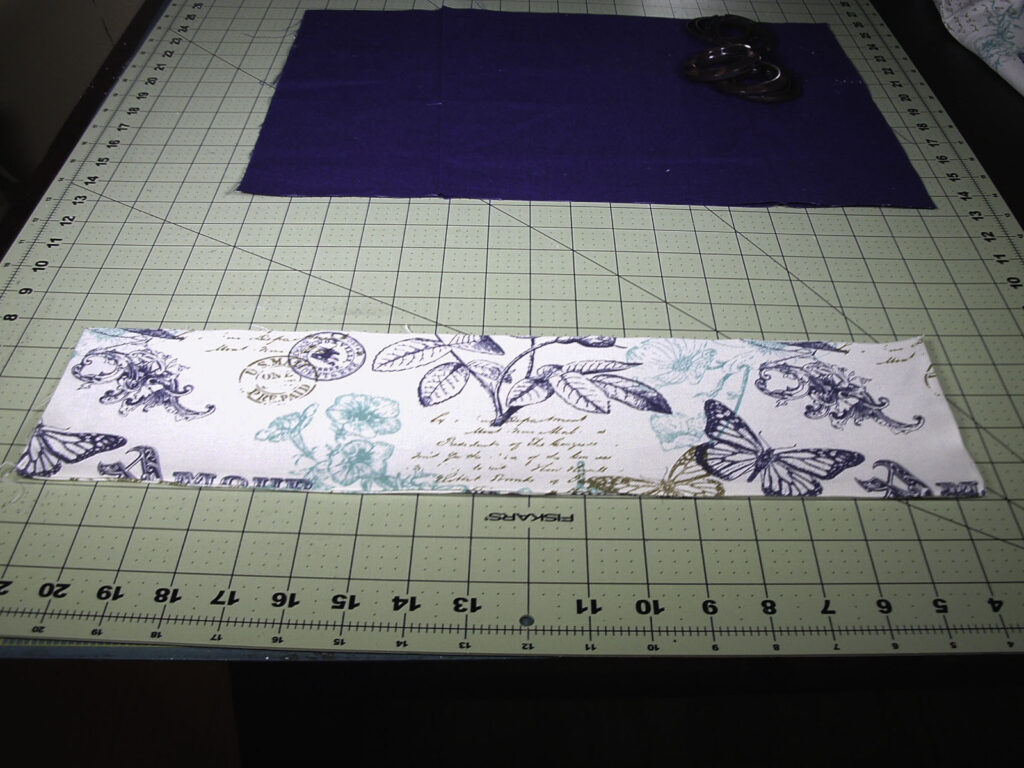
- 2 rectangles of 12 1/2″ x 17 3/4″ main fabric
- 2 rectangles of 5″ x 17 3/4″ accent fabric
- 3 large 1 9/16″ curtain grommets
- Polyester Fiberfill
- Frixion Pen
- Standard sewing supplies
Step 1: How to Make a Grommet Pillow
With right sides together sew the accent pieces together along the bottom edge only using a 1/4″ seam allowance. Press so that the pieces are right sides out.

Step 2: How to Make a Grommet Pillow
Insert the grommets. Start by folding the accent piece in half widthwise and drawing a line using a heat erasable pen like Frixion. Then fold the accent piece in half lengthwise and draw a line. This is the center of the accent piece. The grommet package comes with a template that has a cross in the middle and a circle around the cross. Place the cross in the center that you just marked and draw the circle using the template. Measure 6″ on each side of the center and place a mark. Line up the template center and draw the circles. You should have 3 circles on the accent piece.

Step 3: How to Make a Grommet Pillow
Cut out the circles.

Step 4: How to Make a Grommet Pillow
Add the grommets by inserting the male end of the grommet through the hole and placing the female side of the grommet on top with the fabric in between. Snap the 2 pieces together. It is that simple to add these curtain grommets. I used the brown grommets in my pillow because that is what I had on hand but they come in all different colors to match your project.

Step 5: How to Make a Grommet Pillow
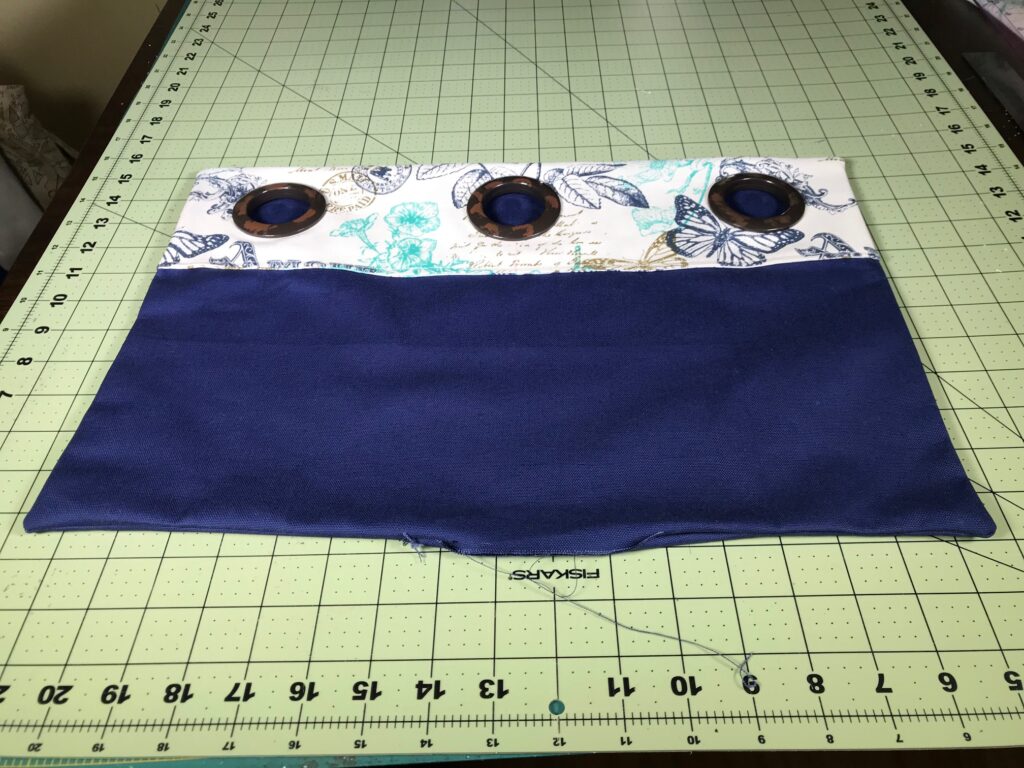
Attach the accent fabric to one of the main fabric pieces so that the raw edges are matching at the top and sides. Pin the accent fabric. Sew the accent fabric to the main outer fabric along the bottom edge. This will join the fabrics and act as top stitching. This will be the front outer piece.
Step 4: How to Make a Grommet Pillow
Take the front outer piece and place it right sides together with the back outer piece and sew around the entire piece and through all layers using allowance and leaving a 3″ opening at the bottom for turning. Turn the piece inside out and press.

Step 5: How to Make a Grommet Pillow
Stuff the pillow with fiber fill.

Step 6: How to Make a Grommet Pillow
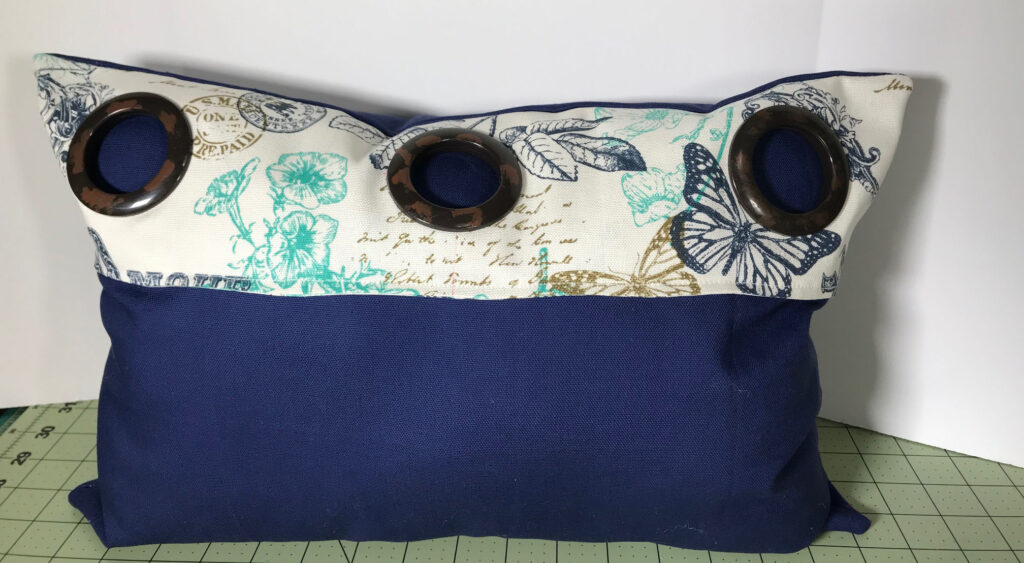
Sew the opening closed using ladder stitch. If you are unfamiliar with ladder stitch take a look at this video to learn how it is done. Once you have sewn the opening closed you have finished this terrific grommet pillow.
If you enjoyed this project sign up for our newsletter and receive your free eBook of 15 handbag patterns and tutorials.


