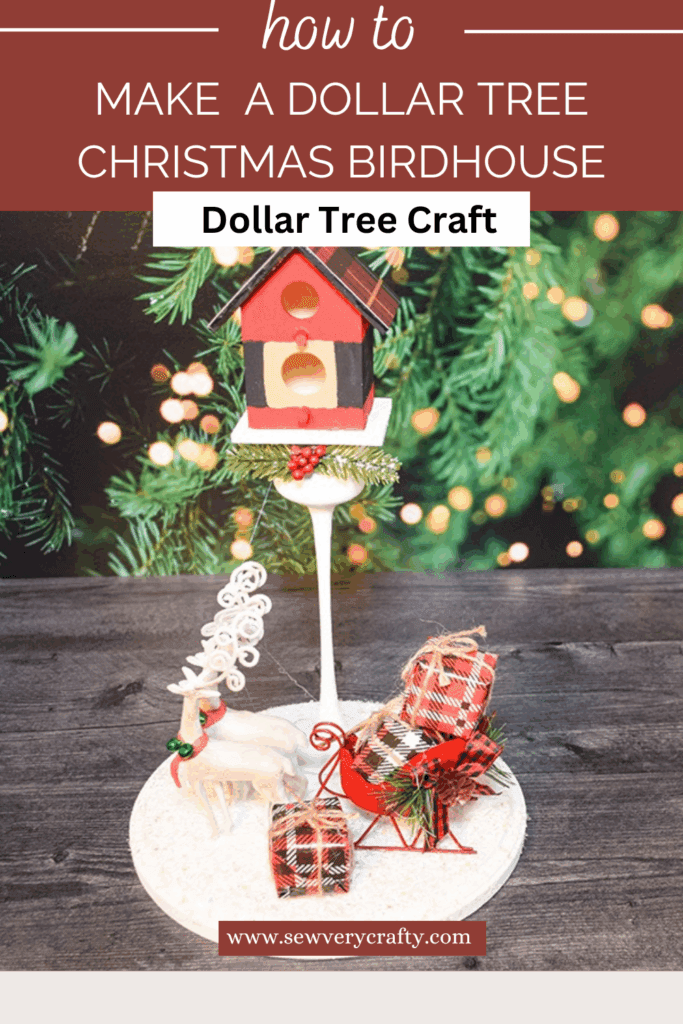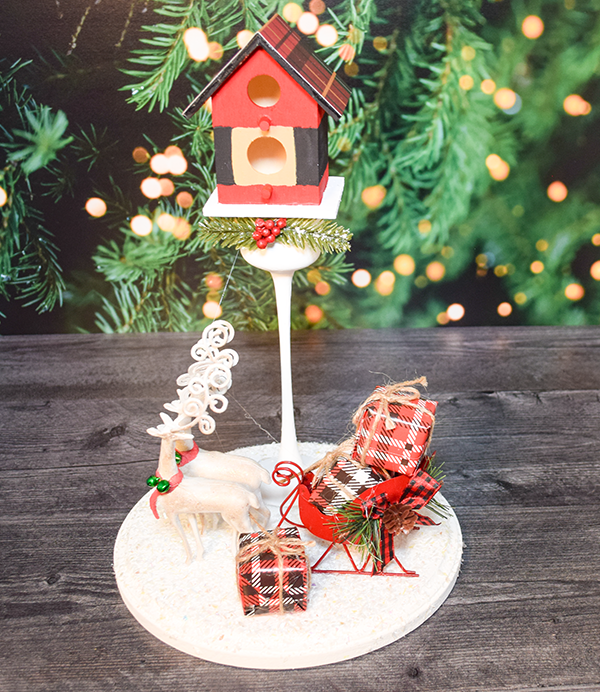
I saw this craft on Facebook and decided to try to create it myself. Cardinals are very popular during the Christmas season and Dollar Tree has some faux cardinals that are perfect for this project. These Dollar Tree Christmas birdhouses are a simple beginner craft that will really bring the outdoors in and the Christmas spirit home. If you would like more Dollar Tree crafts head over to my Dollar Tree page. For more holiday sewing and crafting projects head over to my holiday project vault.
Note: This post contains affiliate links that if you click on them and make a purchase I will receive a small commission at no extra cost to you. As an Amazon Associate I earn from qualifying purchases.
What you will Need: How to Make Dollar Tree Christmas Birdhouses
- Dollar Tree Birdhouse
- Wood square
- Candle holder
- Sleigh ornament
- Reindeer ornament
- Christmas present ornaments
- Acrylic paint
- Acrylic paint pens
- Faux snow
- Decorative paper or napkins
- Mod Podge
- Distress oxide
- Greenery
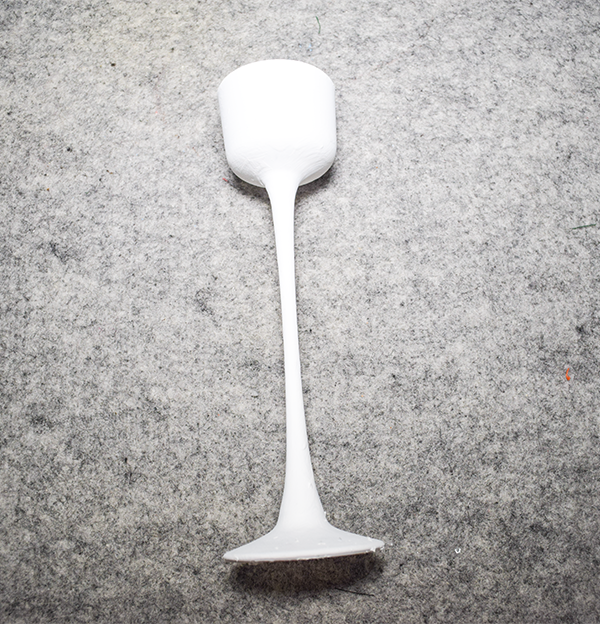
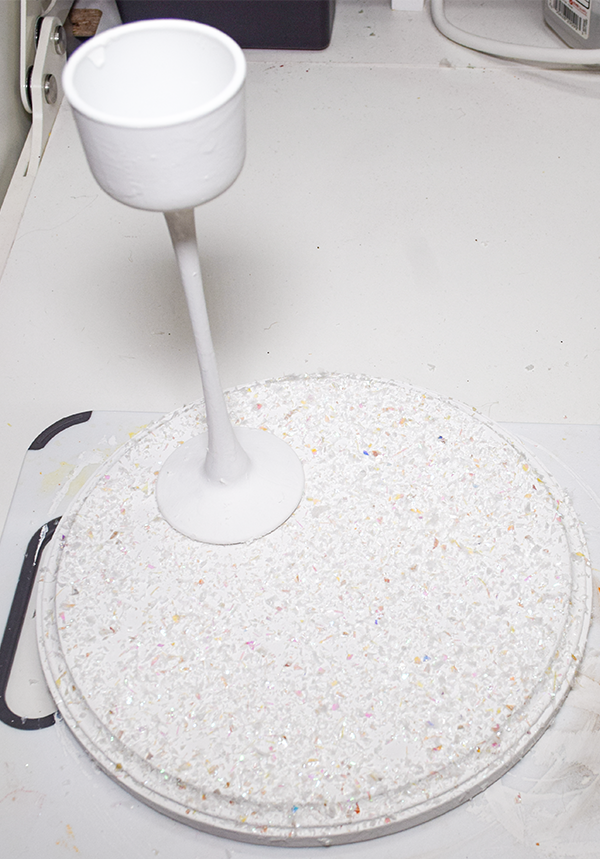
Step 1: Paint the Candle Holder
Using acrylic or chalk paint cover the candle holder in the color of your choice. I chose white for mine but any Christmas color will work
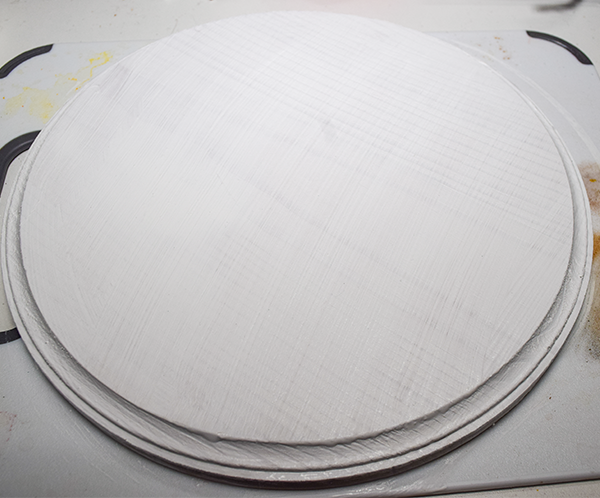
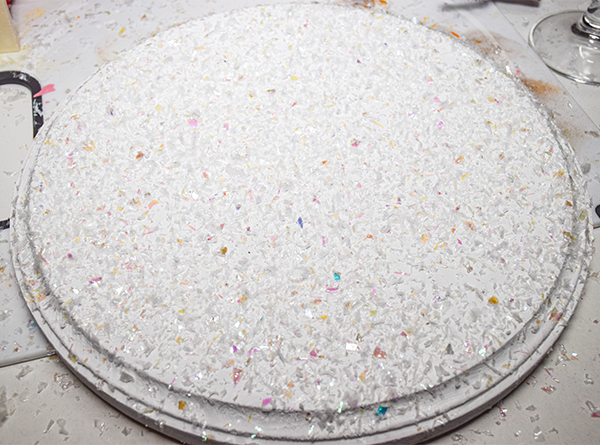
Step 2: Paint the Plaque
Paint the wood plaque white. Sprinkle the plaque with faux snow before the paint dries.
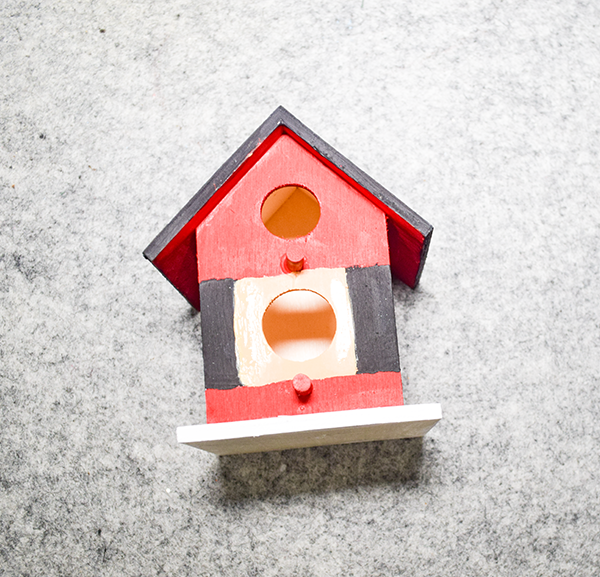
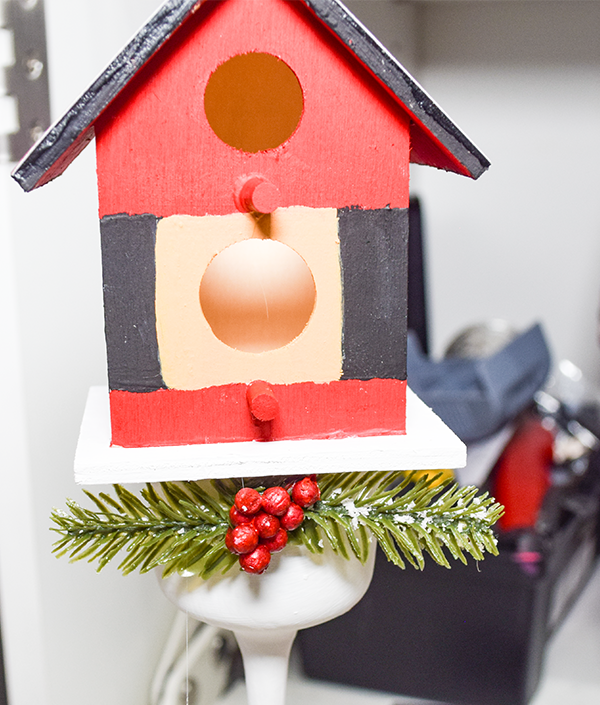
Step 3: Paint the Birdhouse
Paint your birdhouse any way you like. I painted mine like a Santa suit.
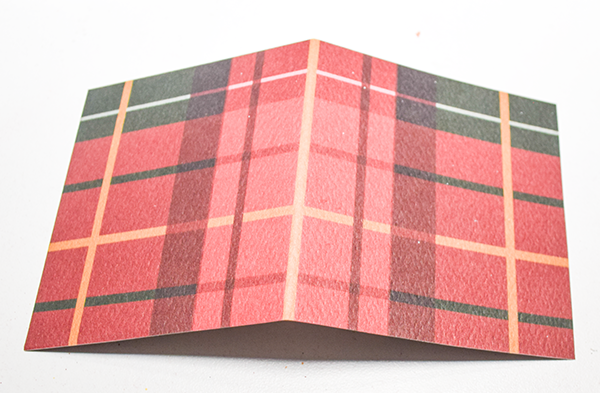
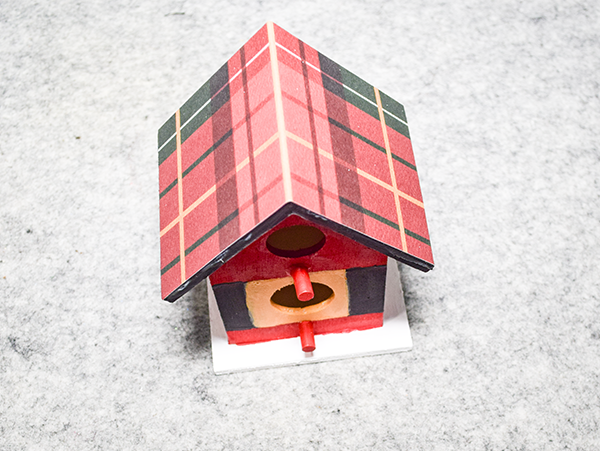
Step 4: Paint or Decoupage the Roof
For my birdhouse I decoupaged the rough using cardstock. to do this add Mod Podge to the roof and let it dry. Cut a piece of decorative paper or a napkin to size. Place it on the roof and cover it with parchment paper. Iron it with a small iron so that the Mod Podge adheres the paper to the roof. Sand off any excess paper using sandpaper. Cover the roof with another coat of Mod Podge.
Step 5: Attach the Main Pieces
Using hot glue and e6000 attach the candle stick to the wood plaque. Add the birdhouse using the same technique.
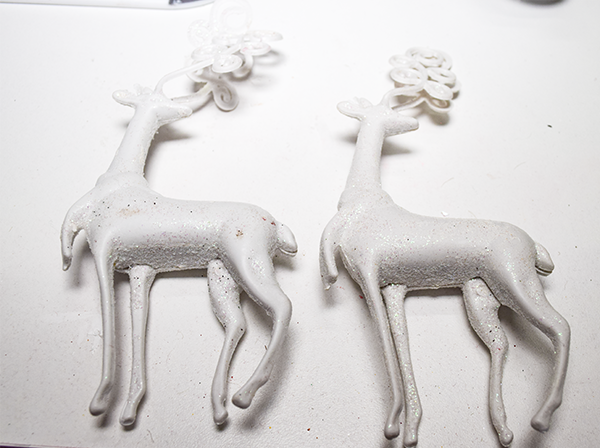
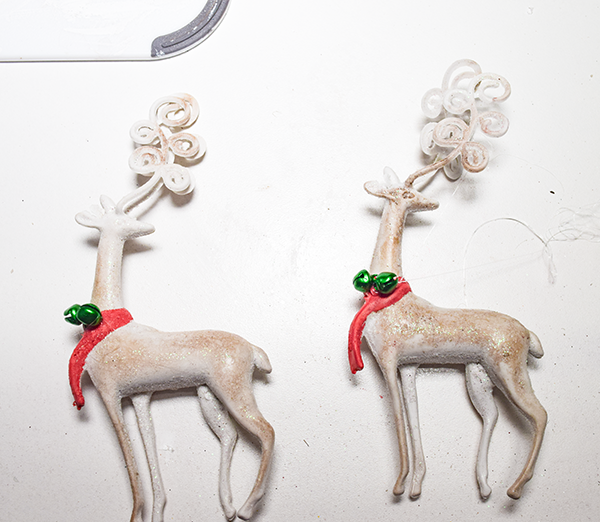
Step 6: Color the Reindeer
I did not like the white of the reindeer so I added some distress oxide using a brush to color them brown. Next, I painted the scarf on the reindeer red. I then added some mini jingle bells to the scarf.
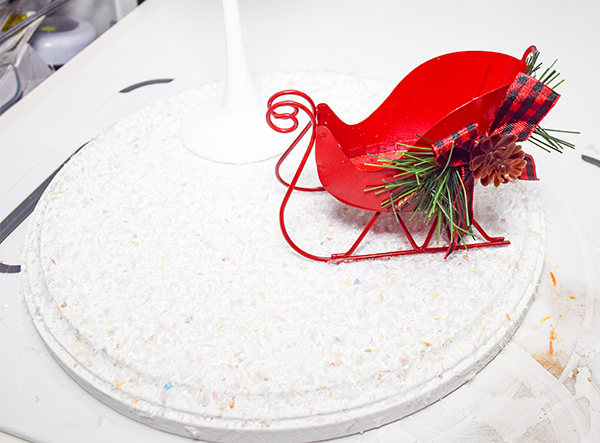
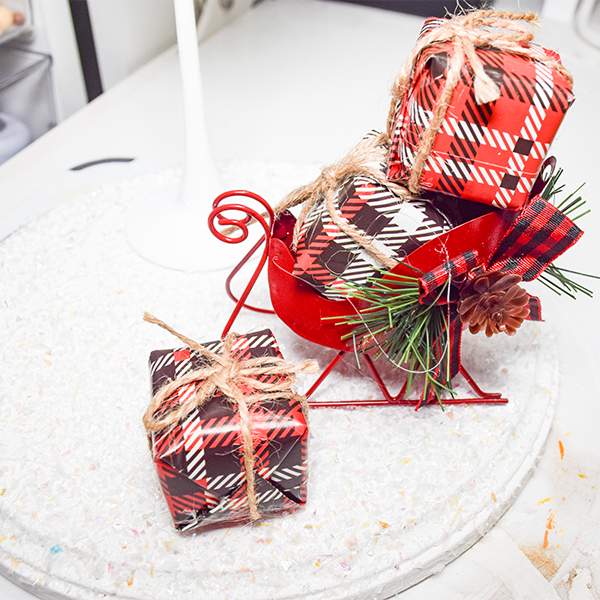
Step 7: Decorate the base
You can decorate the base of your birdhouse however you like. I started by adding a Dollar Tree sleigh ornament and presents. Attach the pieces using hot glue.
Step 8: Paint the Reindeer
Using distress Oxide highlight the reindeer. After the deer is highlighted paint the scarf.
Step 8: Add the Reindeer
Using hot glue add the reindeer to the front of the sleigh.

Step 9: Add the Greenery
I added some Dollar Tree Christmas greenery to the front of the candle stick for some added color and decoration. Once you have added the greenery you have finished your Dollar Tree Christmas Birdhouse.
I hope you enjoyed this simple Follar Tree craft. If you would like more sewing and crafting projects subscribe to our free newsletter and receive you free Dollar Tree Holiday eBook.
If you would like video tutorials of some of Sew Very Crafty's most popular posts subscribe to our for YouTube channel here.
Join our Sew Very Crafty Fans Facebook group
If you want to ask questions and share your projects join our Facebook group here. The community will help to achieve your sewing and crafting dreams.