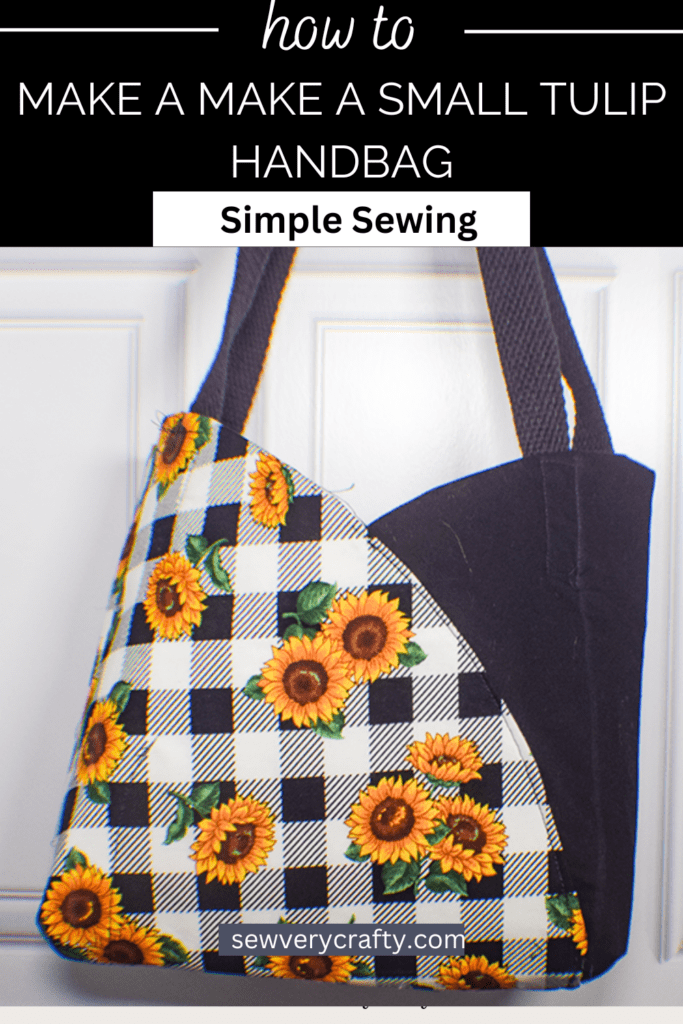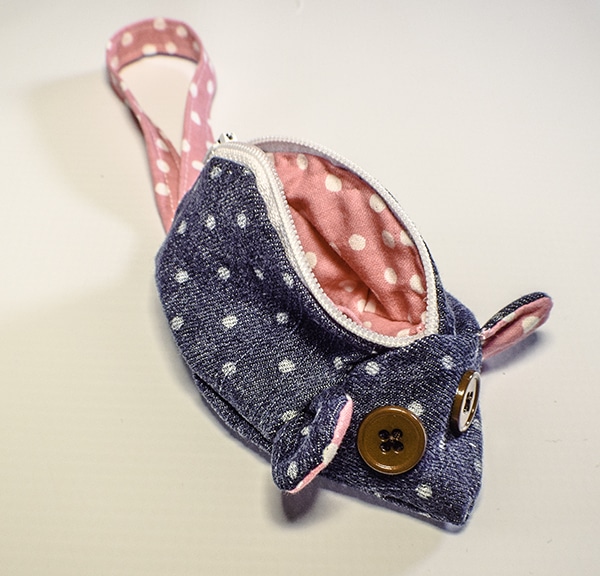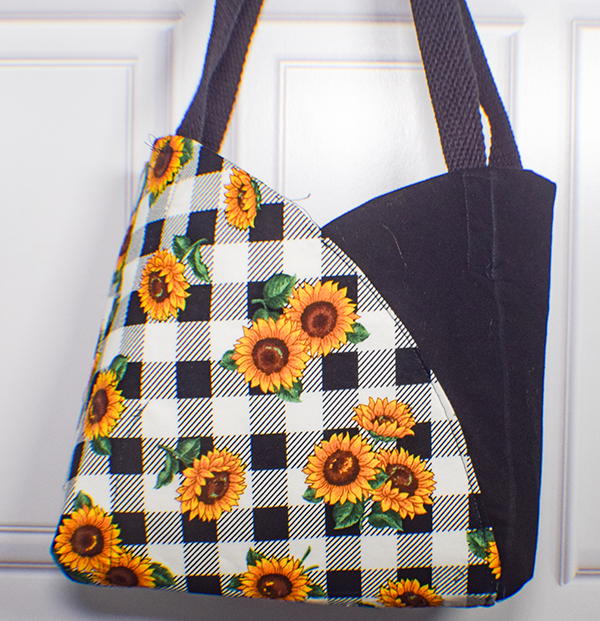
As anyone who follows Sew Very Crafty knows, I love to make handbags. For this small cute handbag it does not get any easier. Literally anyone can put this simple bag together in no time. This bag also works really well for upcycling jeans and other clothes. If you like to make handbags as much as I do check out my handbag page for more.
Note: This post contains affiliate links that if you click on them and make a purchase I will receive a small commission at no extra cost to you. As an Amazon Associate I earn from qualifying purchases.

What you will Need
Step 1: Cut the Pattern
The only pattern piece you need is a large circle. Take your compass and create a circle that measures 20″ in diameter. Cut out the circle.
Step 2: Cut the Fabrics
Using the pattern cut one circle from each of your fabrics and two circles from the Pellon 809.

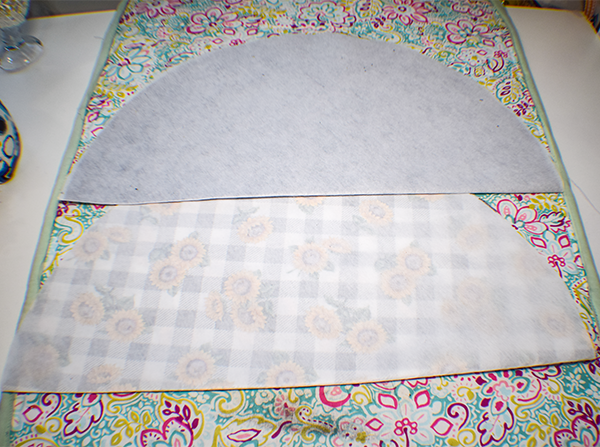
Step 3: Fuse the Interfacing
Following the manufacturer's instructions and a hot iron fuse the interfacing to each of the fabric circles.
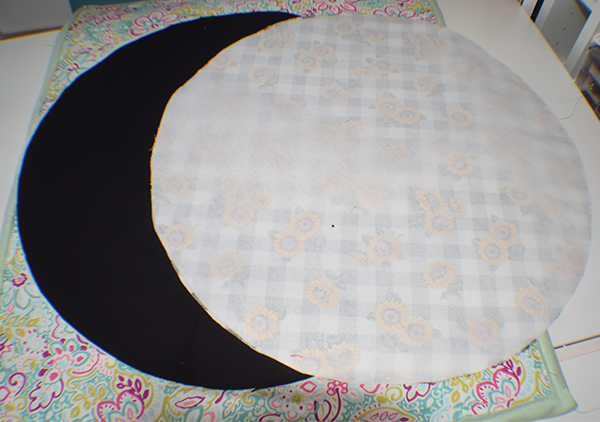
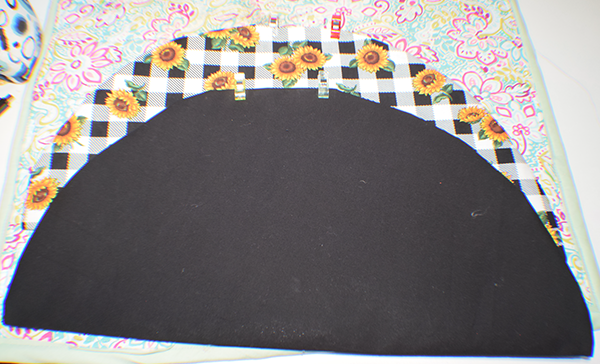
Step 4: Stitch each of the Circles
Fold each of the circles in half right sides together and press. Stitch all the way around the curve leaving an opening in the center for turning.
Step 5: Turn Right Sides Out
Turn each of the pieces right sides out and press. Make sure that you press the opening so the raw edges are on the inside and the curve is nice and even.
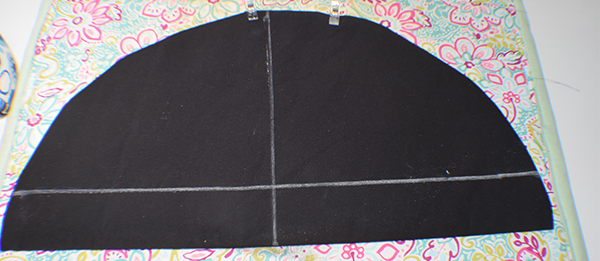
Step 6: Mark the Centers
Fold the half circle in half to find the center. Mark with an erasable pen or tailor's chalk. Draw a line down the center from top to bottom. Measure down 2″ from the flat side of the half circles and make a mark. Draw a straight line from side to side to intersect with the first line you drew on the 2″ mark.

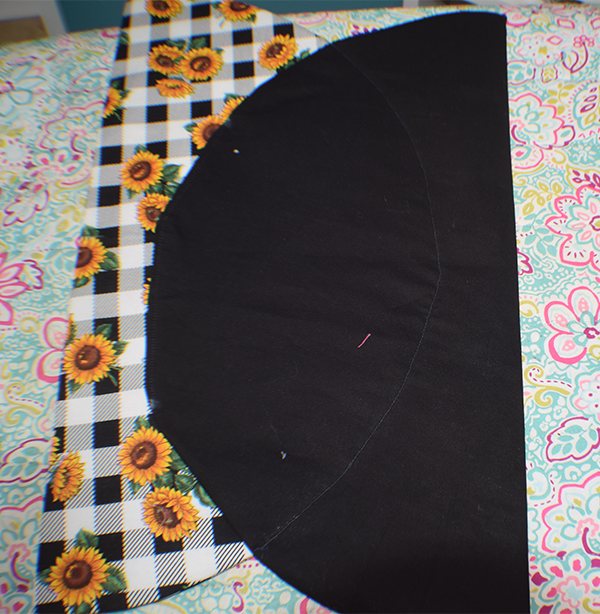
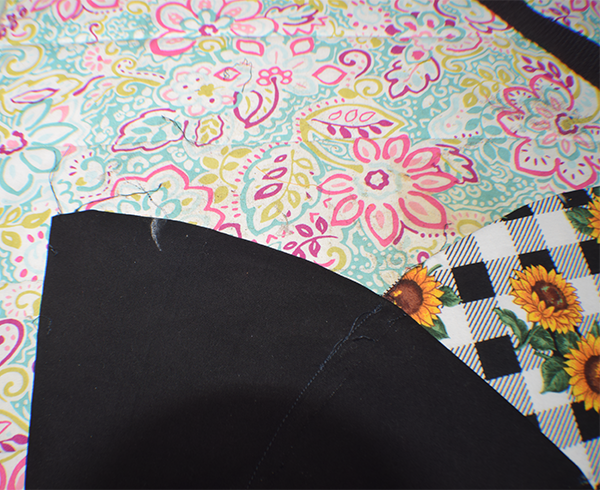
Step 7: Stitch the Half Circles Together
Place the curved side of one fabric on the 2″ line on the second fabric. Using a 1/4″ seam allowance, stitch along the curve of one of the half circles from the point that the fabrics intersect to the other side where they intersect. Turn the piece over. Measure 4 3/8″ from the point the fabrics meet along the curve and make a mark. Repeat for the other side. Stitch the curve between the two marks.
Step 8: Create the Handles
You can use handles, strapping or fabric. If you create the handles from fabric cut two rectangles that measure 4″ x __” Fold the short ends in by about 1/4″ and press. Fold the long raw edges to the center and press. Fold in half lengthwise to enclose the raw edges. Topstitch on both sides.
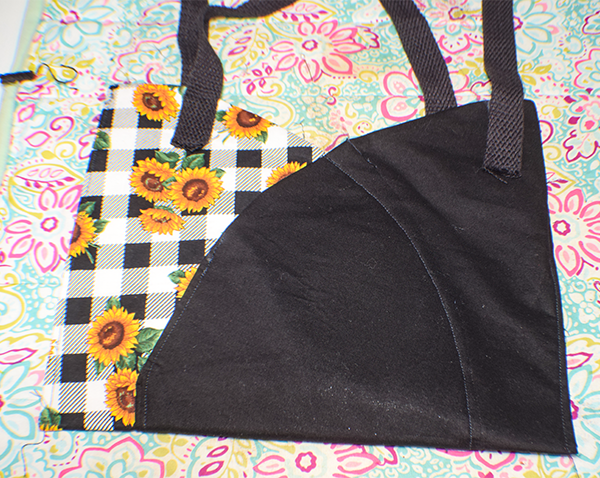
Step 9: Add the Handles
Measure 2″ on the flat side from the each end and make a mark. Measure down from that mark 2 3/8″ and make another mark. Do this on both sides on each end. Place one end of the handle on the 2 3/8″ mark on one fabric and the 2 3/8″ on the second fabric and pin or clip. Repeat on the other side. Stitch the handles to the bag in a square pattern to secure.

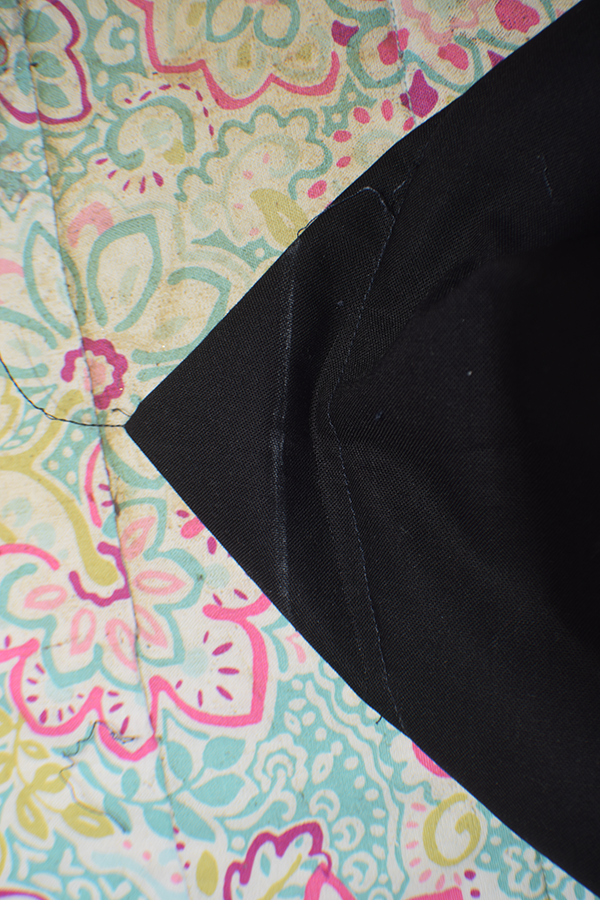
Step 10: Stitch the Sides
Fold the bag in half widthwise. Stitch along the sides using a 1/4″ seam allowance.
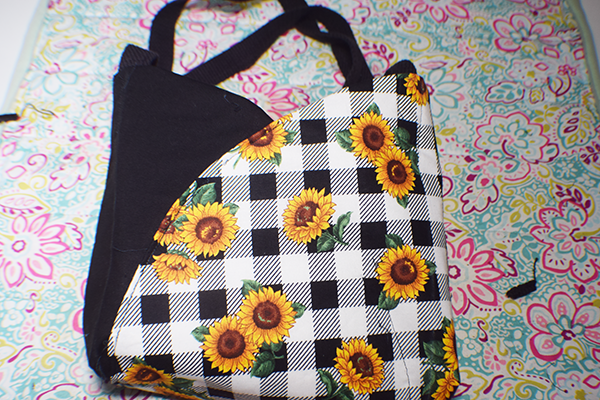
Step 11: Box the Corners
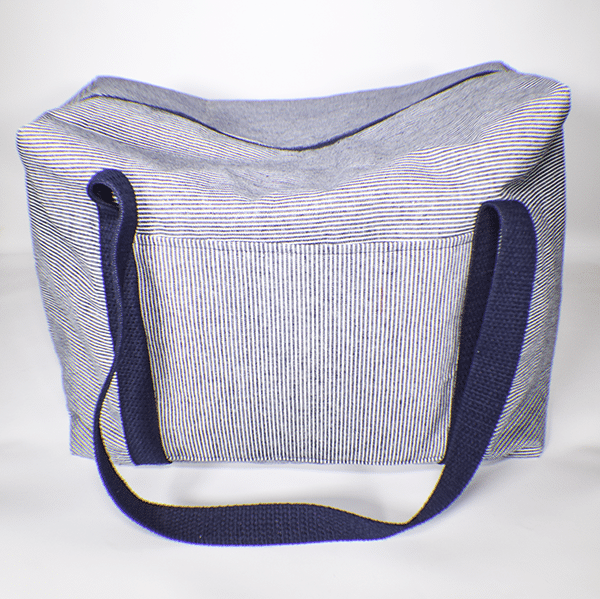
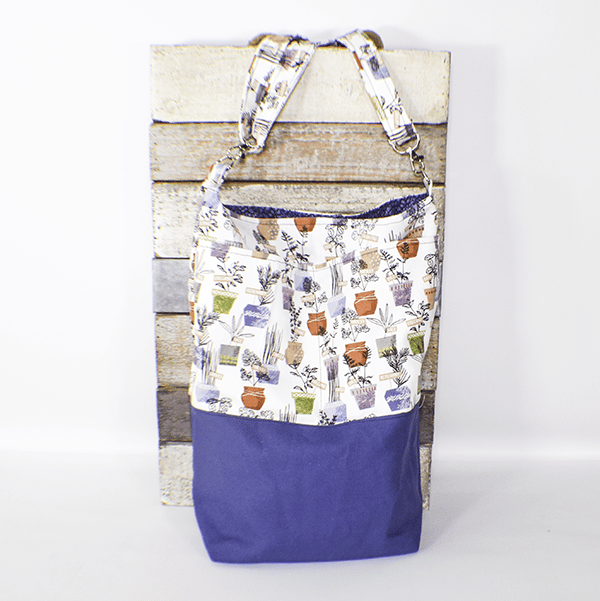
Take each corner of the bag and measure down 1 3/4″. Draw across the corner over that mark on both corners. Stitch along the line. Turn the bag so that the boxed corners are on the inside. Stitch the corners to the bottom of the bag by hand. You have now finished your small cute handbag.

I hope you enjoyed this simple handbag project. If you would like more sewing and crafting projects subscribe to our newsletter and receive your free eBook of 15 handbag patterns and tutorials taken from the blog.
If you would like video tutorials of some of Sew Very Crafty's most popular posts subscribe to our free YouTube channel.
Join our Sew Very Crafty Fans Facebook group
If you want to ask questions and share your projects join our Facebook group here. The community will help to achieve your sewing and crafting dreams.