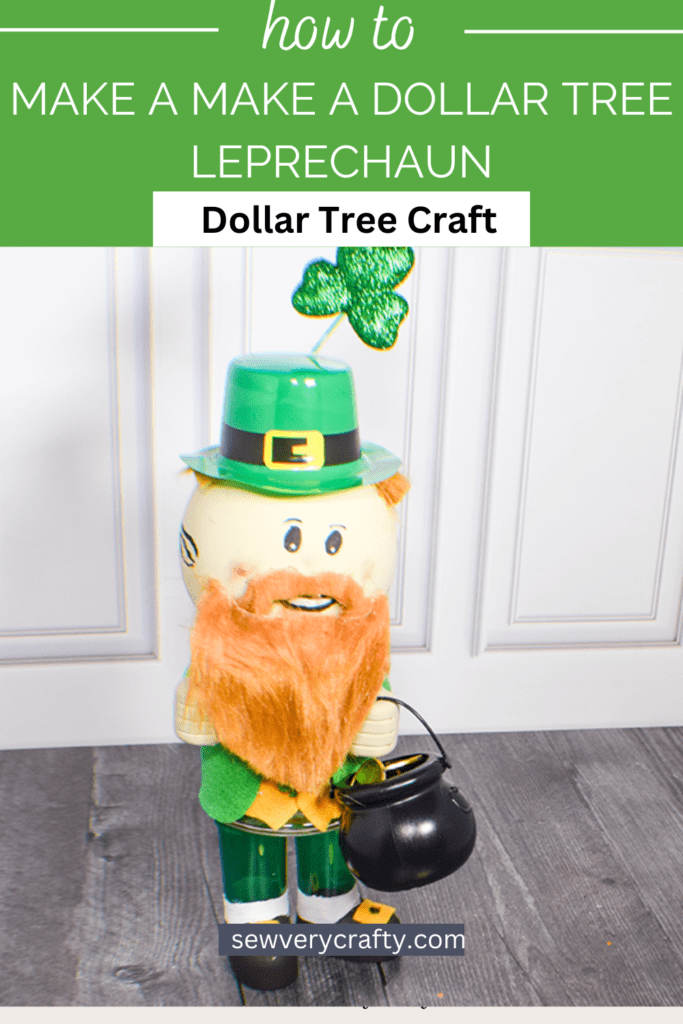
St. Patrick's Day is just around the corner. For someone like me it is a holiday worth celebrating so I love making St. Patrick's day crafts. This year I went to Dollar Tree and gathered the items that I thought would make a great Dollar Tree leprechaun craft. This was really a fun and simple holiday craft for any level of crafter. If you like Dollar Tree crafts check out my Dollar Tree page. If you just like holiday sewing and crafting head over to my Holiday Project Vault.
Note: This post contains affiliate links that if you click on them and make a purchase I will receive a small commission at no extra cost to you. As an Amazon Associate I earn from qualifying purchases.
What you will Need
- Pattern you can get by clicking on this link
- Dollar Tree small round flower bowl
- Glass candle holder
- Mini boot cups
- Hands cellphone holder
- Oatmeal chalk paint
- Small pot
- Faux gold coins
- Leprechaun hat
- Green and Gold Felt
- Beard
- Black Paint
- White paint
- Pink Paint
- Hot glue
- e6000 glue
- Small buttons
- Styrofoam Shamrock pick

You can use this technique for other holidays
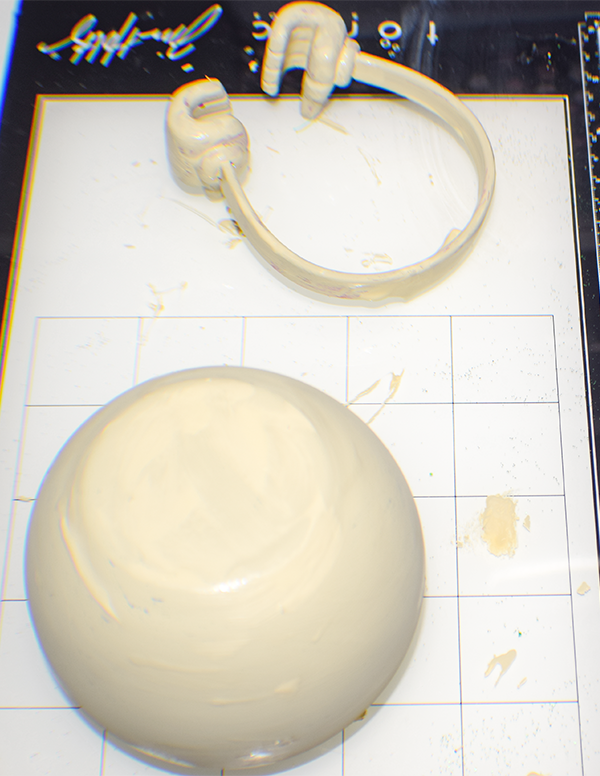
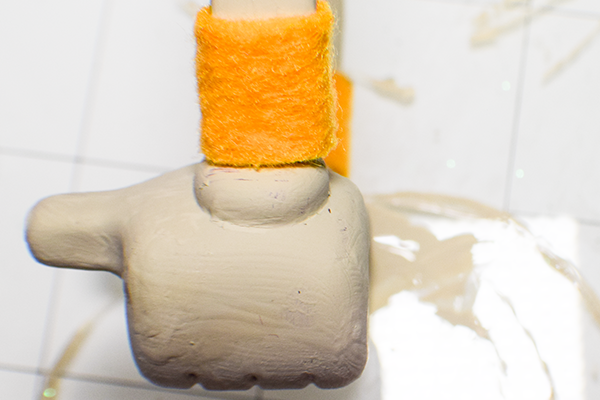
Step 1: Paint your Small Round Bowl and Hands
Using the oatmeal chalk paint paint the small round flower bowl. I would have spray painted this but it was raining when I created this project so I used the chalk paint instead. Paint the cellphone holder in the same way.
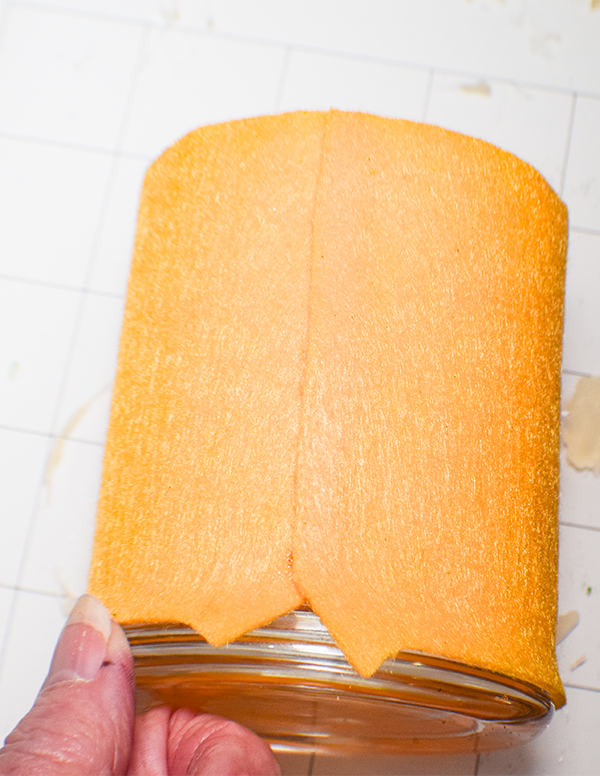
Step 2: Create the Clothes
If you are a sewist you can easily stitch the clothes if not use the pattern pieces to cut out the clothes. You will need to make a topcoat, waistcoat, and sleeves. I chose green felt for the topcoat and sleeves. Gold was used for the waistcoat cuffs and shoe buckles.
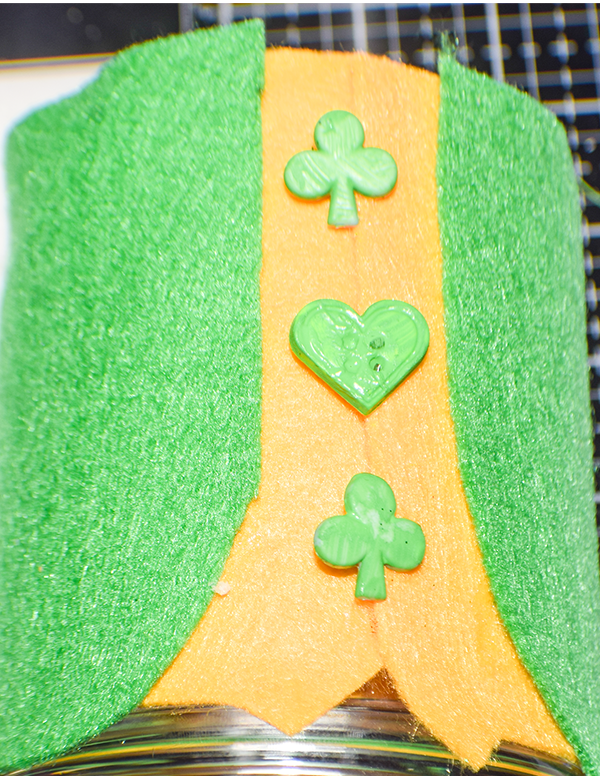
Step 3: Add the Clothes
Start with the waistcoat. Wrap the waistcoat around the candle holder and glue it using e6000 glue. Abut the edges in the front. Add three buttons to the waistcoat down the center. Once you have done that, glue the topcoat over the waistcoat. Wrap the cuffs around the wrists ant the sleeves around the hands of the cellphone holder leaving the hands visible.

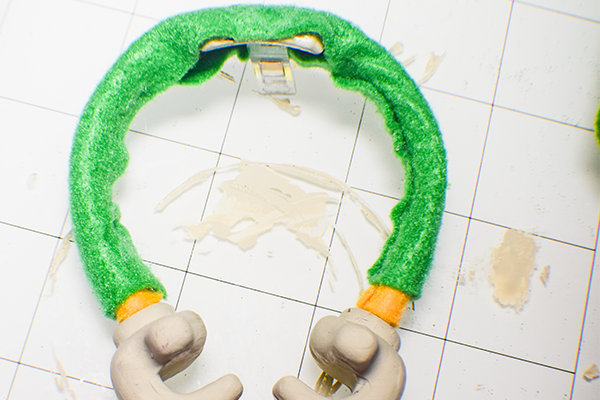
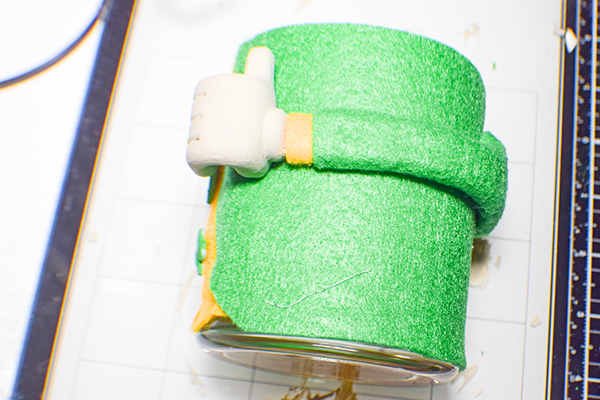
Step 4: Add the Hands
Wrap the hands cell phone holder around the middle of the candle holder.

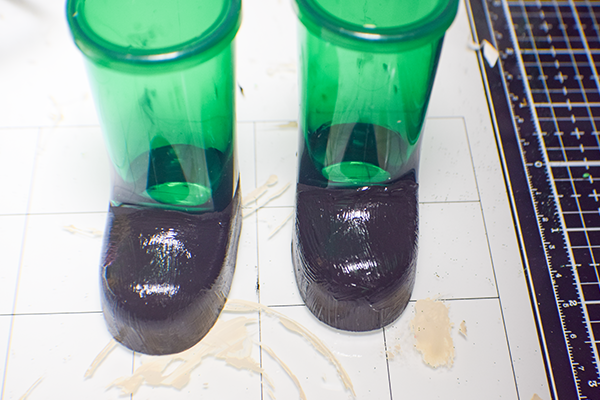
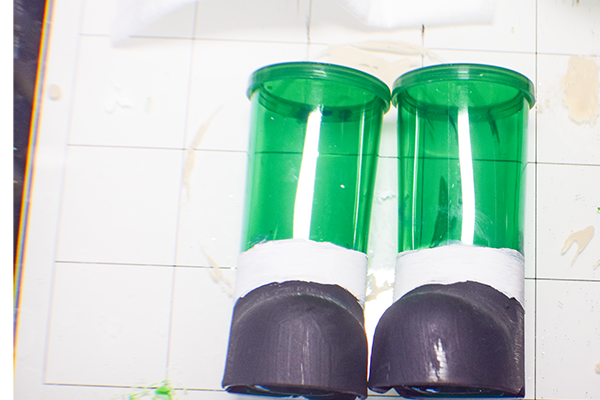
Step 5: Paint the Boots
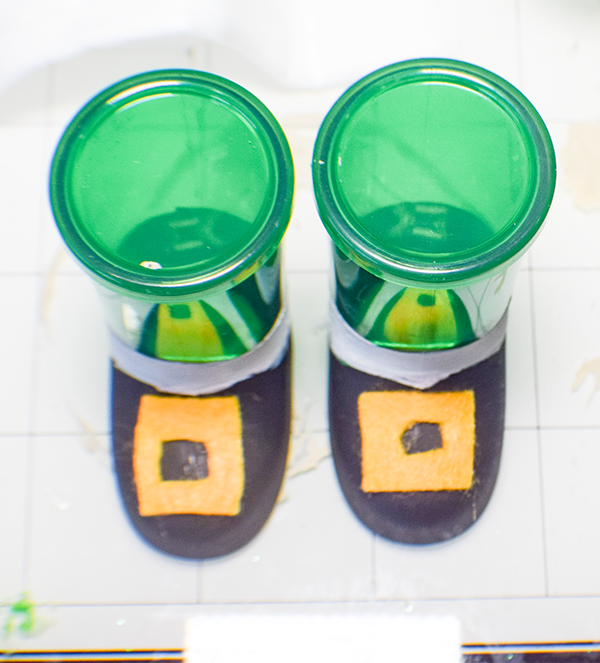
You can leave the boots green or paint them. I chose to paint the toes of the boots black and the area just above the toes white to indicate socks.Glue the buckle to the boots.
Step 6: Glue the Candle Holder to the Boots
Using a combination of hot glue and e6000 glue the candle holder to the boots.
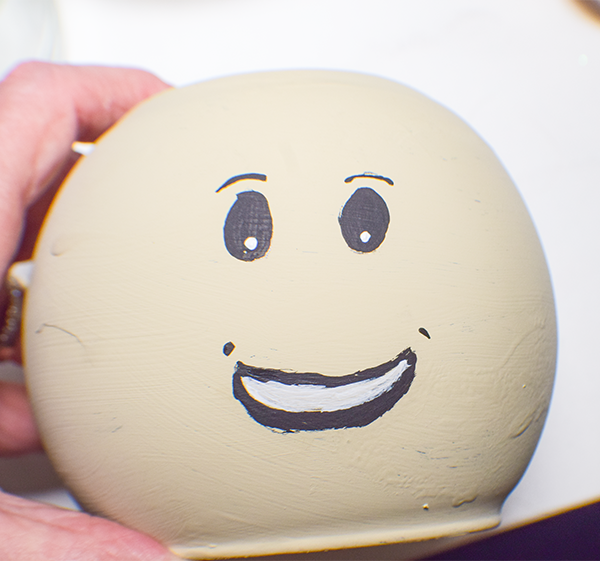
Step 7: Create the Face
Using the black paint draw eyes and eye brows. Add the mouth. I used black and white paint for this. Using the pink paint add the nose and cheeks. Cut off the flat side of the beard to use as a mustache. I added the beard and mustache using hot glue.

Step 8: Add the Head
Using hot glue, add the head to the body.
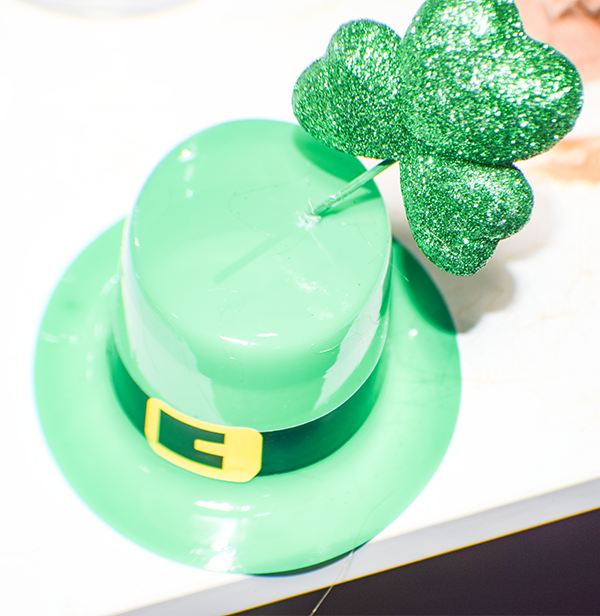
Step 9: Add the Hat
Place a shamrock pick into the top of the hat. I used e6000 to glue the hat to the top of the bowl. The hat is plastic so the hot glue will melt it.
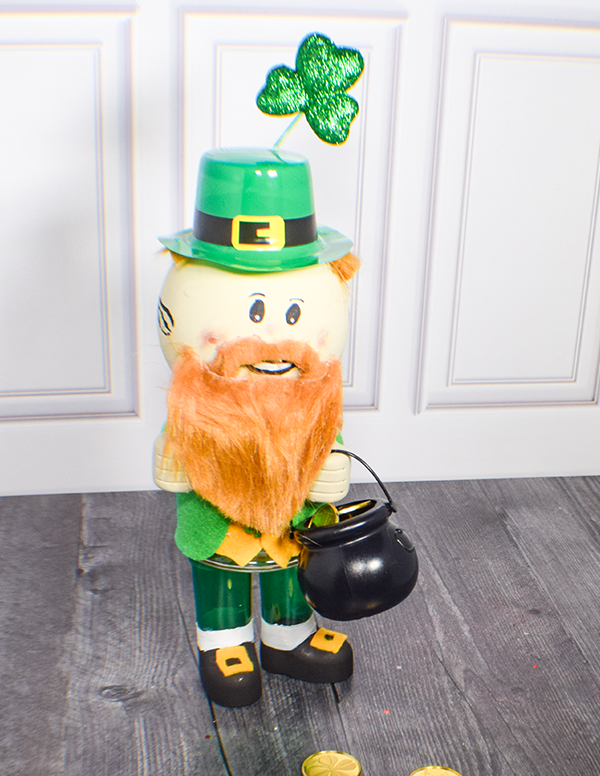
Step 10: Add the Pot of Gold
Place the pot in one of the hands. Fill it with the faux gold coins. You have now finished your Dollar Tree Leprechaun.

I hope you enjoyed this simple Dollar Tree craft. If you would like more sewing and crafting projects subscribe to our newsletter and receive your free Holiday Dollar Tree eBook.
If you would like video tutorials of some of Sew Very Crafty's most popular posts subscribe to our free YouTube channel here.