I am gearing up for the holiday season already. I know it seems early but with everything that needs to be done I needed to start early. Fortunately I came across this fun pattern on the Joann.com website. It comes with a free pattern but I thought a pictorial tutorial would be better. I really enjoy making holiday projects. If you would like more holiday projects check out my holiday project vault.
This project contains affiliate links that if you click on them and make a purchase I will receive a small commission at no extra cost to you. As an Amazon Associate I earn from qualifying purchases.
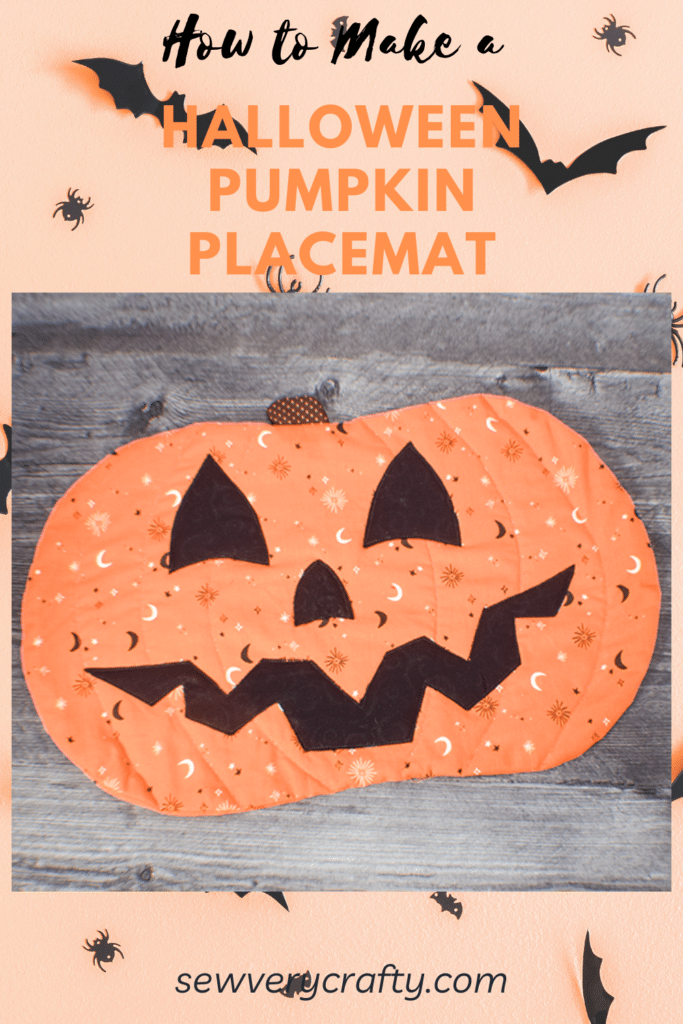
What you will Need: How to Make a Halloween Pumpkin Placemat
- Pattern you can get by clicking on this link
- 1/2 yd halloween fabric for the front and the back
- Scrap of brown fabric for the stem
- 1/4 yd solid fabric for the face
- 20″ x 14″ piece of cotton quilt batting
- 1/4 yd Heat and Bond for the face
- Heat erasable pen
- Sewing machine
- Standard sewing supplies
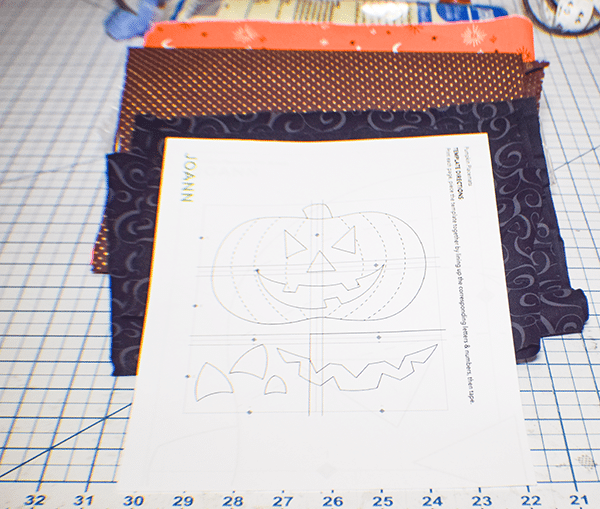
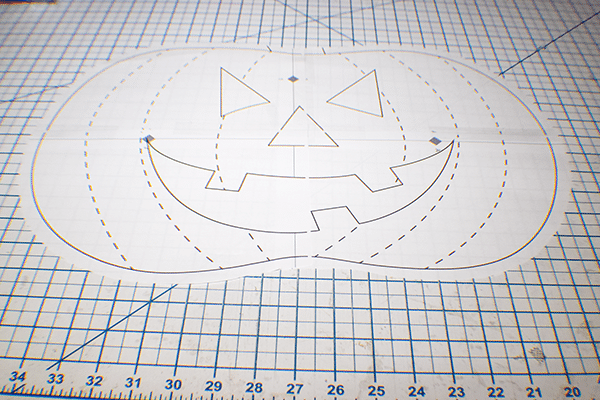
Step 1: Print out the Pattern
Using the link provided by Joann's print out the pattern. Tape it together matching the diamonds.

Step 2: Cut out the Pieces
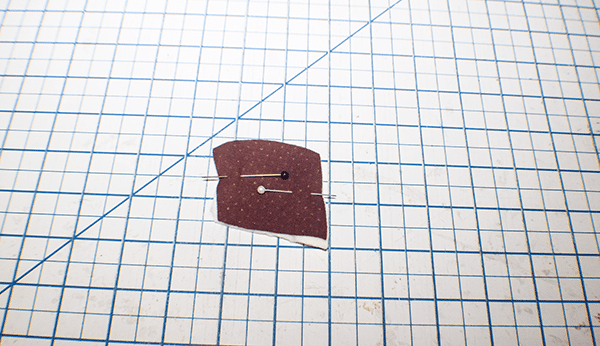
Place the main pumpkin pattern onto two pieces of fabric. They can be the same fabric or different colors and patterns. Add 1/2″ seam allowance to the pattern and cut out the front and the back. Cut out two pieces of the stem on the brown fabric again adding 1/2″ seam allowance. I drew a stem on a different piece of paper to aid in cutting out the pumpkin and stem. Cut out a main pumpkin piece and the stem piece adding the seam allowance from the batting.
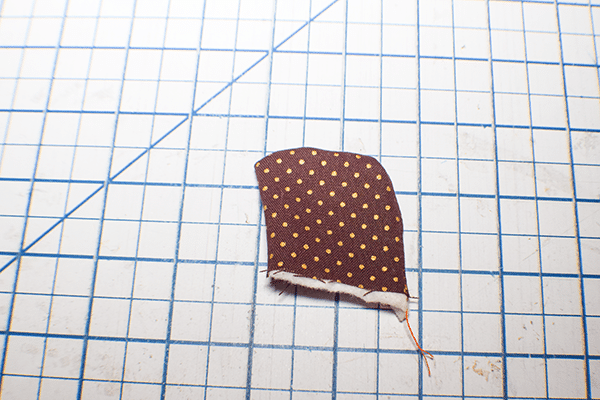
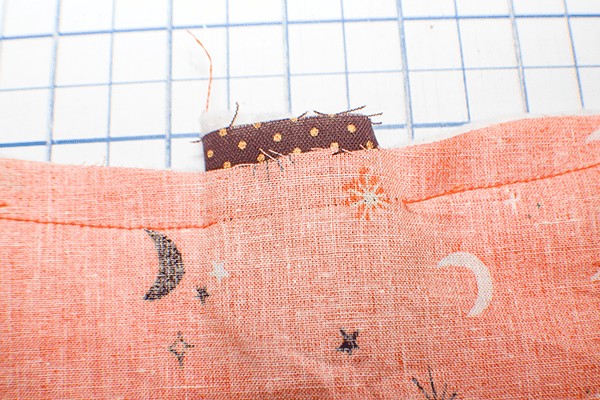
Step 3: Create the Stem
Place the two stem piece right sides together. Add the batting piece to the wrong side of one of the pieces. Stitch the layers together leaving the bottom open for turning. Trim the batting near the stitch line. Turn right sides out and press.
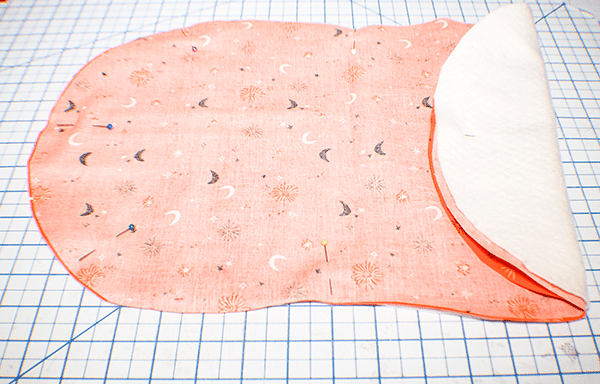
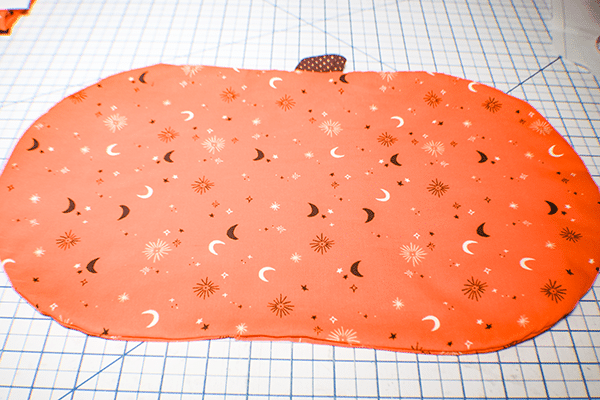
Step 4: Stitch the Placemat Together
Baste the stem piece to the right side of one of the main pumpkin pieces in the center. Layer the main pumpkin pieces right sides together with the batting on the wrong side of one of the pieces and the stem in the center. Stitch all the way around leaving an opening on the bottom for turning. Trim the batting. Turn right sides out and press. close the opening using ladder stitch.
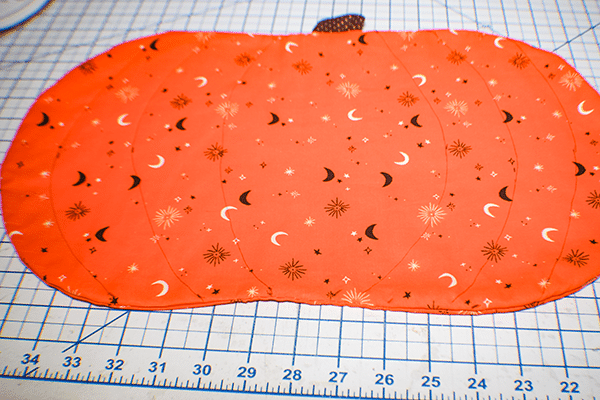
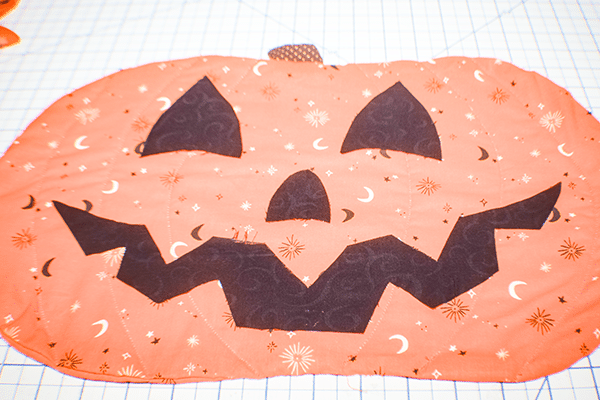
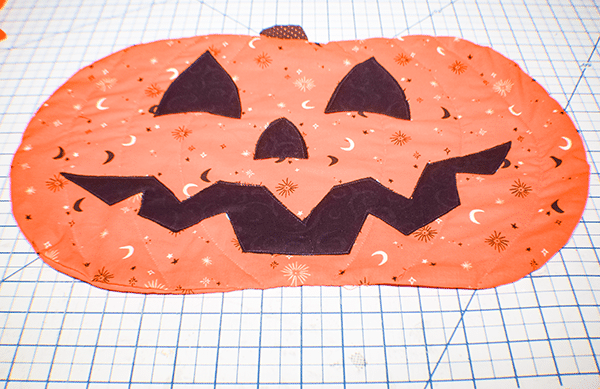
Step 5: Stitch the Pumpkin Lines
Transfer the pumpkin lines to the pumpkin. Stitch over drawn lines through all layers.
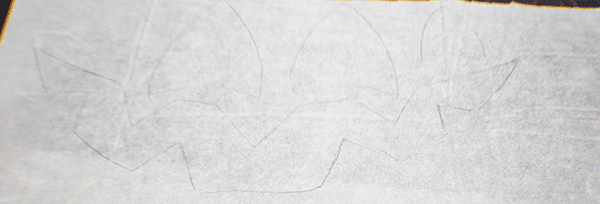
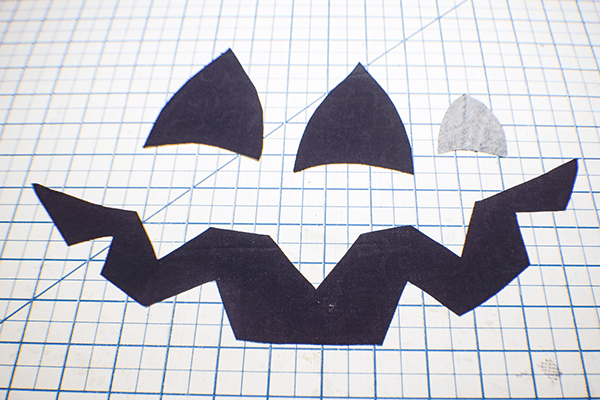
Step 6: Add the Face
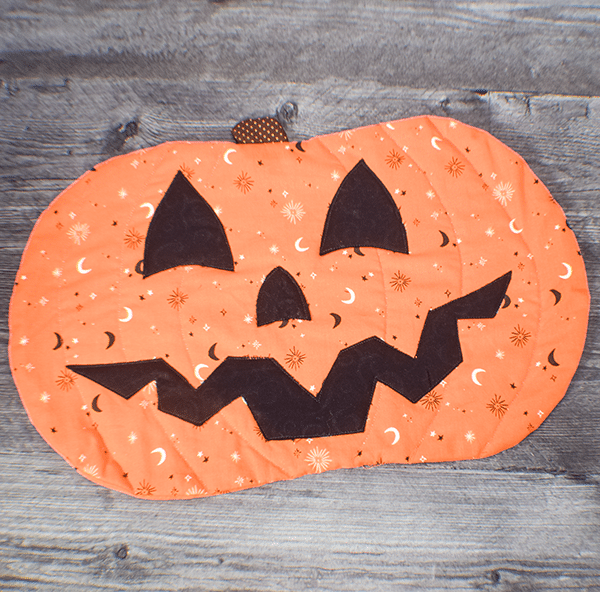
Using the Heat and Bond draw the face onto the paper side. Fuse the face to the solid fabric following the manufacturer's instructions. Cut out the face pieces. Place the face pieces on one side of the pumpkin and fuse in place. Stitch the face in place either by hand or with your machine. You have now finished your Halloween pumpkin placemat.
I hope you enjoyed this simple Halloween sewing project. If you would like more sewing and crafting projects subscribe to our newsletter and receive access to our free printables library.
If you would like video tutorials of some of Sew Very Crafty's most popular posts subscribe to our free YouTube channel here.