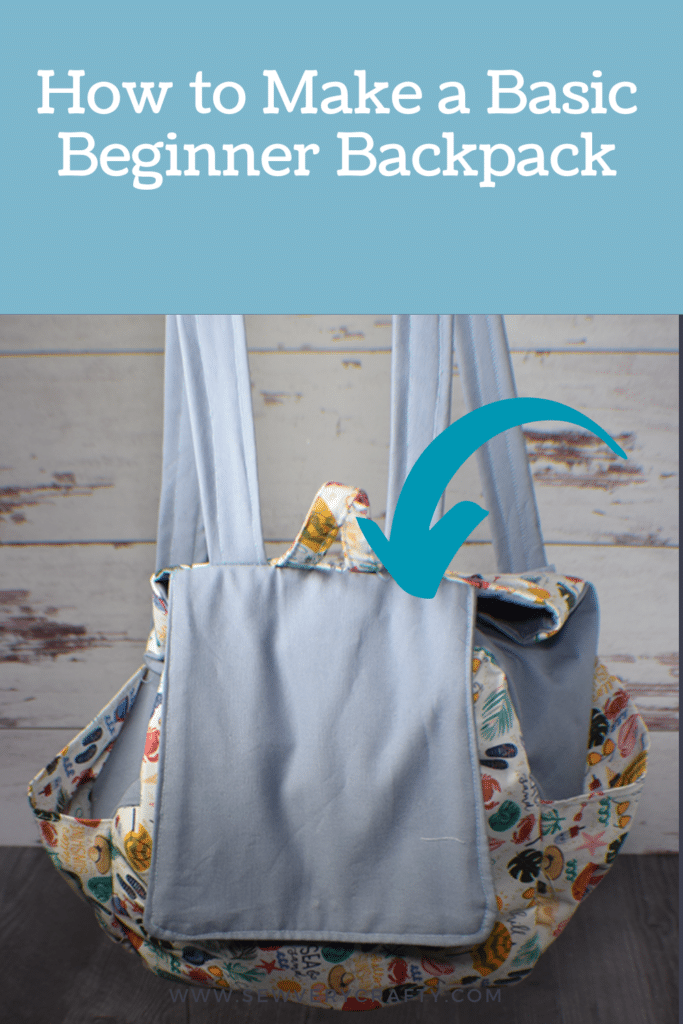
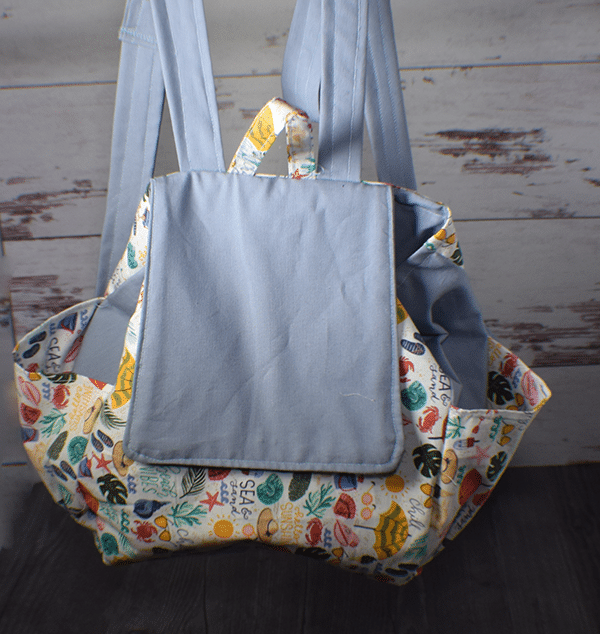
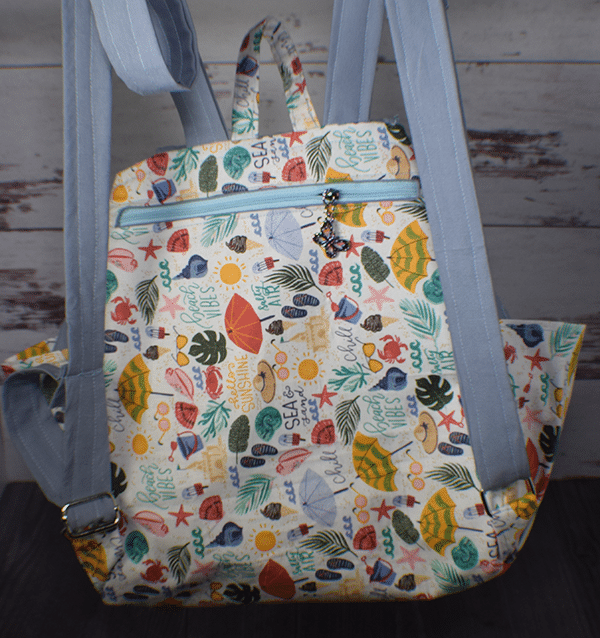
Backpacks are great beginner sewing projects to make. This backpack is super simple and you can make your own by choosing fun fabrics. There are a lot of steps but each one is simple to do. I am using beach themed fabric for my backpack because I live near the beach and loved the fabric. There are several backpacks on the site in my handbag page but this one is by far the easiest to put together. I hope you give it a try.
Note: This post contains affiliate links that if you click on them and make a purchase I will receive a small commission at no extra cost to you. As an Amazon Associate I earn from qualifying purchases.
What you Will Need
Tools you'll need
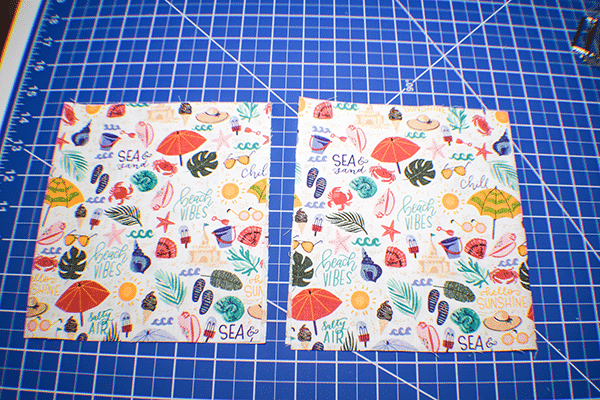
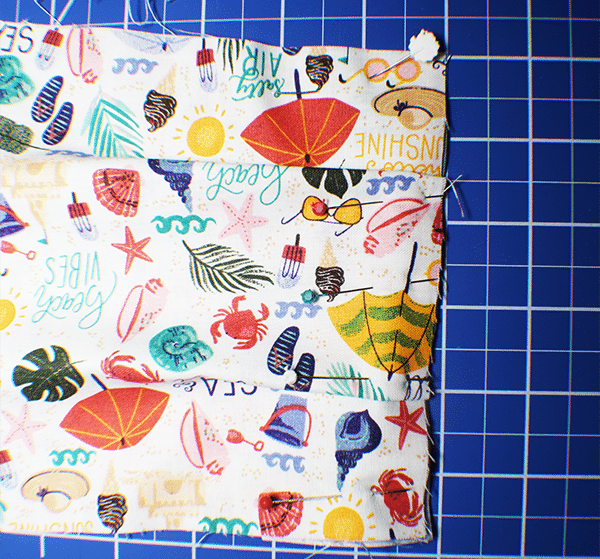
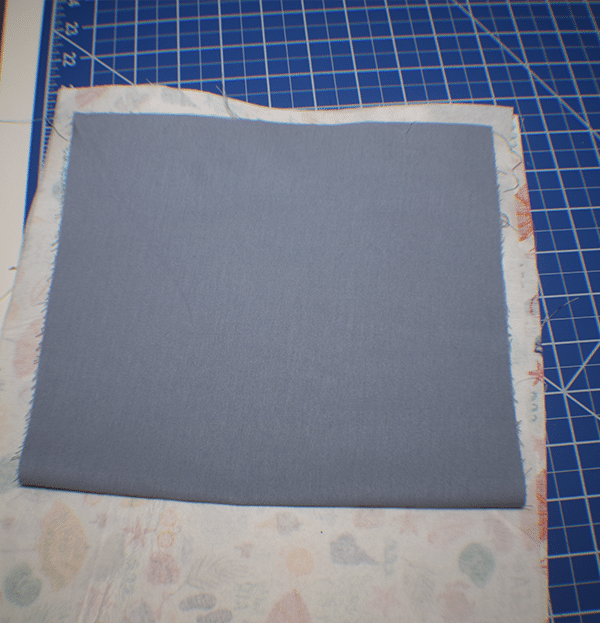
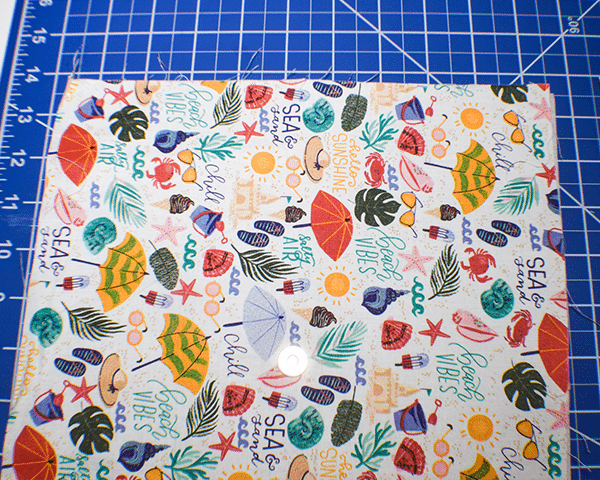
Step 1: Cut the Fabrics
Main Fabric
- 26 3/8″ x 10 1/4″
- 8 1/4″ x 8 5/8″
- 12 5/8″ x 7 1/8″ — 2 pieces
- 4″ x 2 3/8″ — 2 pieces
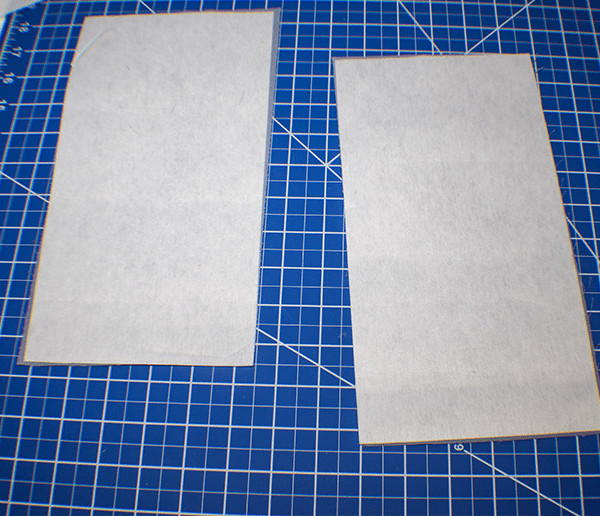
Interfacing
- 26 3/8″ x 10 1/4″
- 16 1/2″ x 8 5/8″
- 11″ x 5 7/8″ — 2 pieces
- 7 7/8″ x 7 7/8″
Lining
- 26 3/8″ x 10 1/4″
- 11″ x 5 7/8″ — 4 pieces
- 12 5/8″ x 8 5/8″
- 7 7/8″ x 7 7/8″ — 2 pieces
- 4 7/8″ x 1 1/2″
- 16 1/2″ x 8 5/8″
- 8 1/4″ x 3 1/8″
Straps
- 1″ x 39″ if you are using premade strapping. If you are making your own make sure the fabric is 4″ x 39″
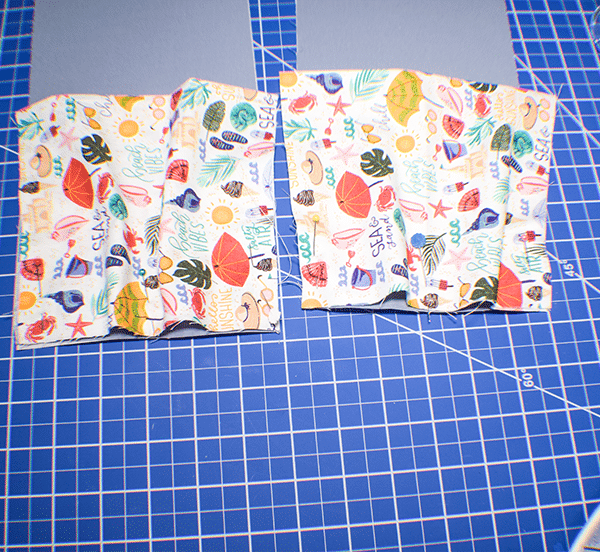
Step 2: Create the Side Pockets
Take the two 12 5/8″ x 7 1/8″ pieces. Fold each in half widthwise wrong sides together . Topstitch the sides and the top fold for both pieces.
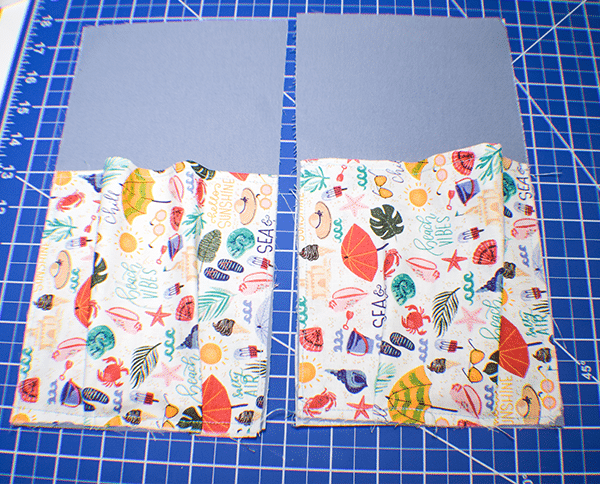
Step 3: Add the Side Pockets
Take the two pieces of 11″ x 5 7/8″ lining fabric and interfacing. Fuse the interfacing to each of the fabric pieces following the manufacturer's instructions. Find the center of each piece and make a mark. I do this by folding the piece in half lengthwise to get the center. Do the same thing for the pocket pieces you just made. Line up the pocket piece with the lining piece at the center marks and pin or clip. You will notice that the pocket is wider than the lining. That is correct. Next line up the sides and pin or clip. Fold the excess to the right of the middle clip so it faces to the right and pin or clip. Do the same for the left side. Topstitch along the sides and bottom.
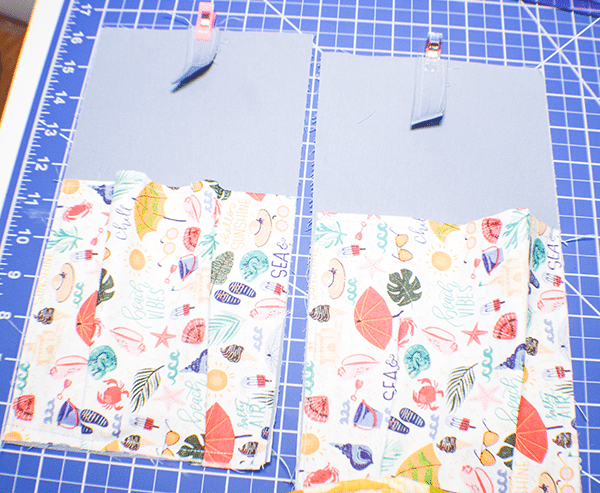
Step 4: Create the Tabs
Take the 4 7/8″ x 1 1/2″ pieces of lining fabric and fold the long raw edges of each to the center and press. Fold in half widthwise and press again. Topstitch along the sides and folded end.

Step 5: Add the Tabs
Find the center at the top of the piece where you placed the pocket. Place the tabs on each pocket piece matching the raw edges in the center. Baste the tabs.
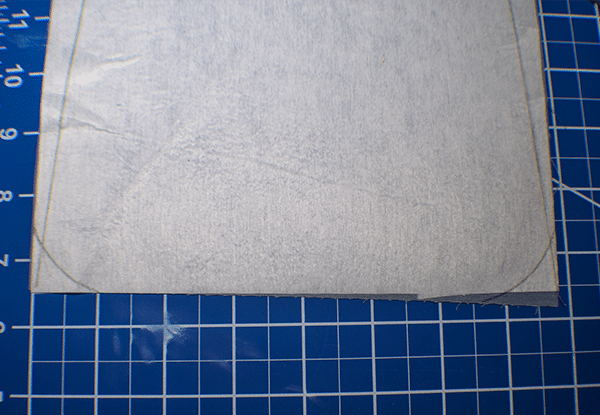
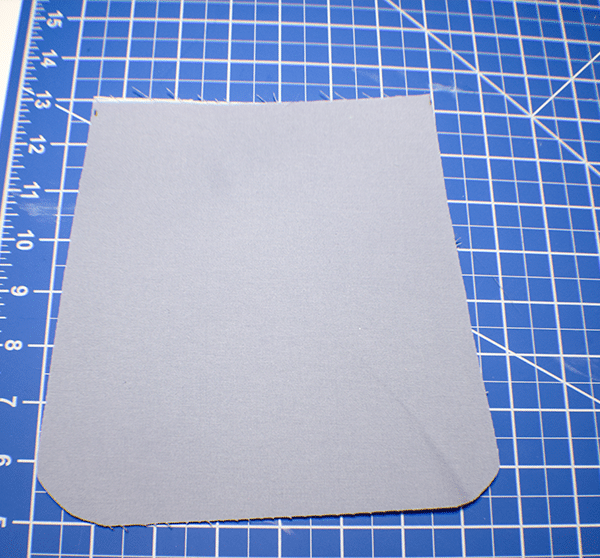
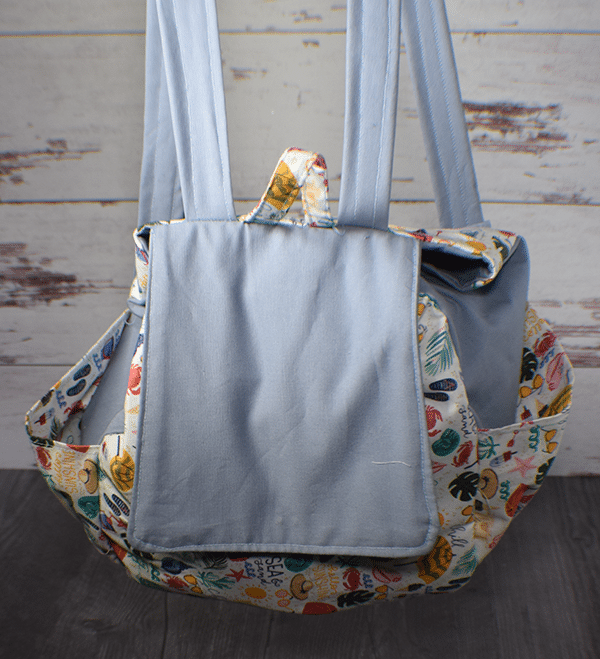
Step 6: Create One of the Flaps
Take the 7 7/8″ x 7 7/8″ lining and interfacing pieces. Fuse the interfacing following the manufacturer's instructions. On the interfacing side measure in from the side 3/4″ on each side and make a mark. Draw a line from the dot to the bottom corner on each side. Round the bottom corners using a glass or rounding ruler. Cut along the lines.
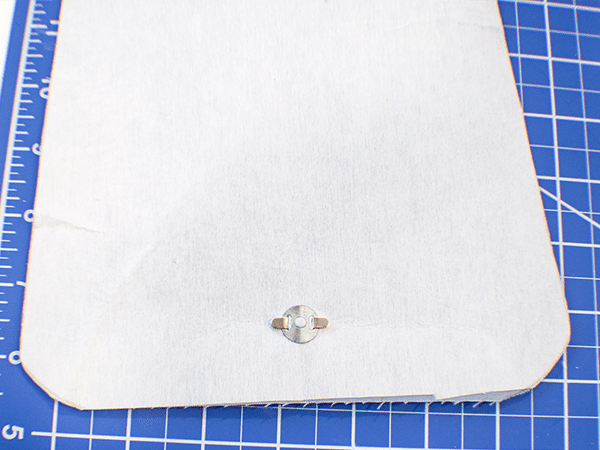
Step 7: Attach the Magnetic Snap
Find the center of the bottom rounded flap piece. Measure up 1 1/8″ in the center and insert one side of the snap. To do this use the grommet that comes with the snap and place it in the center, Mark the slits with a pin and cut them with a small pair of scissors or a seam ripper. Insert the prongs of the snap into the slits on the right side. Place the grommet on the back and fold the prongs to secure.
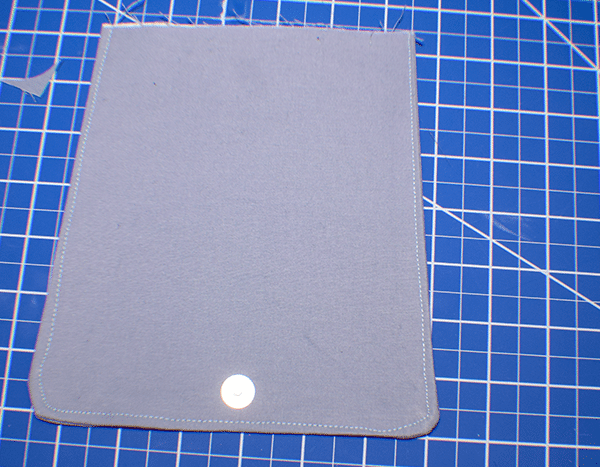
Step 8: Create the other side of the Flap
Place the first flap piece right sides together onto the second flap piece and stitch the two together using a 3/8″ seam allowance along the rounded piece. Cut off the excess and trimming the seam. Turn right sides out. Press. Top stitch along the sides and the rounded bottom edge.

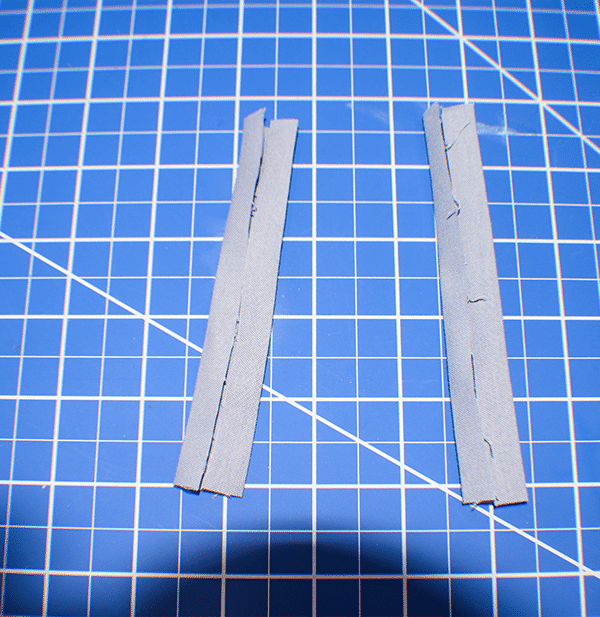
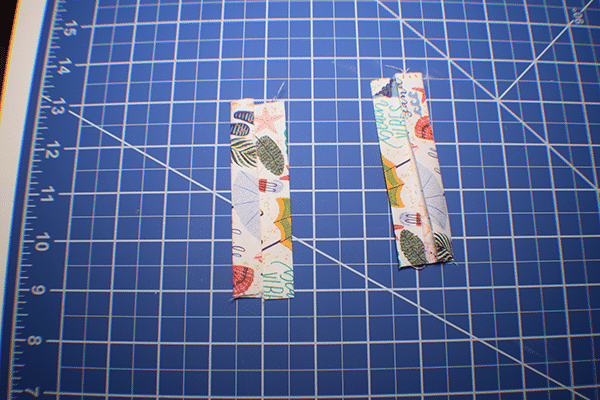
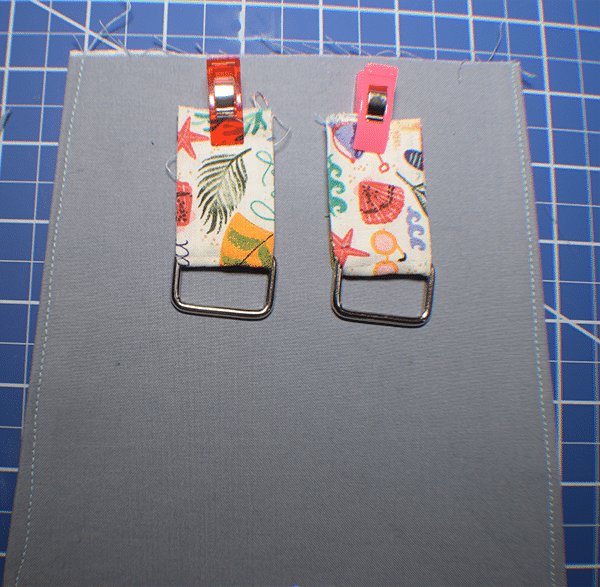
Step 9: Create the D-Ring Tabs
Take the 4″ x 2 3/8″ pieces. Fold the long edges to the center and press. Fold in half widthwise. Insert through the D-Ring. Repeat for the other tab. Stitch a square around the tab to secure.
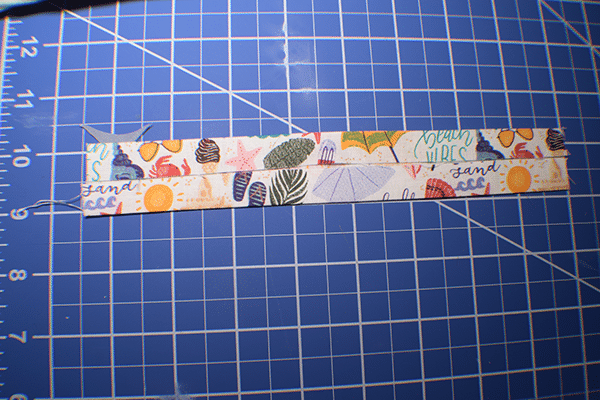
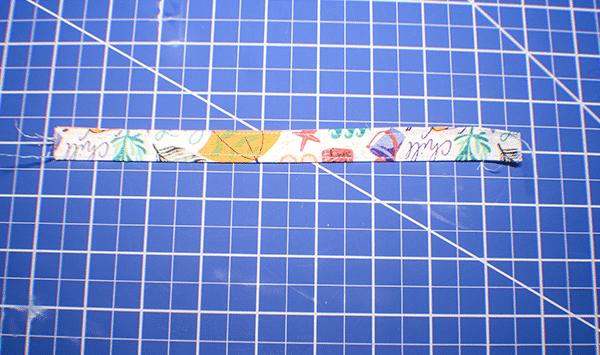
Step 10: Create the Loop
Take the 8 1/4″ x 3 1/8 piece and fold it in half lengthwise and press. Open up the piece and fold the long raw edges to the center. Fold in half lengthwise and top stitch on both sides.
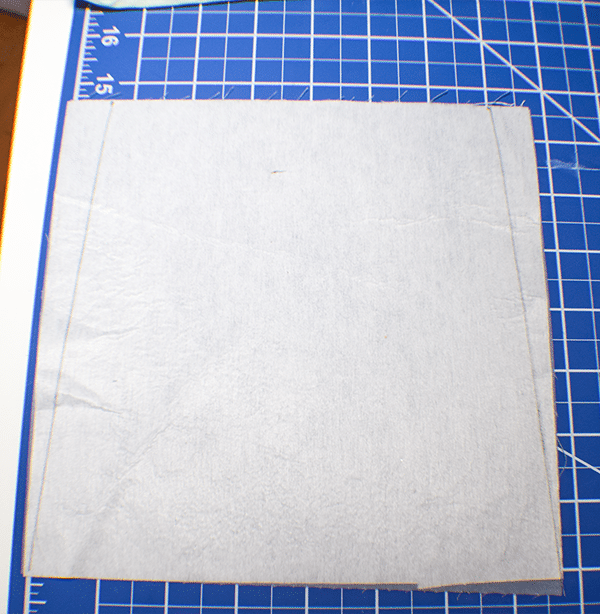
Step 11: Create the Body
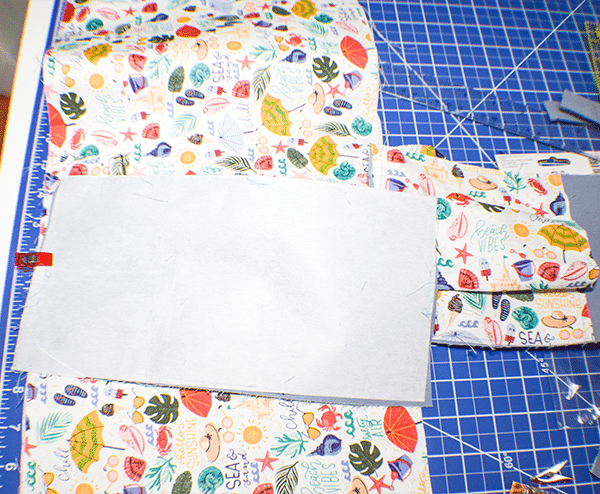
Take the large outer piece and fuse the corresponding interfacing piece according to the manufacturer's instruction.
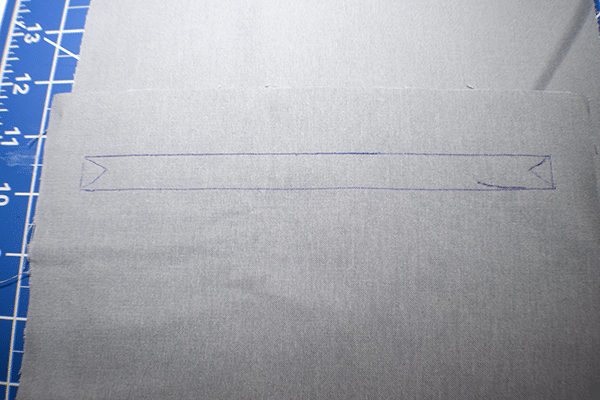
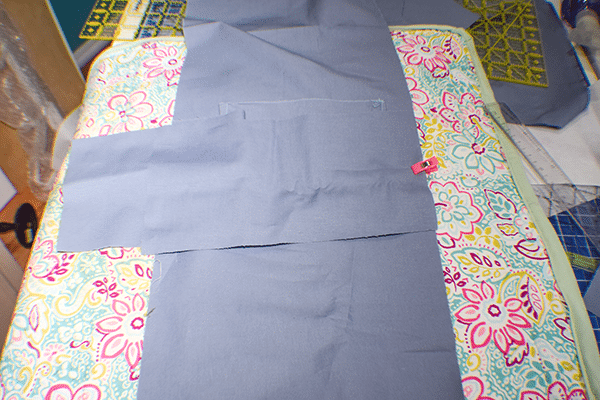
Step 12: Add the Zipper
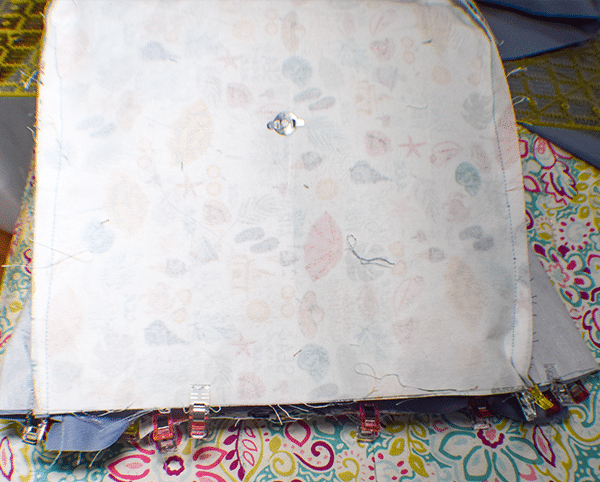
Take the lining piece that measures 16 1/2″ x 8 5/8″ Measure down from the top on the wrong side 1 1/8″ and make a mark. Measure in 3/4″ from each side and make a mark. Draw a rectangle 1/2″ wide with the top being along the place you made the first mark and ending 3/4″ from each side. Draw lines on each end measuring 1/2″. Connect the lines to create the rectangle. Add the lining piece to the outer piece right sides together so that it is 3/4″ from the top of the main fabric piece. Stitch all the way around the rectangle you drew through all layers. Draw a line down the middle of the rectangle with triangles at the end as shown.
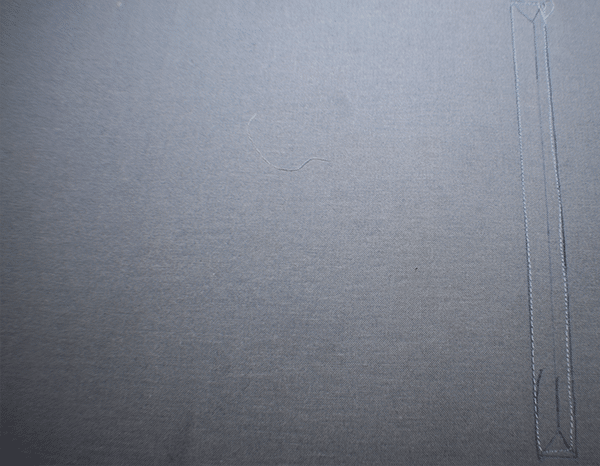
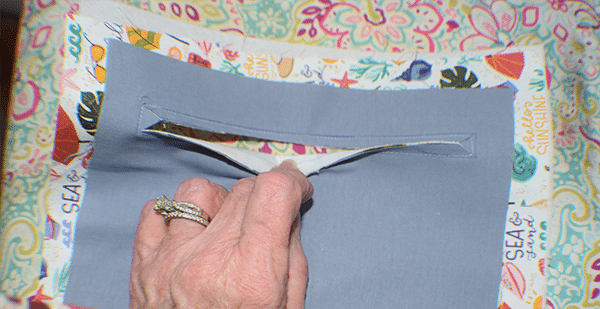
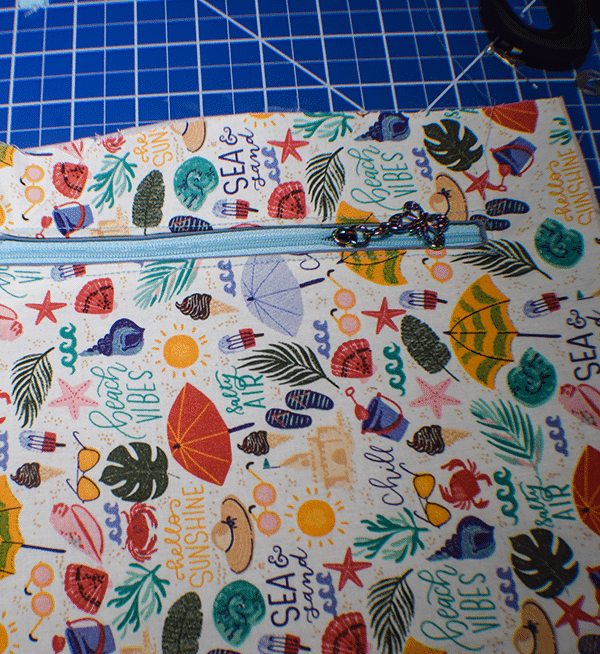
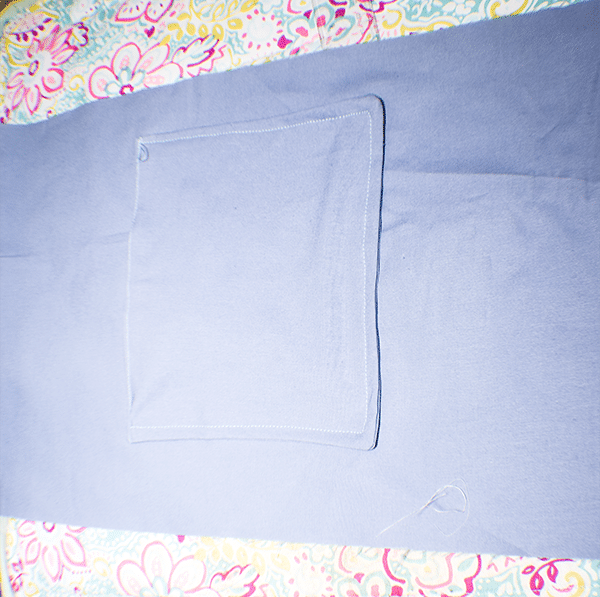
Cut the line and rectangles. Push the lining piece through the hole you just created and press well. Place the zipper in the center of the rectangle on the wrong side and so that the zipper is on the right side. You can add some fabric glue or double sided tape to keep the zipper in place. Topstitch all the way around the zipper to secure.
Step 13: Create the Pocket
Turn the piece to the wrong side. Fold up the lining so that the short edges meet. Stitch the pocket along the sides and top without stitching the main outer fabric.
Step14: Add the Second Half of the Magnetic Snap
Measure down 5 7/8″ from the short edge opposite the end with the zipper and make a mark in the center. Add the other half of the snap the same way you added the first half.
Step 15: Add the Loop
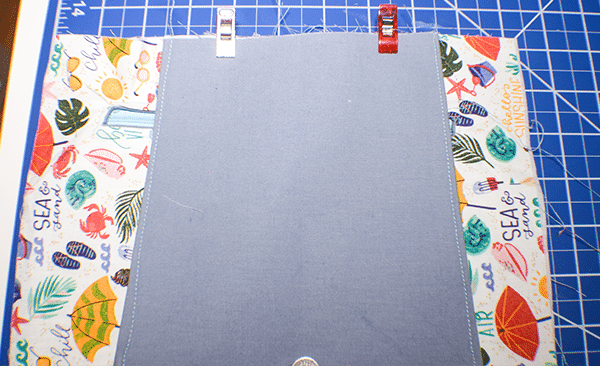
Find the center at the top of the outer bag piece on the end with the zipper. Make a mark. Measure 3/4″ on each side of the first mark and make marks there. Place the loop piece with each end on the marks you made on either side of the center. Topstitch the loop to the outer bag.
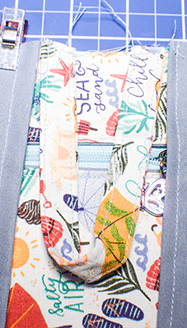
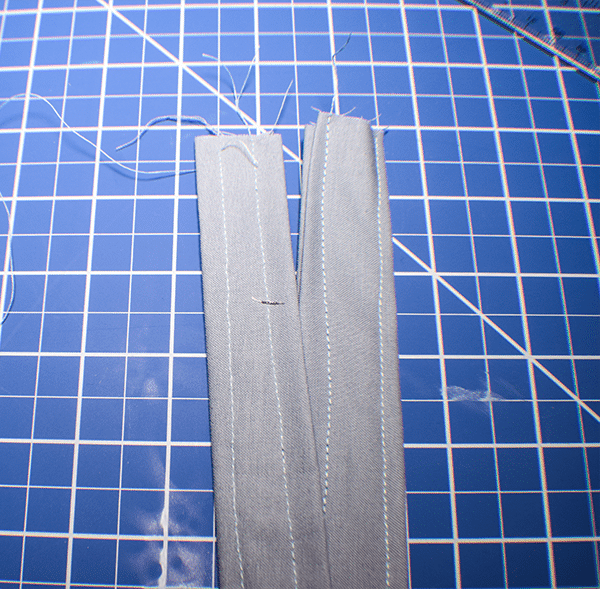
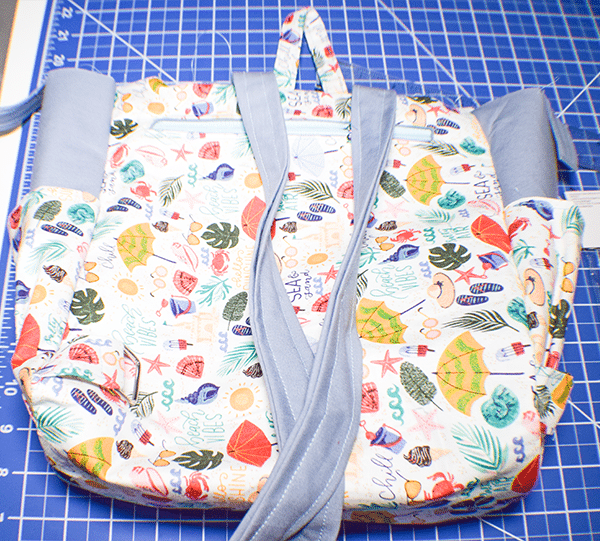
Step 16: Add the Straps
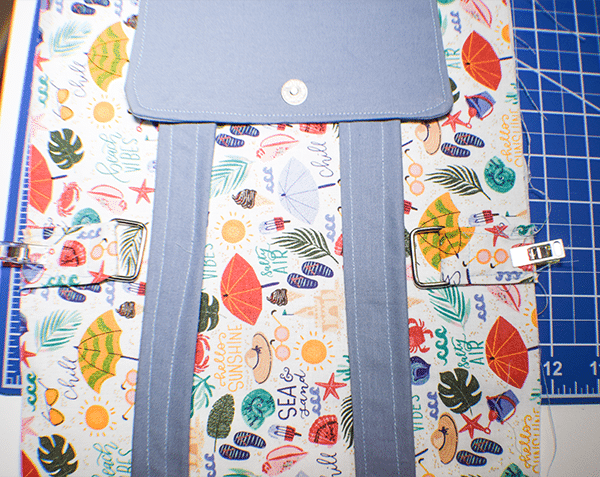
You have a choice to use premade strapping or making your own. I decided to make my own in the same way I made the loop. Just make sure that it measures 4″ x 39″ if you are making your own. Add the straps to each side of the loop and pin or clip. Find the center of the flap piece at the top and mark it. Place the flap on the center of the outer piece over the loop and the straps making sure that the snap is facing up. Measure down 10 1/4″ on each long side of the outer bag and make a mark. Place the D-Ring tabs on the mark with the D-Rings facing in. Stitch the flap, loop and straps using a 3/8″ seam allowance. Topstitch the D-Ring tabs.
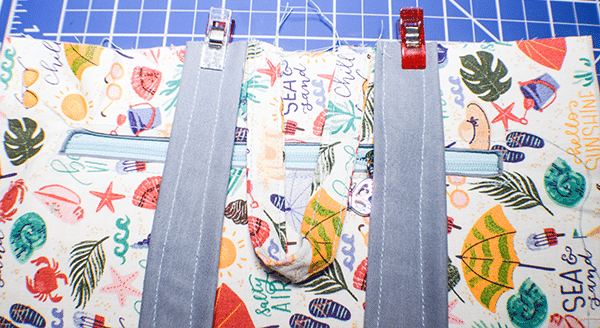
Step 17: Add the Pocket Pieces
Fold the outer bag in half widthwise to find the center. Make a mark on both sides. Fold the pocket pieces in half lengthwise and find the center. Make a mark on the bottom of each piece. Place the center markings onto the center markings of the main back pack and pin or clip. Do this for both sides.
Step 18: Add the Sides to the Pockets
Fold down the top side so that the side of the main bag matches the side of the pocket piece. Repeat for the bottom. Stitch the pieces together on the sides and bottom using a 3/8″ seam allowance. Repeat for the other side. Turn right sides out.
Step 19: Create the Lining
Take the 12 5/8″ x 8 5/8″ lining piece and fold it in half widthwise. Stitch the sides and the open end leaving an opening for turning. Turn right sides out and press. Topstitch along the folded edge. This is the internal pocket.
Step 20: Add the Internal Pocket
Take the large lining piece. Find the center and measure down 10″. Place the top of the pocket on the 10″ mark. Stitch the sides and bottom to the lining making sure to close the openng in the pocket as you go.
Step 21: Finish the lining
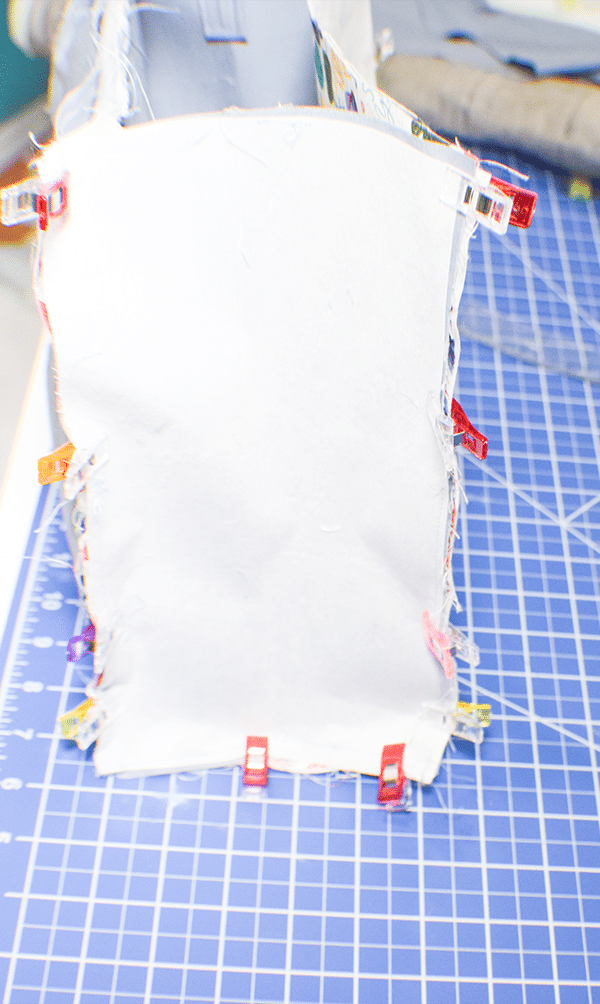
Using the side lining pieces place them in the center of each side of the lining in the same way you did the outer piece. Fold the top and bottom of the main lining piece to the side pieces in the same way you did the outer fabric. Stitch using a 3/8″ seam allowance leaving an opening for turning. Turn right sides out.
Step 22: Add the Lining
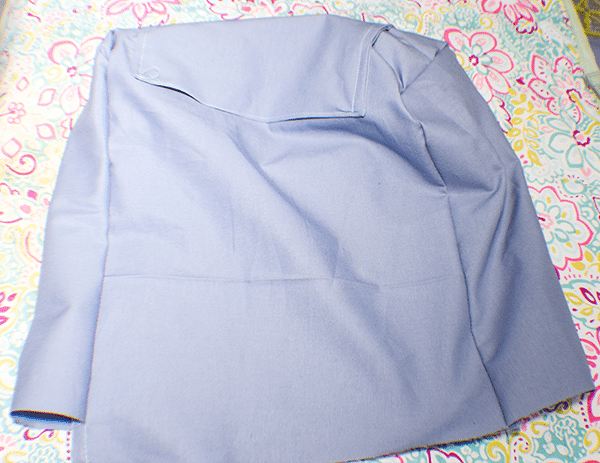
Turn the outer bag wrong sides out. Place it inside the lining so that the interior pocket is on the same side as the zipper pocket. Stitch all the way around the top of the bag using a 3/8″ seam allowance. Turn the bag right sides out through the opening in the lining. Close the opening in the lining using your machine or ladder stitch. Push the lining into the bag and press topstitch all the way around the top to secure the lining to the outer bag.
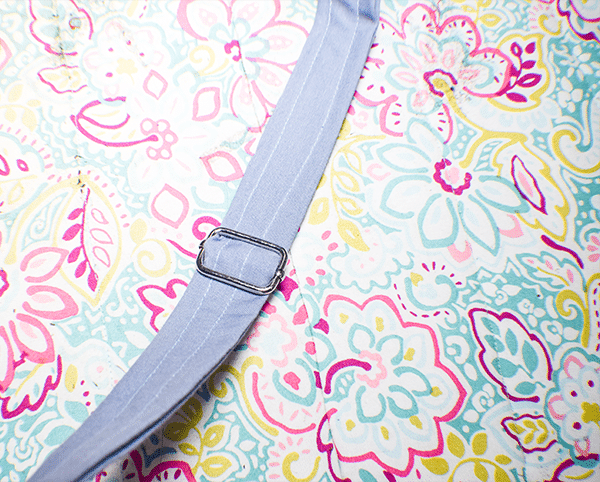
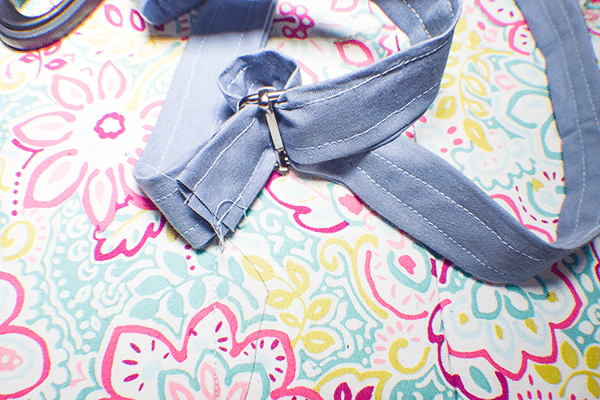
Step 23: Add the Triglides
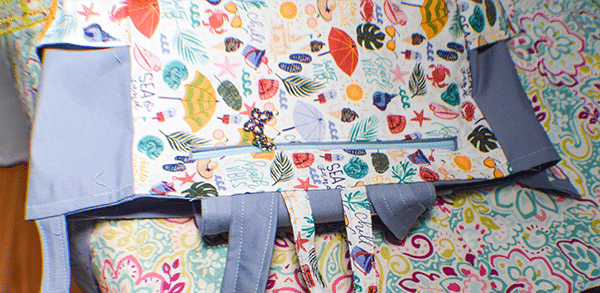
Place the triglides at the bottom of each strap by threading it through as shown. Thread the end through the D-Ring and back again through the triglide. Stitch the end of the strap to the main part of the strap about 1″ down to secure. This will allow the strap to be adjustable.
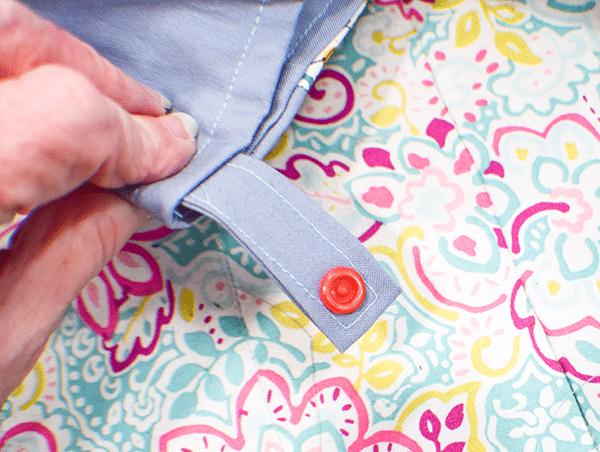
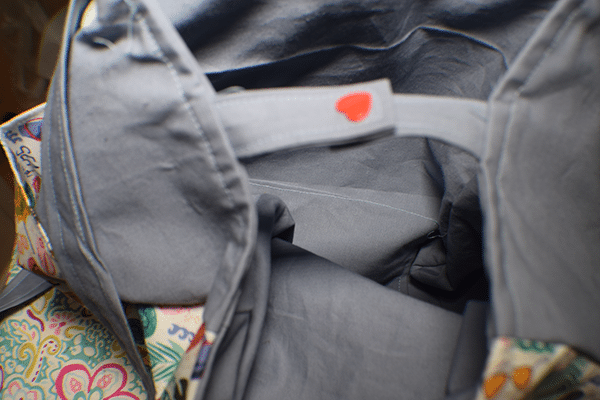
Step 24: Add the Kamsnap
Place a kamsnap on each end of the internal tabs so that they cross each other and snap. if you are unfamiliar with how to install Kamsnaps. Check out this video. Once you have finished the kamsnaps you have finished your simple beginner backpack

I hope you enjoyed this simple backpack project. If you would like more sewing and crafting projects subscribe to our free newsletter and receive your free eBook od 15 handbag patterns and tutorials taken from the blog.
https://click.convertkit-mail4.com/mvu2695n6xhmix4ppcmhrzxmqqqa3/qvh8h7hrko2o7eul/aHR0cHM6Ly9hcHAua2l0LmNvbS9sYW5kaW5nX3BhZ2VzLzJkZGYzZTMxLWQ2M2QtNDllMi05NTU3LTVhZWQ5OWNiMDZlZi9yZWRlZW0=If you would like video tutorials of some of Sew Very Crafty's most popular posts subscribe to our free YouTube channel here.
Join our Sew Very Crafty Fans Facebook group
If you want to ask questions and share your projects join our Facebook group here. The community will help to achieve your sewing and crafting dreams.