I love these Log Cabin Santa ornaments. They are so simple to make and are really fun. You can make two of them at a time with no problem at all. All you need are some basic piecing skills and some ladder stitching skills to complete this adorable Log Cabin Christmas ornament. Christmas is not that far away so I have begun making my Christmas projects for this year and I thought I would make a few of these Santas and share the process with you. If you would like more of my holiday projects check out my holiday page here.
I purchased some Christmas fat quarters from the fat quarter shop for some of my Christmas projects this year but you could head to Mood Fabrics,![]() Michael's or Amazon Fabrics or
Michael's or Amazon Fabrics or
What you will Need: How to Make a Log Cabin Santa
- 1/8 Yard of red print fabric
- 1/8 yd of red fabric
- Strip of white fabric
- 2 1/2″ square of beige fabric
- Strip of Black Fabric
- 9 1/2″ Square of fusible fleece
- Ribbon
- Black embroidery thread
- Sewing machine
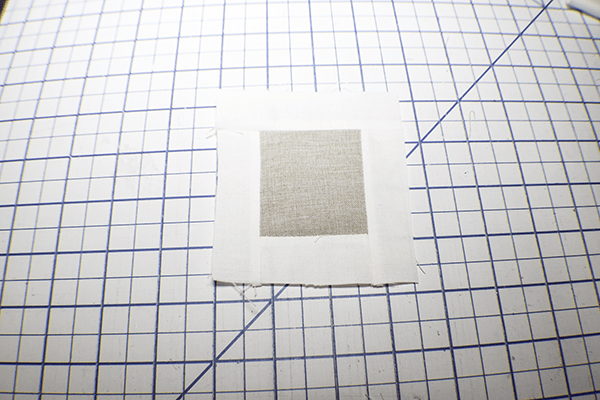
Step 1: Cut your Fabrics
Cut the beige fabric into a 2 1/2″ square. Cut the white, black and red fabrics into 1″ wide strips. Finally cut two 9 1/2″ squares of red fabric and a 9 1/2″ square piece of fusible fleece.
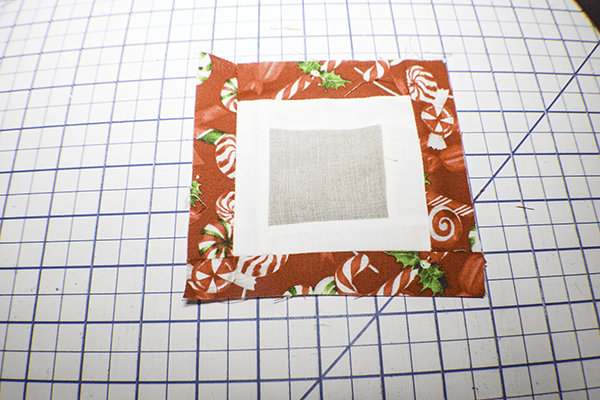
Step 2: Stitch the White Fabric
Start by stitching a 1″ x 2 1/2″ strip right sides together with the beige square. Stitch 1″ strips all the way around the beige square trimming the ends as you go.
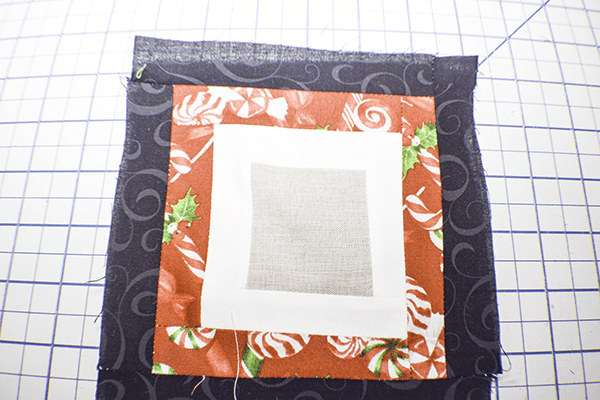
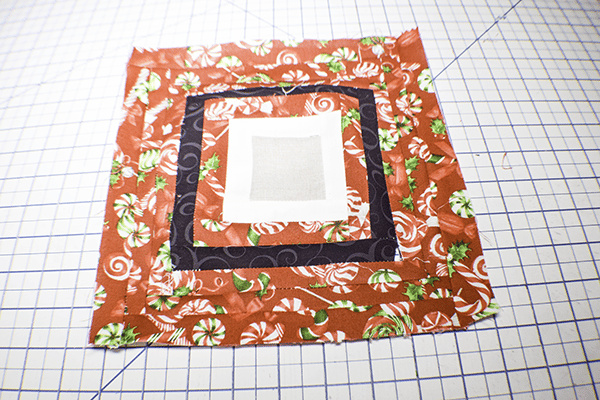
Step 3: Stitch the Remaining Strips
Next stitch red strips all the way around the square trimming the ends as you go. Then, stitch a square of black strips all the way around. From there, stitch 3 more strips of red around the perimeter.
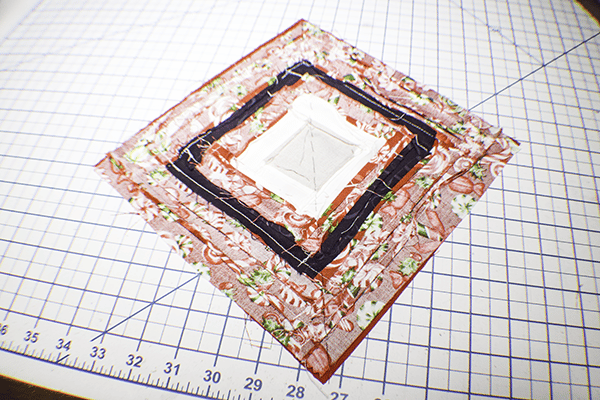
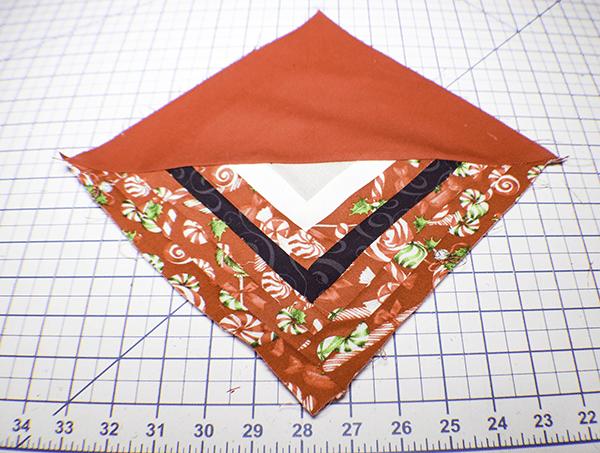
Step 4: Add the Red Square
Place the red square right sides together with the log cabin block you just created. Pin. Draw a line down the diagonal of the wrong side of the log cabin block. Stitch a 1/4″ seam on both sides of the line that you drew. Cut the two pieces in half along the drawn line.
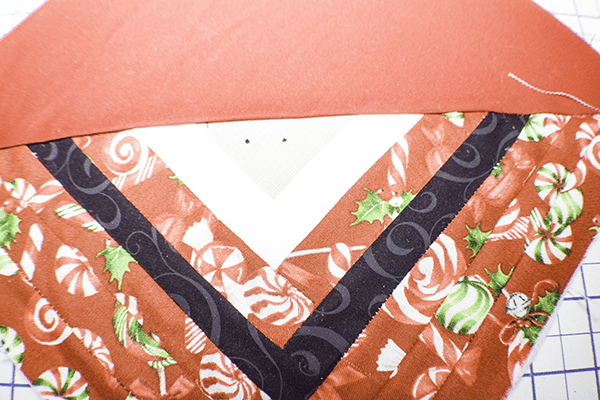
Step 5: Stitch the Eyes
Using the black embroidery thread stitch two eyes on the beige fabric.
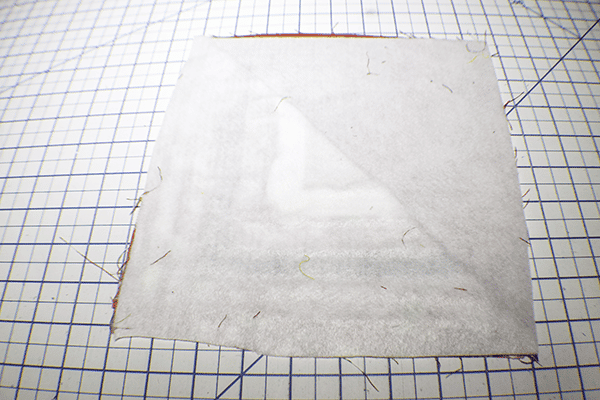
Step 6: Fuse the Fleece
Fuse the square of fusible fleece to the wrong side of the block you just created.
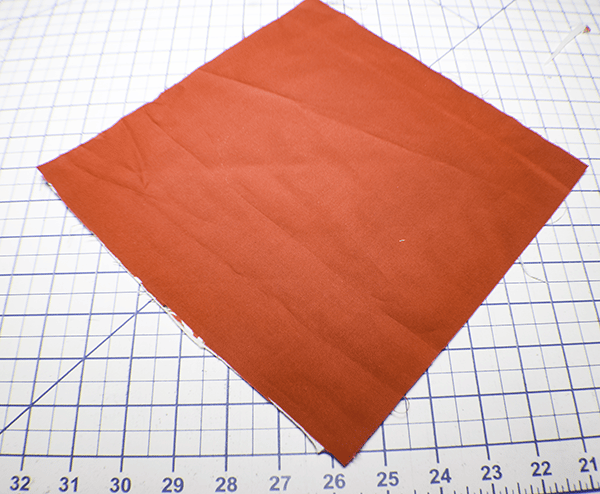
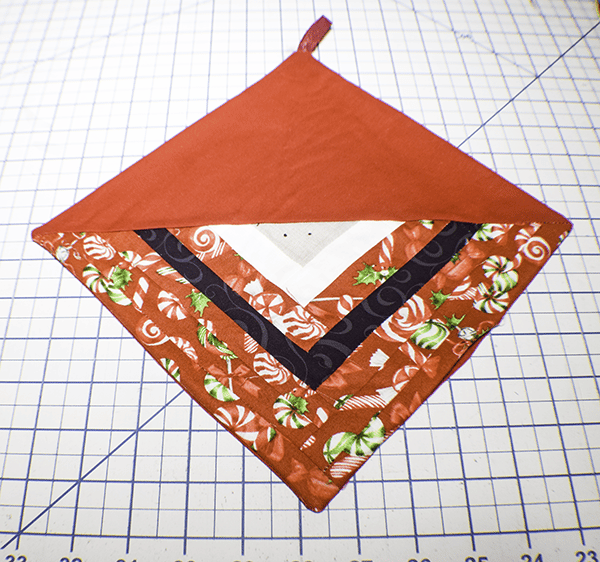
Step 7: Add the Back
Place the final red square right sides together with the block. Insert the ribbon in a loop at the top of the block. Stitch all the way around using a 1/4″ seam allowance and leaving an opening for turning. Clip the corners and turn right sides out. Press.
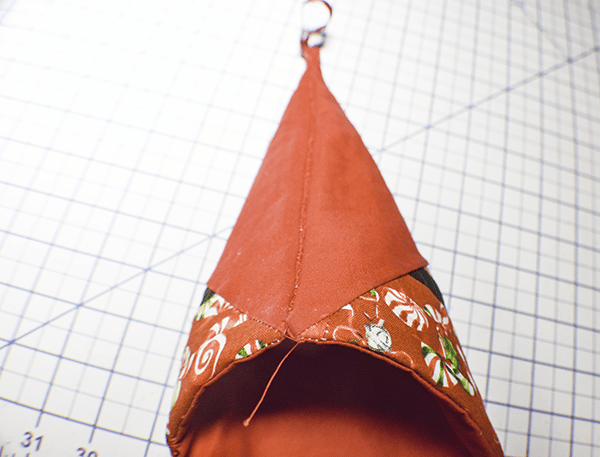
Step 8: Stitch the Back
Fold the log cabin Santa so that the rd pieces meet in the back. Stitch the sides together using ladder stitch and creating a cone shape. Close the opening with ladder stitch and this will finish your log cabin Santa.
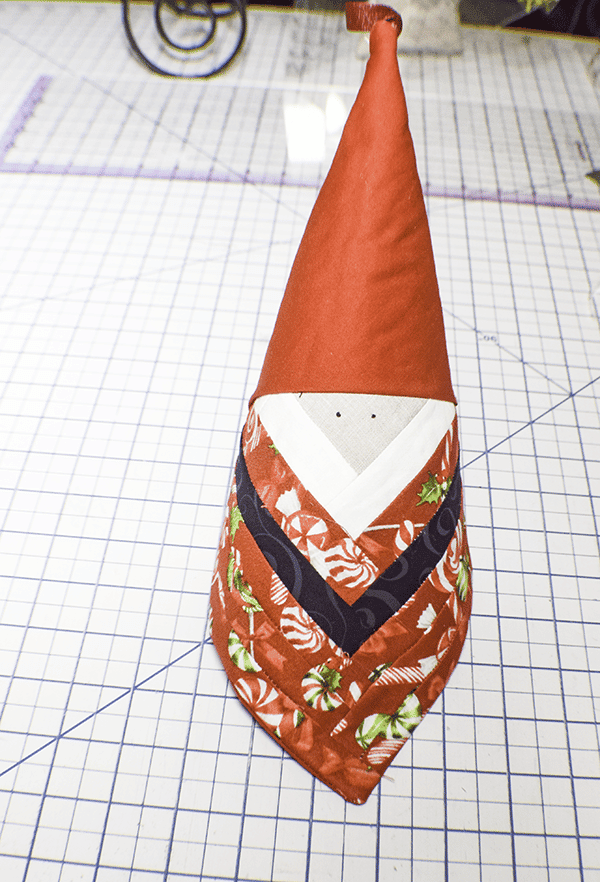
I hope you enjoyed this Fabric Santa project. If you would like more sewing and crafting projects subscribe to our newsletter and receive access to our free printables library
If you would like video tutorials of some of Sew Very Crafty's most popular posts subscribe to our free YouTube Channel here.