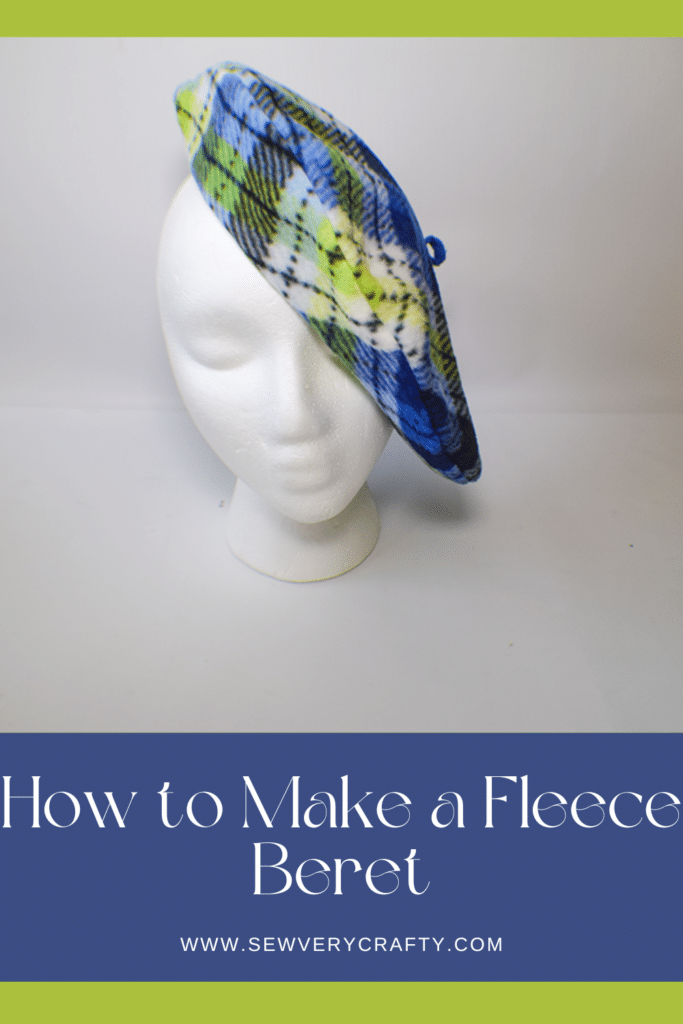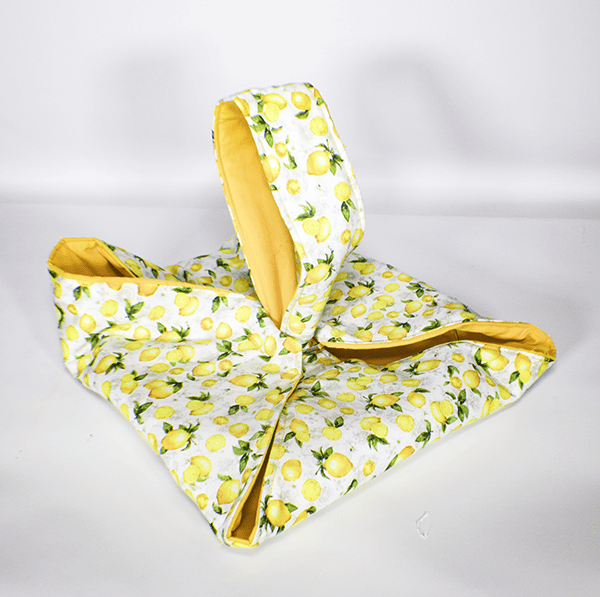
Hat making is so much fun. Many hats are super simple to make and this simple fleece beret is no different. There are just two pieces of fabric and some elastic to create this fun hat project. This is a beginner sewing project that anyone with basic sewing skills can make in minutes. Not only is this beret simple to make it is stylish too. If you would like a more traditional version of this project check out my easy winter beret. Also, this beret would go perfectly with my fleece keyhole scarf.
I used two complimentary pieces of fleece that I purchased at JOANN Fabric & Craft Stores![]() for this project. You could use the same fabric for both sides if you like but if you want it to be reversible choose something else. If you don't have a joann's near you head to Amazon Fabrics or
for this project. You could use the same fabric for both sides if you like but if you want it to be reversible choose something else. If you don't have a joann's near you head to Amazon Fabrics or
What you will Need: How to Make a Simple Fleece Beret
- Two 12″ diameter circles of fleece
- Two `12″ diameter circles of cotton lining fabric
- One 1/4″ x 2″ piece of fleece
- Sewing Machine
- Standard sewing supplies
If you would like a video tutorial of this project head over to my YouTube channel and check it out. While you are there subscribe for free.

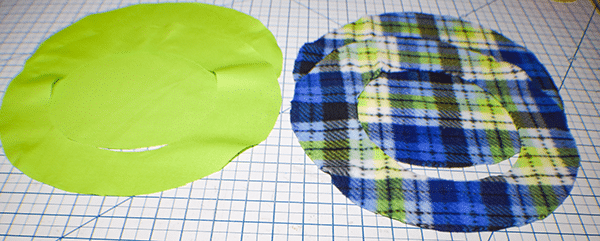
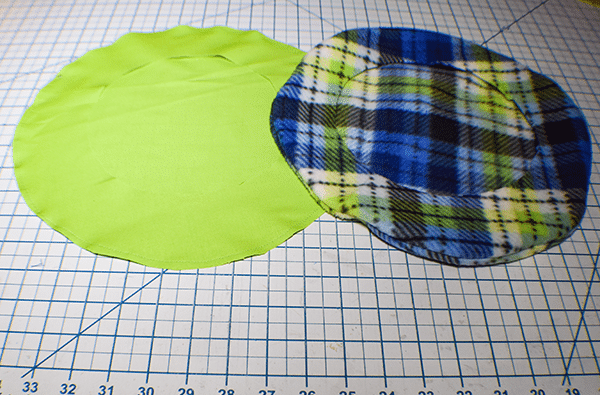
Step 1: Cut the Fabrics
Cut two circles of fleece and lining fabric that measure 16″ in diameter. From one of the fleece and lining pieces cut out the center. The measurement of the center cutout will be the circumference of your head. My head is 21 1/2″. I made this process easier by determining the diameter of the circle and using my compass. To do this simply take the circumference of your head and divide it by 6.28 then multiply that by 2. So my diameter equals 6.84.
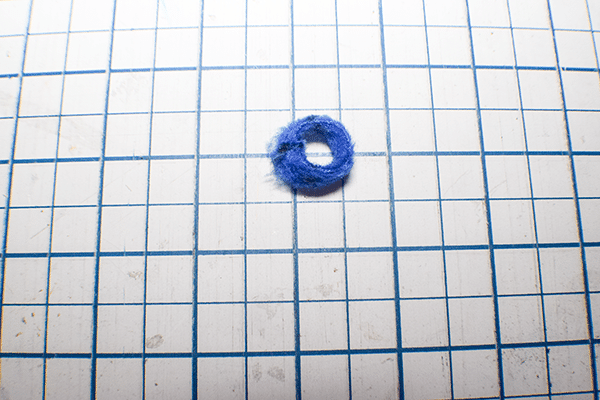
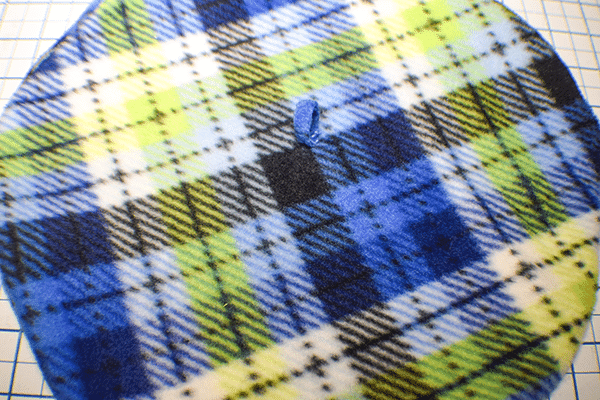
Step 2: Stitch the Stem
Fold the 1/4″ x 2″ piece of fleece in half. Overlap the ends and stitch them together. Find the center of the fleece circle by folding it in quarters and making a mark. Stitch the stem onto the mark so that it sticks up on the top of the beret.
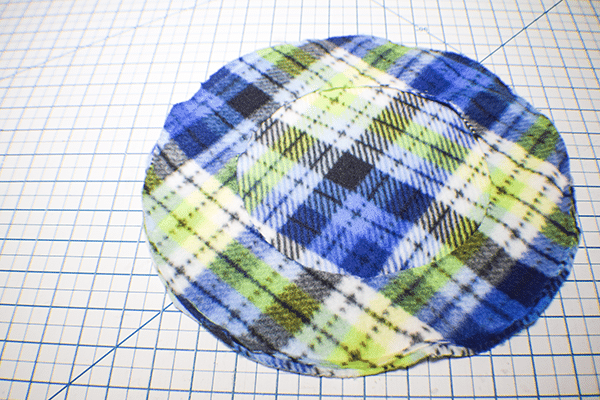
Step 3: Stitch the Fleece Circles
Place the inner and outer circles right sides together. There is really no right or wrong side to fleece but if you are using something else place the fabrics right sides together. Stitch all the way around using a 1/4″ seam allowance. Turn right sides out.
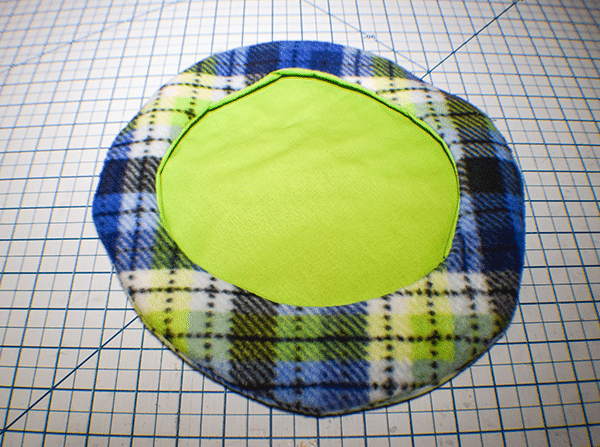
Step 4: Stitch the Cotton Circles
Place the inner and outer circles right side3s together and stitch in the same way.
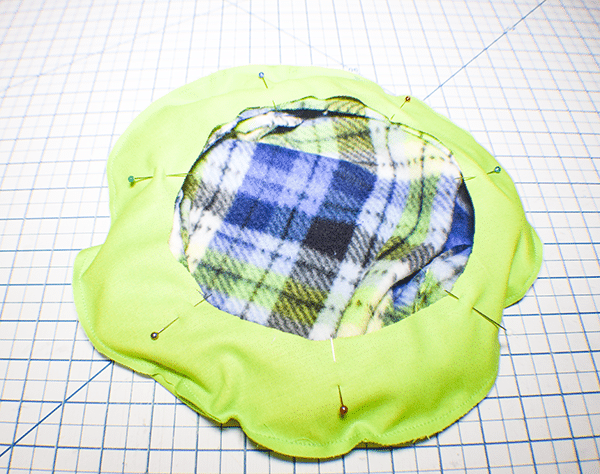
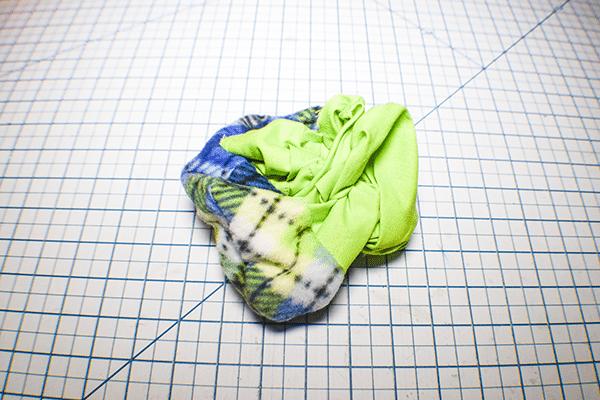
Step 5: Add the lining to the Fleece
Place the fleece beret inside the cotton beret so that they are right sides together. Stitch all the way around the raw edges leaving an opening for turning. Turn right sides out.

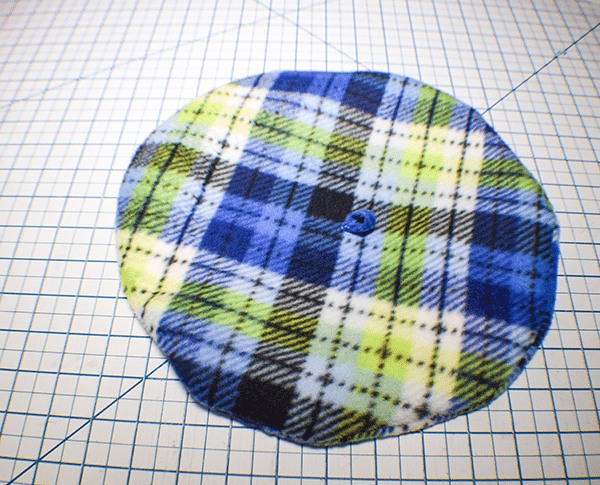
Step 6: Close the Opening
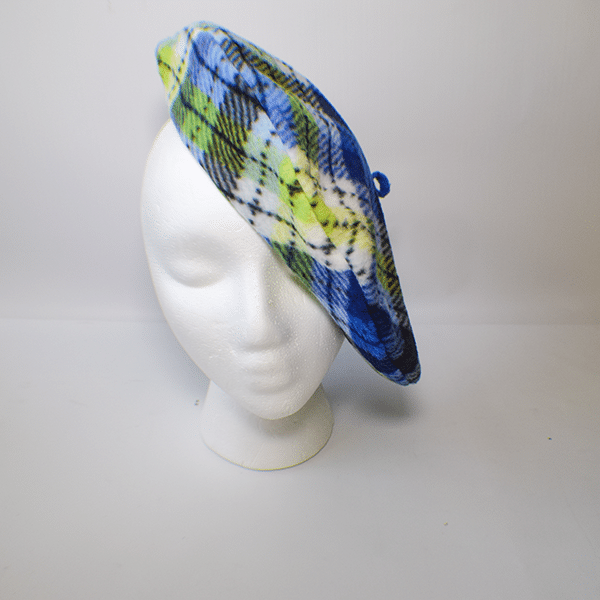
Using ladder stitch close the opening. Once the opening is closed yo have finished your simple fleece beret.
I hope you enjoyed this simple beret. If you would like more sewing and crafting projects subscribe to our newsletter and receive access to our free printables library
If you would like video tutorials of some of Sew Very crafty's most popular posts subscribe to our free YouTube channel here.