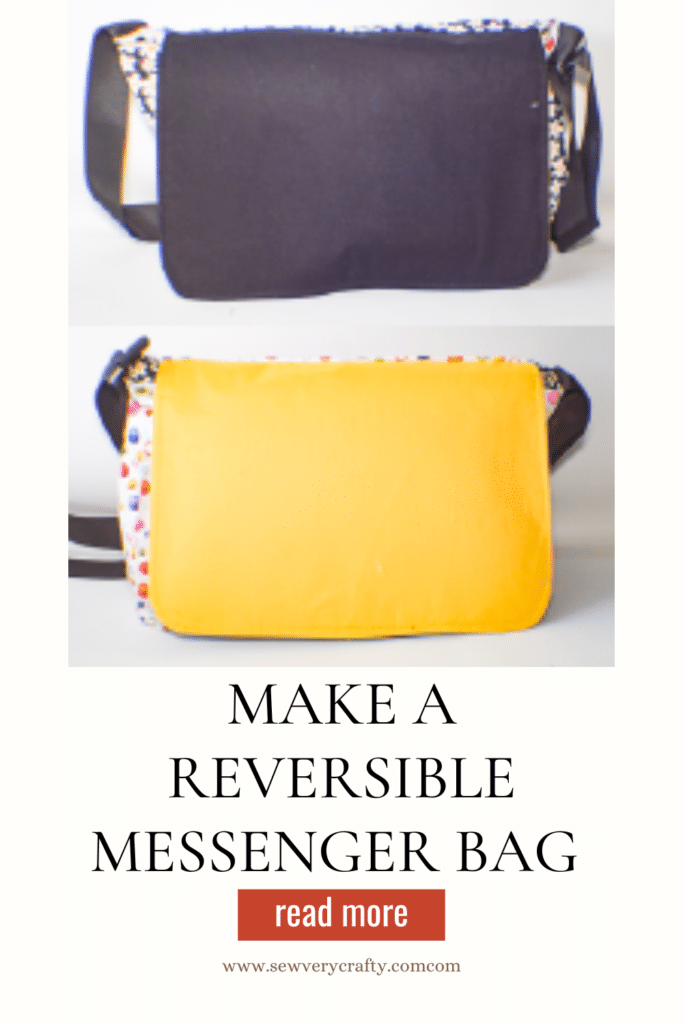
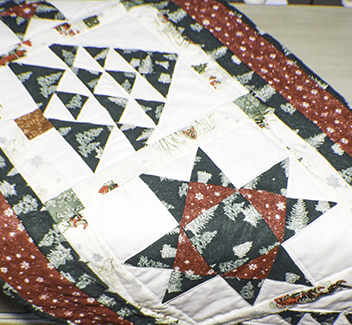
I came across this reversible messenger bag on Easy to Sew on YouTube and wanted to share it with you. As you know I love making handbags but I thought this one was particularly fun because it is reversible. I have never come across a reversible bag like this one and it was so simple to make. Don't be intimidated by the zippers because they are easy too. I know some o you are intimidated by putting in zippers but these bag zippers are really easy to do and I will show you how. If you would like more handbag patterns and tutorials head over to my handbag page.
I used standard cotton fabric and Pellon 808 for my reversible messenger bag project. I purchased all of my fabrics at joann's online and pickup in store. You could go to your local fabric store or head to Amazon Fabrics or onlinefabricstore.net to get exactly what you need for your reversible messenger bag. You will need four different colors/patterns of fabrics for this project in order to make it reversible.
This pst contains affiliate links that if you clic on them and make a purchase I may receive a small commission at no extra cost to you. As an Amazon Associate I earn from qualifying purchases.
What you will need: How to Make a Reversible Messenger Bag
- Flap pattern you can get by clicking on this link
- 1/2 yd of two different fabrics for the body outer and lining
- 1/4 yd of two different fabrics for the flap
- 1/2 yd Pellon 808 interfacing
- 57 1/2″ of 1 1/2″ wide strapping
- 1 1 1/2 ” rectangle ring
- 1 1 1/2″ triglide
- 2 10″ zippers
Step 1: Cut out Your Fabrics
- From the pattern piece cut two flap pieces from different accent fabrics and the interfacing
- Main Body Fabrics:
- 1 outer, lining and interfacing piece that measure 13″ x 24 1/2″
- 2 outer, lining and interfacing pieces the measure 3 1/2 x 10 1/4″
- Pocket Piece
- 11 3/4″ x 15 1/2″ of each of the same fabrics you used for the flap
- Strapping
- 1 piece that measures 55″
- 1 piece that measures 2 1/2″
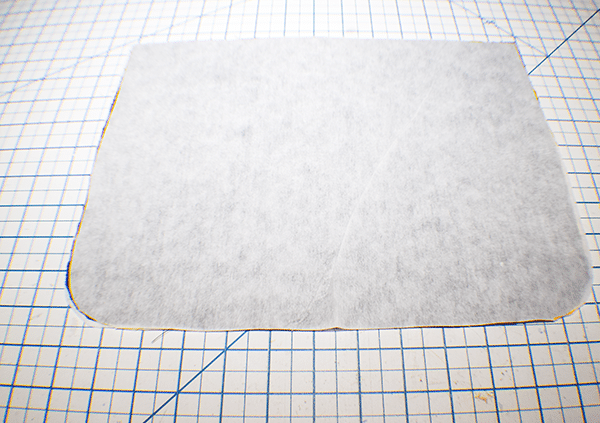
Step 2: Fuse the Interfacing
Following the manufacturer's instructions and using a hot iron fuse the interfacing to the main outer piece, the smaller outer pieces and the flap pieces.
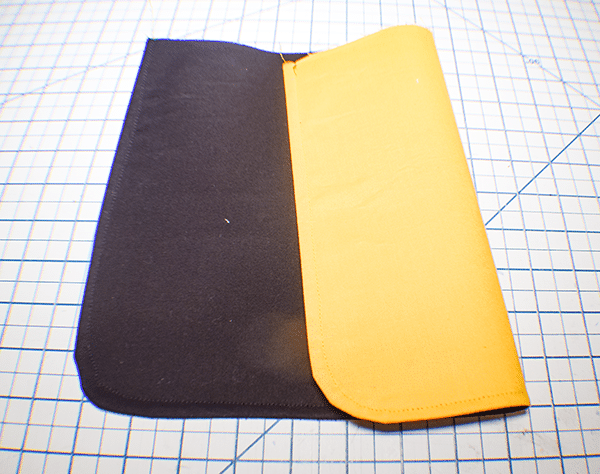
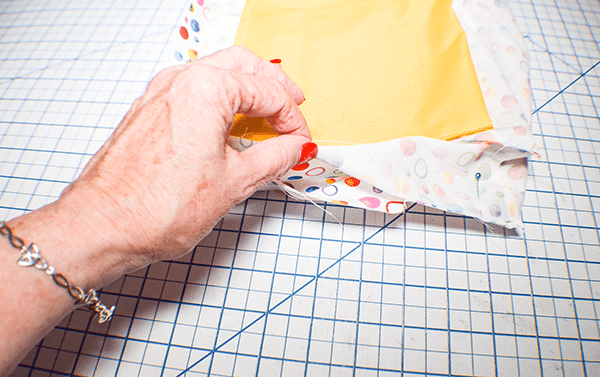
Step 3: Stitch the Flap
Place the two flap pieces right sides together matching the raw edges. Stitch along the sides and the bottom using a 1/4″ seam allowance. Leave the straight top open. Turn right sides out and press. Topstitch along the sides and bottom.
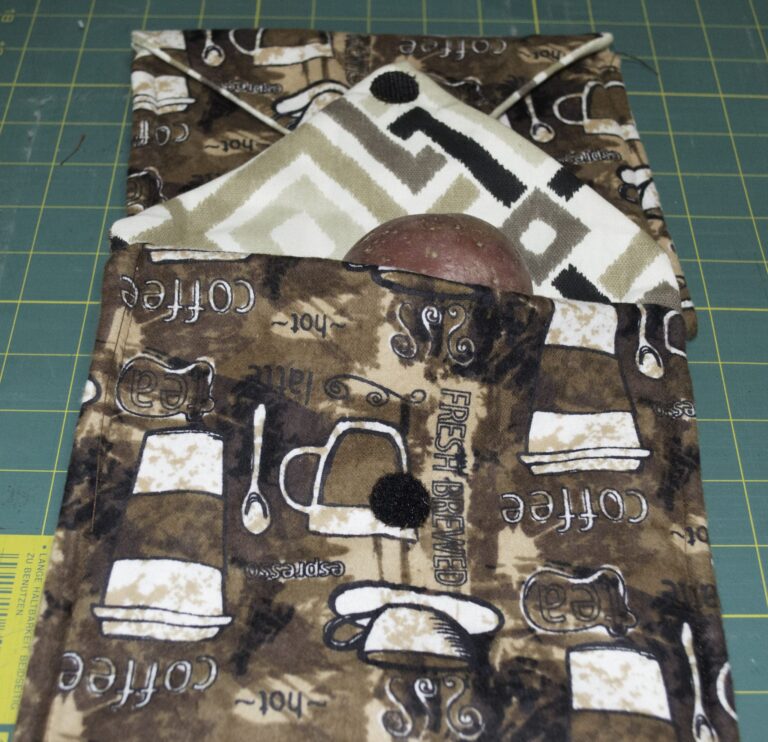
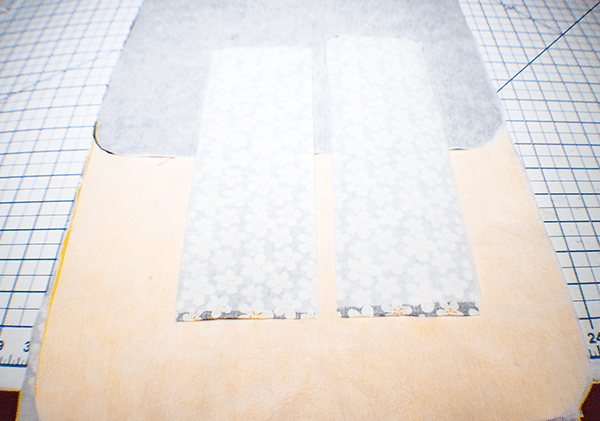
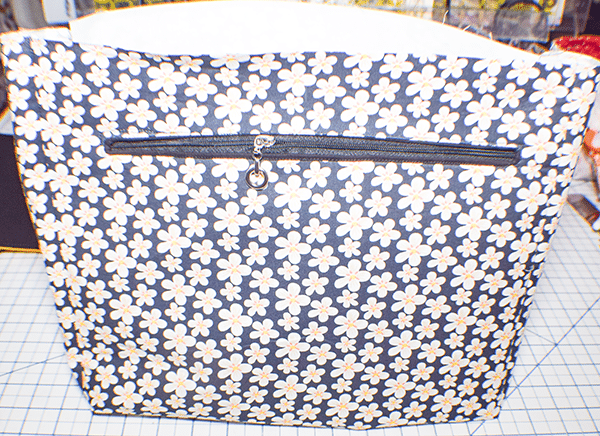
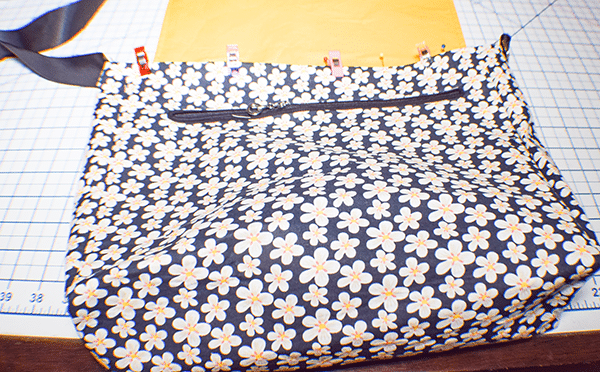
Step 4: Add the Zipper Pockets
Take the outer piece and find the center of one short end. Measure down 1 1/2″ and make a mark. Place the short end of one of the pocket pieces one the mark and center. Pin. Measure down from the top of the pocket piece 1″ and make a mark in the center. Draw a 10″ line through the center mark then down 3/8″ and across 10″ creating a long rectangle. Inside the rectangle place a triangle at each end and join them with a straight line.
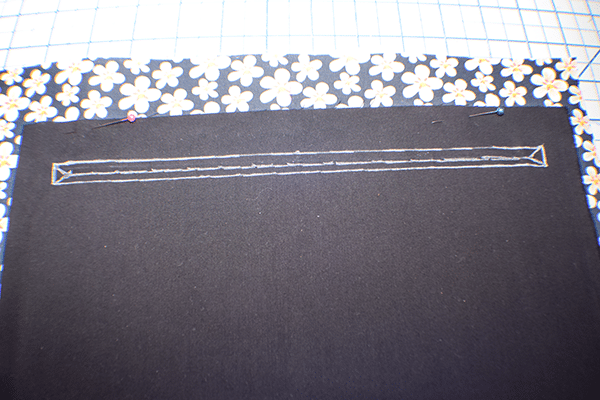
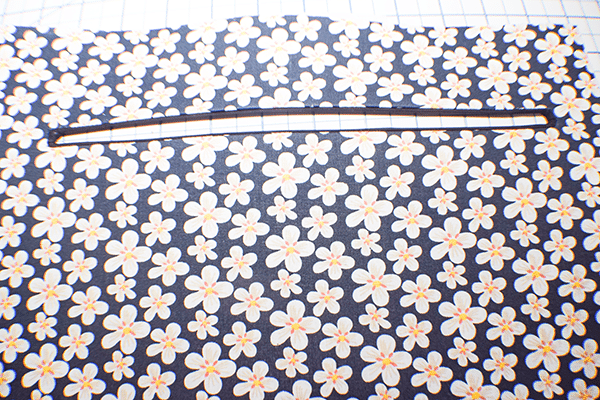
Stitch around the rectangle on the drawn lines. Using a sharp pair of scissors cut the long line in the center and the triangles without cutting through the stitching. Push the Pocket piece through the opening you just created and press.
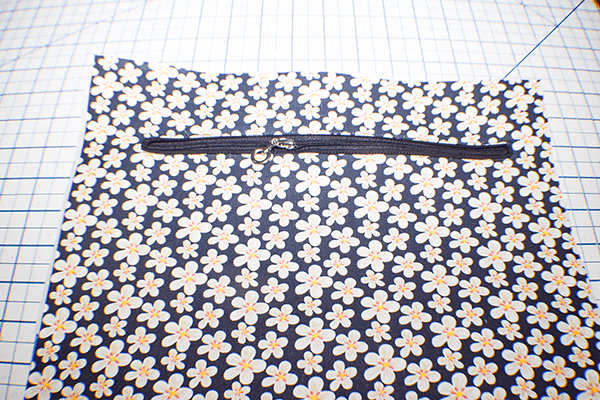
Step 5: Add the Zipper
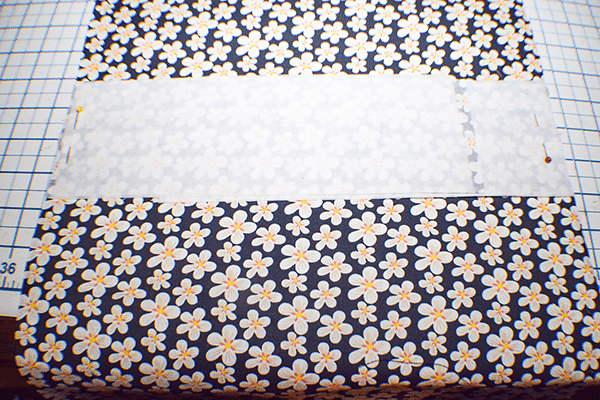
Place the zipper right sides up on the wrong side of the outer fabric and pocket piece. Stitch all the way around the zipper using a zipper foot to secure the zipper. Fold up the pocket piece and stitch along the side and the top t create the pocket. Repeat this procedure for the lining piece.
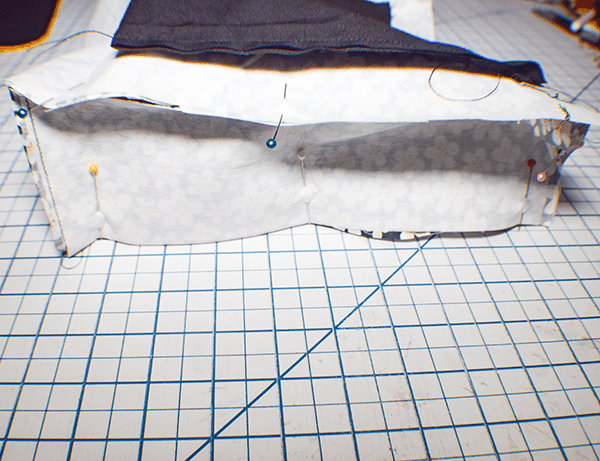
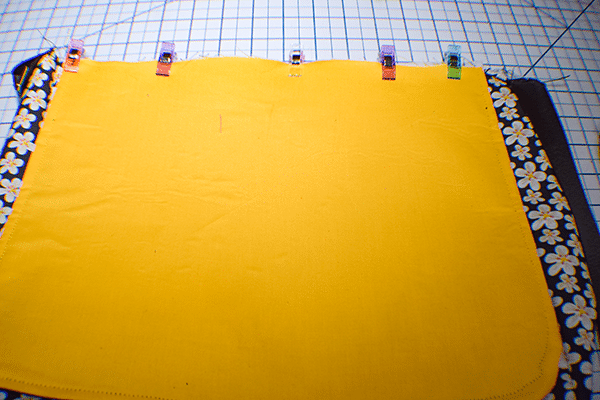
Step 6: Add the Side Panels
Fold the Outer and lining pieces in half to find the centers on the long sides and mark them. Take the side pieces and find the center of one short end and place it on the mark you made on the main outer and lining pieces right sides together. Place one side piece on each side of the lining and outer bags and pin. Stitch the side pieces to the outer pieces along the short pinned ends starting and finishing 1/4″ from each side. Snip a 1/4″ snip one each side of the side piece on the main bag pieces.
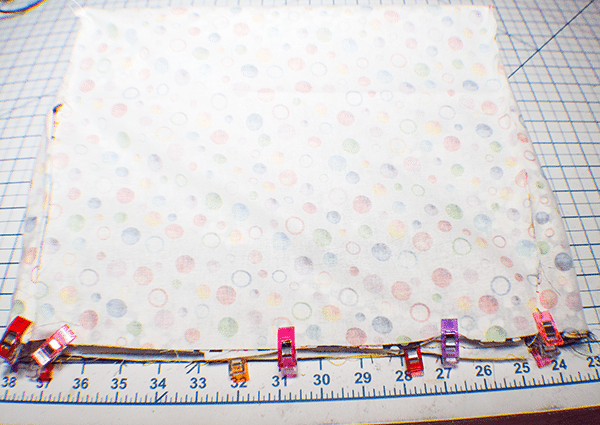
Fold up the side piece so that it matches the side of the bag opposite the zipper and pin. Then, fold up the zipper side to meet the side piece and pin. Repeat for the other side. Stitch using a 1/4″ seam allowance. When you are stitching the lining piece leave an opening on one side for turning the bag in a later step. You should now have a bag with a front and two sides and a lining piece that is the same but with an opening in one side.
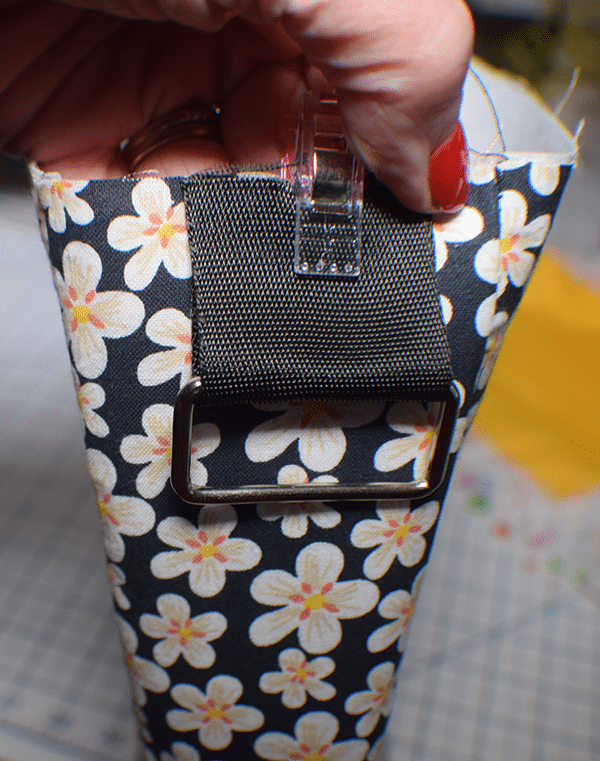
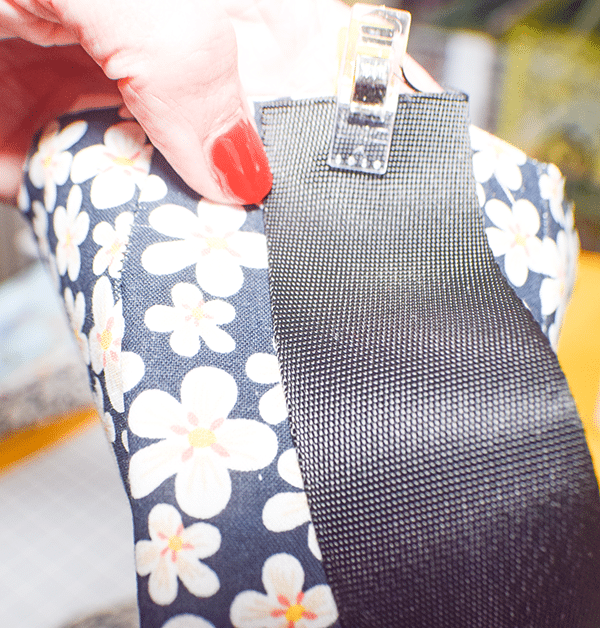
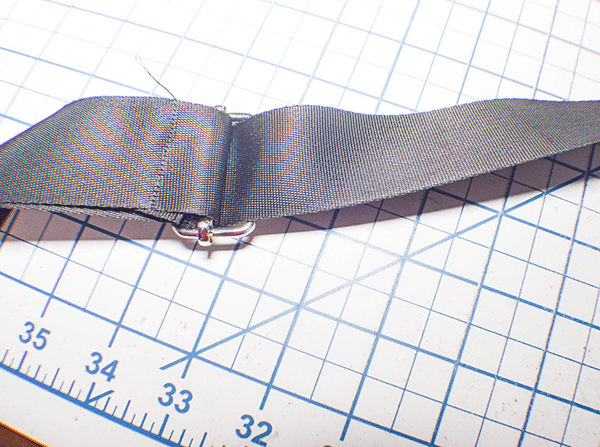
Step 7: Add the Strapping
Take the smaller of the two pieces of strapping and wrap it around the rectangle ring. Place it on the center of one of the sides and stitch it on the secure. Add the longer piece of strapping directly to the other side of the bag in the center and stitch.
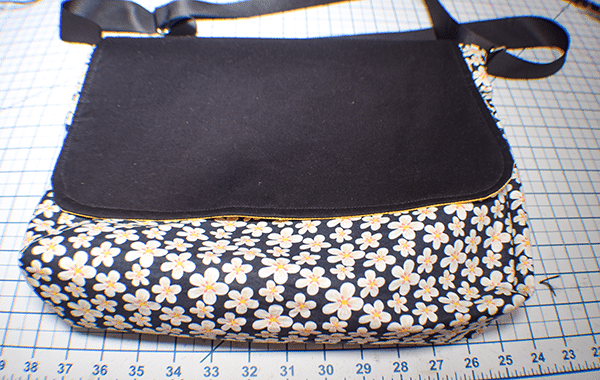
Step 8: Add the Flap
Fold the bag in half to find the center of the side of the bag opposite the side with the zipper. Find the center of the straight edge of the flap and place it on the center of the bag. Make sure that the flap is right sides together with the color or pattern that you wish to show on this pattern of bag. Stitch the flap to the bag so secure.
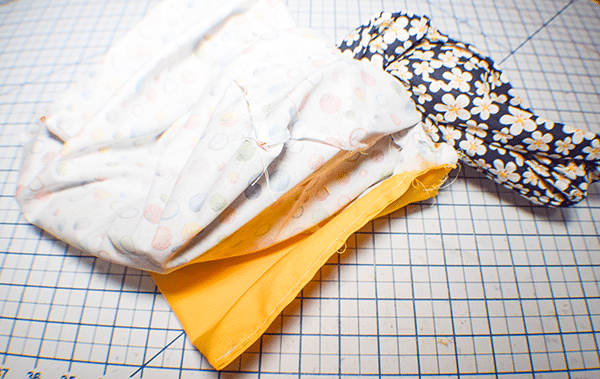
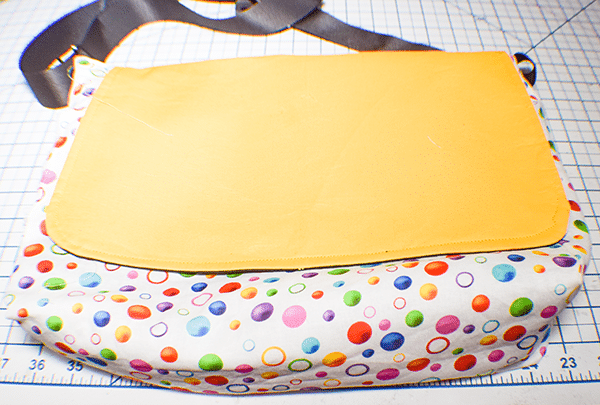
Step 9: Join the Lining to the Outer Bag
Place the outer bag inside the lining bag so that they are right sides together and the flap and straps are between the layers. Stitch all the way around the top using a 1/4″ seam allowance.
Step 10: Turn Right Sides Out
Turn the bag right sides out through the opening that you left in the lining. Press. Stitch the opening closed using ladder stitch. Since this bag is reversible you do not want the stitches to show.
Step 11: Topstitch
Topstitch around the top of the bag to secure the lining.
Step 12: Add the TriGlide
Insert the long part of the strapping trough the triglide. Then, feed it through the rectangle ringed back again through the underside of the triglide. Fold the raw edge and stitch. This will make the strap adjustable. You have now finished your reversible messenger bag.
I hope you enjoyed this reversible messenger bag. If you would like more sewing and crafting projects subscribe to our newsletter and receive your free eBook of 15 handbag patterns and tutorials then from the blog.
If you would like video tutorials of some of Sew Very Crafty's most popular posts subscribe to our free youTube channel here.