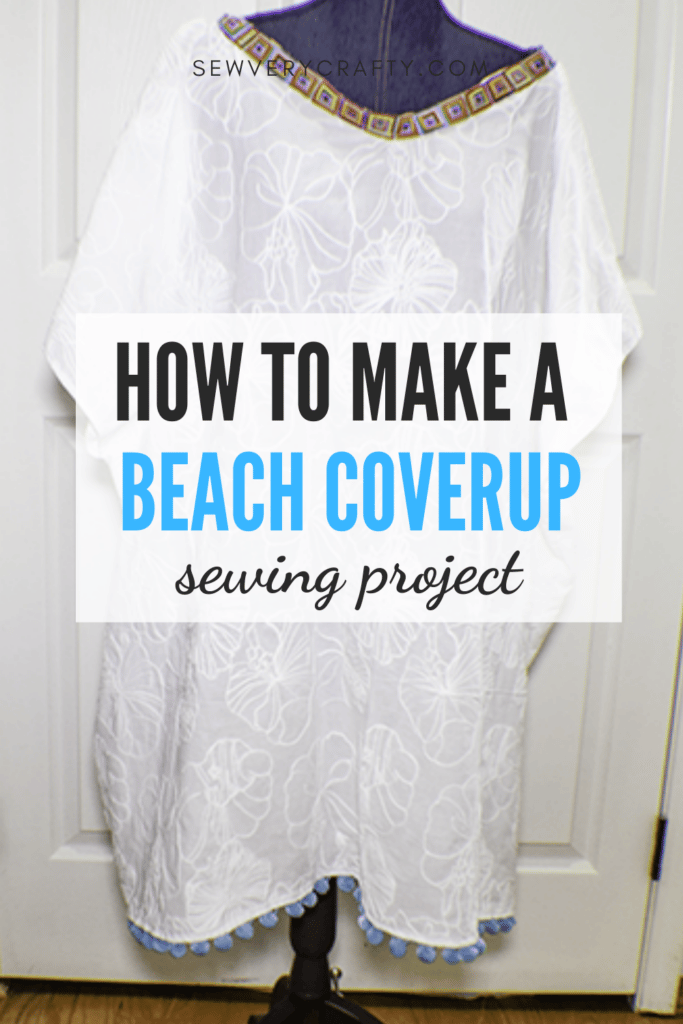
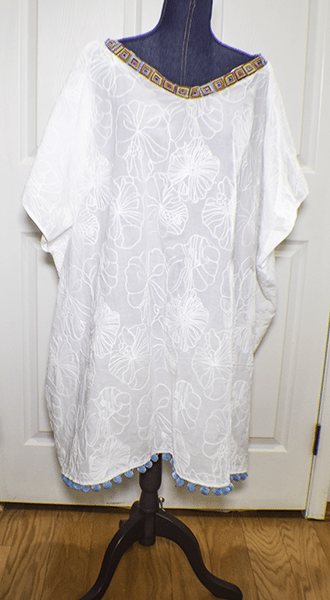
Summer is officially here. People will be flocking to the pools and beaches everywhere so I decided to make this simple beach coverup using a bit of fabric and trim. This project is so simple that any beginner sewist can create it in no time. I used a cotton fabric for this project but you could use a light weight knit if you like. Either will work fine. if you would like a simple sundress project check out my sundress post here.
I found a terrific hibiscus embroidered white cotton fabric at JOANN Fabric & Craft Stores![]() that was perfect for this project. Fortunately it was on sale so I got it for a good price. I decided to add some colorful trim to my beach coverup to give it a little pizazz. I got the trim at JOANN Fabric & Craft Stores
that was perfect for this project. Fortunately it was on sale so I got it for a good price. I decided to add some colorful trim to my beach coverup to give it a little pizazz. I got the trim at JOANN Fabric & Craft Stores![]() as well. of course you can head to
as well. of course you can head to
What you will Need: How to Make a Simple Beach Coverup
- 2 yds of cotton or knit fabric
- 2 yds of pompom trim
- 2 yds of neck trim
- Standard sewing supplies
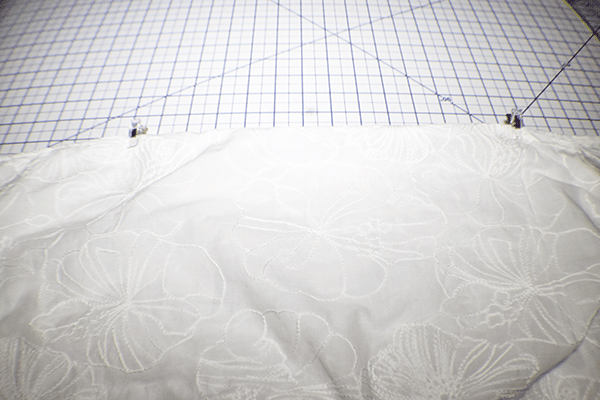
Step 1: Cut the Head Opening
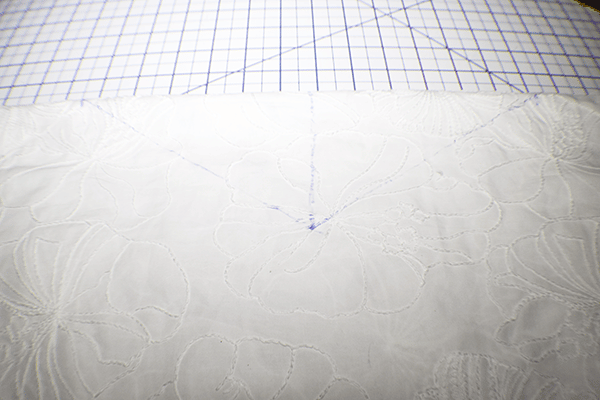
Unfold the fabric and fold it in the opposite direction. Cut the fabric about 40″ wide and whatever length you want your coverup to be. I cut mine to be about 35″. Find the center of the fabric on the fold and mark with an erasible pen or pin. Determine if you would like a V-neck or a U-neck and draw it out. I chose a V-Neck for my coverup.
I measured 4″ down from the center and 6″ on either side of the center and drew a V. Cut out the V to be the hole for your head. You can try it on now and adjust it as needed.
Step 2: Create the Armholes
Place the fabric right sides together and stitch the sides starting at 10″ from the bottom and stopping at 13″ from the top. This should hopefully mean that you are stitching about 13″. This way you are leaving a slit on either side at the bottom. Stitch using a 1/2″ seam allowance. This will create the armholes.
Step 3: Hem the Raw Edges
Wherever you see a raw edge hem it by folding the raw edge under 1/4″ and another 1/4″ and stitching using your machine or by hand whichever you feel most comfortable with. If you are working with knits I would recommend that you use a serger or zigzag stitch so that it will stretch with the fabric.
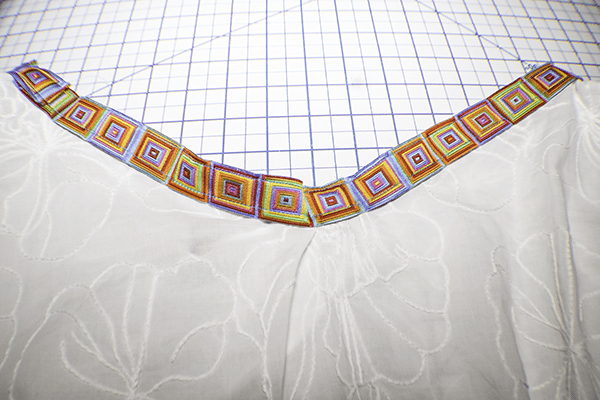
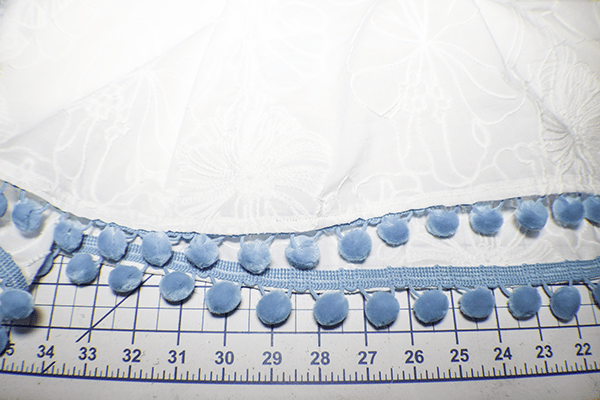
Step 4: Add the Trim
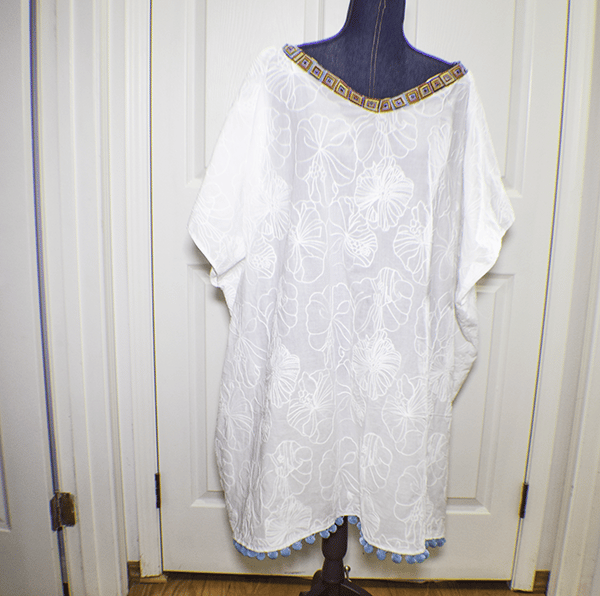
Once you have hemmed everything it is time to add the trim. This is optional. I added pompom trim to the bottom of my beach coverup and a square multicolored trim to the neckline. I just stitched it into place. The V-neck trim was a little fidgety but once I played around with it it was fine.
I hope you enjoyed this simple beach coverup. If you would like more sewing and crafting tutorials subscribe to our newsletter and receive access to our free printables library.
If you would like video tutorial of some of Sew Very Crafty's most popular posts subscribe to our free YouTube channel here.