
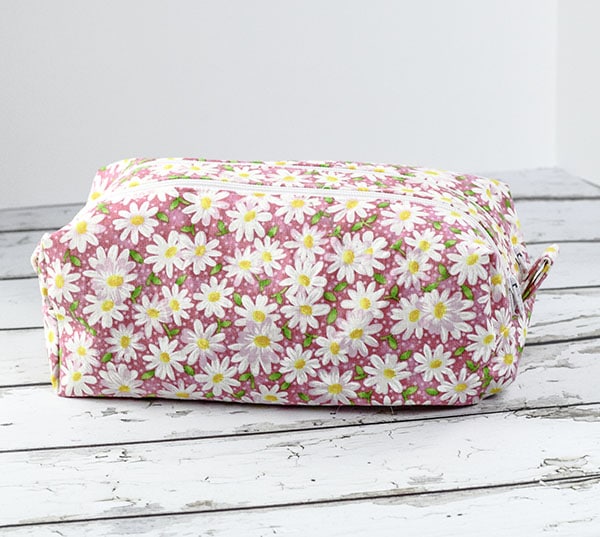
How to Make a Double Zipper Box Pouch
Learn to make this double zipper box pouch. This is a take on the standard boxy zippered pouch. This pouch has two zippers and compartments to store whatever you need. It is not a large boxy pouch but you can modify this pattern to make it as large as you like. I stuck with a size that is perfect for small things like makeup or school supplies. This particular pattern came from ArtsAndCrafts4You and was not one I created myself but I wanted to share it with you. This pattern requires intermediate sewing skills even though it is basically straight lines. It is a bit fidgity and requires a little bit of experience to make. Nevertheless, I hope you will give this one a try.
Once again, I used remnants from my remnant stash to make this project. You don't need a lot of fabric for this one but if you don't have what you need on hand I recommend that you head over to Hobby Lobby or Fabric.com to get exactly what you need for your double zipper box pouch. You can even get the zippers. This post contains affiliate links that if you click on them and make a purchase I may receive a small commission at no extra cost to you.
If you would like a video tutorial of this project head over to YouTube and check out my video. While you are there subscribe to my free YouTube channel.

What you will Need:
- 1/4 yd exterior fabric
- 1/2 yd lining fabric
- 1/4 yd Pellon 808
- 2 16″ Zippers
Step 1: How to Make a Double Zipper Box Pouch
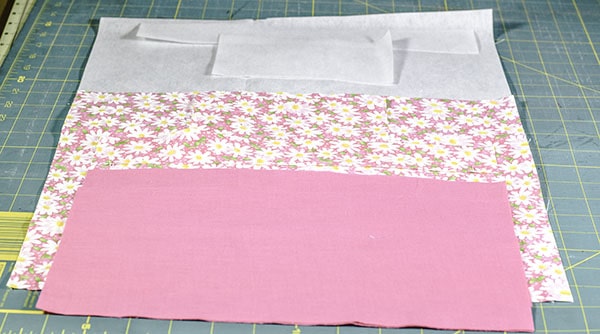
Cut your fabrics as follows:
- 12″ x 14″ exterior fabric and Pellon 808 for main body
- 1 1/2″ x 12″ exterior fabric and Pellon 808 for center piece
- 3 1/2″ x 6″ exterior fabric and Pellon 808 for tabs
- 12 x 6 1/2″ Lining fabric – 4 Pieces
Step 2: Fuse the Interfacing
Fuse the Pellon 808 to the exterior pieces following the manufacturers instructions. If you are unfamiliar with fusible interfacing like Pellon 808 it is easily fused. There is a glue side and a non glue side. Place the glue side onto the wrong side of the exterior fabric and press with a hot iron until the interfacing fuses to the fabric. This allows the fabric and interfacing to be used as one and provides structure to the fabric.
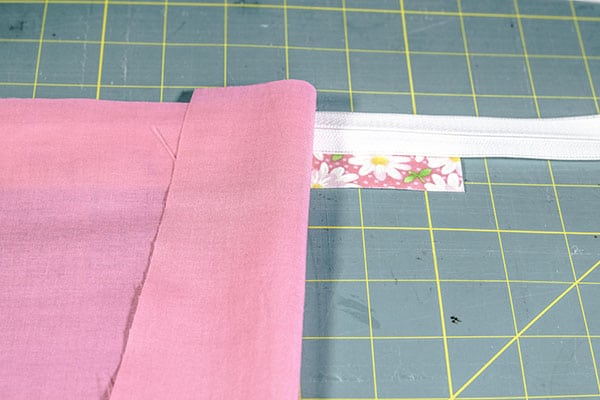
Step 3: Add the First Zipper
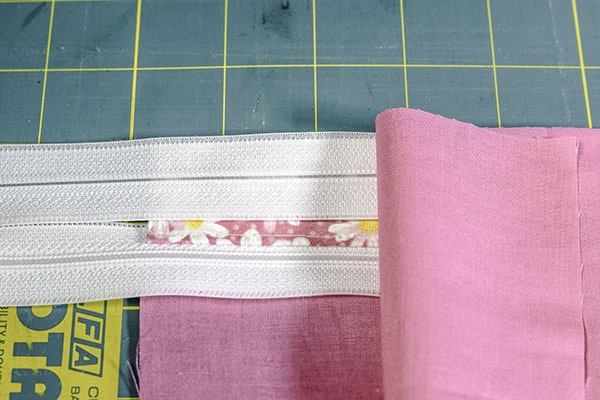
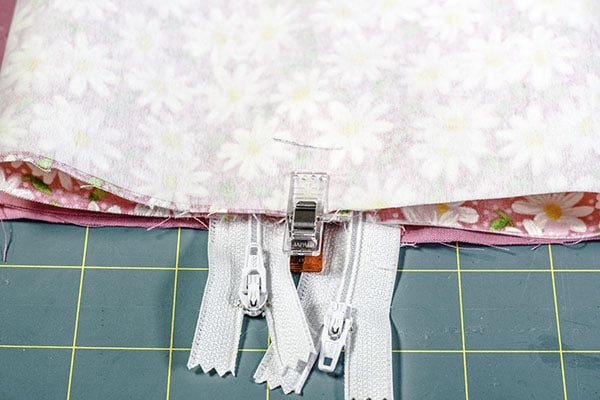
Place the 1 1/2″ x 12″ center piece right side up on your work space. Lay your first zipper face down onto the center piece. Lay one of the lining pieces on top of the zipper so that you have a zipper sandwich. Sew the zipper in place. Press and top stitch when you are finished. I used 16″ zippers and shortened them for this project to make things easier and to make sure there were no gaps from the zipper tape. You could use shorter zippers if you like but the 16″ zippers worked best for me.
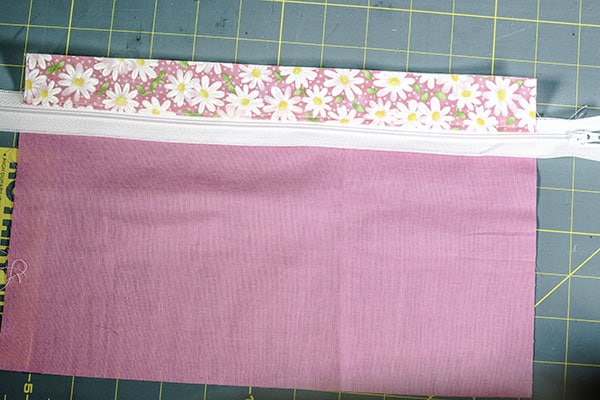
Step 4: Add the Second Zipper
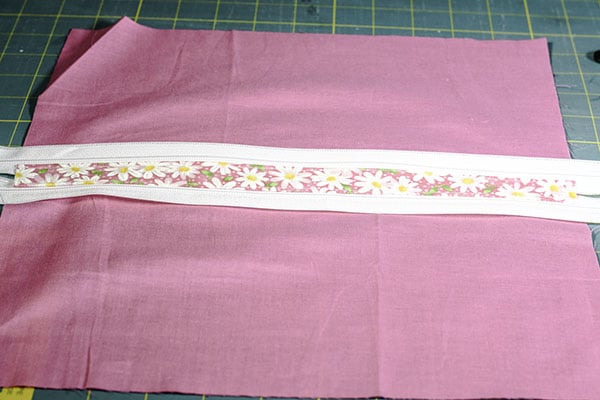
Place the second zipper on the other side of the center piece and sew as before using another of the lining pieces to sandwich the zipper. You will have two zippers, 2 lining pieces and a center piece at this point.
Step 5: Add the Main Body Piece
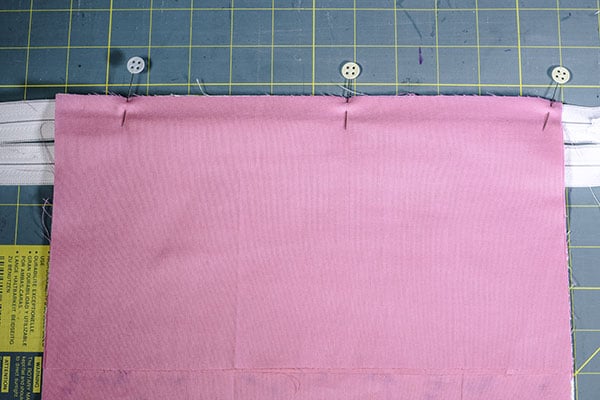
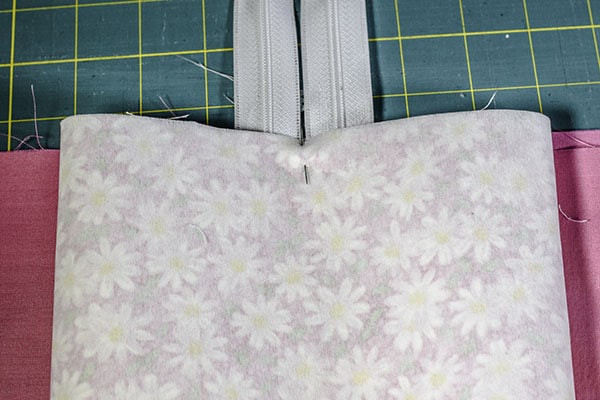
Take the main body piece and lay it face up on your work station. Lay one of the raw zipper edges on the short end of the main body piece and sandwich it with another of the lining pieces. Sew as before and top stitch.
Step 6: Add the other Side of the Main Body Piece
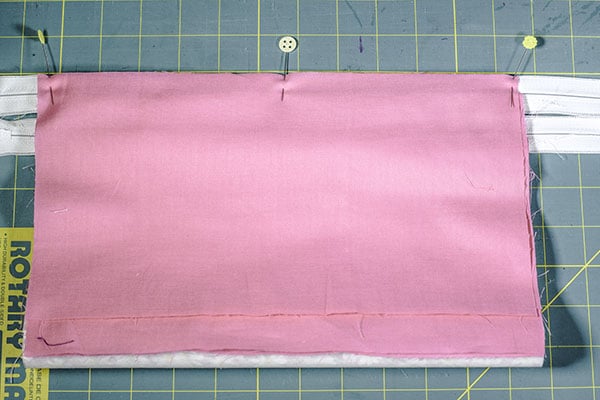
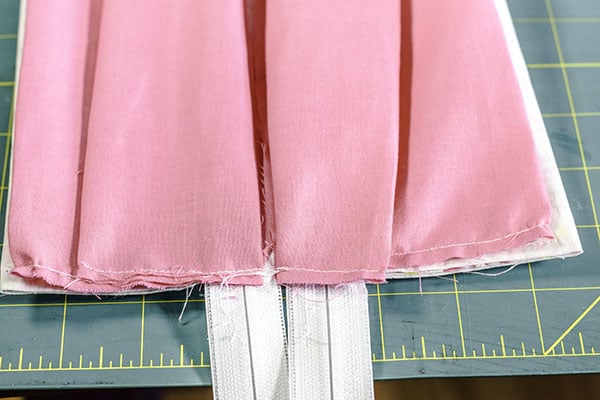
Take the other end of the main body piece and fold it so that it lays flat on your work surface face up. Lay the other raw edge zipper on the short end of the main body piece and sandwich it with the final lining piece. Sew as before but this time you will need to open the zipper to do the top stitching. You should now have a main body piece that is folded in the center and four lining pieces attached to the two zippers.
Step 7: Make and Add the Tabs
Make the tabs by folding the raw edges of the 3 1/2″ x 6″ piece to the center and pressing. Fold the piece in half enclosing the raw edges. Top stitch along both long sides. Cut in half to get two 3″ pieces. Find the center of the bottom of the main body piece and clip it along with the tab to the center section between the zippers. I like using wonder clips for this because of the bulk of the tabs and the body fabric. If you do not have wonder clips I recommend that you get them here.
Step 8: Stitch the Long Bottom Edges of the Lining
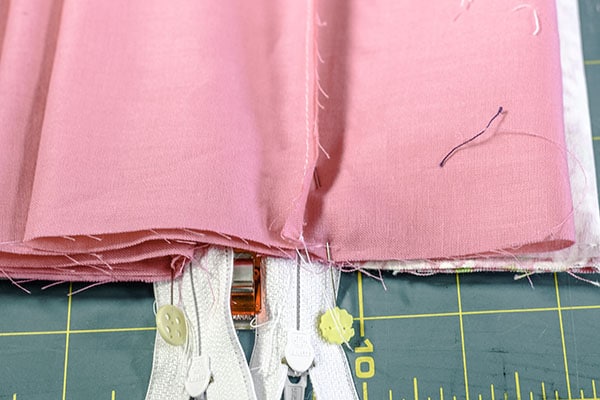
Match the lining pieces on each side and sew them together on the long bottom edges only. Leave an opening for turning in one of the lining pieces. I used a 1/4″ seam allowance. You should have two lining pieces and a body piece at this point.
Step 9: Stitch the Main Body Piece
Stitch the side seams of the main body piece from the fold just to the zipper teeth on all sides.
Step 10: Stitch the Lining of the Pouch
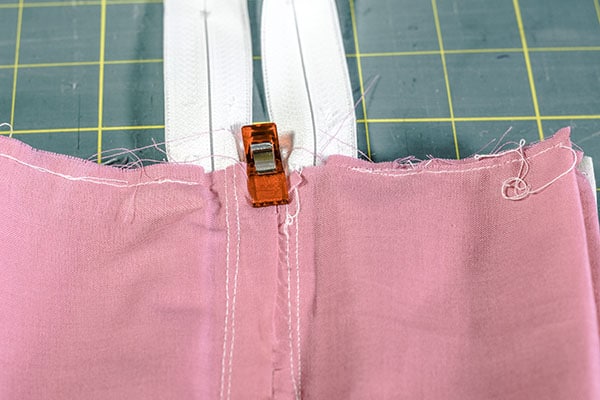
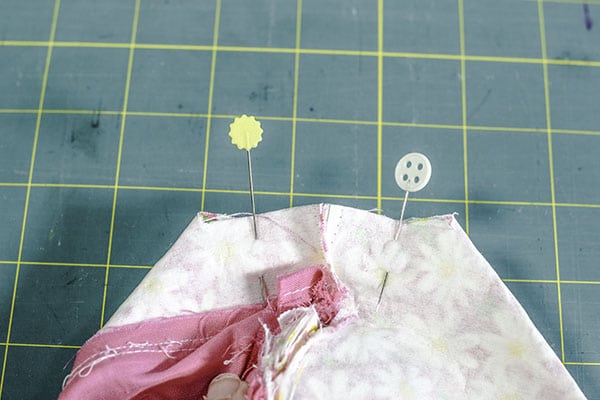
Place the lining pieces so that the bottom seam is centered with the zipper teeth and pin. Sew from the folded edge to the zipper teeth on all of the sides separately. Do not sew through all of the layers.
Step 11: Stitch the Small Openings of the Pouch
Once all of the layers are sewn go back and open the zippers and then open each layer one by one and sew the small openings closed through the zippers to close off the ends Do each layer separately. Cut off the excess zipper ends. Since these are nylon zippers you can cut them easily with scissors.
Step 12: Box the Corners of the Pouch
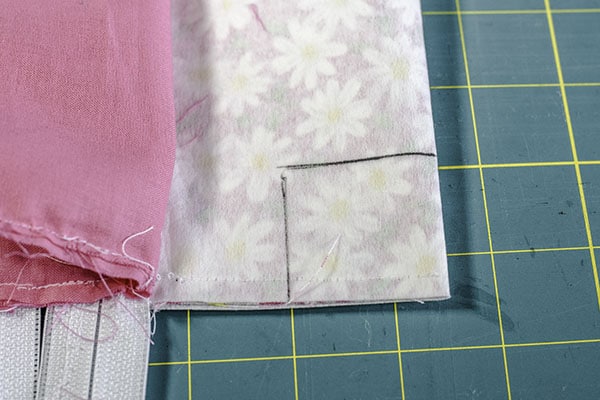
Cut a 1 1/2″ x 1 1/2″ square from all of the corners. Box all of the corners. If you are unfamiliar with boxing the corners you simply need to press the bottom to the sides and sew across the seam you have created. This section is a little fidgity so take your time, especially with the inner lining pieces.
Step 13: Turn the double Zipper Pouch Right Side Out
Once all of the corners are boxed turn the pouch right side out through the opening you left in the lining and through one of the open zippers. Push the lining into the interior of the bag. Close the opening in the lining closed using ladder stitch and you have finished your double zipper box pouch. If you would like the single zippered version of this pouch check out my boxy zippered pouch tutorial.

I hope you enjoyed this post. If you would like more sewing and crafting projects sign up for our newsletter and receive your free eBook of 15 handbag patterns and tutorials.
If you would like some video tutorials please subscribe to my Free YouTube Channel Here


Hi there, thanks for this pattern. I would like to know how I can make this larger to stand about 9″ tall please? The rest is perfect. Thank you, Liz.
Hi Liz, I believe you can do it by simply making the fabrics longer but I will have to experiment. It may take me a few days to figure it out so I will get back to you when I get chance.
what size is this bag you made? 6x 10 x ?
Yes it is about that size. Thanks for asking.
in the video you say 1 liner piece but in the copy below it says:
12″ x 14″ exterior fabric and Pellon 808 for main body
1 1/2″ x 12″ exterior fabric and Pellon 808 for center piece
3 1/2″ x 6″ exterior fabric and Pellon 808 for tabs
12 x 6 1/2″ Lining fabric – 4 Pieces
which is correct? Thank you.
When I created the original I used 4 pieces and stitched them together. When I made the video I re-evaluated that strategy and created it as it is in the video. Either will work.