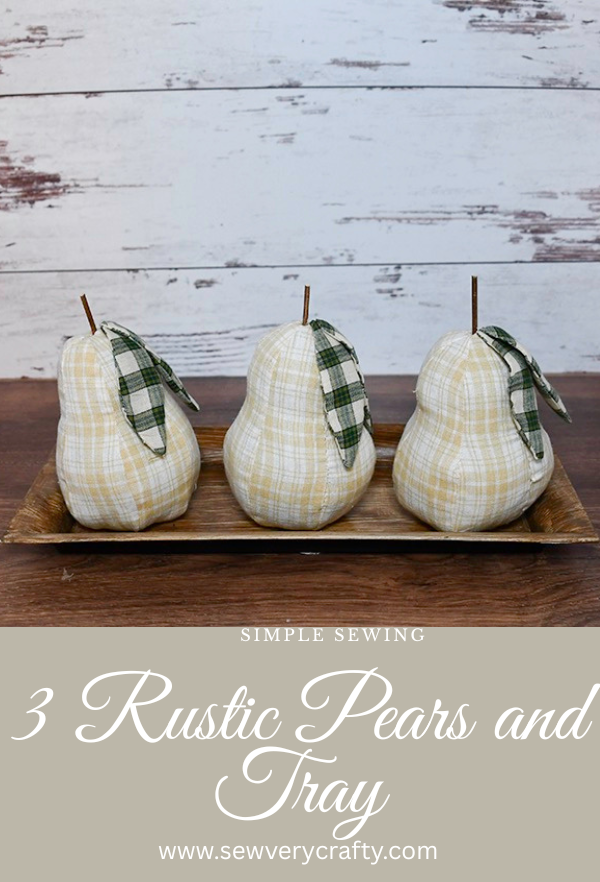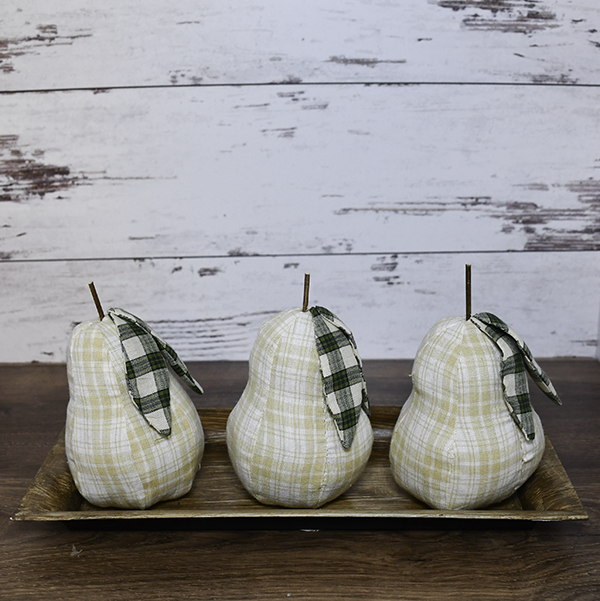
For whatever reason I have always liked homespun. There aren’t many things you can make with it but I had some remnants that I thought were perfect for this project. I decided to make some rustic pears with the homespun I had on hand. This is a very easy beginner sewing project that anyone can make for this fall season. Pears are one of my favorite fruits so this project was perfect for me. I hope you enjoy this simple sewing project. For more holiday and seasonal sewing and crafting projects head over to my Holiday Project Vault.

Note: This post contains affiliate links that if you click on them and make a purchase I will receive a small commission at no extra cost to you. As an Amazon Associate I earn from qualifying purchases.
What you will Need: How to Make an Autumn Rustic Pear Trio
- Pattern you can get my clicking on this link
- Two colors of homespun fabric
- 3 skewers
- 1 Dollar Tree rectangular tray
- Beige paint
- Antiquing wax
- Fiberfill
- Sewing machine
- Standard sewing supplies
Step 1: Print out the pattern
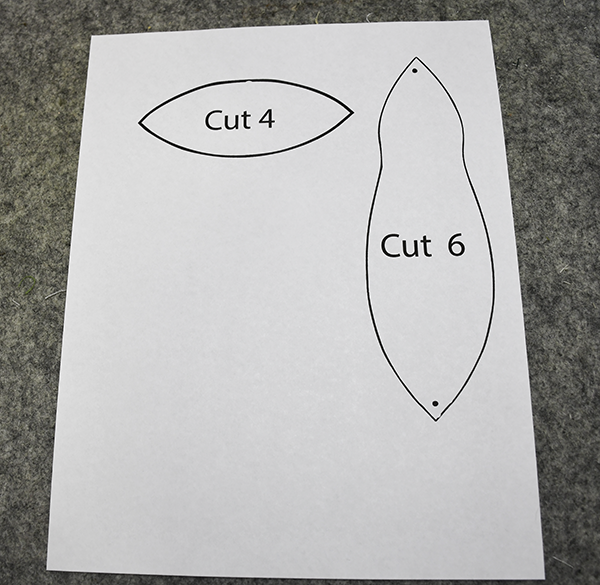
Print out the pattern just as it comes. It should just take up an 8 1/2″ x 11″ piece of paper. The pattern includes the pear shape and the leaf shape.
Step 2: Cut the pieces
For each pear that you make cut six pear shapes and four leaf shapes. I used homespun fabric for my pears for a rustic look.
Step 3: Stitch the Pears
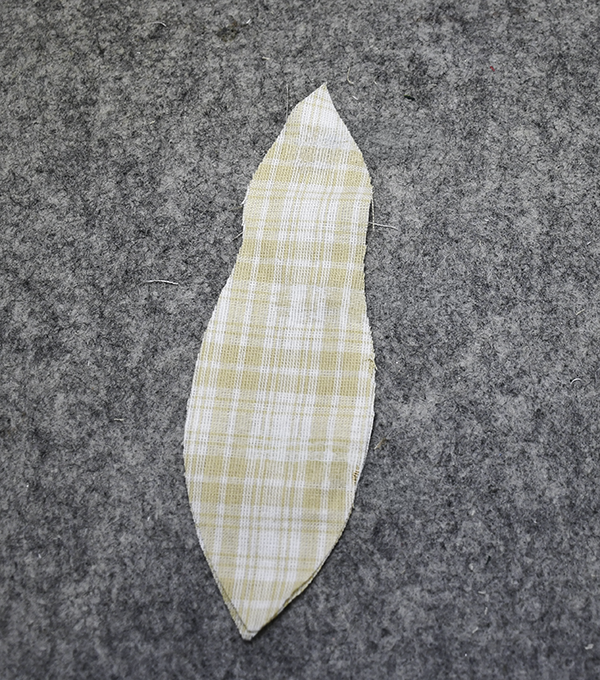
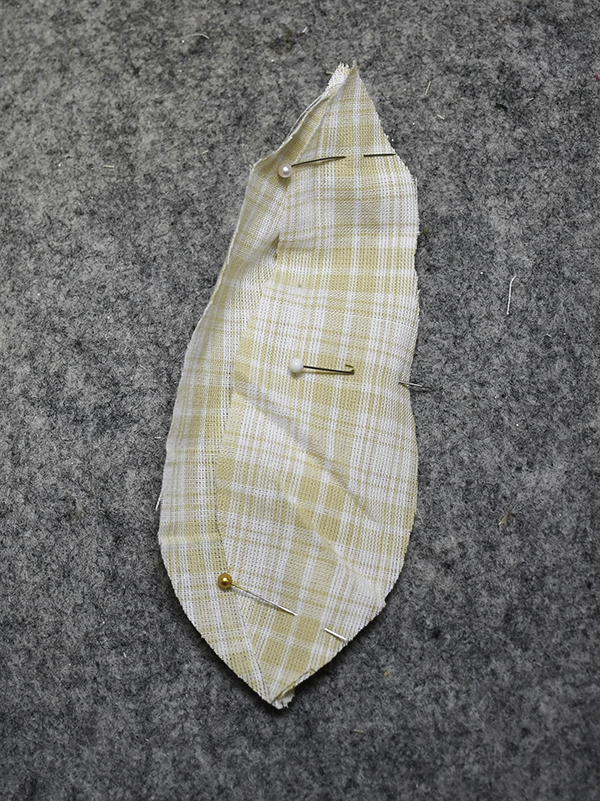
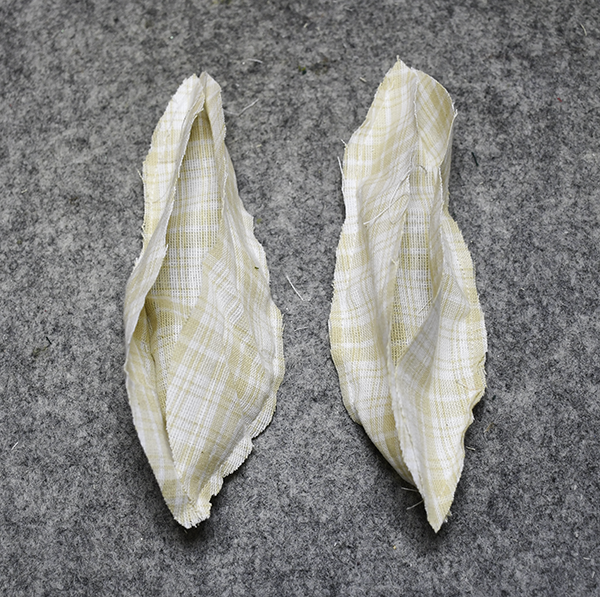
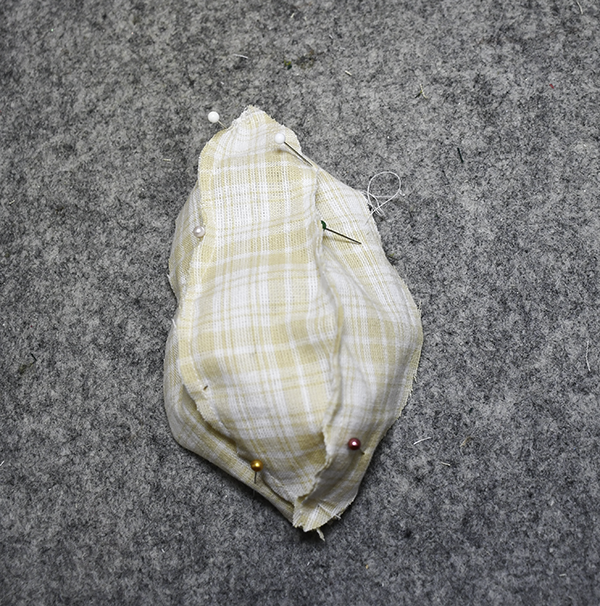
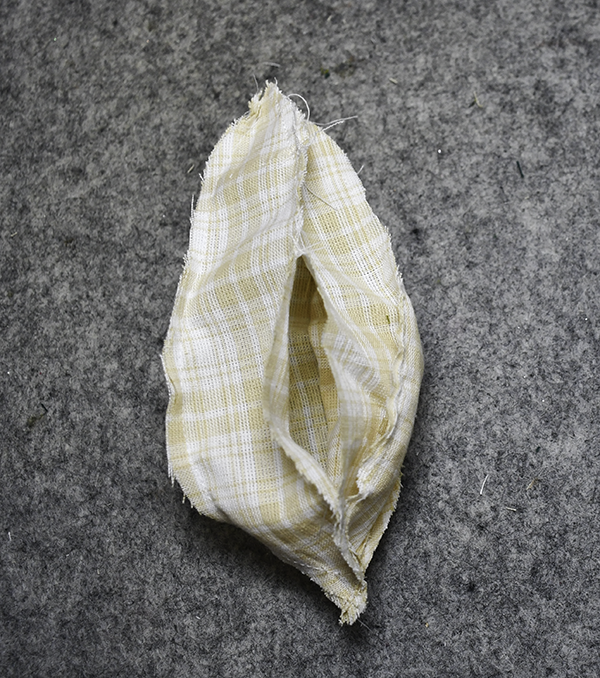
Start by stitching two of the pear pieces right sides together from dot to dot using a 1/4″ seam allowance. Once you have stitched two of the pieces stitch a third. Repeat for the three additional pieces. Once you have two sets of three join them together. Stitch one side from dot to dot as you did previously. On When you stitch the final piece leave an opening in the center of the final side for turning. Turn the pear right sides out.
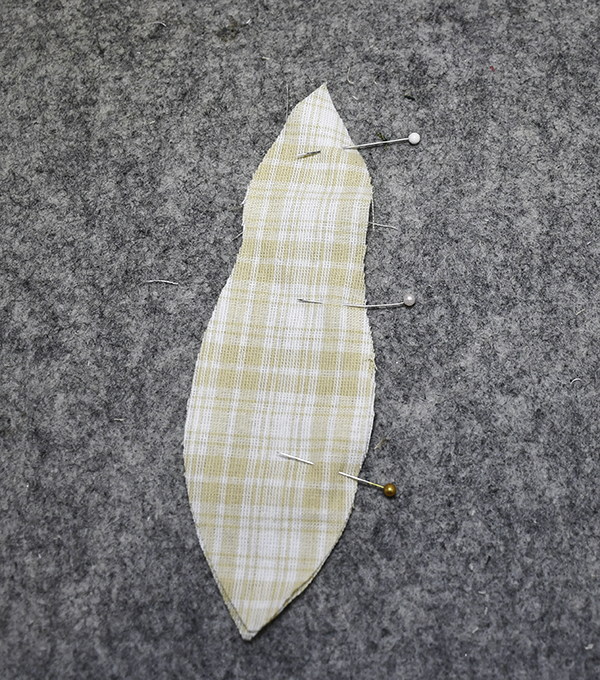
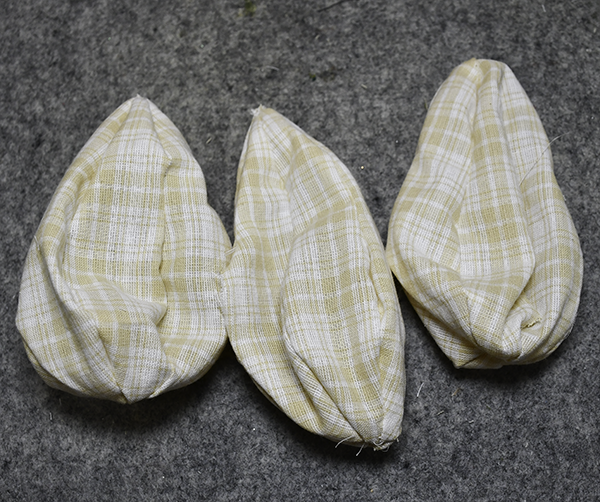
Step 4: Stuff the Pear
Using the fiberfill stuff the pear completely through the opening you turned the pear right sides out.
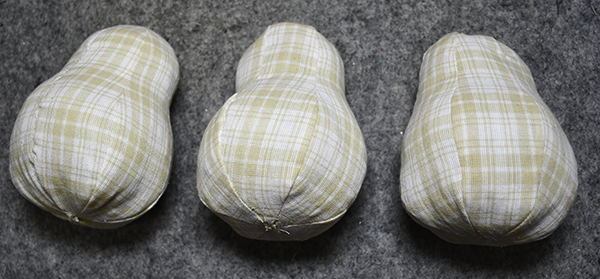
Step 5: Close the opening
In order to stitch the opening closed use ladder stitch. This is the best way to hand stitch the pear closed so that it appears as if you used a machine. If you have never tried ladder stitch there are many videos on YouTube that will show you just how to do it.
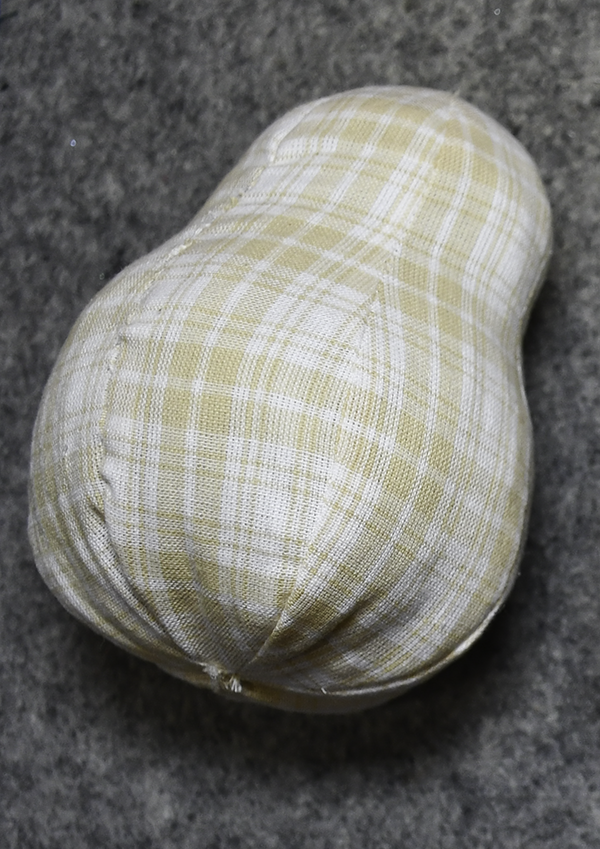
Step 6: Add the Skewers
I used some Dollar Tree Skewers for the stem of my pears. Cut them to the size you like and cover them with antiquing wax. Let dry. Stick the skewer into the top of the pears.
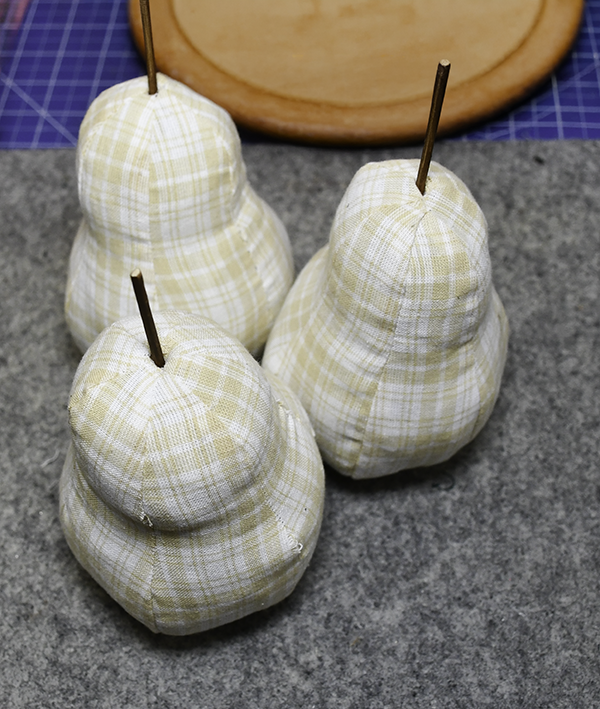
Step 7: Stitch the Leaves
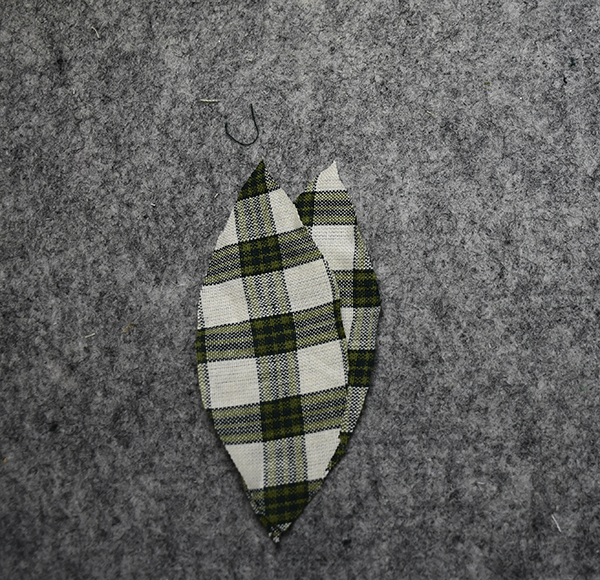
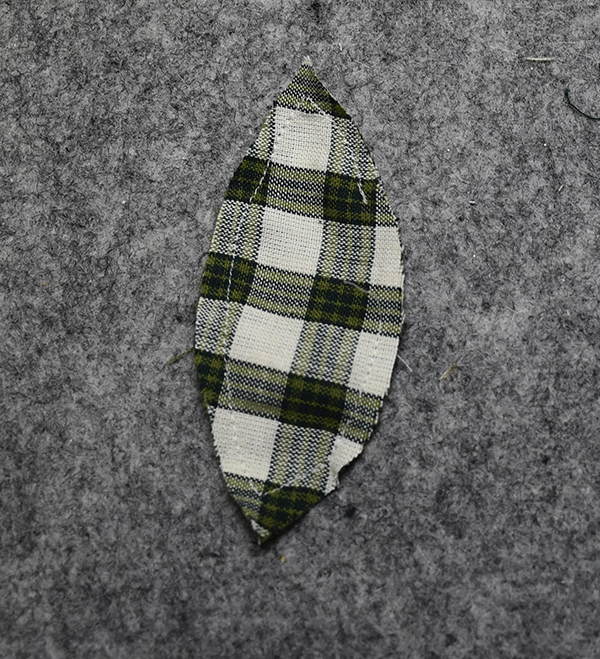
Place two of the leaf pieces right sides together. Stitch all the way around using a 1/4″ Seam allowance but leave an opening on one side for turning. Turn right sides out. Stitch the opening closed using ladder stitch. Press.
Step 8: Add the Leaves
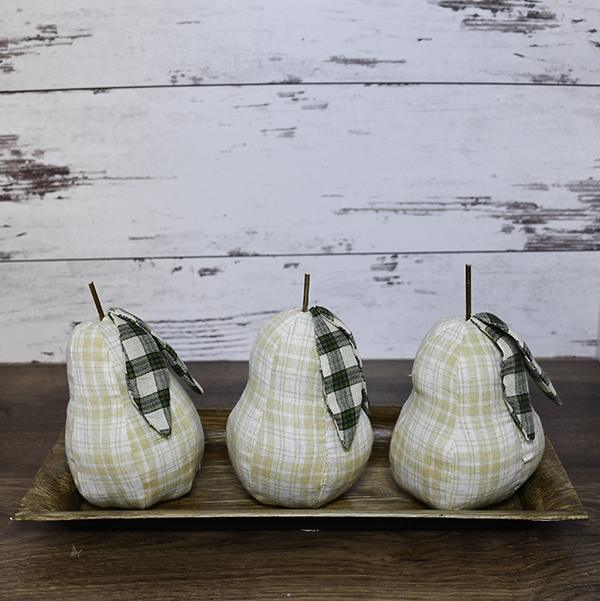
You can add the leaves any way you like. I stitched my leaves together so that they hang down in an upside down “V” shape. Simply hand stitch the leaves at the top and leave the rest of the leaves hanging down. Once you have added the leaves, the p[ears are finished. I wanted to place mine on a wood board but I really didn’t have one so I created my own.
Step 9: Create the Wood Board
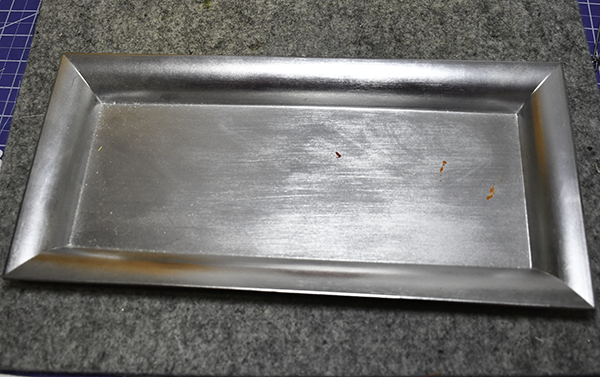
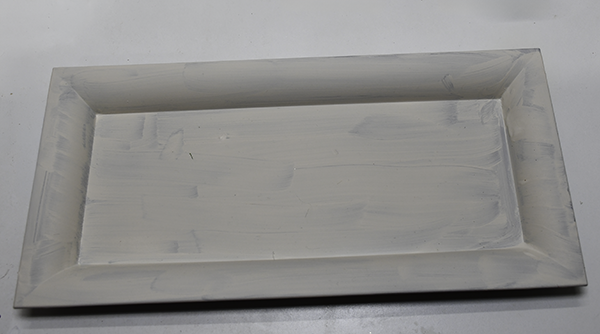
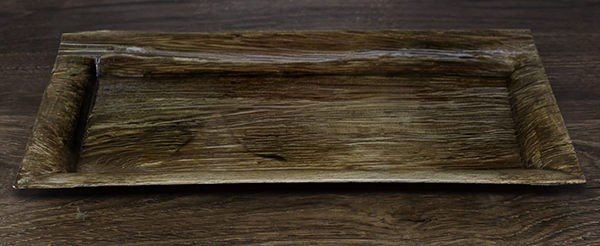
As I said, I did not have a wood board the shape I wanted for this project. I took a Dollar Tree plastic rectangular tray and painted it beige. Let the beige paint dry. Cover the beige paint with antiquing wax. While the wax is still wet take a dry paint brush and brush it in one direction lengthwise to create the wood grain. Let dry completely. Place the pears on the tray and you are finished.
I hope you enjoyed this simple pear project. For more seeing and crafting projects subscribe to our free newsletter and receive access to our free printables library.
Join our Sew Very Crafty Fans Facebook group
If you want to ask questions and share your projects join our Facebook group here. The community will help to achieve your sewing and crafting dreams.
Subscribe to our Free YouTube Channel!