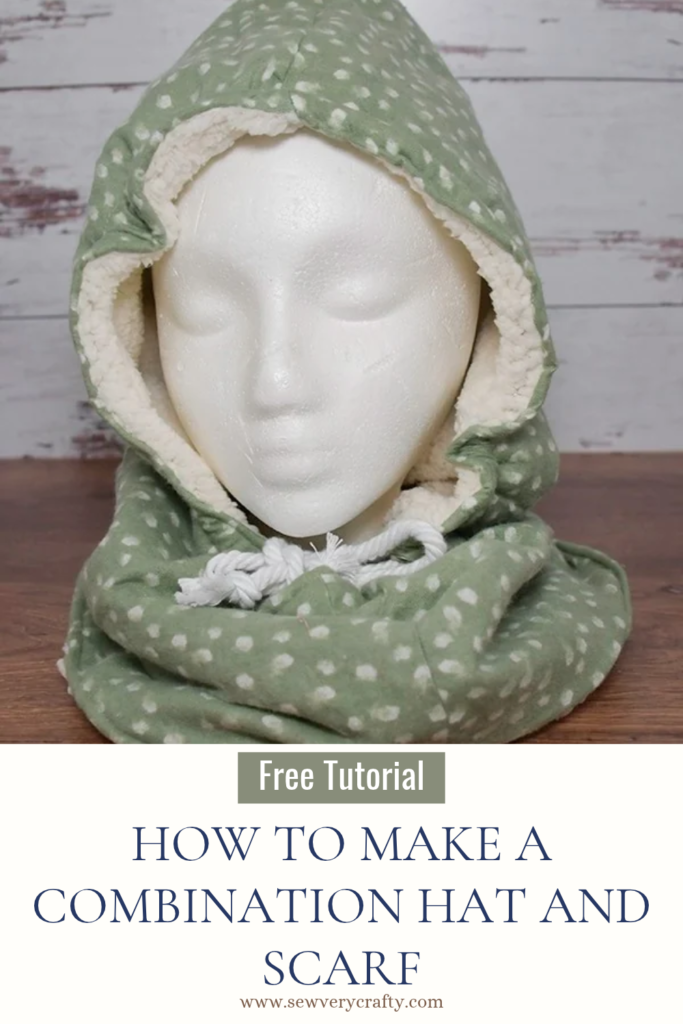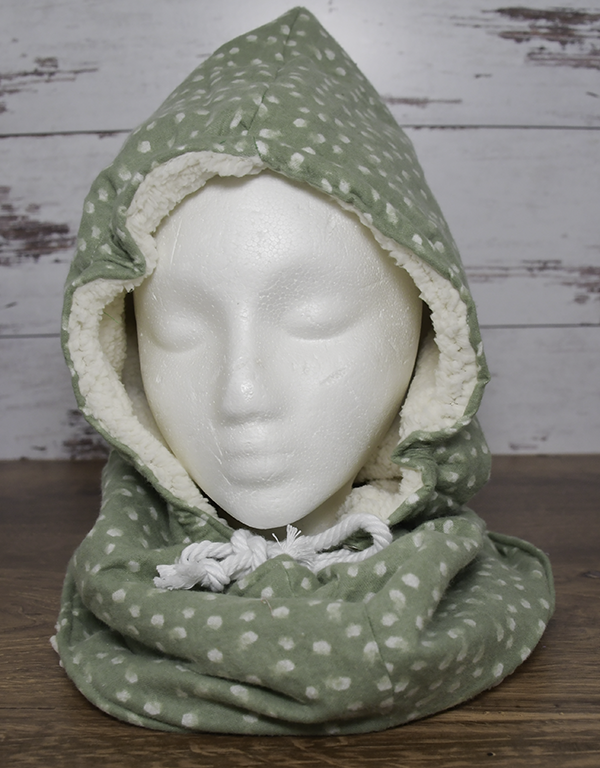
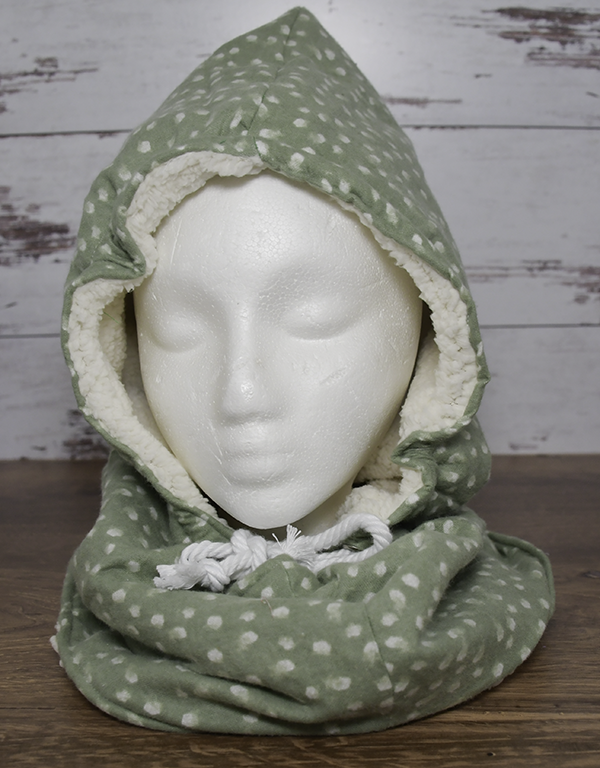
I know, I know! It doesn’t get that cold out her in California but it does elsewhere so I decided to make this combination winter hat and scarf for all of you who live where it is cold. This is such an easy sewing project to make that even a beginner can make this one. I really hope you enjoy making this project. If you would like more holiday and seasonal sewing and crafting projects head over to my Holiday Project Vault for many more.

Note: This post contains affiliate links that if you click on them and make a purchase I will receive a small commission at no extra cost to you. As an Amazon Associate I earn from qualifying purchases.
What you will Need: How to Make a Combination Winter Hat and Scarf
- Pattern you can get by clicking on this link
- 1 piece of plaid flannel that measures 30 7/8″ x 21 3/4″
- 1 Piece of faux sherpa fabric that measures 30 7/8″ x 21 3/4″
- 2 Grommets
- Cording
- Sewing Machine
- Standard sewing supplies
Step 1: Print and Tape the Pattern
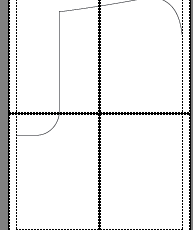
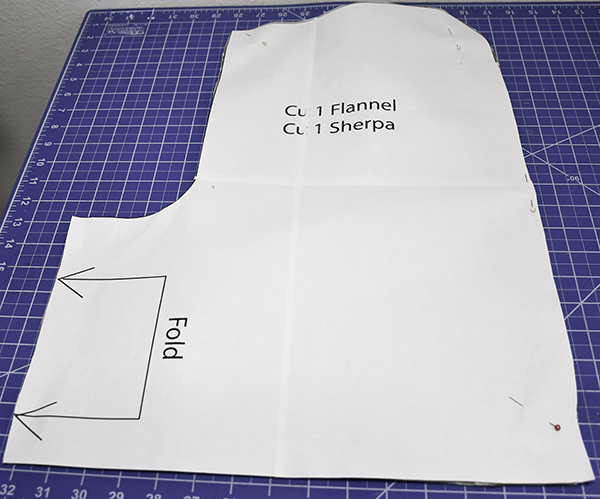
This pattern has 4 pages. Print them out on a printer and tape them together as shown.
Step 2: Cut the Fabrics
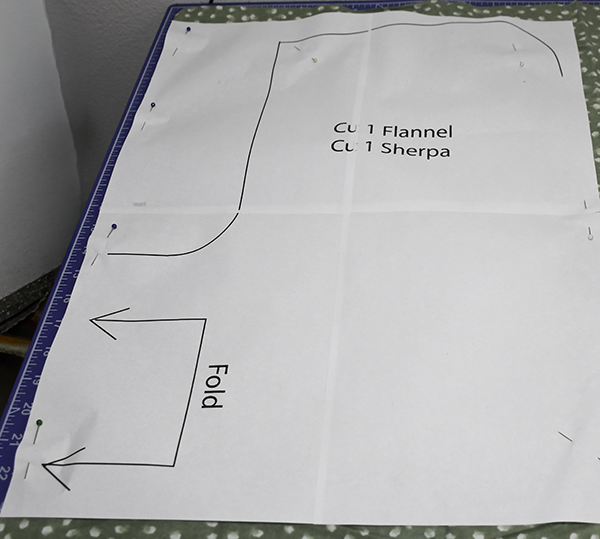
Fold the flannel in half short sides together. Place the pattern on the fold and cut through both layers. Unfold the flannel and place it onto the faux lamb and cut out the center opening.
Step 3: Stitch the Center Cutout
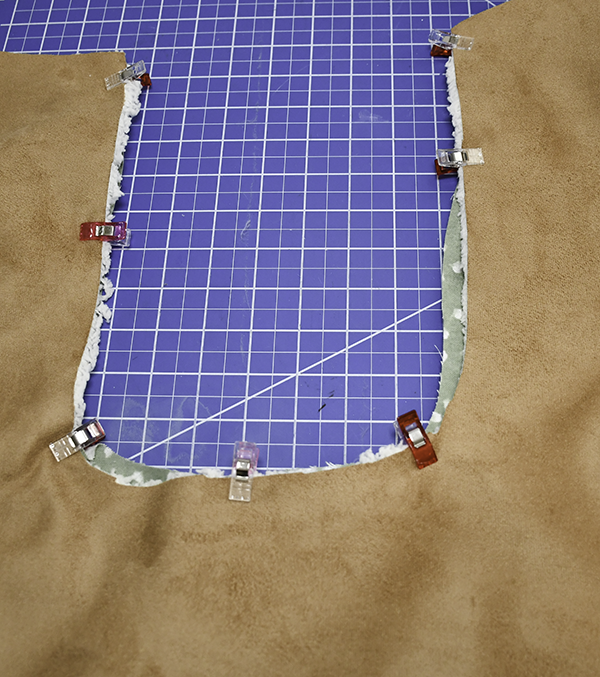
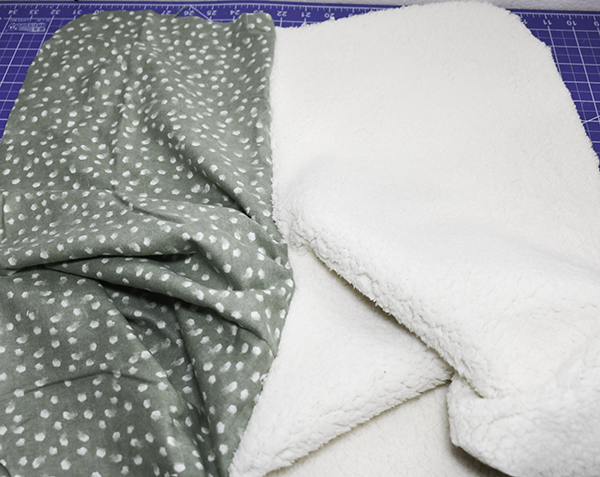
Place the pieces right sides together and pin or clip. Stitch them together just around the center cutout using a 3/8″ seam allowance. Pull the pieces apart.
Step 4: Stitch the Outside
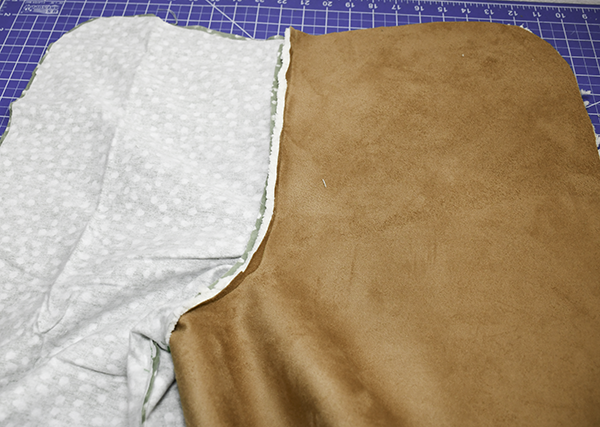
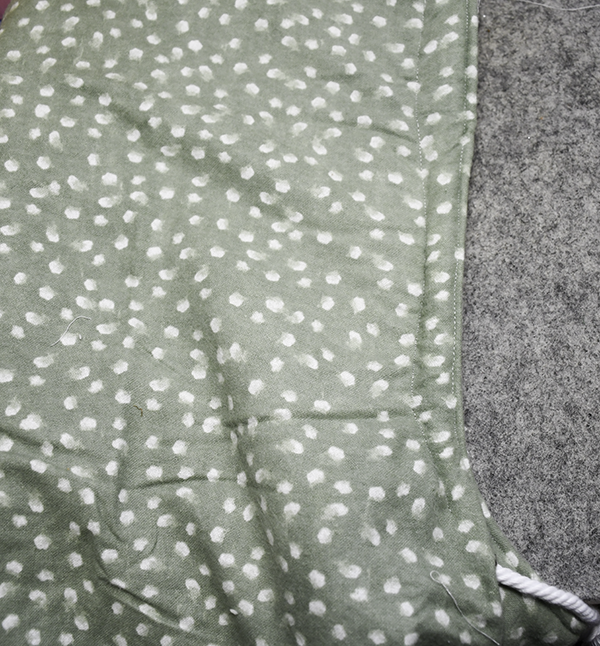
Fold the fabric in half so that the right sides of the flannel are together and the right sides of the faux lamb are together. Stitch all the way around the outside of the fabric pieces.
Step 5: Mark the Center
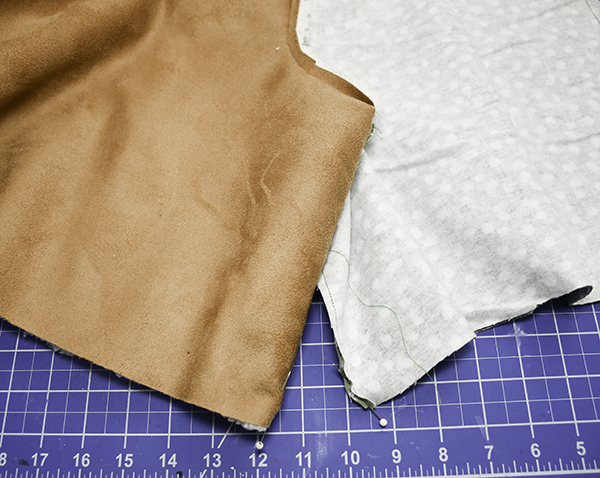
Mark the center line of the bottom inside fold of the flannel and the faux lamb using a pin.
Step 6: Stitch
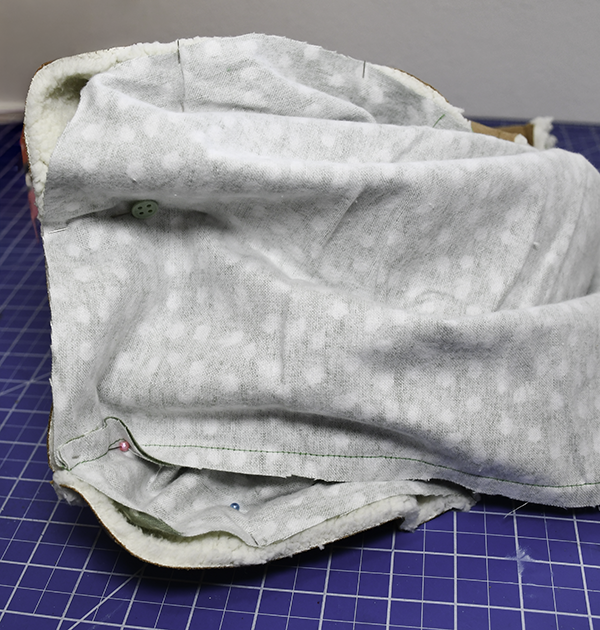
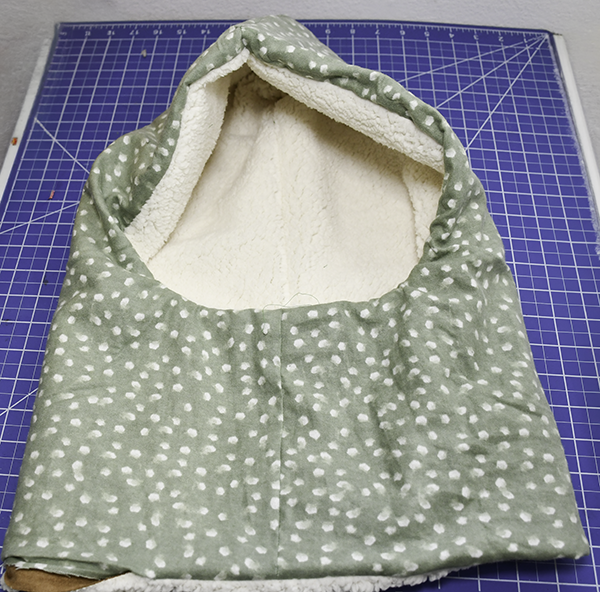
Place the flannel and the faux lamb right sides together matching the pins and raw edges. Pin or clip along the bottom leaving an opening in the center for turning. Stitch along the bottom using a 3/8″ seam allowance. Turn the piece right sides out through the opening you left in the bottom seam.
Step 7: Add the Grommets
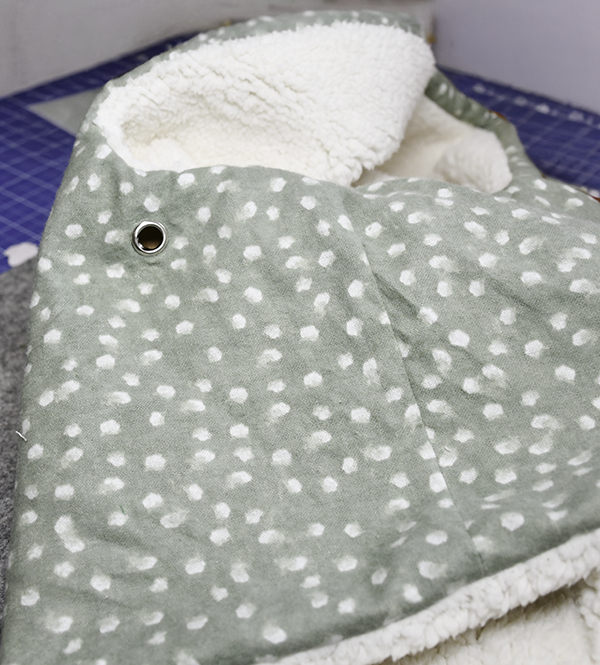
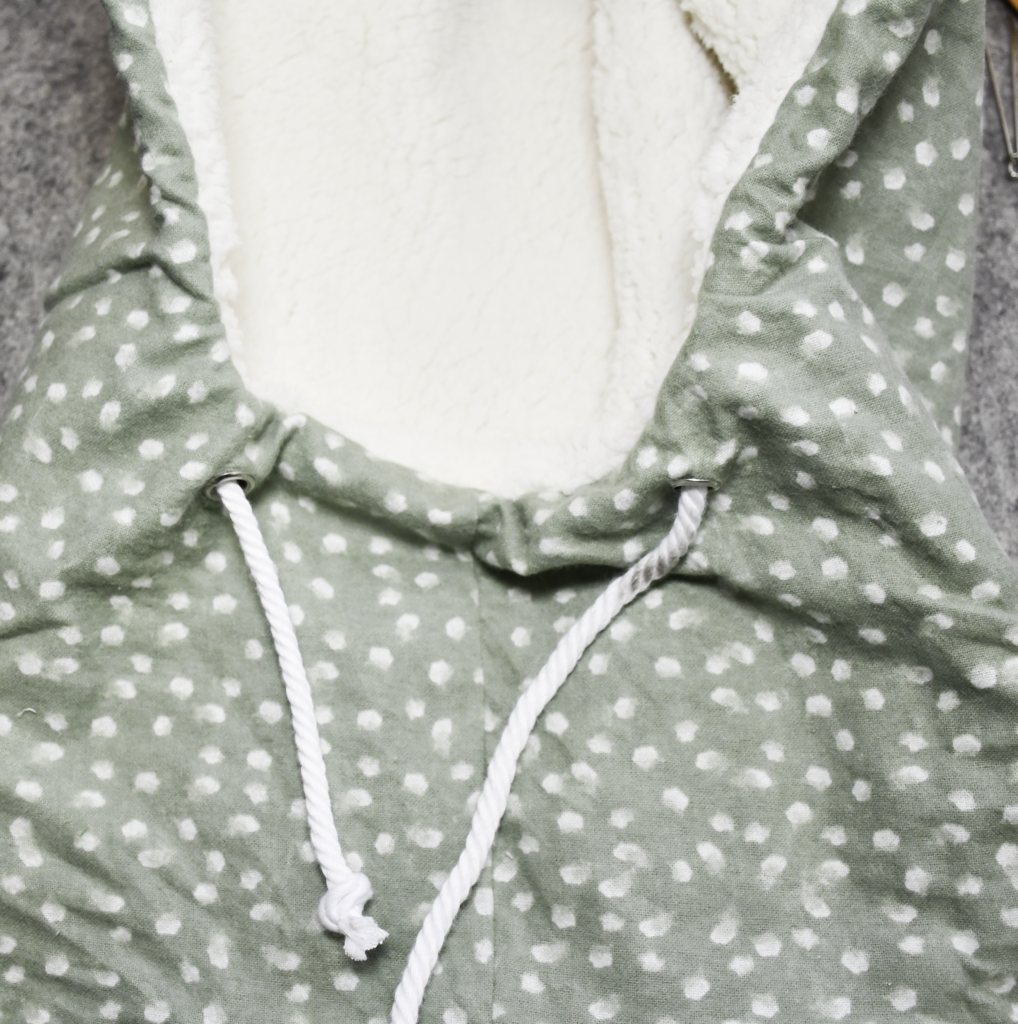
Measure 1/2″ down from the bottom of the face opening along the front lower center seam and make a mark. Measure 3″ up from that mark along the face opening on both sides and make a mark on each side. Make a hole on each mark through the flannel only. Insert grommets on each side following the manufacturer’s instructions.
Step 8: Insert the Cording
Using a safety pin or a bodkin, insert the cording into one of the grommets and all the way around the top of the face opening and out through the grommet on the other side. Add cord stops or tie in a knot to prevent the cording from reverting back into the casing.
Step 8: Create the Casing
Stitch all the way around the face opening using a 1″ seam allowance. This will create a casing to insert the cording.
I hope you enjoyed this simple sewing project. For more sewing and crafting projects subscribe to our free newsletter and receive access to our free printable library.
Join our Sew Very Crafty Fans Facebook group
If you want to ask questions and share your projects join our Facebook group here. The community will help to achieve your sewing and crafting dreams.
Subscribe to our Free YouTube Channel!