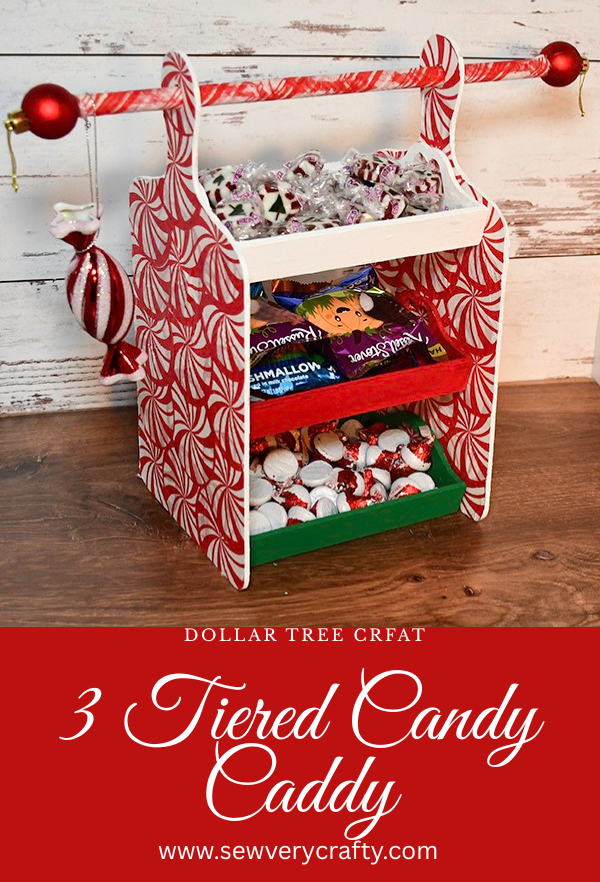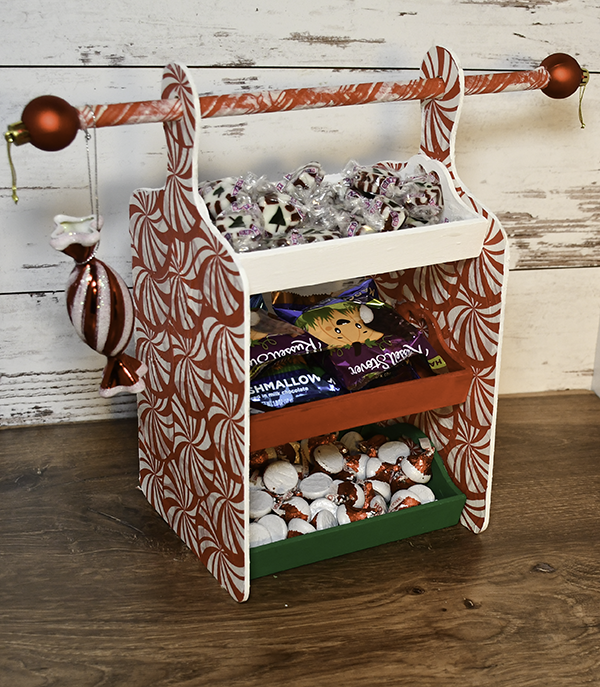
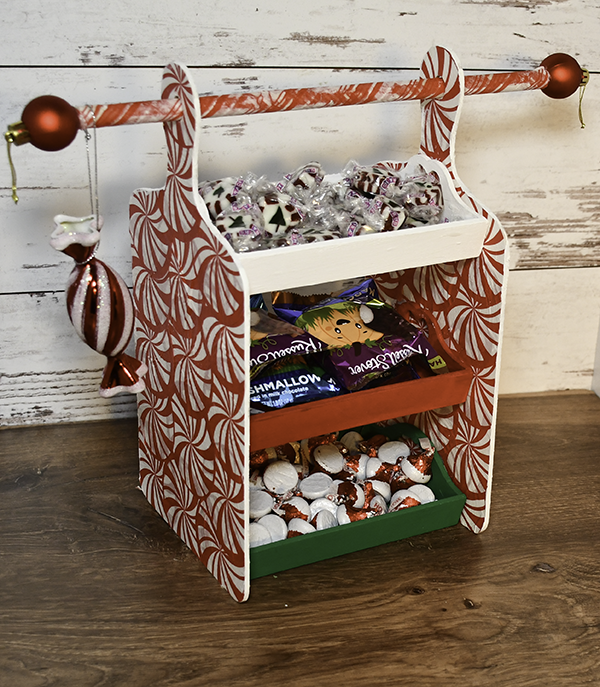
I had all of the items for this project in my Dollar Tree stash. I keep looking at my stash to think of new projects to make and I came up with this one. The Dollar Tree wood trays and some faux cutting board came together to create this project. For me, this is all about the Christmas candy. If you have a lot of Christmas candy around your house this is a great way to display it and to make it easily accessible. If you would like more Dollar Tree crafts head over to my Dollar Tree page. For more holiday sewing and crafting check out my Holiday Project Vault.

Note: This post contains affiliate links that if you click on them and make a purchase I will receive a small commission at no extra cost to you. As an Amazon Associate I earn from qualifying purchases.
What you will Need: How to Make a Dollar Tree Three Tiered Candy Display Caddy
Step 1: Paint the Cutting Boards and Dowel
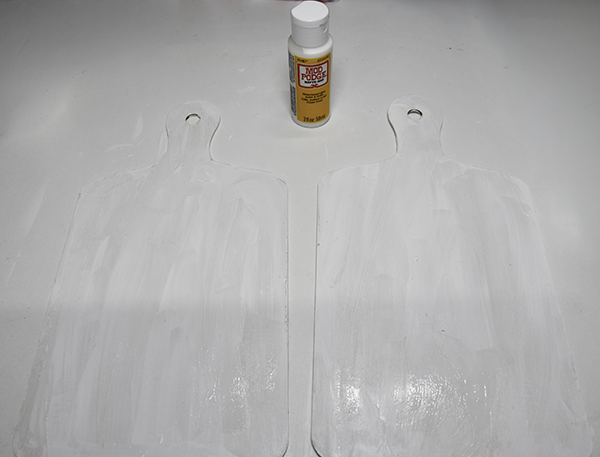
Paint the cutting boards white on both sides and the edges using the white chalk paint. Let dry completely. Repeat for the dowel.
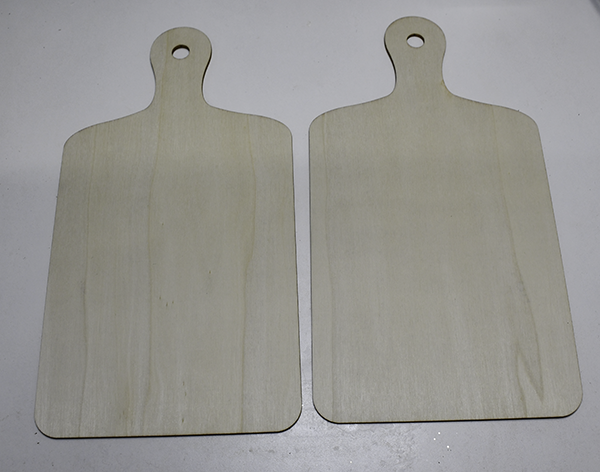
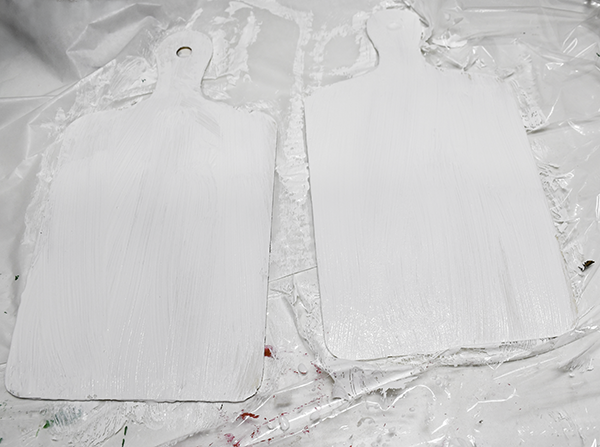
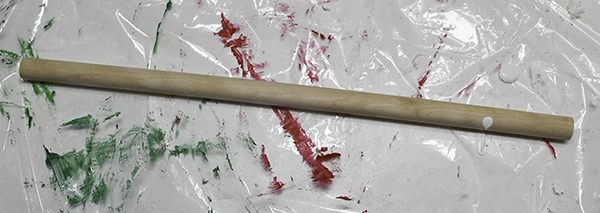
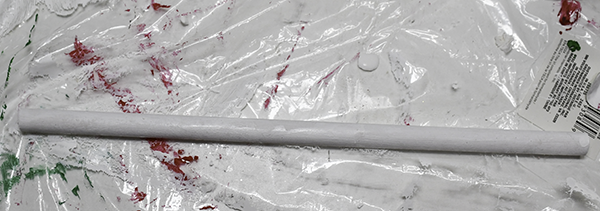
Step 2: Press the Cupcake liners
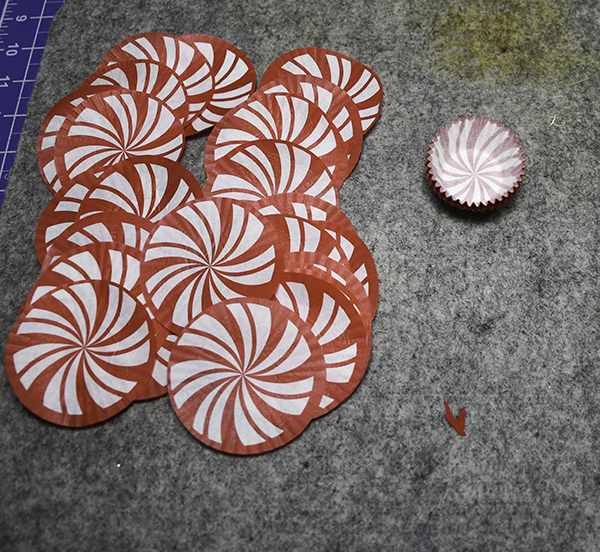
I took some mini cupcake liners for this part. I really thought this was a unique way to cover the cutting boards and stay with the theme I wanted. Using a hot iron, press the cupcake liners so they are flat.
Step 3: Decoupage the liners to the cutting boards
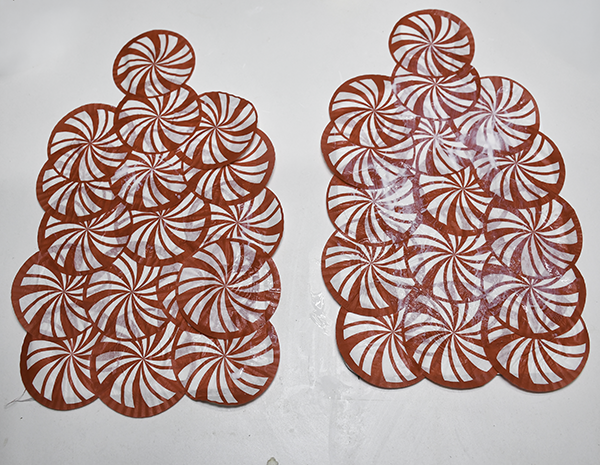
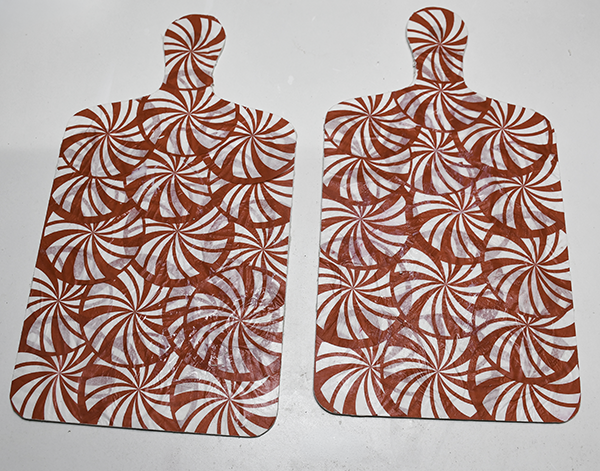
cover one side of the cutting board with Mod Podge. I used a relatively heavy layer. Place the bottom row of cupcake liners to the board. You can let the Mod Podge dry if you like but I am impatient and just kept going. Once you add the first row of liners cover the tops of the previous row with Mod Podge and attach the next row of liners. Keep going until you have finished covering both sides of the each of the cutting boards. Once the Mod Podge is completely dry sand off the excess using a gator sander. Make sure the sand open the circles on the handles using a small emory board.
Step 4: Decoupage the Dowel
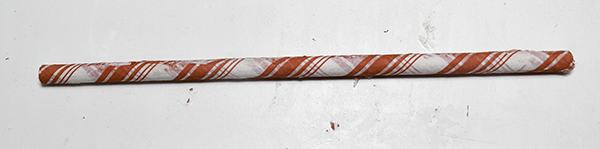
I used a napkin that has a candy cane print on it. Cover the dowel with Mod Podge. Remove the bottom layer of the napkin keeping only the top printed layer. Place the dowel onto the napkin and rollin until it is covered. Cut off the excess. When dry, cover the entire dowel with Mod Podge. Let dry.
Step 5: Paint the wood trays
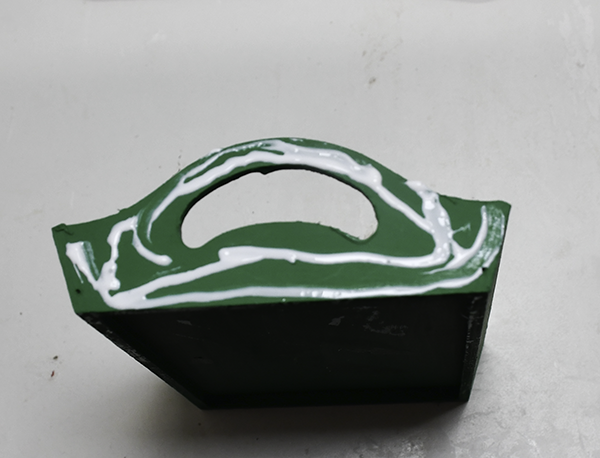
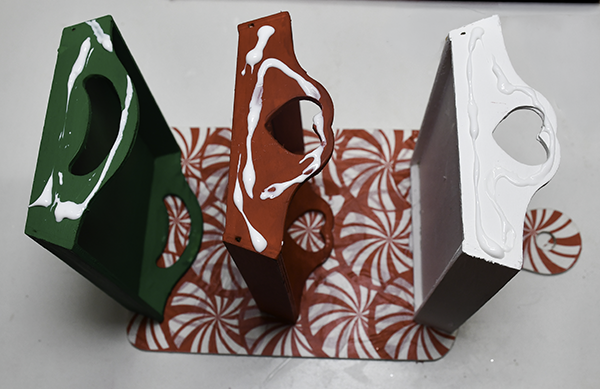
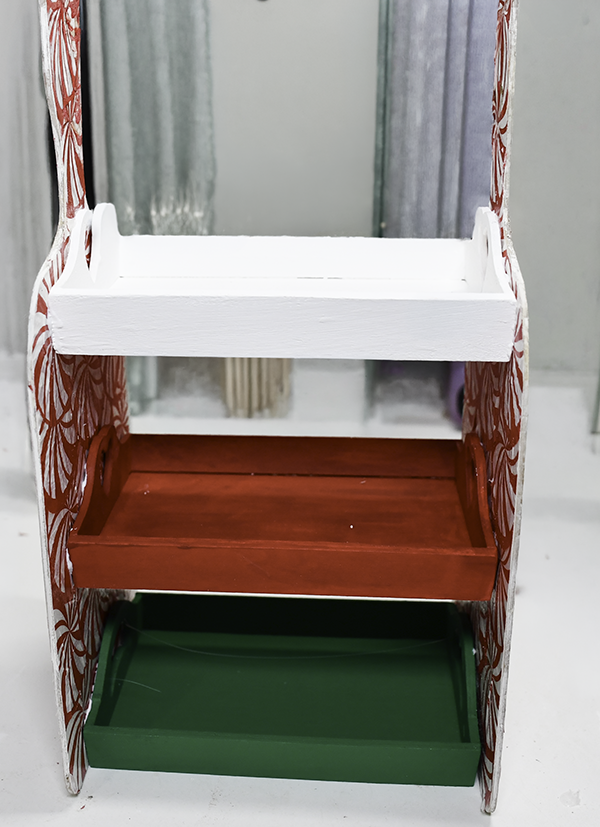
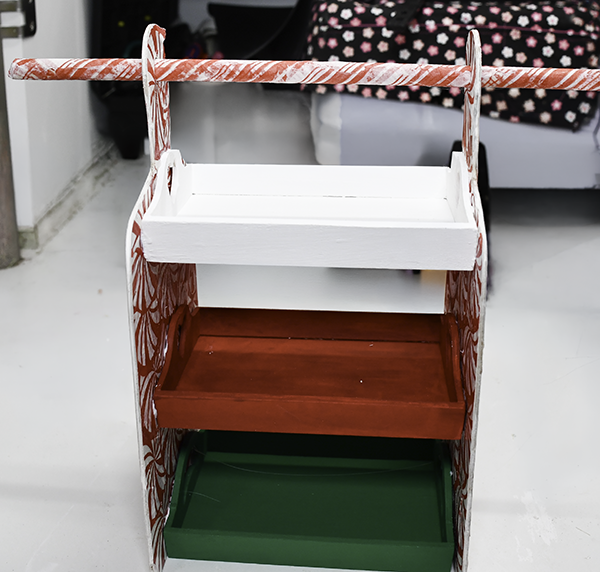
I painted the trays red, white and green for Christmas. Start by measuring the board and making sure that the trays are evenly spaced. Lay the cutting board shape flat on your work surface. Put hot glue and wood glue on the end of the first tray. Place one of the trays at the bottom of the first board. Then, place the next two trays so that they are evenly spaced in the same way. Add wood glue and hot glue on the other end of the trays and place the other board so that it sandwiches the trays and is even with the first boards.
Step 6: Add the Dowel to the Caddy
Insert the decoupaged dowel through the holes in the handles. Hot glue the mini Christmas ornaments to the end of each dowel. Add some gold cording through the hole in the top of the ornament.
I hope you enjoyed this simple Christmas craft. If you would like more sewing and crafting projects subscribe to our free newsletter and receive your free Dollar Tree Holiday eBook.
Join our Sew Very Crafty Fans Facebook group
If you want to ask questions and share your projects join our Facebook group here. The community will help to achieve your sewing and crafting dreams.
Subscribe to our Free YouTube Channel!